Welcome to my second tutorial for easy DIY teething bibs!
As mentioned in my earlier post, my mom and I came up with a few patterns because my 16-month-old son was drooling over every possible surface in the house and soaking through T-shirts like a roofer in August. Unfortunately, all of his baby bibs were in storage, so we had to get creative.
We had these requirements in mind:
- minimal work for maximum effect
- durable enough for a toddler to play in
- customized to a larger neck
- customized for specific playful patterns, since Evan actually understands characters and symbols now
- simple enough for a beginner sewer like me
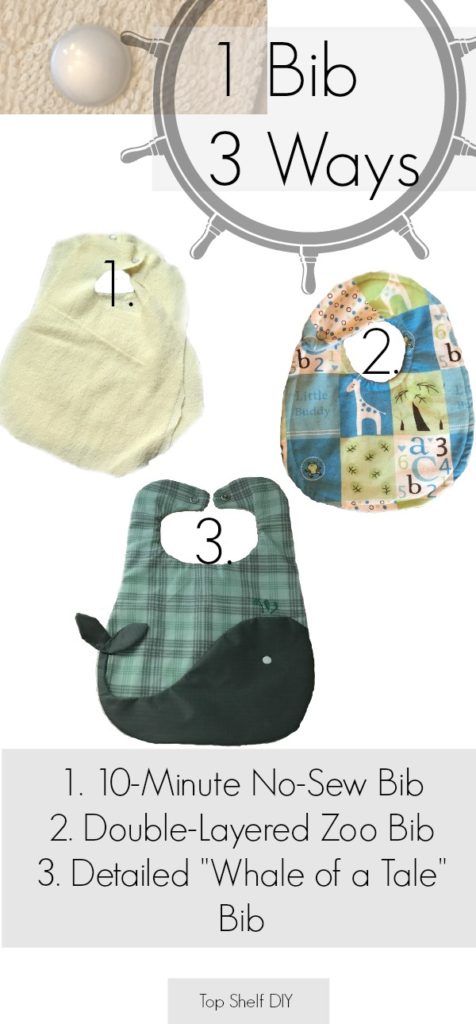
Here’s the second pattern we created. It's a very simple, lined bib tutorial and only requires a straight stitch on your sewing machine.
Heck yeah!
Supplies:
- Small piece of fun, patterned fabric (jersey or cotton)
- A second layer of absorbent material (terry cloth works well)
- A simple bib pattern (included below)
- Scissors
- Fabric pins
- Hammer and Snaps Tool Kit OR Snaps Pliers (I tried both and found the pliers easier, but they are slightly more expensive).
- Snap Fasteners (make sure it’s the same size as your snap tool kit or pliers)
- Sewing machine
- Thread in matching color
Step 1: (note: steps 1-3 are the same as the first bib tutorial. Reference that tutorial for images)
Lay down your first piece of clean, ironed fabric on a flat surface.
Step 2:
Lay pattern on top of fabric.
Step 3:
Pin pattern to fabric, then cut out your fabric.
Step 4:
Repeat steps 1-3 with your terry cloth layer of fabric.
Step 5:
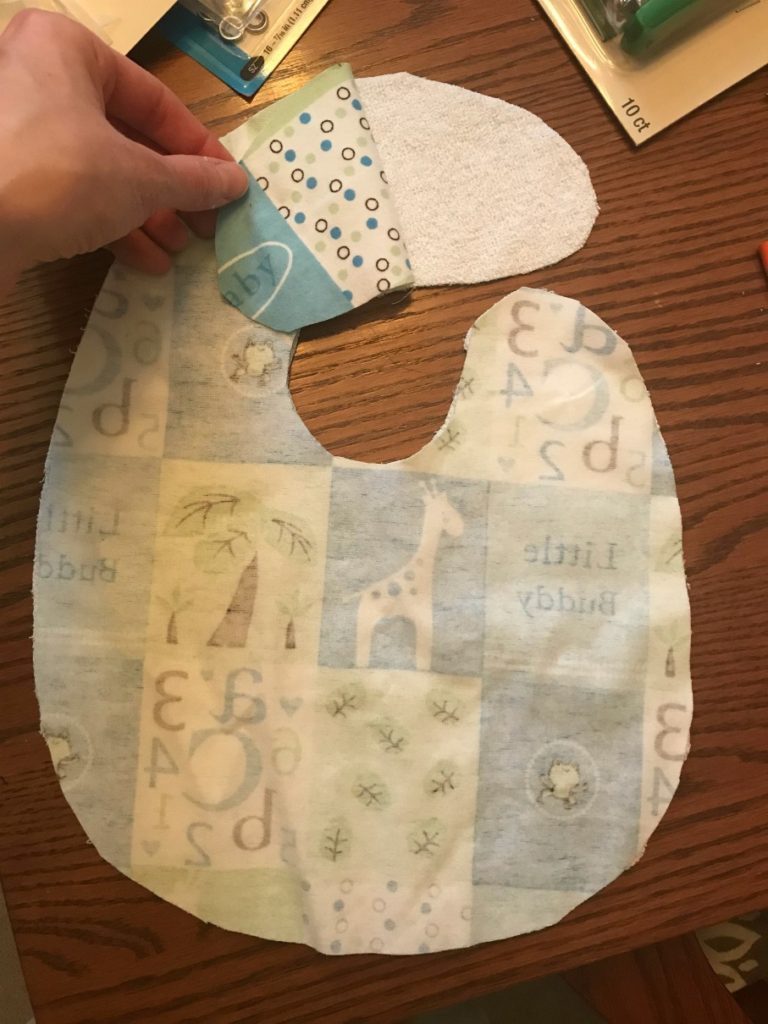
Lay your first piece face down on the terry cloth, right sides together.
Step 6:
Pin your pieces together.
Step 7:
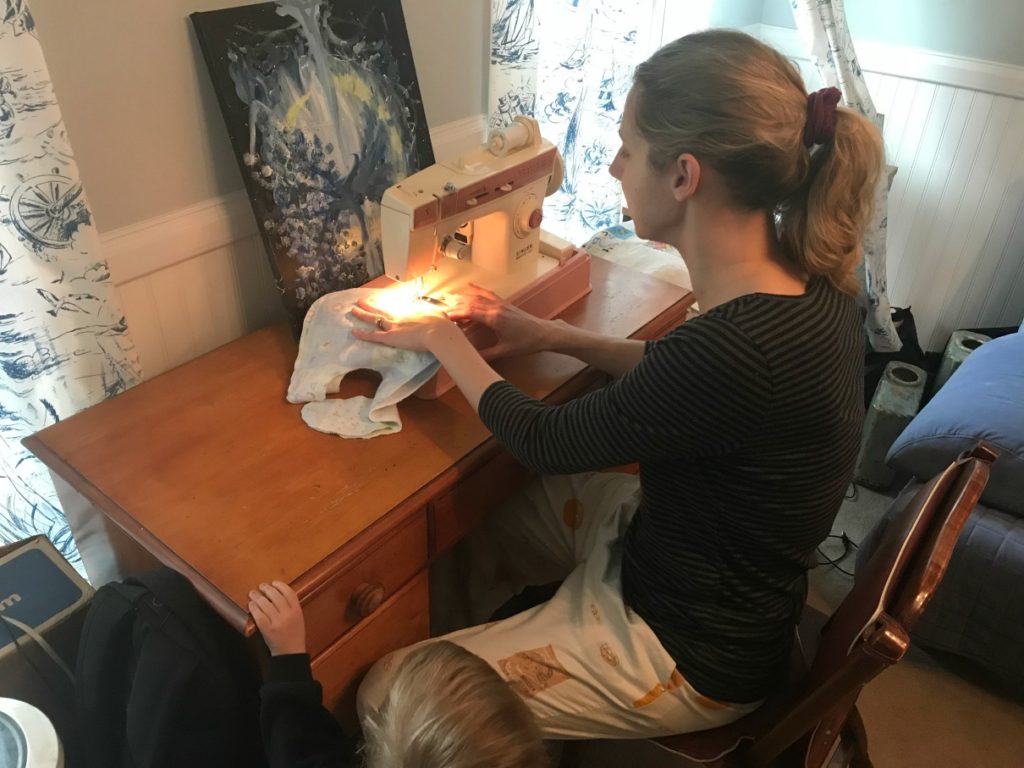
Sew a straight stitch along the edge of your seam allowance. 5/8 of an inch is standard. I did 3/8 of an inch because it's such a small piece of fabric. While you're sewing, leave a small opening somewhere along the edge (preferably away from the neck rim).
You'll need this hole so that you can pull your fabric right side out.
Step 8:
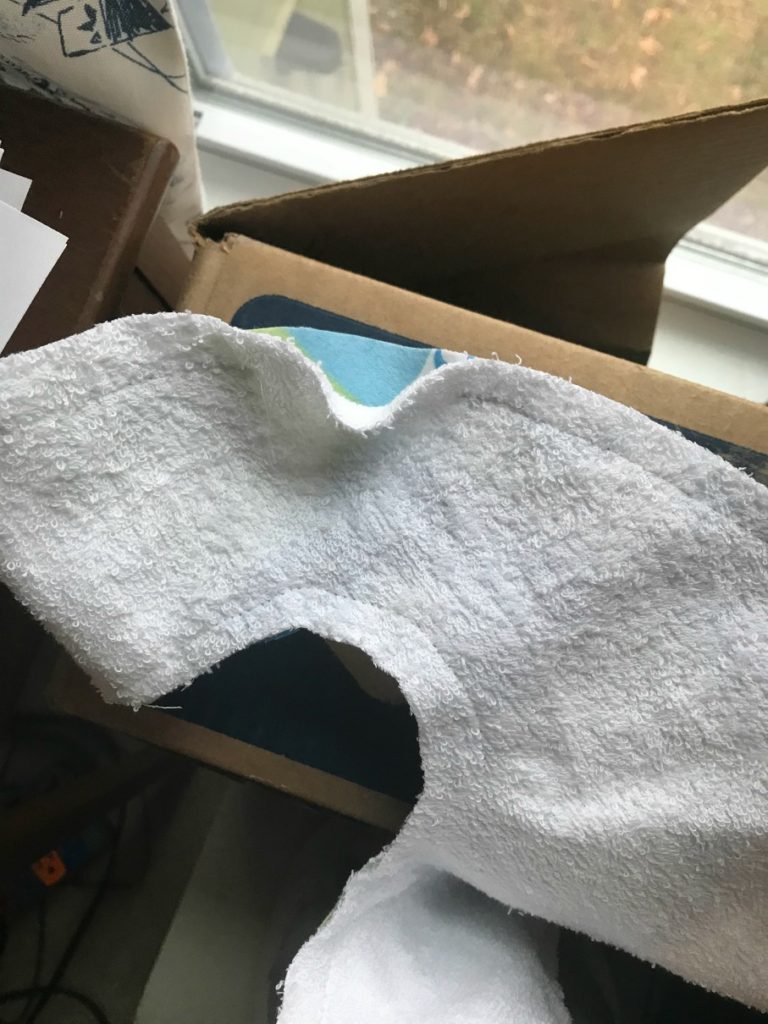
Cut the seam excess. Using the opening for your finger, pull your bib right side out.
Step 9:
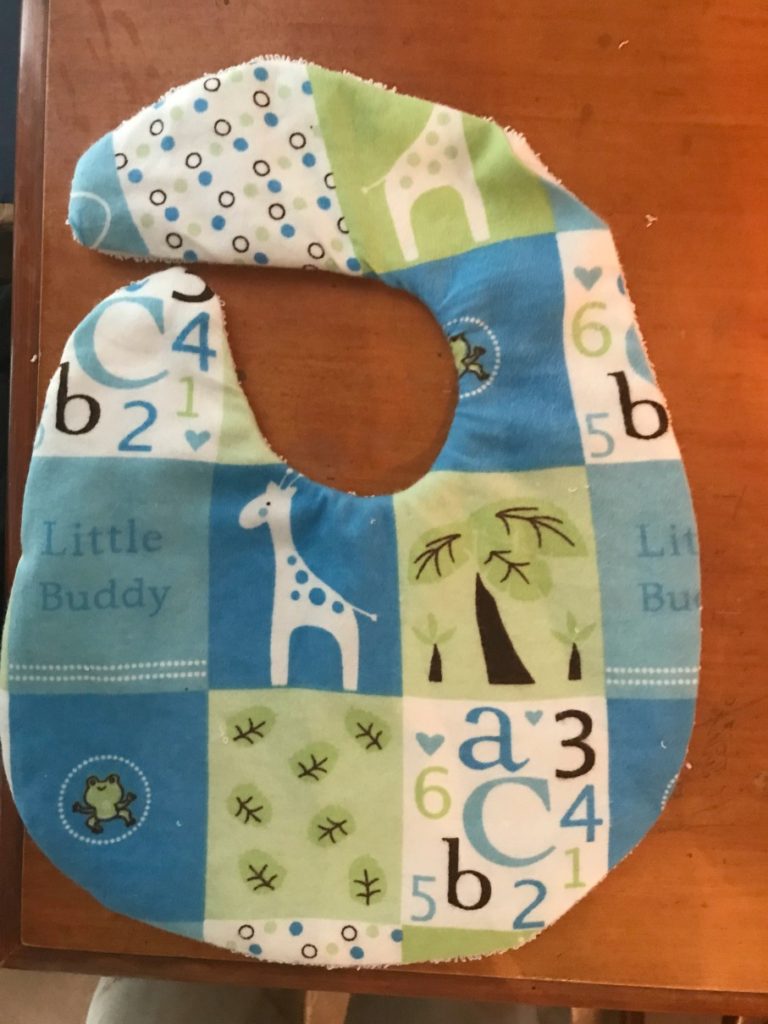
Iron your bib flat. Iron the small opening closed. Secure the opening with a small pin to keep the hemmed edges aligned. Sew a straight stitch around your entire bib, including over your pinned opening.
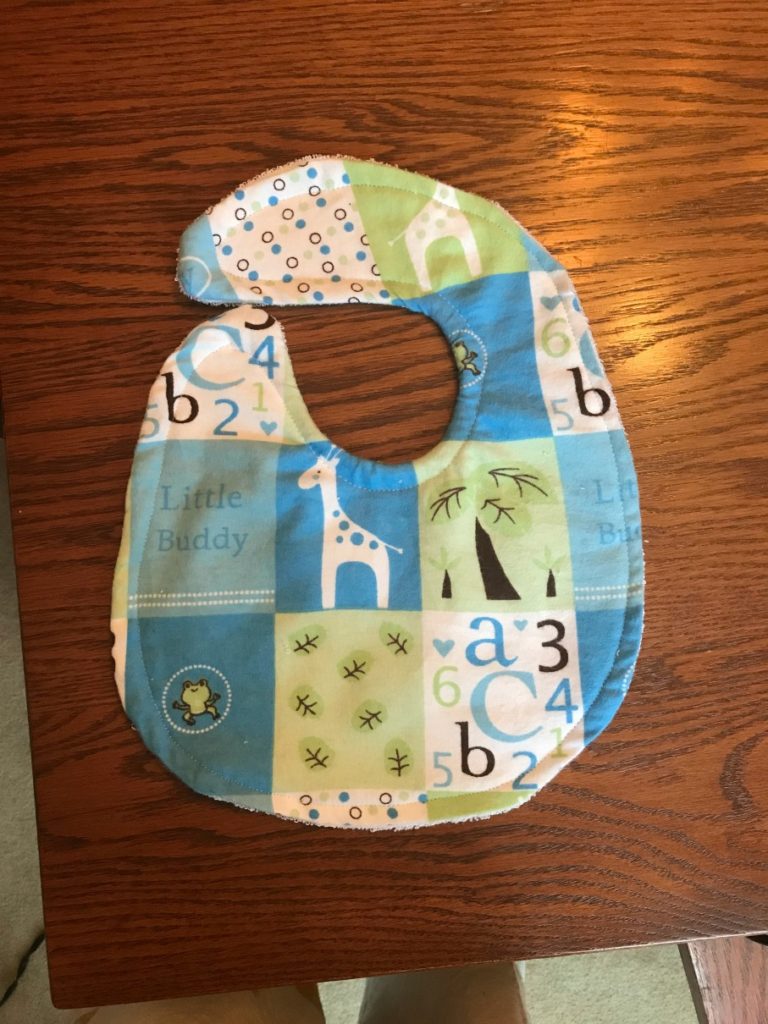
Step 10:
Following the instructions included on your Snap Tool Kit, add your snaps on either side of the bib. This time I was smart and used these Snap Pliers.
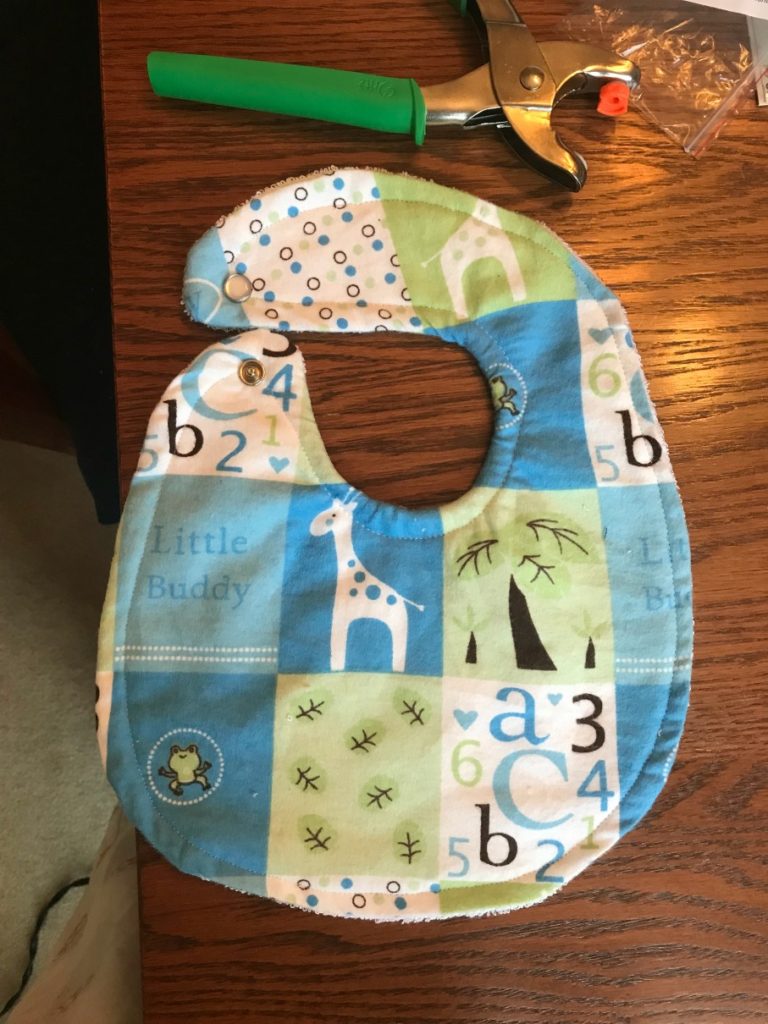
That's it!
Evan enjoyed wearing this one because he's a big fan of giraffes. His 6-month old cousin has also used it a few times when he's been over for a visit. It holds up great in the wash.
Access this pattern and the other two bib patterns in my Top Shelf Printables Library by clicking below!
On to the next and last bib!
For the third pattern, a "Whale of a Tale Bib," click here <--------------
For the first pattern, a 20-Minute No-Sew Bib, click here <-------------




Leave a Reply