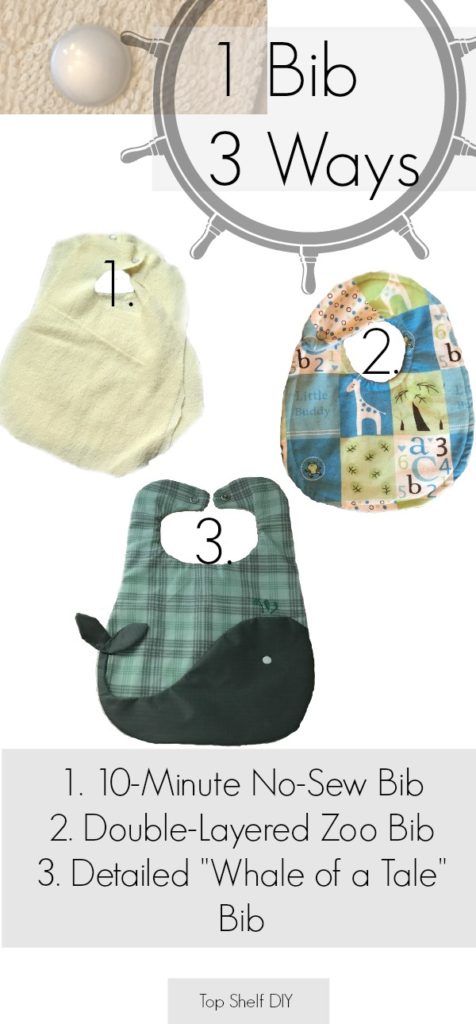
Welcome to the third and last installment of easy DIY teething bib patterns!
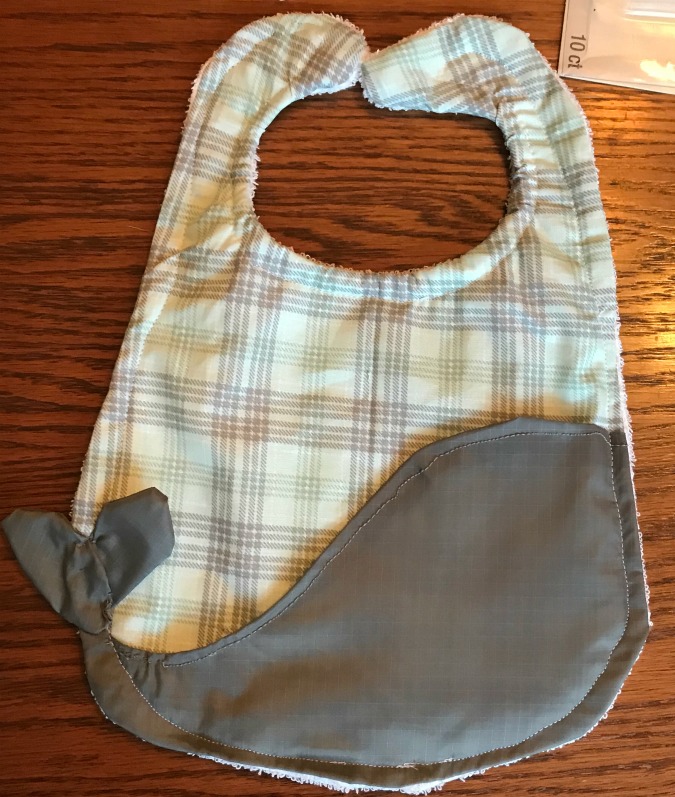
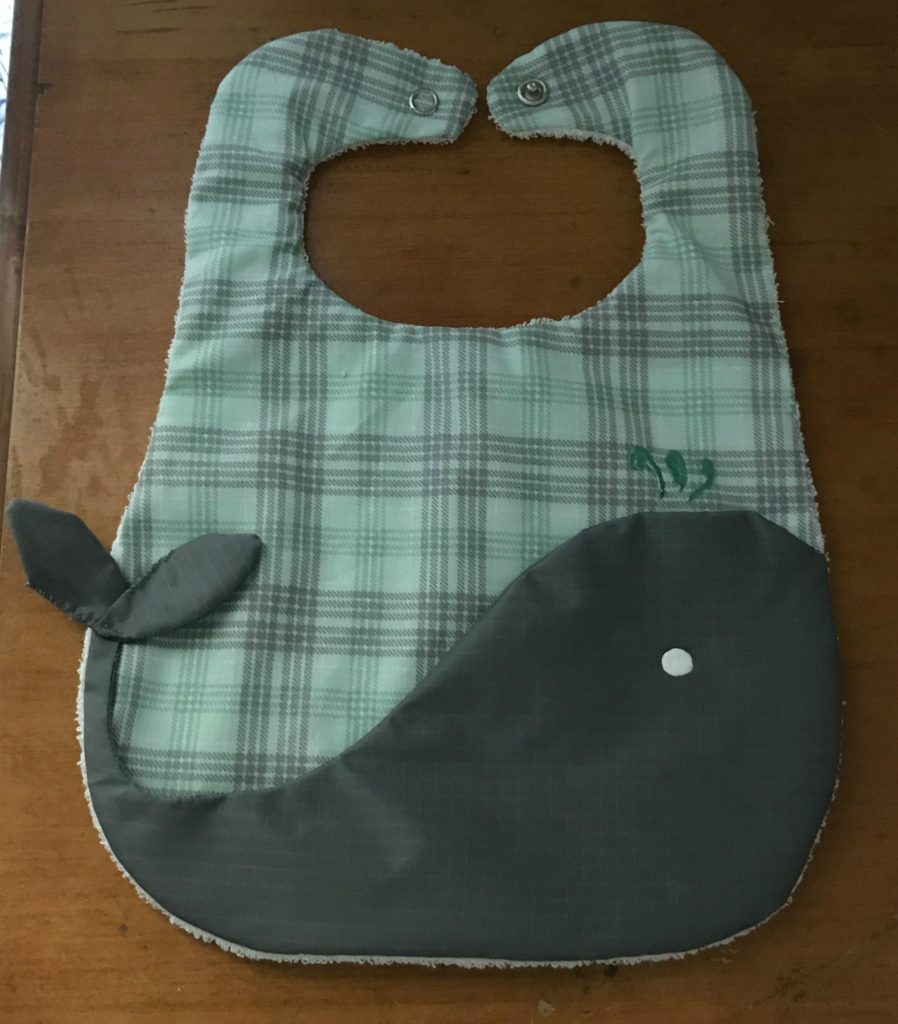
This adorable little bib represents the ocean of water about to spill back into its spout, thanks to any drooling child who wears it.
This bib is slightly more time consuming because it consists of three layers: the face and back of the bib, then the whale appliqué. The whale doubles as a food catcher for sloppy little mouths, so I think it's worth it.
Plus it involves puff paints...who doesn't love puff paints?? Let's go!

Supplies:
note: affiliate links included
- Small piece of absorbent material such as terry cloth
- Fun patterned material OR simple nylon material for the face of the bib (nylon is easier to clean but a little bit more challenging to sew)
- Fun patterned material or nylon for the whale
- Bib pattern, whale pattern, and fin pattern (all included below)
- Scissors
- Fabric pins
- Hammer and Snaps Tool Kit OR Snaps Pliers (I tried both and found the pliers easier, but they are slightly more expensive).
- Snap Fasteners (make sure it’s the same size as your snap tool kit or pliers)
- Sewing machine
- Thread in matching color
- Puff paints
Step 1:
Cut out your terry cloth and bib face material from the bib pattern. Be sure cut an opening in the bib at the very top of the neck (where the two sides will snap together).

Step 2:
Using your whale pattern, cut out two whales from the nylon fabric. Cut four fins from the same material using the fin pattern.
Step 3:
Right sides together, sew your two whales together along a small seam allowance. Leave a small opening in order to pull your fabric inside out. Sew your opening closed. I recommend sewing your whale and your fins by hand, as the nylon material is thin and can be touchy with the tension settings on your sewing machine.
Step 4:
Pin your whale to the front of your front facing piece. Place the terry cloth piece on top of your front facing piece, with right sides together. Sew along your inseam, which will effectively attach all three layers together.
Step 5:
Trim your seam excess, then turn your bib right side out.
Step 6:
Sew two pieces of fin together (by hand) along a small edge seam, leaving a small opening so that each fin can eventually be turned inside out. Sew the opening closed. Repeat for second fin.
Step 7:
Sew both fins to the edge of bib so that they’re in line with the whale’s tail.

Step 8:
Using puff paints, add an eye to the whale and splash of water above him (See below).
Step 9:
Add snaps to your whale using your snaps pliers. Follow your snaps tool kit instructions.

[convertkit form=5179273]
Ready to take a stab? Access the sewing patterns for this tutorial and others in my Top Shelf Printables Library by clicking above! I hope these tutorials save you some time, money and cleaning sanity.
Feel free to comment below if you have any questions. Sewing feels like a whole different language in the beginning!


i need a cut out pattern for this bib please
Hi Verla, to access the pattern in my Printables Library you'll need to subscribe in the box at the end of the post.