(This post is part of the Crown Molding 101 series)
There’s one thing most people won’t admit when it comes to crown molding.
Bigger is better.
Sure, you wouldn't put 9” crown in a powder room that has 8 foot ceilings (or would you?). But I’m willing to bet you could get pretty close before it starts looking ridiculous.
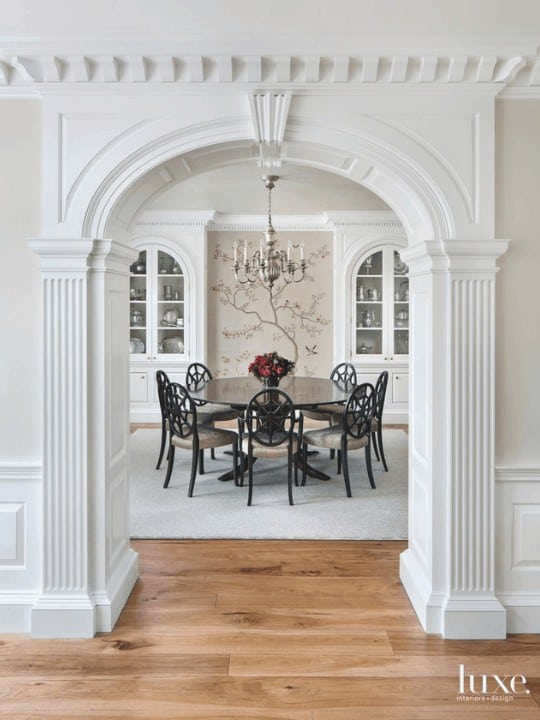
Take these two rooms, for example. They're similar in size with comparable ceiling heights. I’m willing to bet which one you think looks better.
Exhibit A
Exhibit B
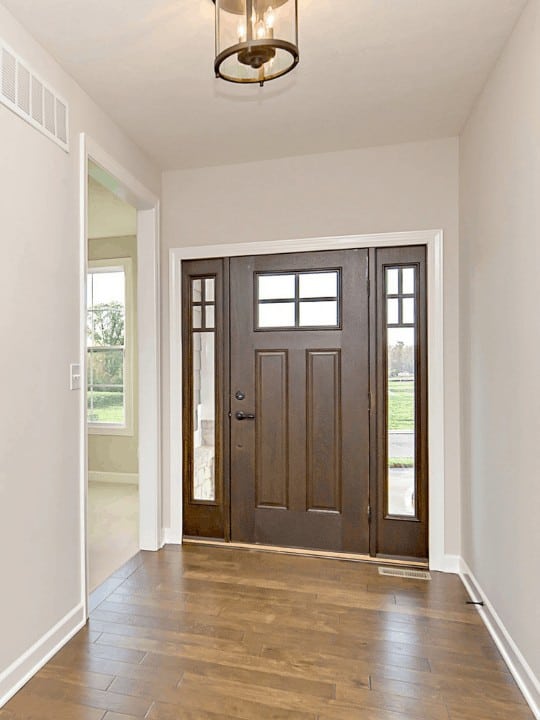
The second photo is clean and lovely, but it's missing that certain "je ne sais quoi," right? Given the height of her ceilings, I think Sarah could have added even bigger crown to the space.
A lot of us DIY bloggers add custom millwork (picture frame molding, board and batten, shiplap, etc.) without giving a second thought to crown molding.
Crown is the unsung hero of the interior design world.
Don't get me wrong, it's hard. But so, so worth it. And so dramatic when done well.
And so obvious when done poorly.
I know this post isn't going to make me any friends, but it needs to be said. If you can't do crown molding properly, focus your time and attention on a different project.
Here are five things I wish people would stop doing with their crown molding. This isn't meant to come across as snobby or superior sounding, just natural observations from a crown purist.
Full disclaimer: I am not a licensed contractor or finish carpenter. I am just a lowly woodworker who enjoys geeking out on architecture books and old historical buildings. I've made some of these mistakes myself, so don't feel bad if you can relate.
You can hate me all you want after reading this post, but hear me out.
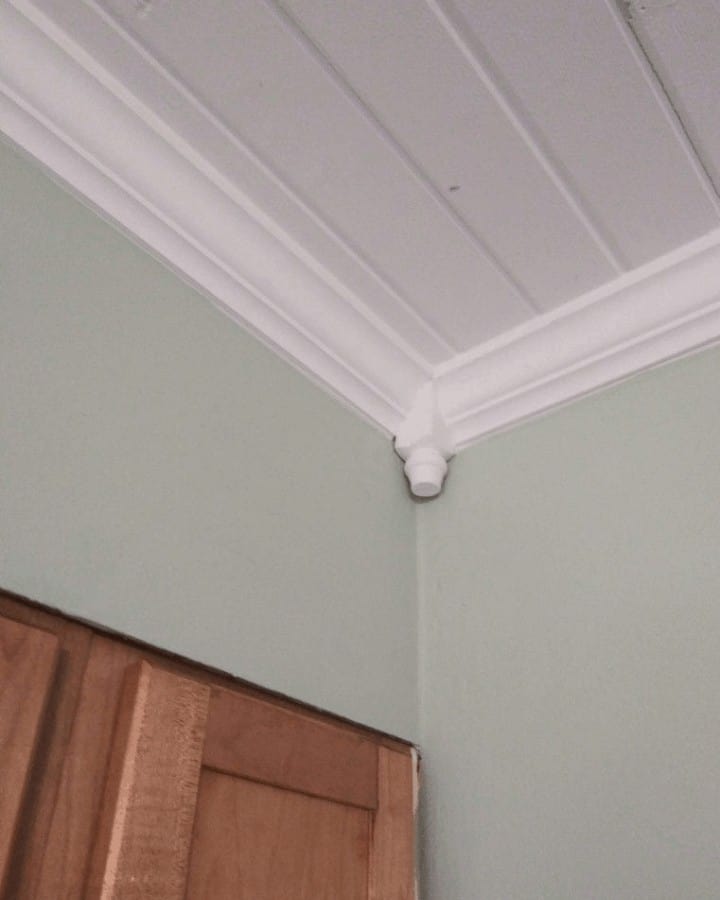
1. Corner Blocks
Is it just me or does it look like a chair leg is coming through the ceiling?
First of all, someone spent extra money for that. It's a lot cheaper to cope the inside corner using the crown already there.
Secondly, a coped corner is more forgiving when you're dealing with angles that aren't a perfect 90 degrees. In fact, a coped corner can compensate for a corner being two degrees out of square in either direction.
It's worth taking the time to learn how to cope your corners for a perfect fit.
2. A Wimpy Frieze
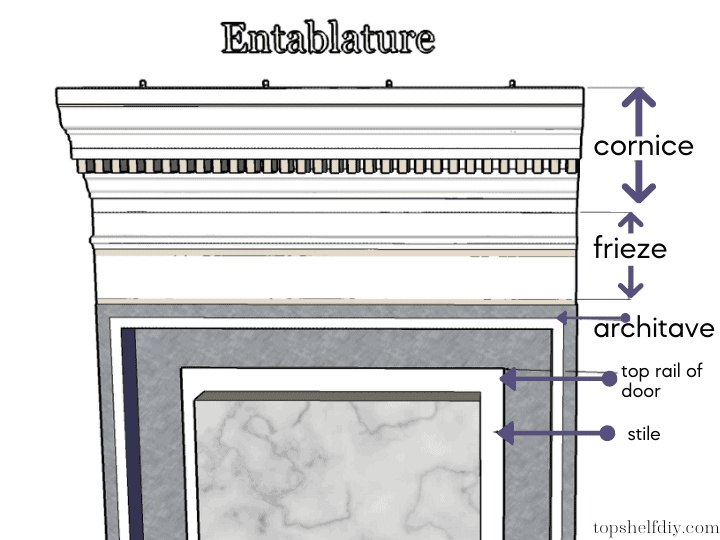
Adding base cap below your crown does not make your crown look bigger. It makes your crown look cheap. Either swap out the base cap for something smaller or install a proper 3-piece crown.
You may recall from my window cornice post the basic order of millwork based on architectural guidebooks.
Note the proportions. See how much bigger the cornice is in comparison to the frieze? The frieze isn't stealing the show because there's a balanced use of flat and curved details.
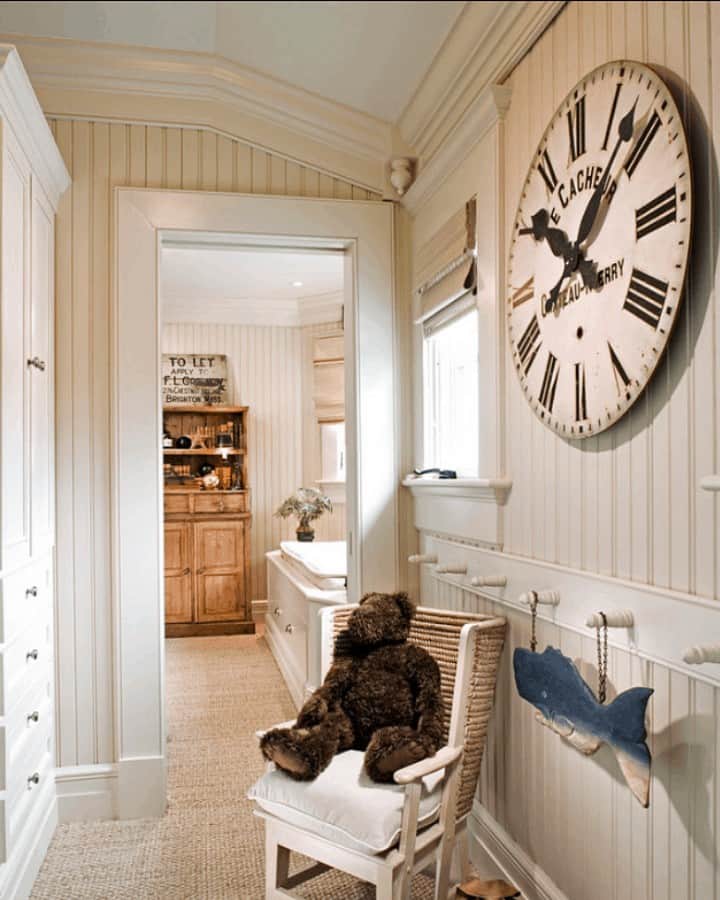
Here's a good example of complimentary trim used below crown. It's a small bead that doesn't compete with the larger crown above it.
3. Faux Crown Molding or Crown Molding "The Easy Way"
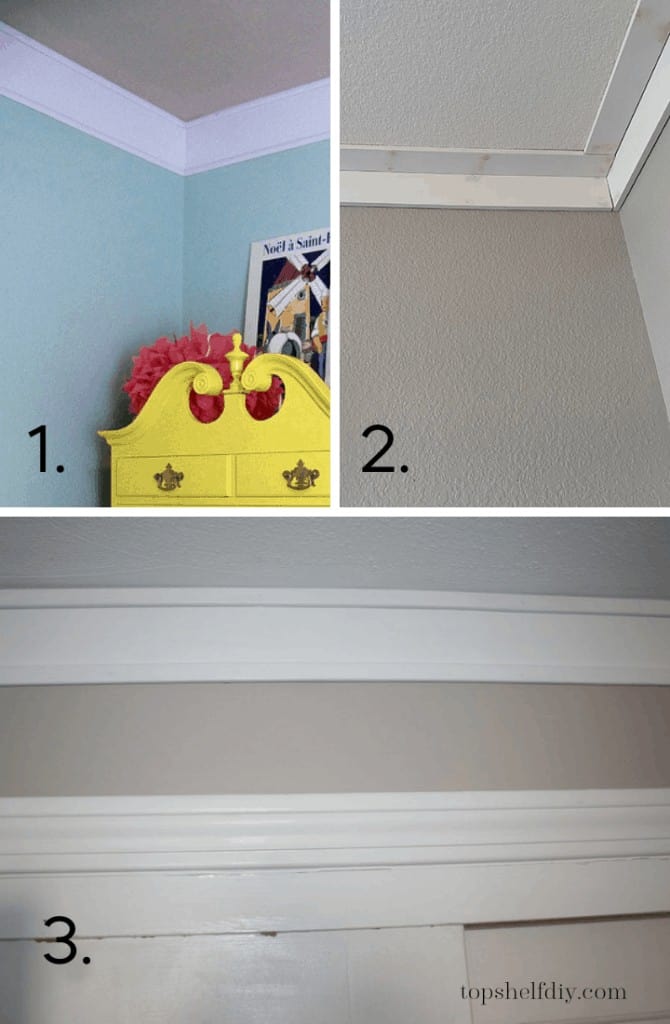
When crown molding is described as "easy" it's either clickbait or a misnomer. Shortcuts typically mean flaws (gaps, weird corners, etc) or something that no longer resembles crown molding.
Walls are rarely square and ceilings are often uneven. To get past this, you have to know which tools to own and how to use them. Crown needs to be consistently positioned on the saw and the wall correctly in order for your cuts to work.
You're often cutting crown upside down and backwards (unless you're cutting flat with a bevel + miter measurement), which takes practice. If your fence is too small you'll need to know how to set up an auxiliary fence.
You'll need to know the spring angle of your molding for that auxiliary fence to work...
And so it goes, on and on.
4. Missing End Returns
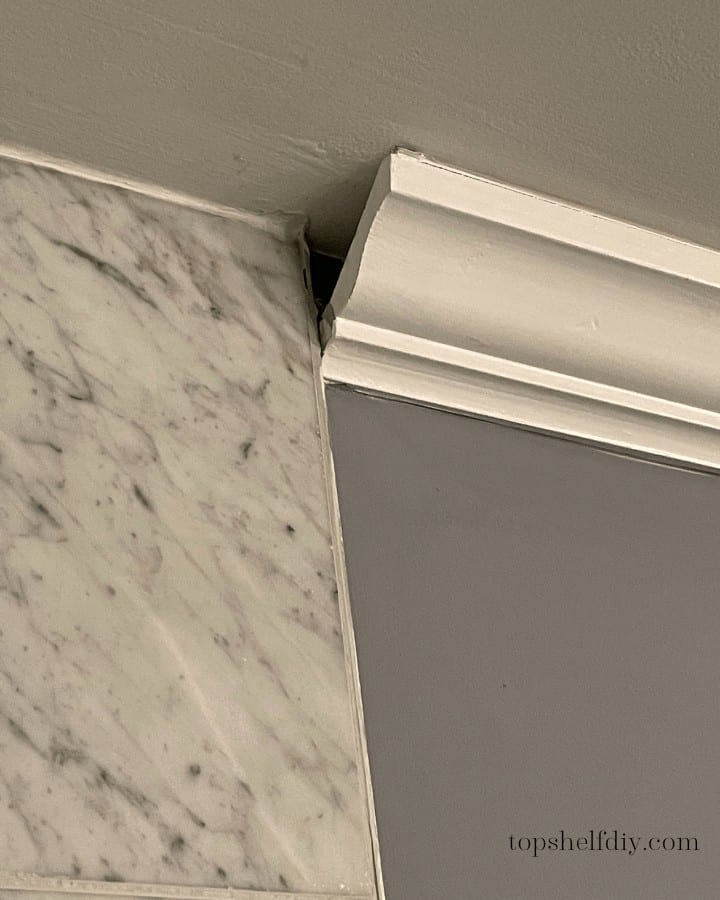
A family member provided this image under the condition that she remain anonymous... and that I would fix it😀 Would you believe this is the work of a professional?
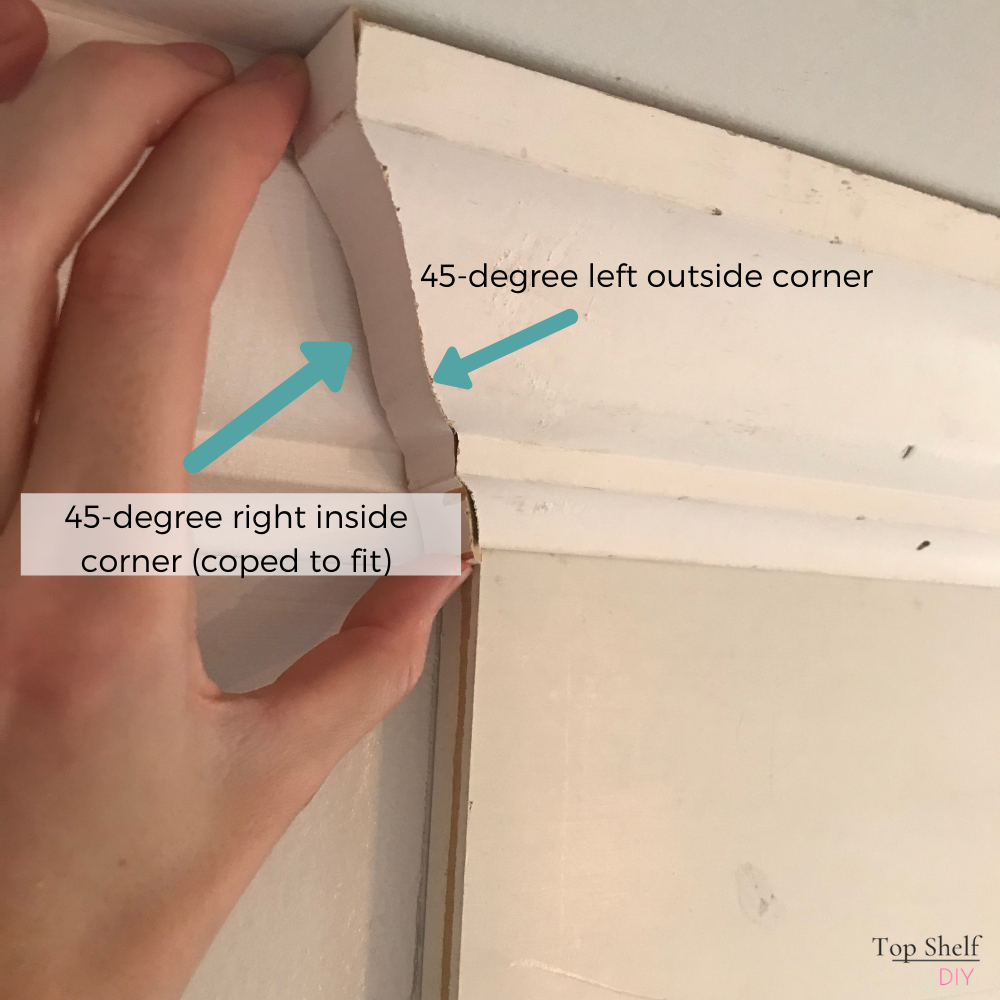
Here's what the end return should look like -- photo is from my Interior Doorway Trim Upgrade. You would add the same little piece used here, but instead of cutting a 45-degree right inside corner you'd cut the left side at 90 degrees to be flush with the wall.
5. Inadequate Joint Support
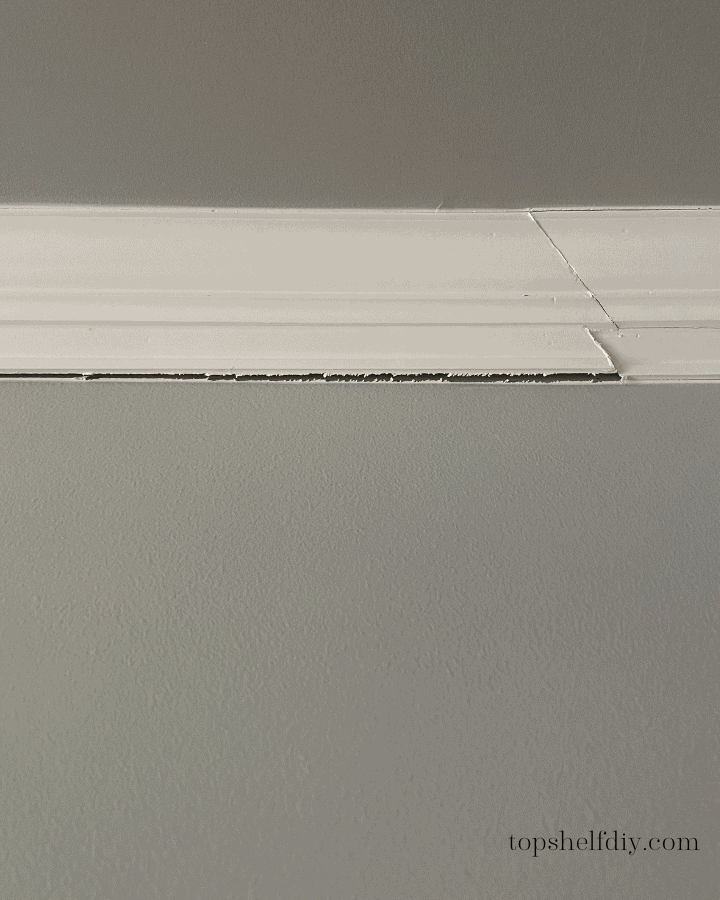
Another photo contribution from my anonymous family member. This crown looked beautiful when it was initially installed but unfortunately succumbed to joint separation caused by temperature fluctuations.
Most crown molding applications benefit from the addition of backer board: a piece of 2x trim beveled along one end at the same angle as your crown. A 1/4" gap is left between the backer board and crown to leave room for any adjustments.
The backer board is secured to wall studs with interior drywall screws, and then your crown has a direct surface to be nailed into.
According to finish carpenter Ken O'Brien from The Joy of Moldings, even crown with a backer board will succumb to cracking. Multiple layers of crown can withstand the force of temperature changes without cracking at the seams, which is why he only installs 3-piece crown molding.
It's much easier to criticize from afar than it is to get everything right the first time.
I'm far from perfect.
I've fudged many, many crown molding installations. I've used massive loads of caulk (sometimes even wadded paper towels) to cover up mistakes.
Every mistake has made me appreciate the road I'm on and the craftsmanship of professional-looking crown. I simply love the look of layered crown and I'll defend my love of beefy crown to the death!
Speaking of older homes, stay tuned as I delve into different crown molding period styles in my next Crown Molding 101 series post. And of course, an eventual install tutorial as well.
Cheers,
Erin



This is such an informative article. We have same crown molding mistakes as your anonymous relative🙈 Haha I aaaalmost got excited to do crown molding in our house, but I think I’ll wait 😂
Thanks Friend! Just call me when you're ready!
My late 70’s house has an issue called “seasonal truss uplift,” (google it) where the prefabricated roof trusses actually lift the ceiling drywall up from the wall drywall, due to seasonal temperature change. This tears the joint tape and makes a gap in the winter that’s as much as 1/2” in some places. Mostly on walls closest to center of house. This isn’t an issue with conventional “stick-framed” houses—where individual boards are cut and nailed in place for ceiling joists, rafters, and bracing.
The “professional” solutions to this often involve great expense without complete elimination of the problem.
My solution has been to fasten a somewhat modest crown molding to the ceiling ONLY. And using screws not nails, into ceiling joists, with anchors in the ceiling drywall where joists aren’t available in the right spots.
Thus, the crown moves up and down with the ceiling, sliding up and down on the top of the wall, showing no gaps. So the issue is not cured, but it is HIDDEN!
It’s been a long and laborious process—doing it all myself—in conjunction with a complete interior renovation.
But the results very much worth it!
Hi Erin,
Nice article and I agree with you about coped inside corners.
I also agree that the inside corner block in your photo looks like a chair leg. HOWEVER, there are corner blocks that have the cornice trim on the bottom, mitred so that it brings the bottom of the block to a nice point AND the pointy part fits snug into the wall so it makes a nice return. For people who have trouble with inside corners, this is a lovely way to hande that problem. I've also found that with small cornice trim, a corner block can dress up a room just by adding a bit of extra decor without looking gawdy or out-of-place.
Regarding the backer board, I simply cut a 2x4 into triangles and fasten the triangles every 12 - 16 inches between the wall and ceiling using screws and construction glue. This allows me to install the crown molding using my nail gun and make the final adjustments in the corners when aligning the molding for a perfect fit.
Finally, for small crown molding, I simply use construction glue and skip the backer blocks because the glue will hold it along the top and bottom edges as the total weight of the molding is relatively light. But of course, glue only works if the walls are plasters or drywall with paint. It wouldn't work for walls with wood paneling or wallpaper.
In closing, thanks again for your nice article!