I love cheap nursery makeovers and my second son's room was no exception. This time, however, I had a little helper with me in the form of Big Brother Evan.
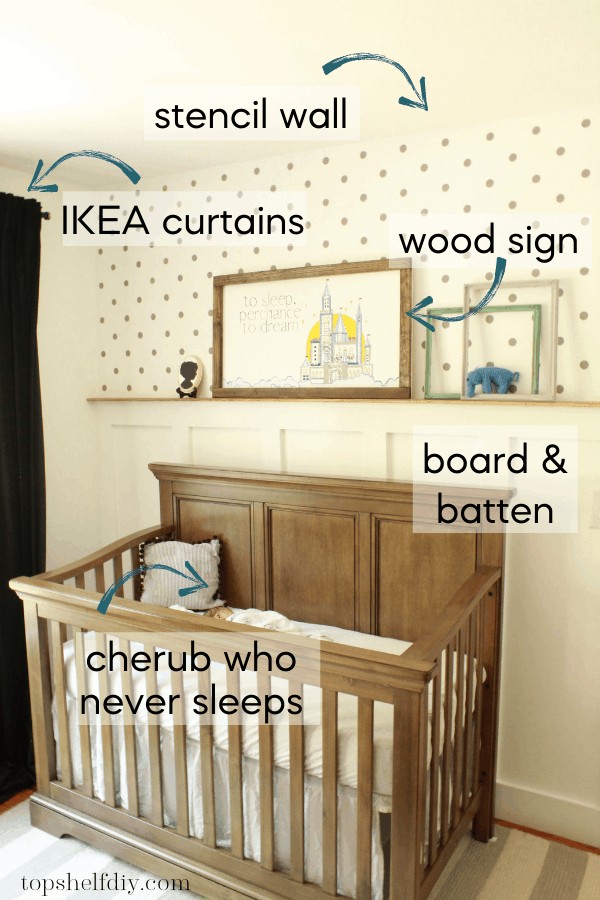
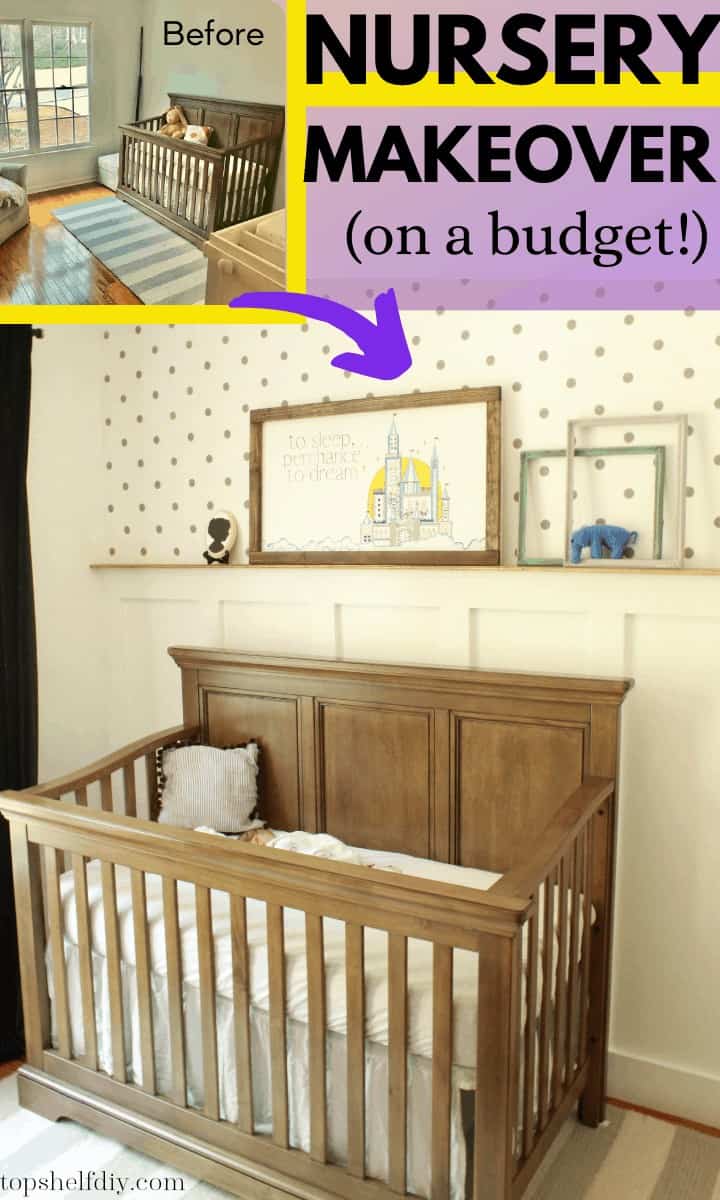
One feature wall and several coats of white paint later, here's how the room turned out.

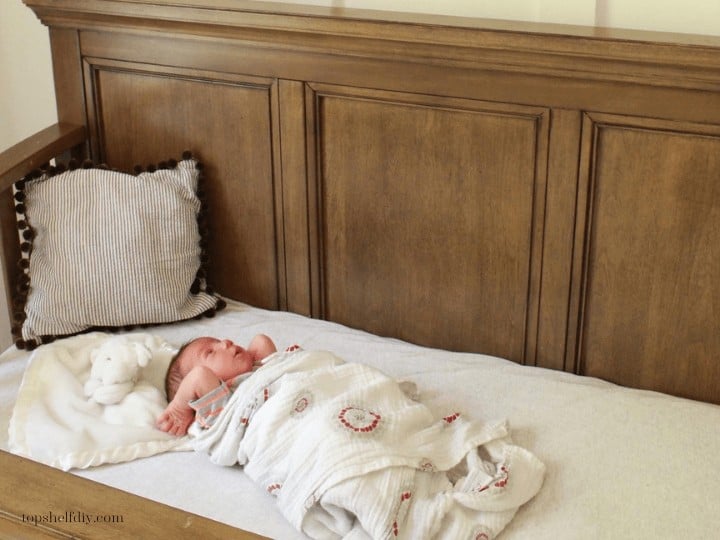
That's my little William in the photo, posing like the sweet little cherub he was.
Did I mention he's a 13 month-old toddler now?
This post is just a tad overdue!
The room glamour shots were taken after his birth for one BIG reason – that little stinker came five weeks early! I was right in the middle of doing polka-dot stamps when my amniotic fluid bag sprung a leak. At first I was in denial, because I had already devoted the day to stamping, but as the trickles continued there was no denying it – this guy was coming with or without polka-dots!
I hadn't packed a hospital bag yet, but I DID have paint and stencil supplies ready to go 😂
Here's what the room looked like before any work was completed.
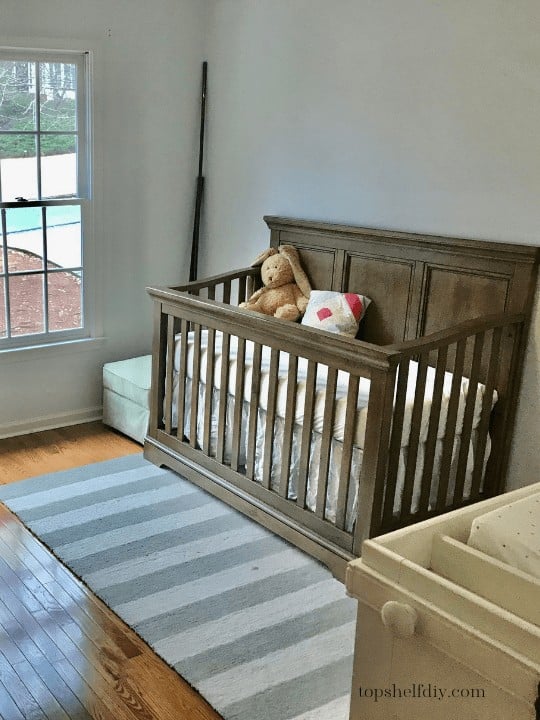
Basically this room can be broken down into five DIY projects:
Jump to:
1. Board and Batten Install
I love board and batten because it adds immediate architectural interest without a lot of upfront cost. I used inexpensive 1x4 pine for the stiles and rails.
I ripped out the existing baseboard and replaced it by 1x6 pine. A Ryobi multi-tool is great for when you only want to cut away parts of your baseboard without having to redo the entire room.
Total cost of this project: $75-100. This is a rough estimate because I wasn't keeping track at the time. I already had the paint, brad nails, caulk, wood glue, and stain.
The ledge is made from 1x2 pine and a scrap piece of 1/2" plywood stained in Minwax Special Walnut.
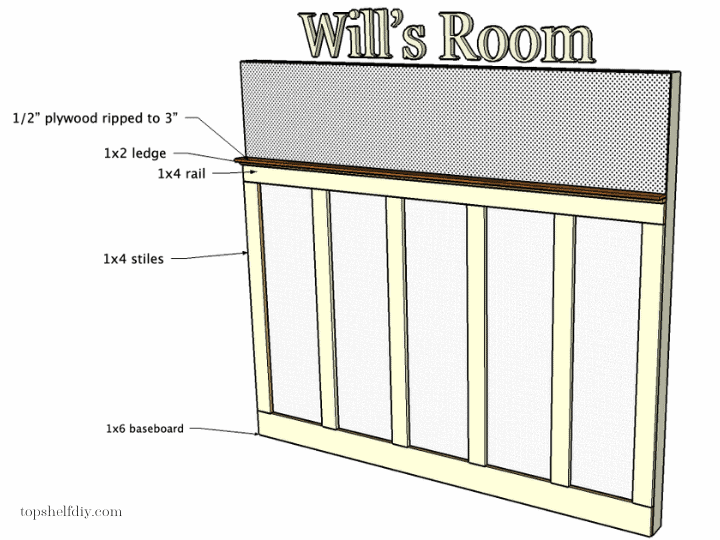
For a full board and batten tutorial you can see how I installed a lovely hook wall in our basement bathroom here.
2. Repainting the entire room white
This one is pretty self explanatory. I painted every wall in the room an ultra bright white with a satin finish. Honestly as long as you pick a low VOC paint and keep the windows open there's no reason why you can't do a project like this while 8 months pregnant.
I certainly didn't let it stop me!
Total cost of this paint job: $0. I already had the paint and supplies left over from a different project. It took one gallon for two coats of coverage.
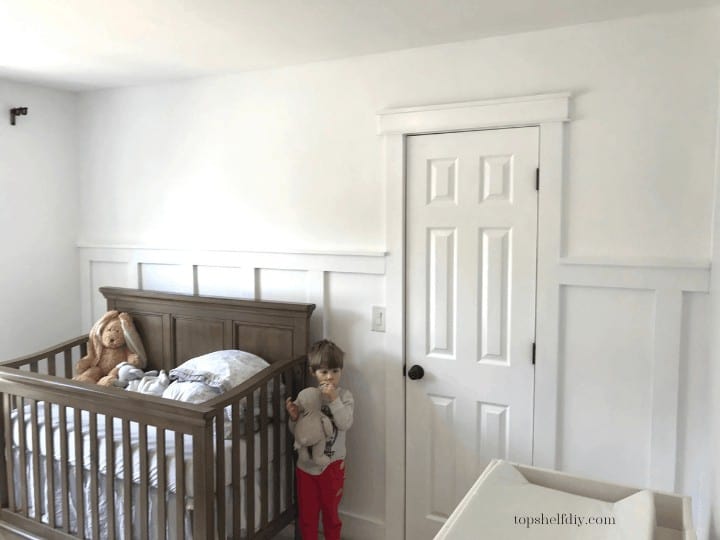
White makes any room feel instantly larger, and paint is almost always the cheapest way to transform a space.
3. Adding custom-length blackout curtains
The nursery definitely needed blackout curtains now that the room was super bright. I fell in love with these green velvet curtains and sheers from IKEA.
Total cost for the curtains: $80.
You can see how I hemmed the curtains to length without a sewing machine (while heavily pregnant) in this video:
Here are two more fun Ikea Curtain Tutorials:
How to Add Pom-Pom Trim to Your Ikea Curtains
Budget-Friendly Ikea Blackout Curtains
4. Adding a polka dot stencil wall
This was a fun project and it turned out way better than I expected. The best part is that I can just paint over it when Will outgrows the look. Here are few tips for attempting your first stencil wall:
- Keep a level handy and refer to it often when lining up your pieces.
- Go slowly!
- Sponges work best for applying just enough paint without bleeding.
- Keep a touchup sponge handy for touchups.
- Rinse and dry off your entire stencil after several uses to prevent bleeding marks.
If you like polka dots you can buy the same stencil I used here!
Total cost of adding a stencil wall: ~$20 ($12 stencil + several paint samples)

5. Building and painting a custom wood sign
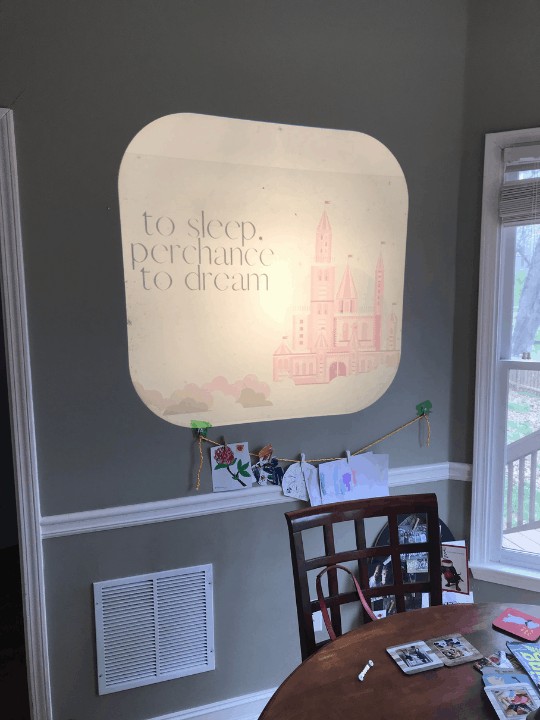
One of my coworkers let me borrow his old school projector for free! Talk about a deal!
To start I simply cut a piece of 1/4" plywood with my table saw, then added 1x2 pine around the edges. I stained the pine in Minwax Dark Walnut and painted the plywood white. I assembled the frame with wood glue and brad nails.
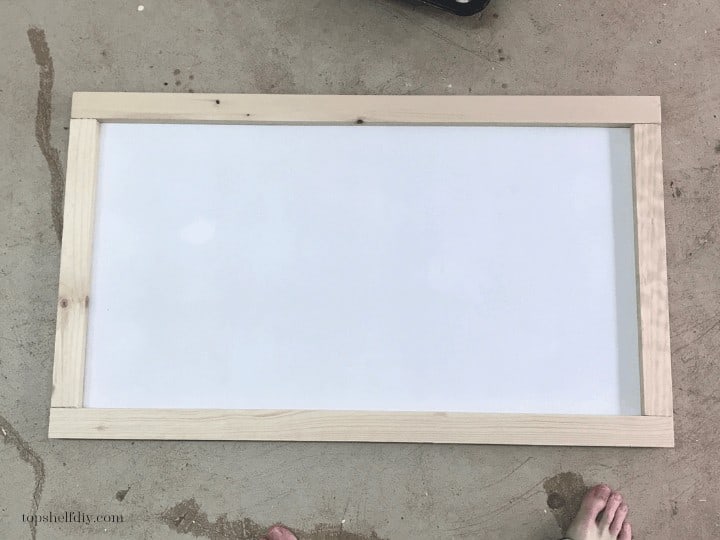
Once my wood sign was done I created an image in Canva and printed it out on transparency paper. The image looked like this projected on the wall.
And voila! Here's the completed project once I traced the image and painted it with acrylic paint.
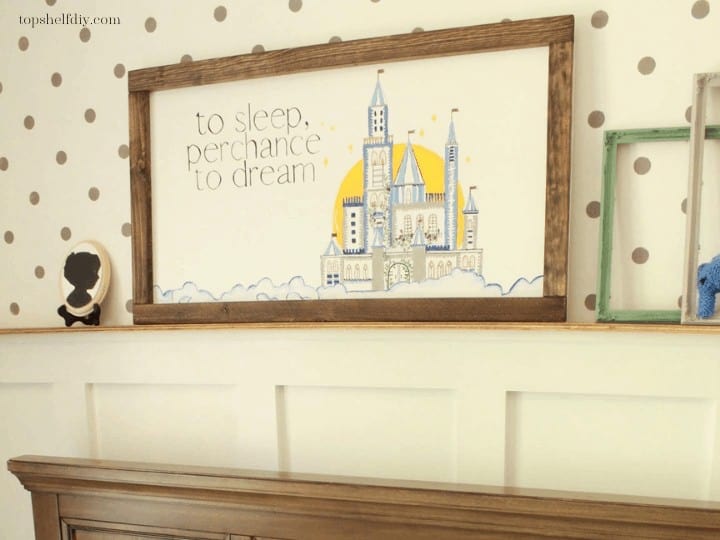
I'm pretty sure I jinxed myself using this "To sleep perchance to dream" Shakespeare quote because Will had reflux and wasn't consistently sleeping through the night until he was about a year old. Poor little bud.
If you can't get a hold of an old school projector you can buy an EZ projector on Amazon or trace your design using graphite tracing paper.
Total cost to create this project: $5. The only thing I needed to buy was the transparency paper. I just used scrap wood for the sign!
Here are a few other ways we saved money on the nursery:
- We reused pretty much all the baby furniture from our older son's nursery.
- I made a slipcover for the rocker instead of buying a new one.
- We inherited a free changing table from our neighbor. Always check with neighbors for free goods!
That's it for this room transformation! Overall I probably spent about $250 on the room. I'm pretty happy with that.
If you're looking for more cheap nursery transformation ideas I've got about 50 more in 50+ Ways to Decorate a Nursery on a Budget. I definitely went a little overboard in my first son's nursery! Crown molding, paint, window trim, the works.
Cheers,
Erin


You have a table saw! Nice!