So, you'd like to take a stab at concrete.
You've come to the right place.
If I had to establish a relationship status with concrete right now, I'd say "it's complicated."
Pretty much everything about cement is stubborn and complicated – wait – is it concrete, or cement? It's actually both. Concrete contains cement as well as gravel for bonding purposes. I'll use the terms interchangeably in this post.
See what I mean?
In case you're catching up, cement is Material #5 of the 2020 Christmas Craft Material Challenge. You can read about the other materials in the series here. Honestly, I'm not sure I ever want to work with cement again. It's the kind of project that lures you in by sheer stubbornness to get it right.
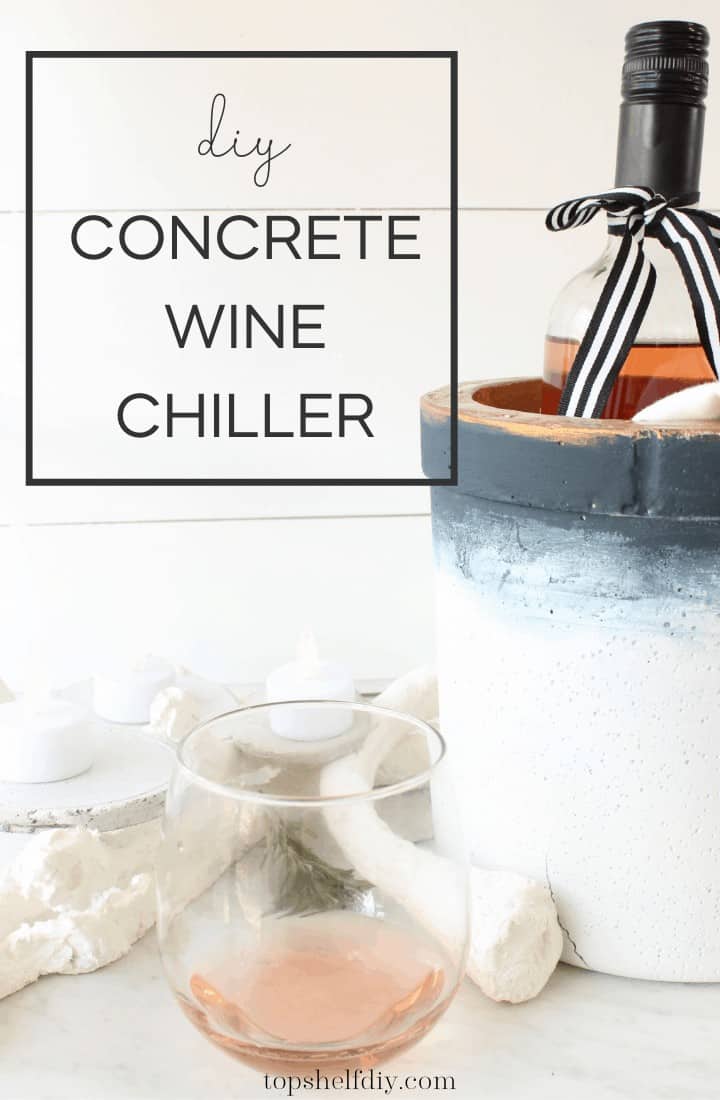
To get this project 100% right I'd need to experiment with different kinds of concrete and different pouring forms, but alas, I had to produce something serviceable within a week's time.
My ice buckets are serviceable. I'll leave it at that.
No project is a waste of time. That's my motto, anyway.
In the spirit of transparency, I'll disclose my mistakes during these cement experiments and how to best avoid them.
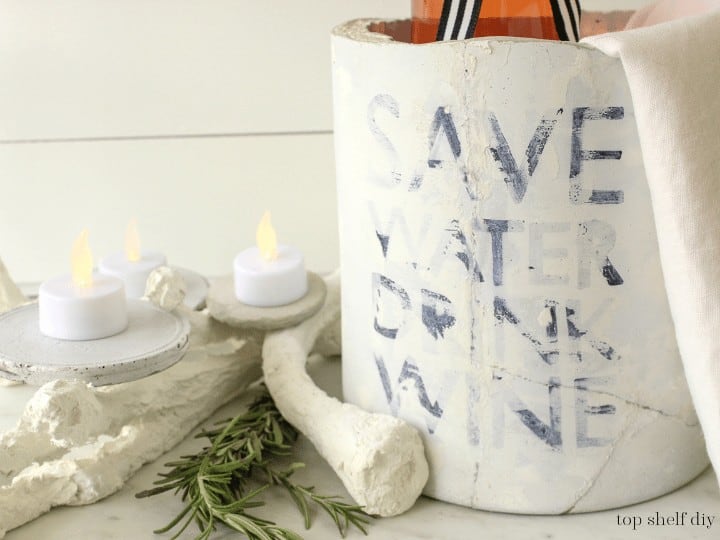
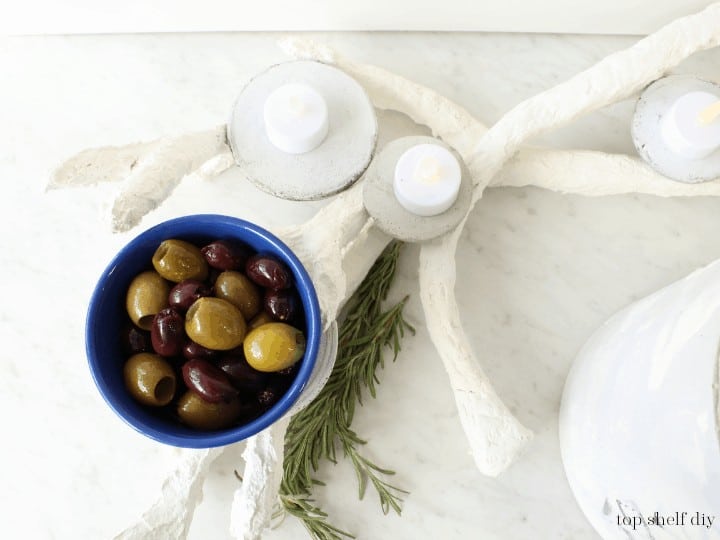
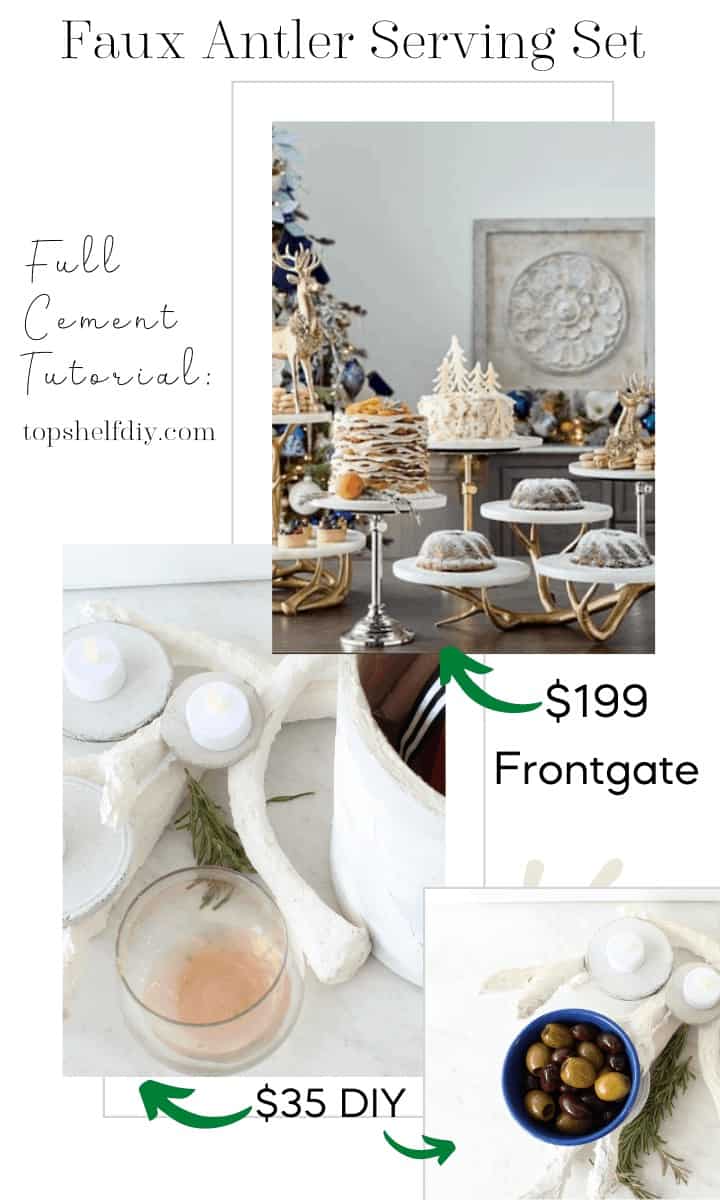
In addition to wine chiller buckets, I made little circular concrete plates designed to sit on top of faux deer antlers. I love the look of the antlers even if mine aren't nearly as fancy as these. To make the antlers, simply wrap twigs in clay paper mache paste. The mixture is a blend of three ingredients: drywall compound, flour, and toilet paper.
To make your plates, pour concrete into any plastic lid you have lying around the house. Let dry overnight, and voila!
Preparation is key
When it comes to cement, planning is everything. The biggest pain points I experienced were as follows:
- what kind of cement to use
- making your form
- how to waterproof your cement
- how to prevent your cement from cracking (and crumbling into a million little pieces)
First things first: choosing your concrete
I wanted a white-colored cement for this project. White Portland Cement (or the color mix) would have been ideal, but it was out of stock at all the big box stores near me.
The employee who helped me at Home Depot recommended Rapid Set Cement All. Unfortunately, it does not dry white. Also, once dry it does not willingly separate from glass or plastic molds even when pre-treated with Pam non-stick spray. Should you choose Rapid Set Cement All, be prepared to demolish your molds after using them.
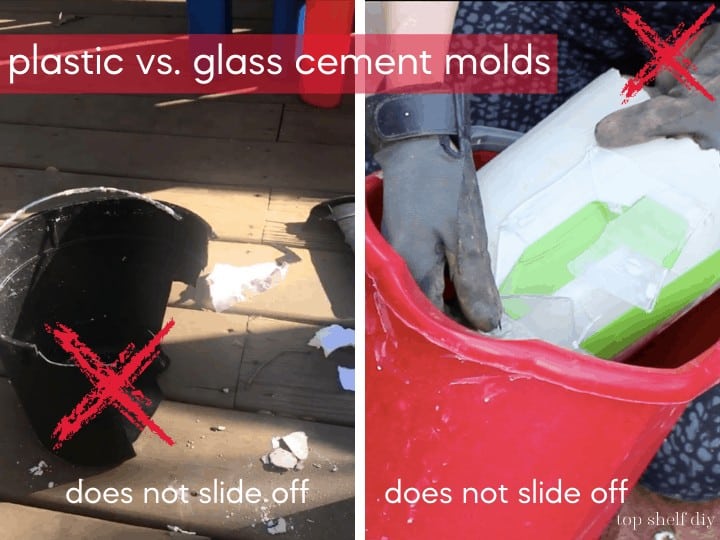
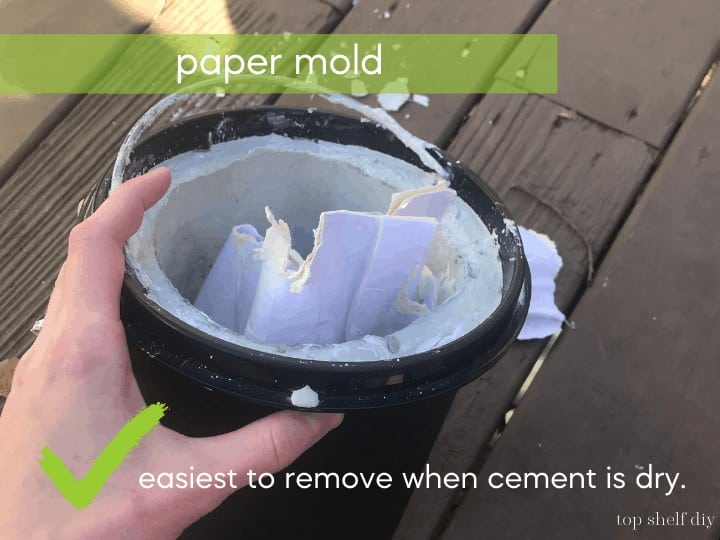
Moral of the story: don't use nice things to make your molds. Paper is your best bet. BUT, if you want a cheap mold, and you don't mind donating a plastic mold to science, use the inner black core of an IKEA STRAPATS 1-gallon garbage can (pictured above).
"Rapid Set" is accurately named. This stuff dries super fast! Within the first few minutes, the surface began to harden. If there's anything you want to set in there, such as rope handles, put them in immediately!
Many DIY'ers use Quikrete for cement projects. That's what I would use next time. It comes in several different formularies depending on your PSI (i.e. pounds per square inch) requirements. An all-purpose formulary will be adequate for this type of project.
If you're planning on making wine buckets in bulk, I suggest going the route of making your own cement molds from silicone. You can order your supplies online from places such as Hobby Silicone. Just be warned that buying silicone in bulk can get expensive!
Making your cement form
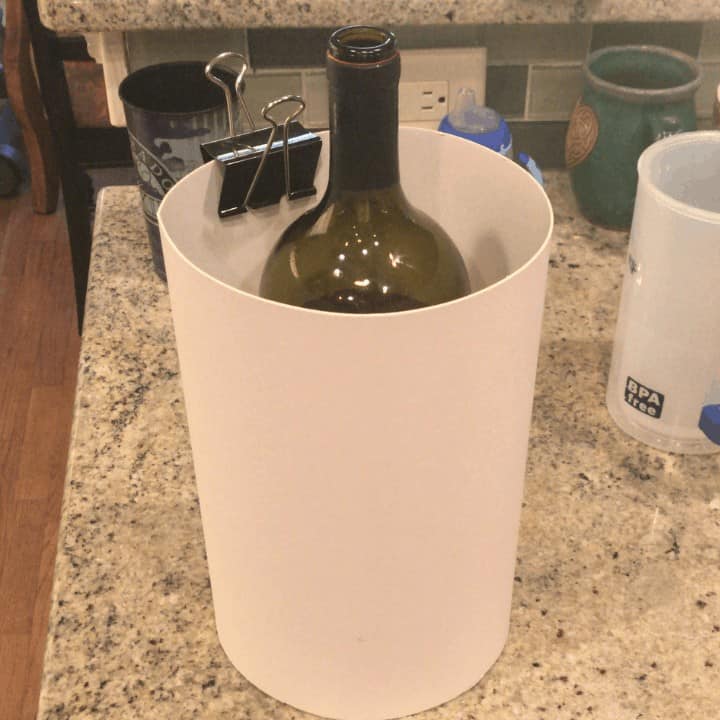
If you plan to make your own mold, paper molds are your best bet. To make them, you'll want a small cylinder resting inside of a large cylinder. The smaller cylinder will need to be sealed off on the bottom to prevent cement from entering your negative space. I placed a piece of styrofoam in the bottom of my inner form, then sealed it with duct tape.
Poster board is inexpensive and sturdy enough to withstand the weight of wet cement. It was a lot of trial and error to get the size and diameter I wanted.
How to waterproof your cement
Your bucket will need to be waterproof since we're filling it with ice. I was a little leery about this part at first, but so far no leaks!
Both buckets cracked in a few areas while drying. To keep things watertight, I applied GE's Kitchen and Bath Silicone caulk to cracks inside the bucket. It's 100% waterproof and paintable.

Lastly, I sprayed both buckets with three coats of Rust-oleum High Performance Enamel. It's ideal for protecting metal, wood, concrete and masonry surfaces from abrasion. Note this product comes in a variety of colors. Spray your projects in a well-ventilated area and always wear a mask!
How to prevent your cement from cracking
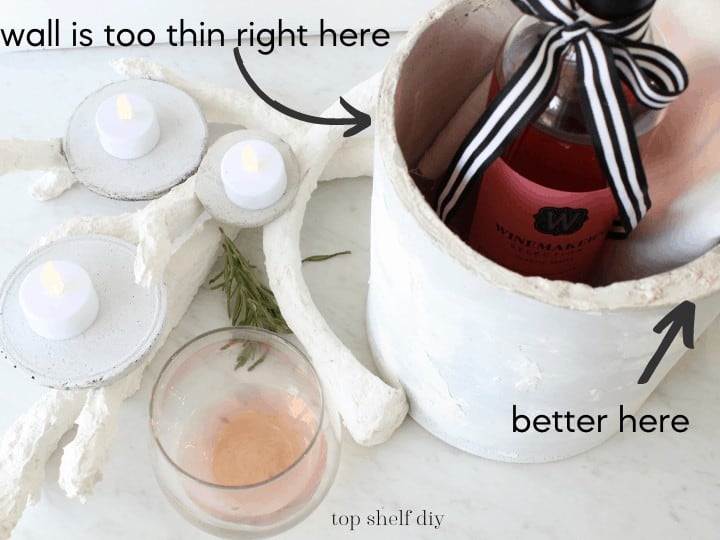
Ideally, you'll want the walls of your bucket to be at least 2" thick to ensure they will be structurally sound. My second bucket had very thin walls; a large piece crumbled away while I was sanding the rim.
I was able to repair the wall with E6000, but the crack is still noticeable. So, expect your bucket will have thick walls and be a bit on the heavier side.
Making Your Concrete Wine Chiller Bucket
Now for the fun part! Here are the supplies you'll need to make your bucket.
*This list includes affiliate links for your convenience. For more, see my disclosures.
- flexible poster board
- styrofoam round
- duct tape
- Pam cooking spray
- an all-purpose concrete, such as Quikrete
- a mixing bucket
- a drill + mixer drill bit attachment
- orbital sander
- 60-grit sanding paper
- Rust-oleum Professional High Performance Enamel Spray
- GE Kitchen and Bath Silicone Caulk
- Joint compound (if you want a German schmear effect on the outside)
For the outside decoration, any of the following will work:
- acrylic paint
- spray paint
- graphite tracing paper for word design + black sharpie
- gilding wax paste (I used Annie Sloan wax in warm gold, but rub n' buff should work too)
Assembly
Start by making your molds out of poster board. One mold should fit inside the other with about a two inch gap in between. Cut your styrofoam round to fit the diameter of your inner mold. Seal in place with duct tape.
Add a weight to the inside of your mold so that it stays in place. Spray the outsides of your molds with cooking spray.
Mix your concrete and water. Aim for pancake batter consistency. Add small amounts of water at a time, following a 1:3 ratio of water to cement mix.
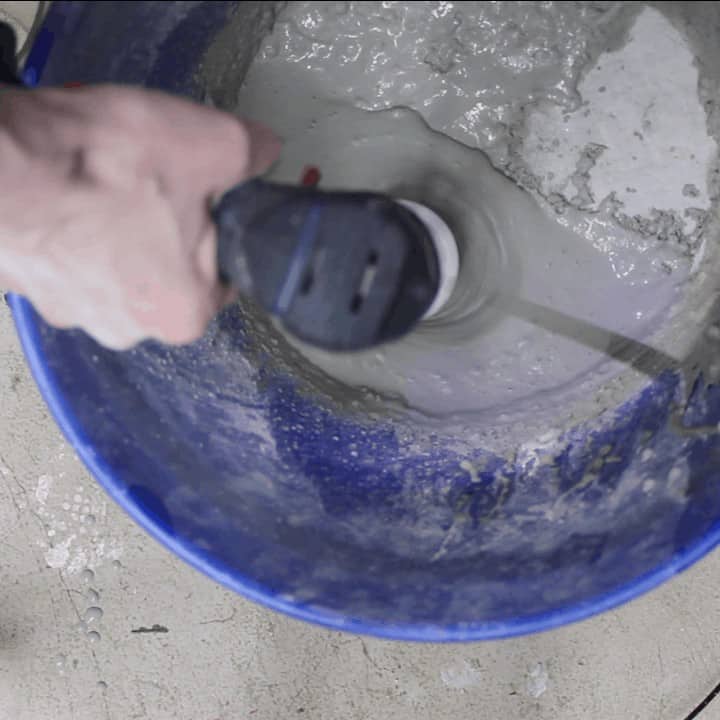
Use your mixer drill bit to stir your cement. Pour into your mold. Let dry overnight.
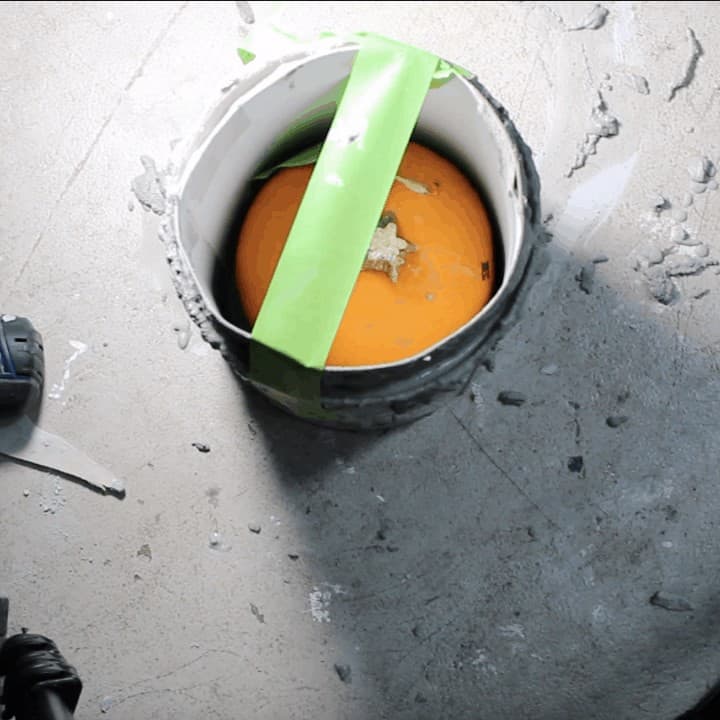
The next day, peel off your paper molds. Use your orbital sander and 60-grit sandpaper to sand the rim and eliminate any sharp edges.
Waterproof your ice bucket by sealing any cracks with silicone caulk. Once dry, spray everything with enamel spray in a high-ventilation area.
Now add your decorative details! I added words to one of my buckets using the same tracing paper process that I use for chalkboard designs. Then I added joint compound to give it a schmear effect.
For my other bucket, I used a combination of latex paint, gold spray paint, and gilding wax (just along the rim).
I recommend pouring in your ice ahead of time to test for any leaks. Seal any remaining leaks with silicone caulk, and you should be all set.

Let me know if you attempt this project - I love how mine turned out and I think they'd make great handmade gifts!
For more crafts in the 2020 Christmas Craft Challenge, check out the lineup below!
Week 1: Clay
Week 2: Macramé
Week 3: Felt
Week 4: Cork
Week 5: Cement
Week 6: Chalkboard
Cheers,
Erin



Leave a Reply