Does your household suffer from Reluctant Husband Syndrome?
It's a medical condition with no known cure and a plague to DIY housewives everywhere. I love my husband dearly, but he hates change.
If he can't visualize what I'm describing, he prefers to leave things the way they are. I get it, I really do. But it sure makes my life difficult.
Me, on the other hand – once I get a good idea, I can't stop thinking about how much better things would look.
Then, by degrees, I have to slowly – slowwwwwly – try to get my husband on board through various subtle (and not-so-subtle) methods. Can you relate???
Unluckily for Ken, I'm persistent. Like a honey badger.
If you've been following me on Instagram, you probably saw that I finally started renovating our fireplace. Eventually, I'd like to mount our television and remove the huge/ugly entertainment center taking up an entire wall of our living room.
Update: I did mount the television and rebuild the mantel to have a faux cast stone appearance!
Every day brings me a little bit closer to removing this thing – baby steps.

My husband isn't ready to ditch this thing...yet.
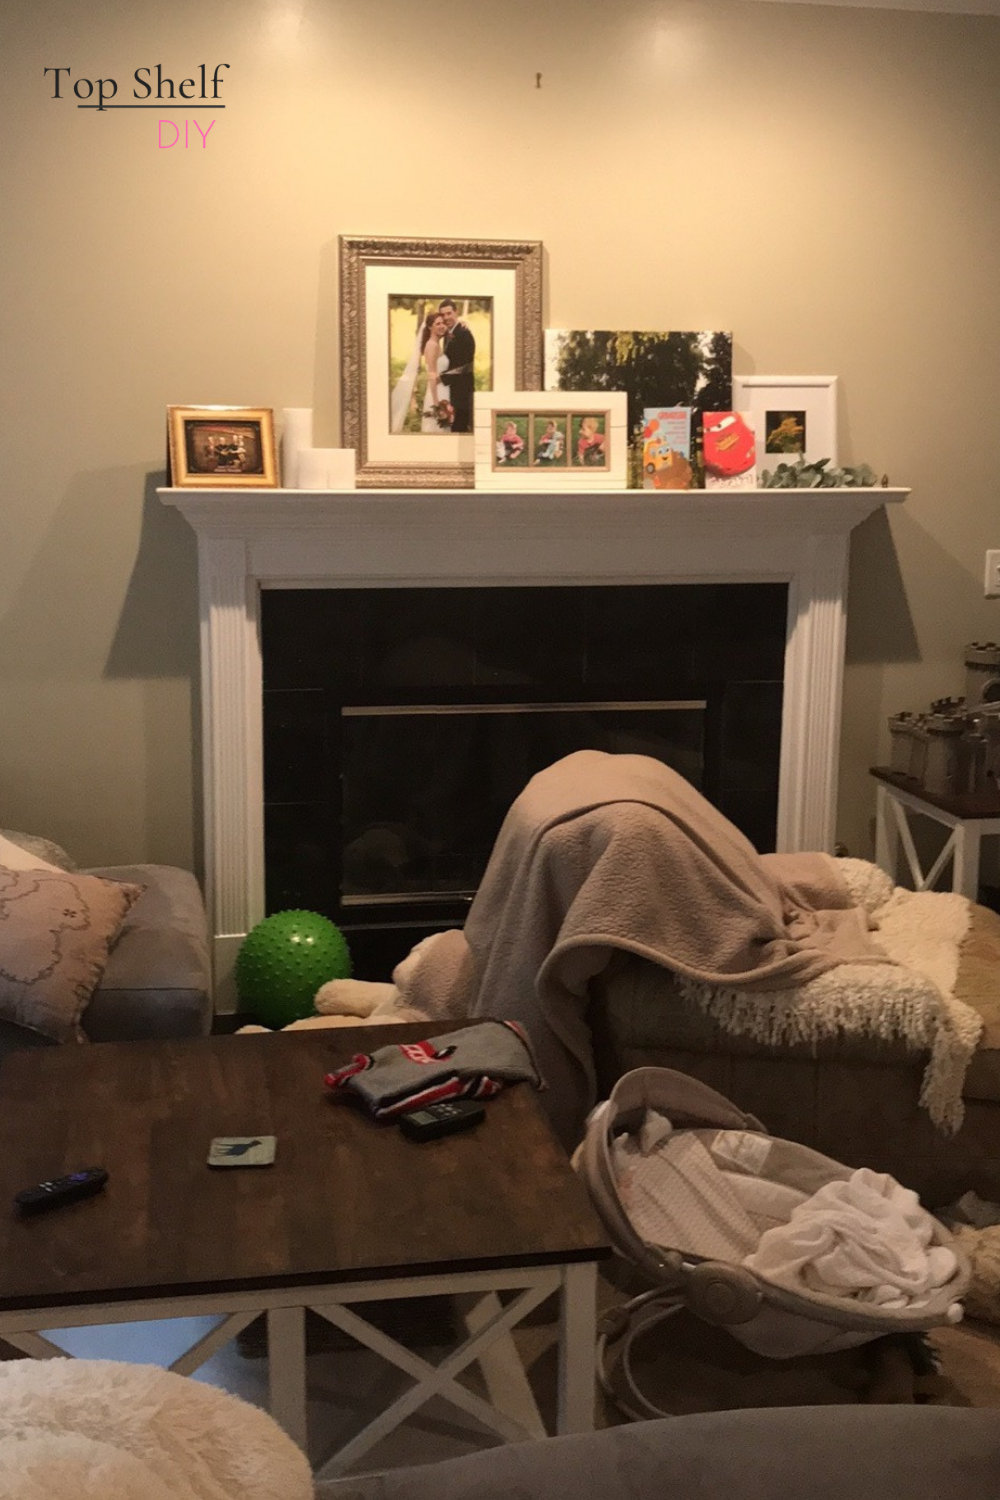
To recap, this is what our fireplace looked like a month ago.
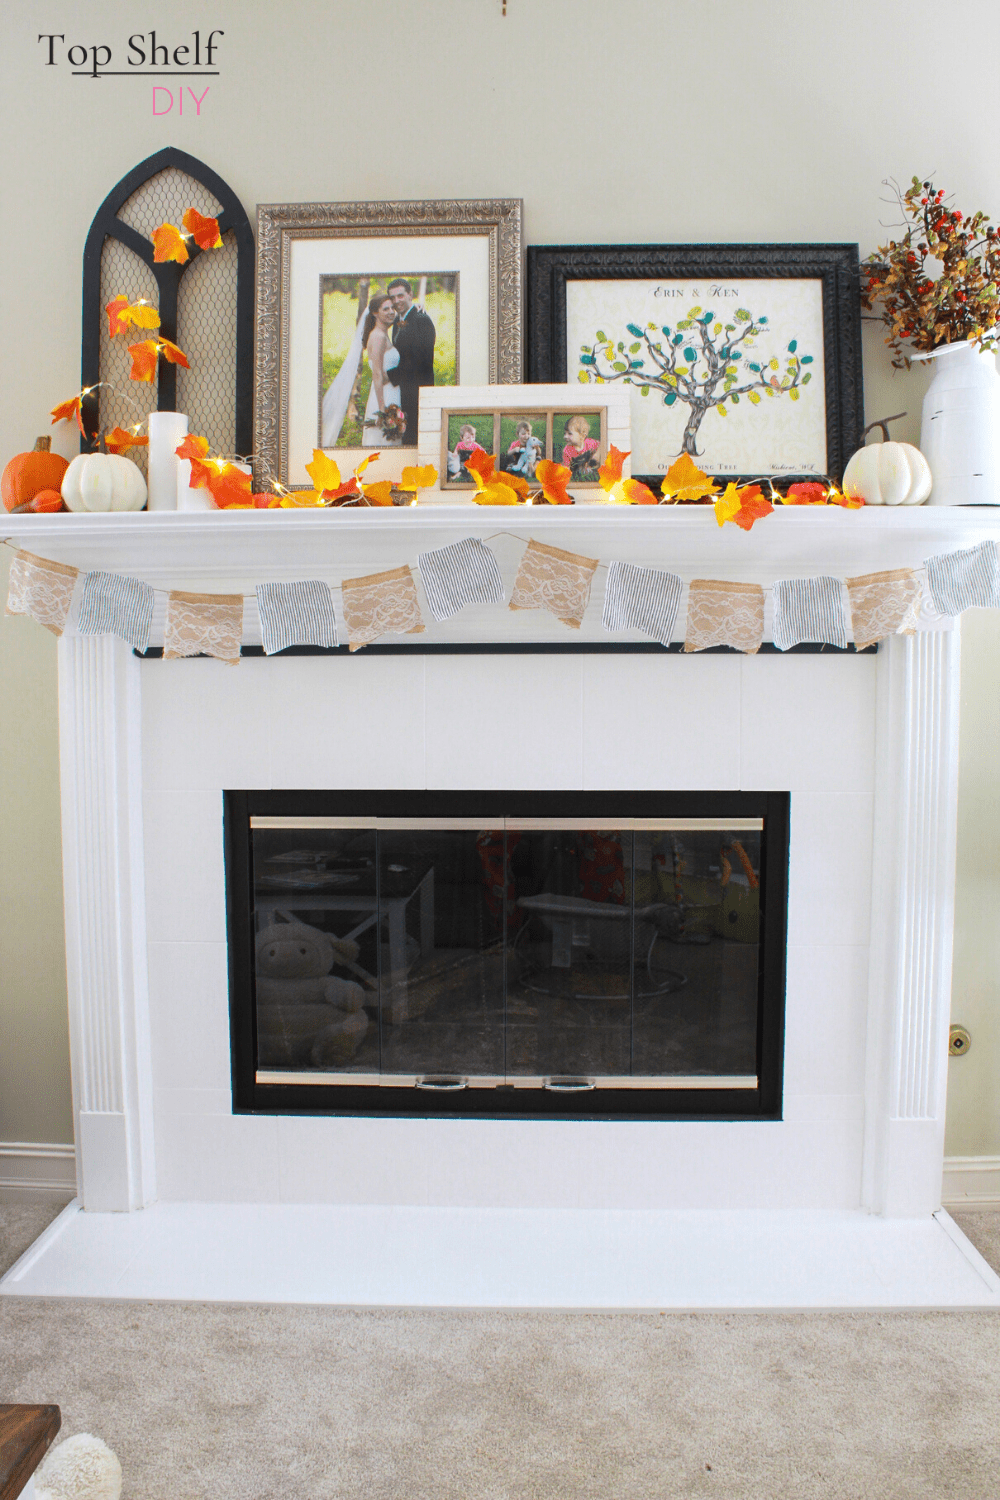
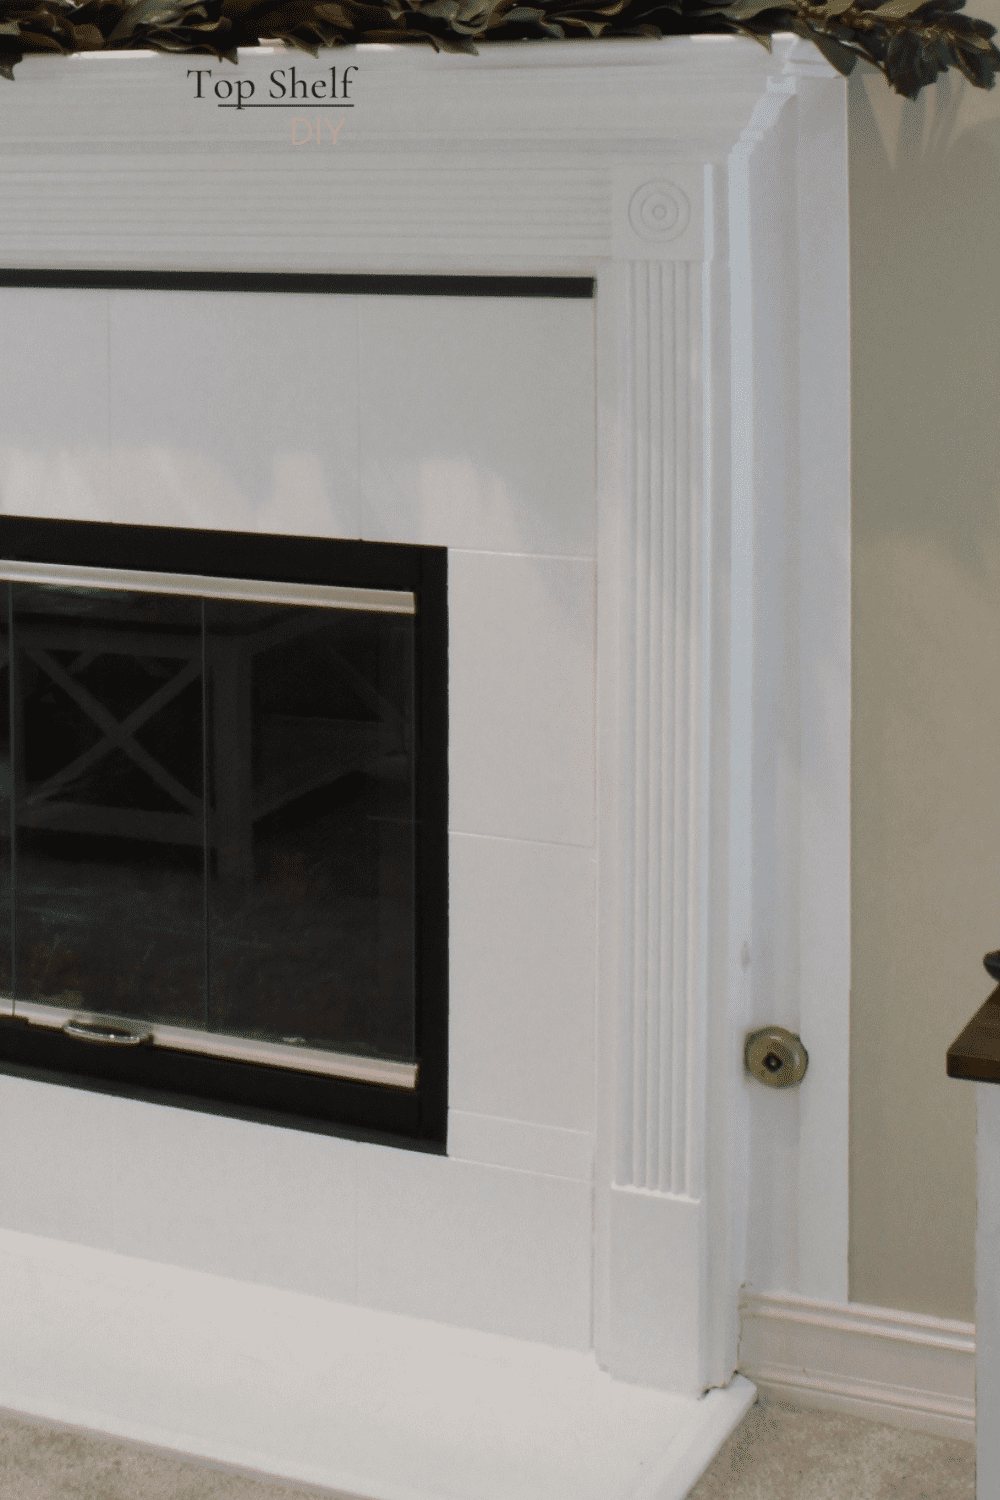
Two weeks ago I painted the 90's marble surround and gave everything a fresh look. Just getting permission to paint the fireplace was a huge milestone for me.
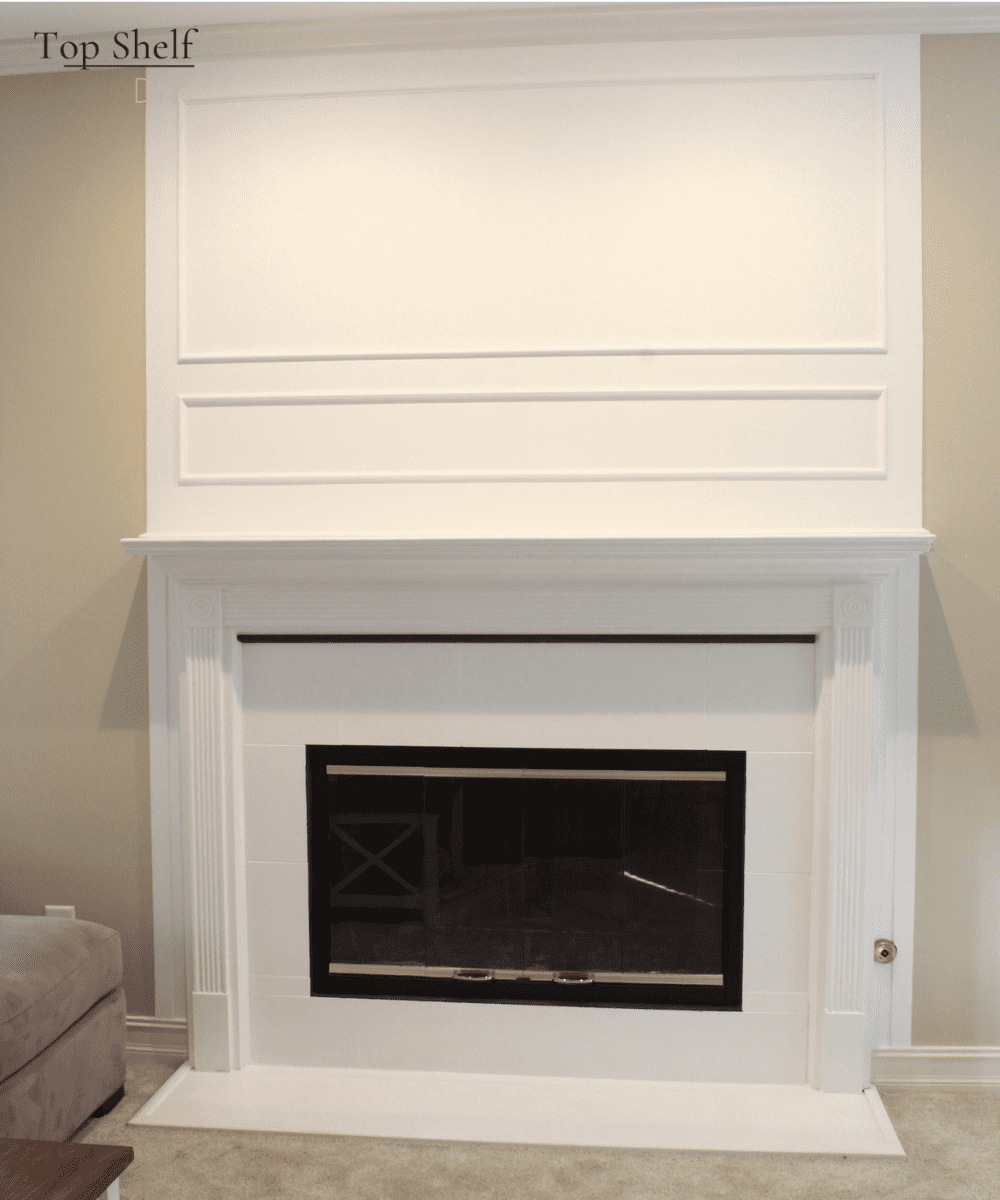
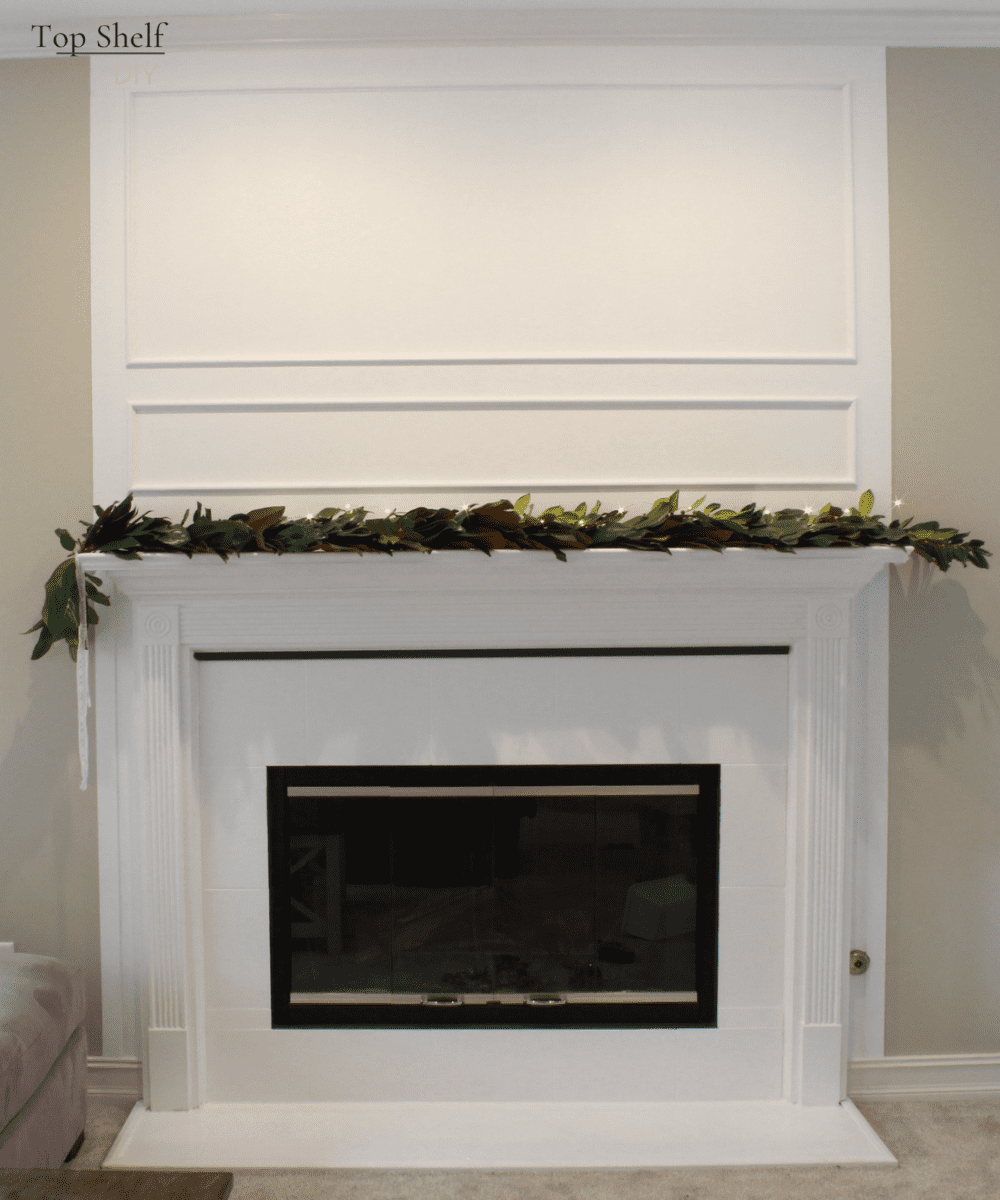
This week, I added some decorative ogee trim, birch plywood ripped down to size, and a coat of white paint. I'm so in love!
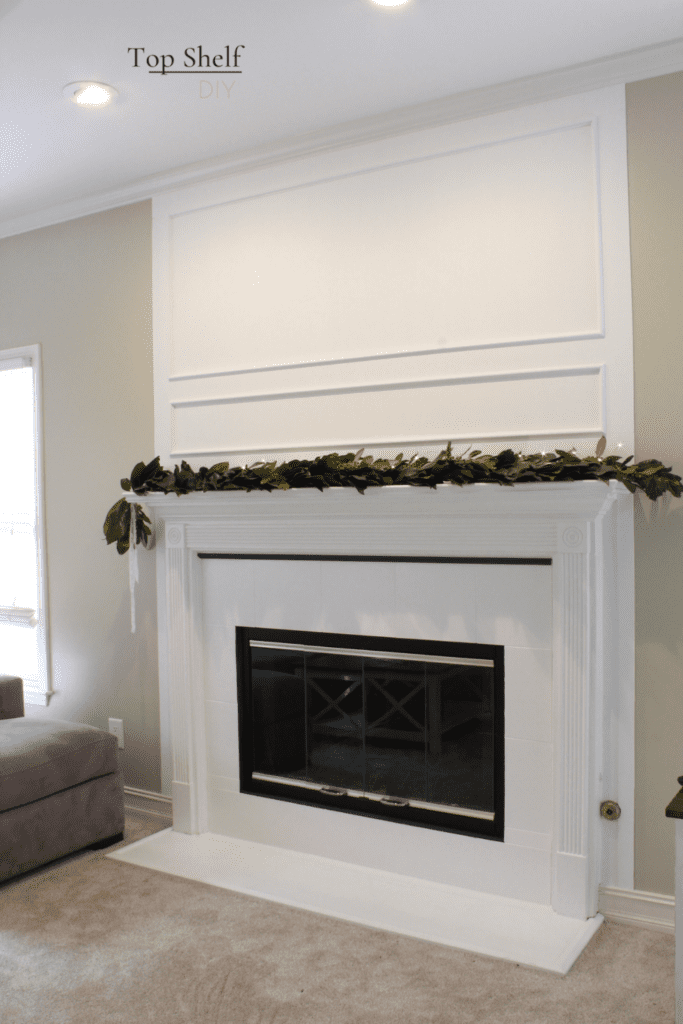
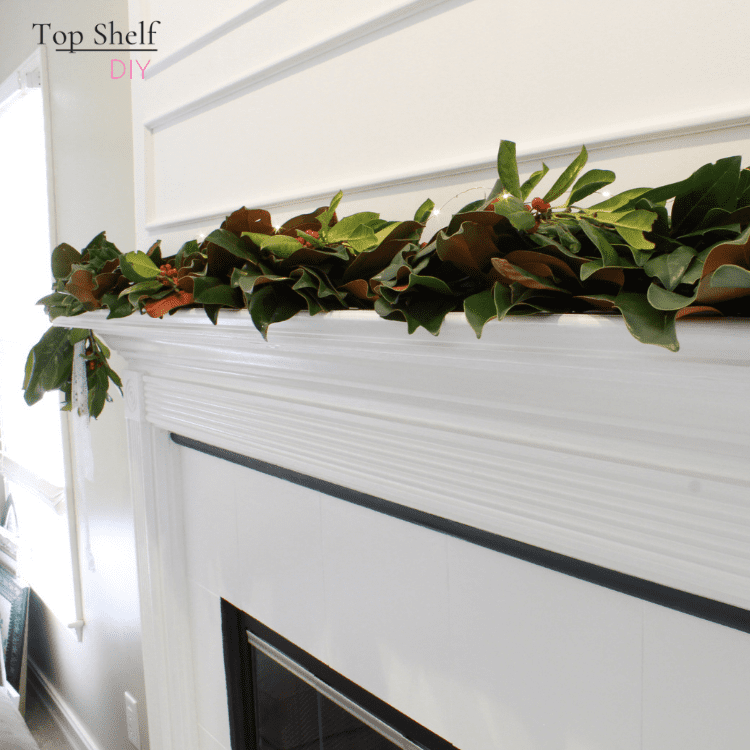
I've already started dressing the mantel up for the holidays. I live in Georgia, where there is an abundant supply of magnolia foliage. Yesterday I made this gorgeous garland by wrapping leaves and branches around a rope using floral wire.
Here's a closeup of the garland.
Okay, enough glamour shots. Let's get down to business.
Tools Needed for Your Farmhouse Fireplace Trim
*Note this list includes affiliate links, which means I may receive a very small commission at no additional cost to you should you purchase any of the items recommended below. This helps me cover the costs of this blog! For more, see my disclosures.
Materials for a Smooth Finish
- Liquid Nails adhesive (only IF this is a permanent solution)
- 1 1/4" brad nails
- Wood filler
- 120-grit sanding wedge
- Caulk
- Latex Paint (I used Benjamin Moore's Chantilly Lace in an Eggshell finish)
- Paint brush
- 3/8" nap + small paint roller
- 1/4" birch plywood
- 3/8" ogee trim
Adding Farmhouse Trim Above the Fireplace
Start by ripping your pieces of 1/4" plywood to form the framework of your overlay. If you know the exact dimensions, you can have someone at your local home center rip them for you; last I checked, this service was being suspended due to Covid restrictions.
This is where having a table saw comes in handy. In addition to the five pieces of plywood applied above the fireplace, I added two pieces along the side as well.
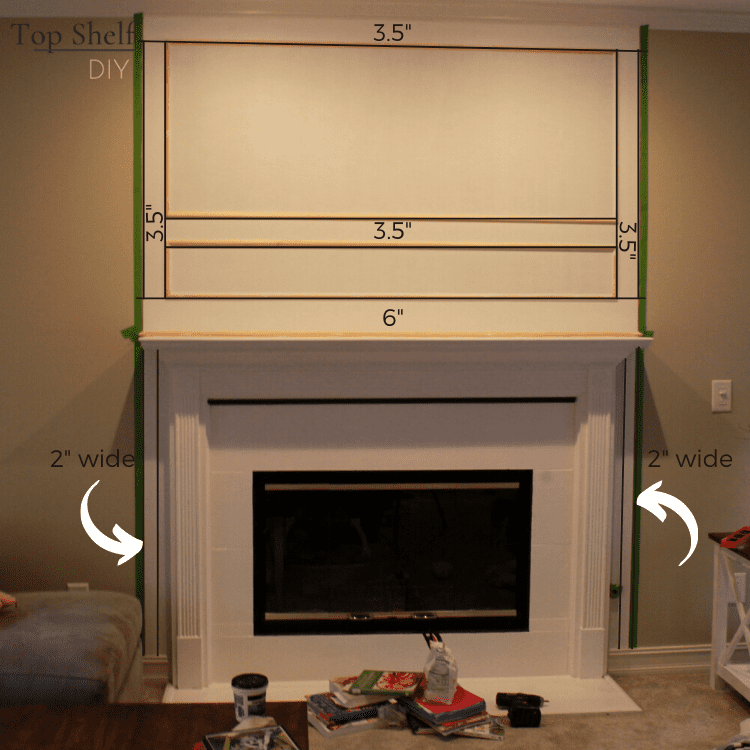
I opted not to use Liquid Nails on the back of the trim just in case it needs to be removed at a future date. The trim was secured to the wall using 1 1/4" brad nails. Mark the locations of your studs beforehand to limit the number of nails needed.
I pre-primed the trim beforehand.

Once all of the plywood trim was up, it was time to add my ogee trim. To do this, I simply cut all of my trim at 45 degree angles to form picture frame boxes.

Don't worry about the gaps where the mitered corners meet; once you apply a little wood filler and sand away with your sanding wedge, it will all flow together seamlessly.
I also applied a piece of trim where the first plywood strip meets the mantel. These corners were cut at an outside 45-degrees.
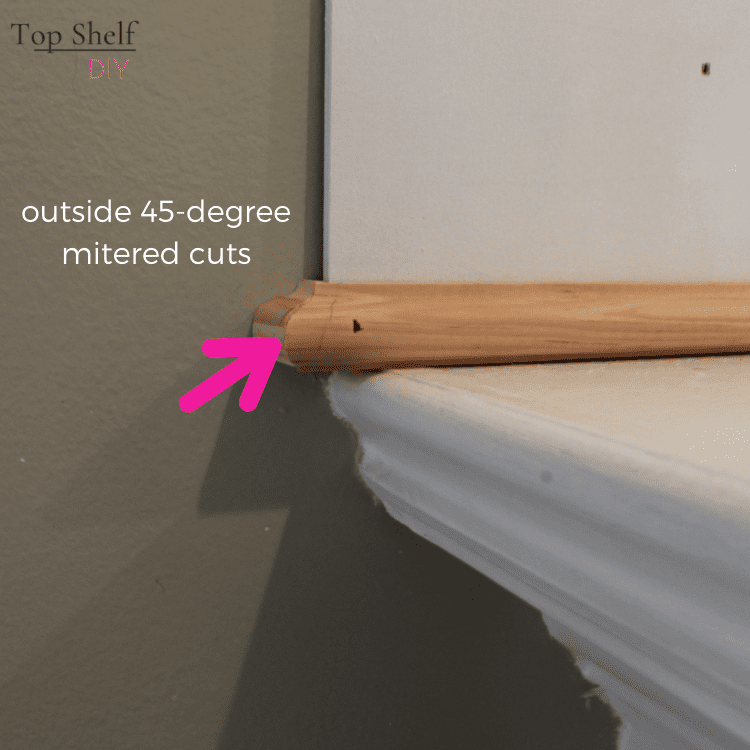
For a detailed guide on how to cut outside corners on a miter saw, follow my video tutorial at the beginning of this post.
As before, the ogee trim was nailed to the wall with 1 1/4" brad nails. All of the seams and nail holes were filled in with wood filler. Then I sanded everything with my 120-grit sanding wedge.
I gave everything one last coat of primer. Then it all received two coats of Benjamin Moore paint in Chantilly Lace.
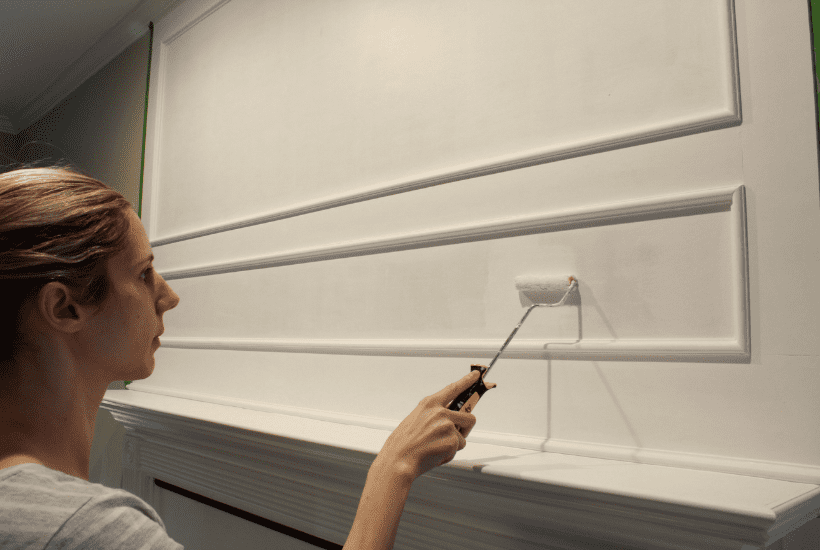
The space between the lower trim and the fireplace was simply painted white – no fancy footwork here. I did have to make a slight notch on the right side with my jigsaw to make room for the gas control.
And that's it! Did I mention that I spent a whopping $47 on this project? It pays to hold on to extra materials.
Can you start to envision where the TV would live? Or should I say, will live? As sneaky as I think I am, I'm pretty sure my husband sees right through it 😊
If you'd like to see how I completed the first part of this transformation while painting the marble surround white, you can see that here.
Now that I have a beautiful back drop to work with, I have so many fun mantel ideas in the works.
I'm excited to announce that I'll be partnering up with April from If Only April during the remaining weeks leading up to Christmas! Each week we'll be posting a project from a different craft medium (felt, chalkboard, etc).

Week 1: Christmas Crafts Using Clay
Week 2: Christmas Crafts Using Macrame
Stay tuned to see what we come up with!
Cheers,
Erin



Leave a Reply