The products in this post were provided by The Home Depot. This post includes affiliate links. All opinions and photography are my own. Thanks for supporting the brands that support this blog.
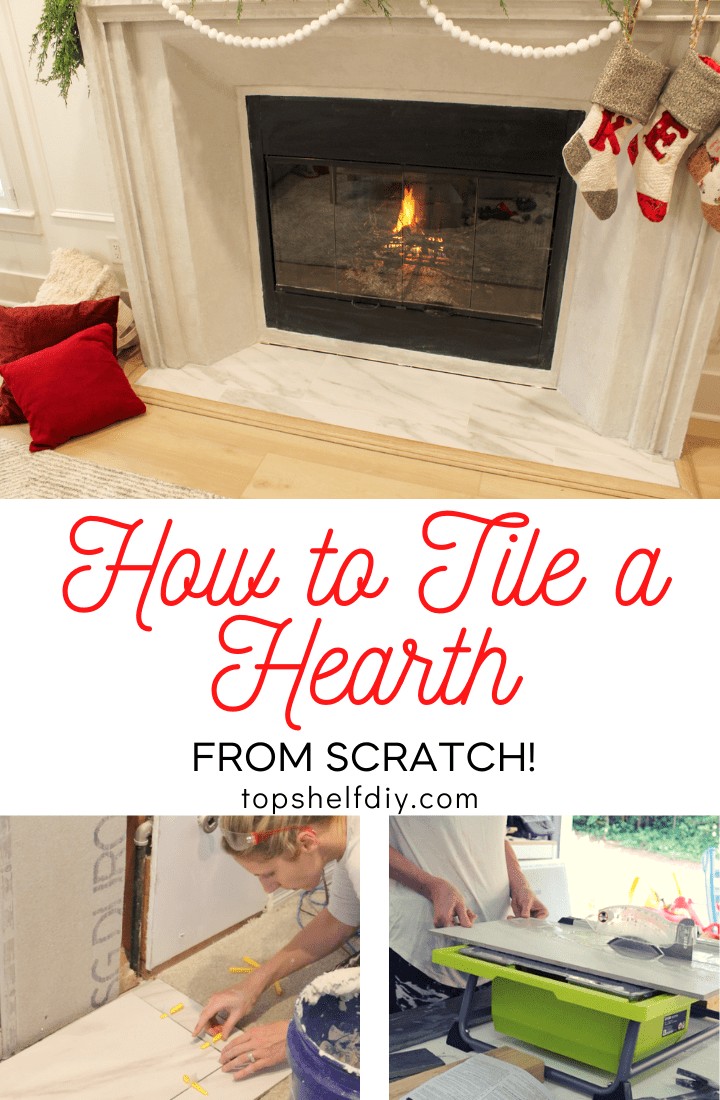
Looking to level up your fireplace with a more modern look? Here's how I rebuilt my entire fireplace from scratch without dropping thousands of dollars on solid limestone.
To keep this post manageable I'm breaking it down into three parts: the hearth, the fireplace itself, and the TV bump out area above.
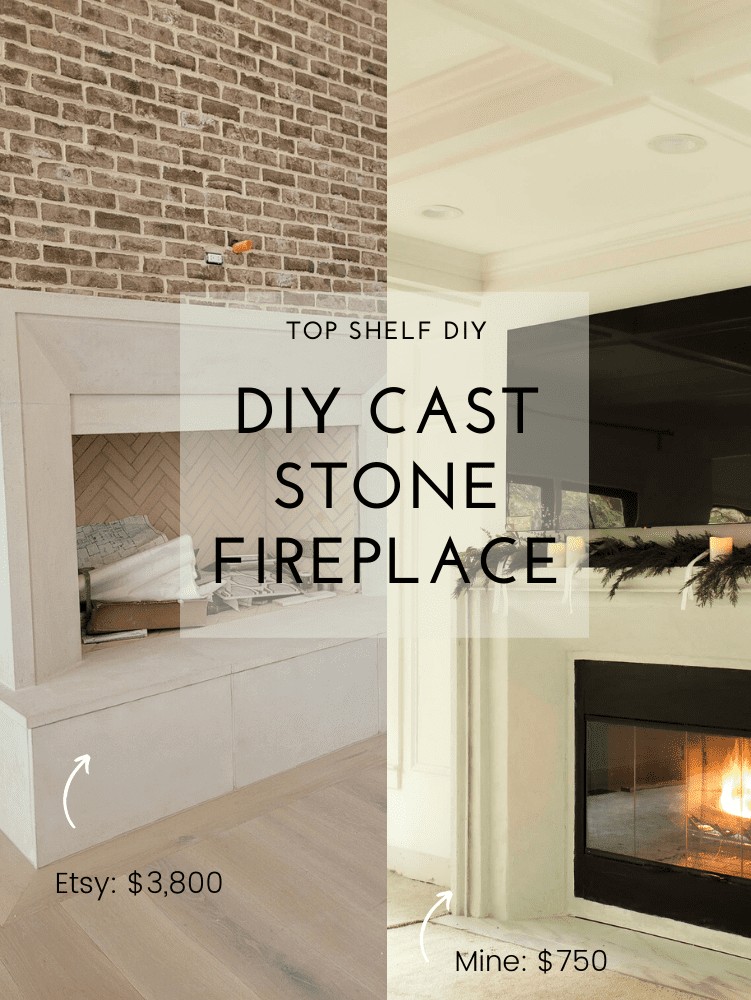
I'm obsessed with stone fireplaces - they're dramatic, timeless, and modern.
Everything my living room was NOT prior to this renovation.
When I started planning this project as part of the Orange Tank competition sponsored by The Home Depot, I knew I wanted a stone fireplace.
Or at least a fireplace that looked like one.
Jump to:
Cast stone fireplaces: what are they anyway?
Cast stone fireplaces are fireplaces made from concrete poured into custom molds. It's a cheaper alternative to, say, a fireplace made from solid stone.
If you remember back when Shae McGee gave us a tour of her living room, their natural stone fireplace was so heavy that it needed to be made from several pieces (each weighing thousands of pounds) and then assembled onsite.
Similarly, cast stone fireplaces can range anywhere from $1,000-$5,000 before factoring in the cost of install. Though lighter than natural stone, setting them in place typically requires several people with experience and upper body strength.
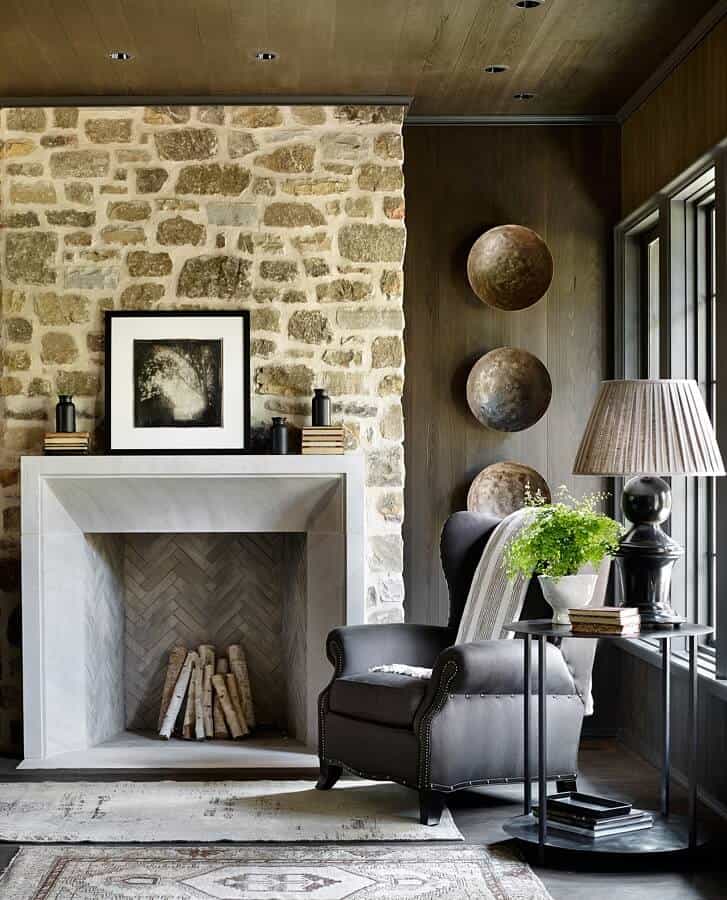
DIY cement fireplace options
After lots and lots of research I realized these were my options for recreating this look on a budget:
- Create a mantel from wood and finish it with a limestone wash to make it look like stone. Cami from Tidbits recently did this over at her house and it turned out beautiful!
- Create a solid concrete fireplace from melamine laminate forms. Phillip from over at Phillip or Flop did this for his outside porch build.
- Somehow combine options #1 and #2, i.e. build a solid structure from wood and then add a cement feather finish.
Option #1 seemed the easiest and best way to go. BUT, my contractor friend strongly urged me not to have any wood near the fireplace opening since it's a combustible material. I wasn't about to risk my fireplace getting demolished due to a code violation.
Option #2 would have worked, however the final product would have been really heavy. Not a deal breaker, but not ideal either. Also, I've never worked with concrete molds so I wasn't sure how to accomplish the curves I wanted in the mantel.
Option #3 was out for the same reasons as Option #1.
That's when I came up with Option #4:
Create a fireplace using metal studs, cement board, and cement feather finish.
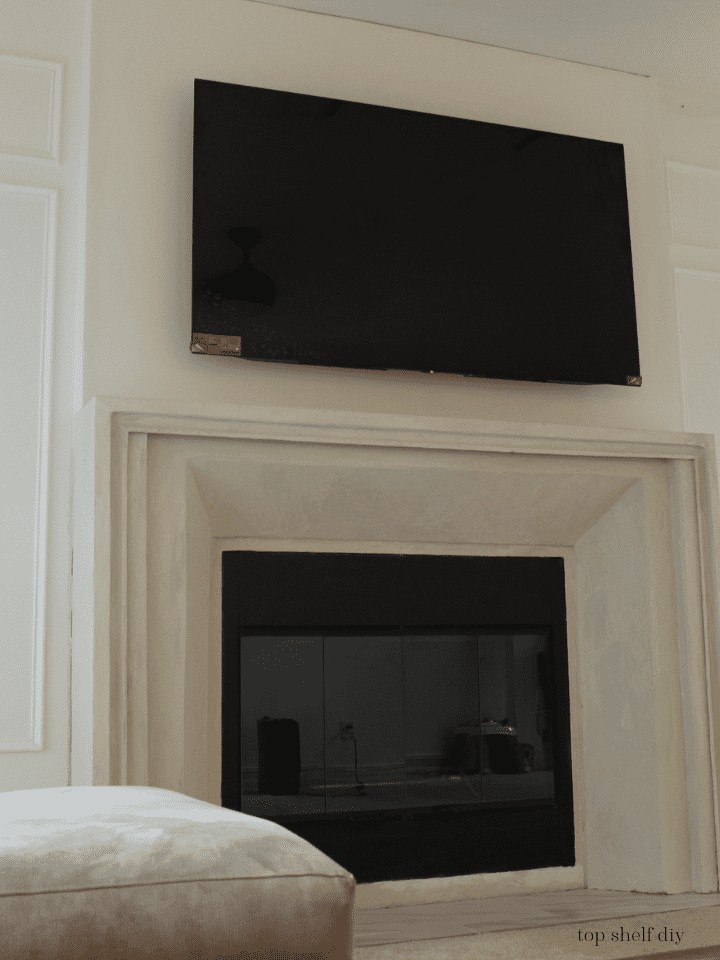
Fireplace tools and materials
With the exception of our TV, all items for this build were sourced at our local Home Depot.
The Hearth: Tools and Materials
- Pry bar + hammer (for demo)
- 1/2" Durock cement board
- Rock-on cement board screws
- Pre-mixed SimpleSet mortar
- Kolasus matte porcelain tile
- White sanded grout
- Cement board drywall joint tape
- Putty knife or joint knife
- Heat resistant caulk (where hearth meets fireplace)
- Wet saw
- Tile spacers
- Mixing bucket
- Drill with mixer bit attachment
- A level
- Trowel
- Black border tile (where the hearth meets the fireplace)
- Tile sealer (optional but recommended)
Construction process
Stage 1: Demo
Demo was a bit nerve wracking, to be honest. I hadn't planned to remove the mantel or the tile surround. Clearly both things happened 😬
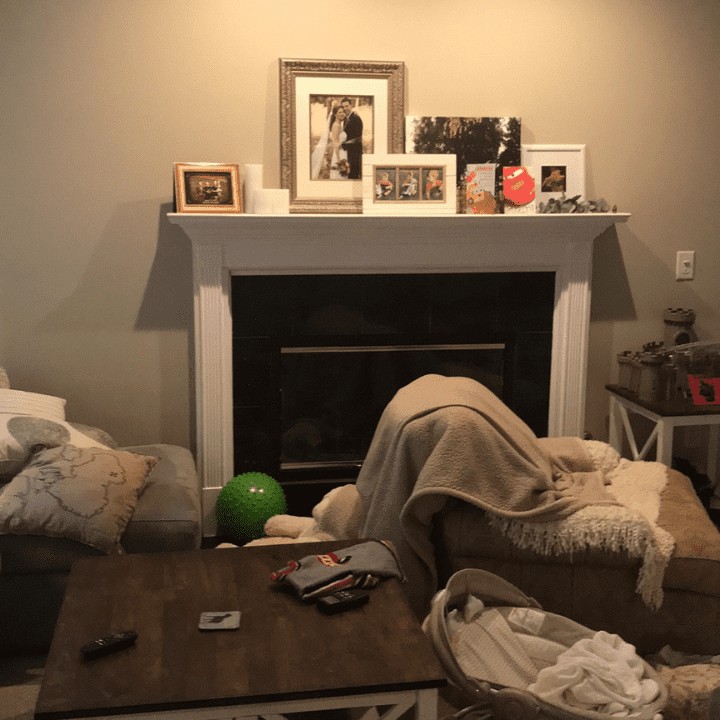
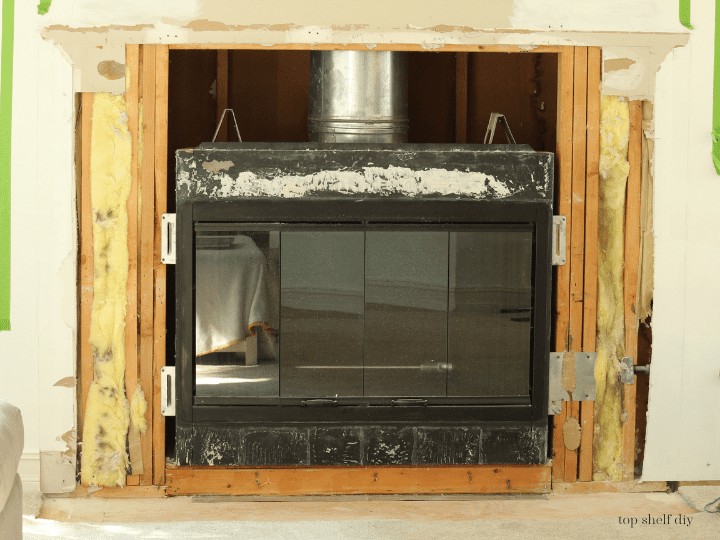
Here's how that went down...
"Okay, I'll just remove the hearth tile. No biggie."
*30 minutes pass*
"Crap, that wasn't supposed to come off. Guess I'm removing that too."
A similar thing happened with the mantel. I wanted to save it, but once I removed the crown molding under the ledge I realized it was just hanging on by a thread.
There's nothing too complicated about this step. Just take your hammer + pry bar and hack away!
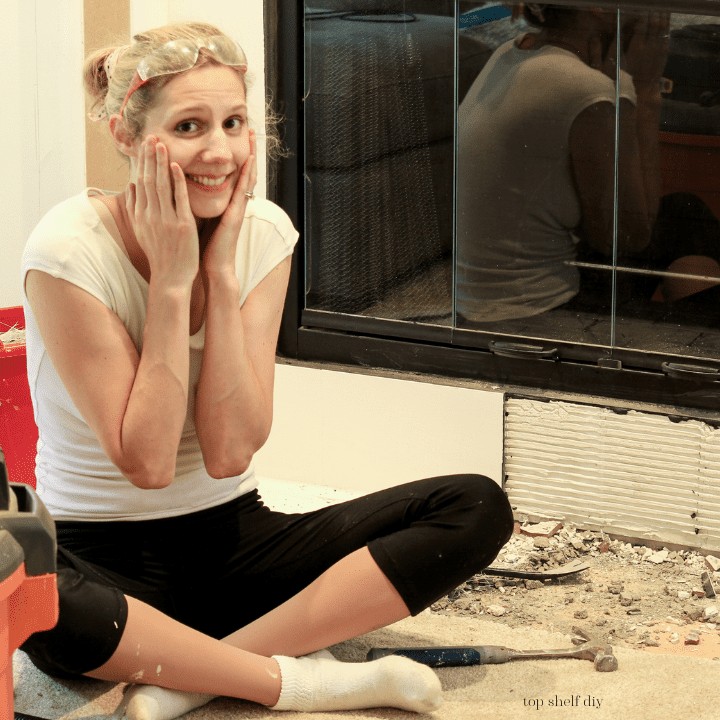
Once demo was complete, I took a putty knife and scraped off all the lingering mortar around the fire box. I found that using an iron to heat up the adhesive made it a lot easier!
Stage 2: Preparing for Tile
Make sure your subfloor is clean and free of debris.
Cut your cement board with a diamond blade. Either an angle grinder or circular saw will work. Do a dry fit of your boards and make any adjustments as needed.
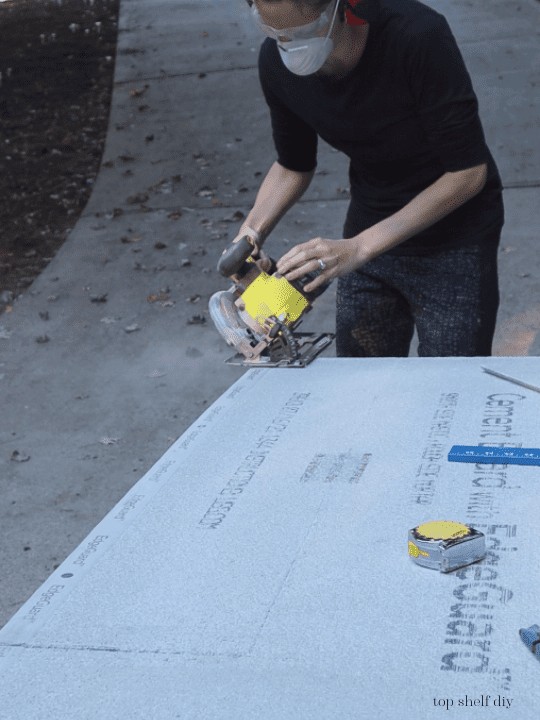
Once your cement board is cut to size, put down a layer of pre-mixed mortar. Spread evenly.
Lay down the cement board and secure it with Durock specialty screws.
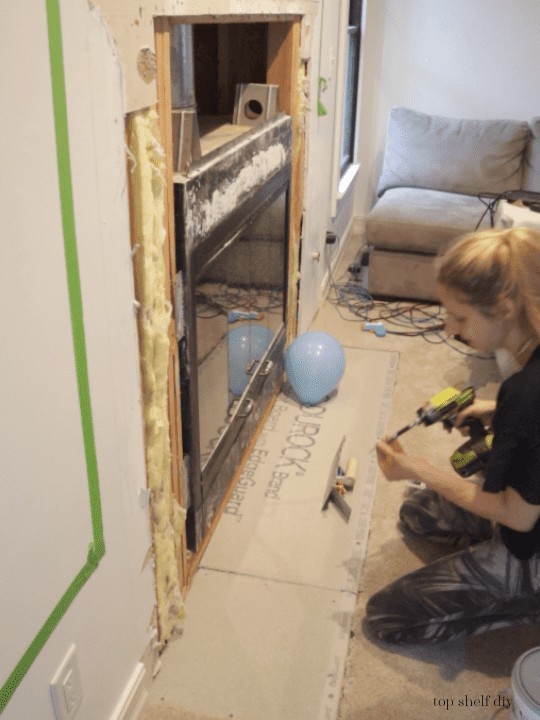
To ensure a level surface I connected the seams with cement board joint tape. Then I spread a bit more mortar over the seam.
Give your cement board about 24 hours to dry. Now you're ready for tile!
Stage 3: Laying the hearth tile
This next step was a bit intimidating, but easier than I expected! Isn't that usually how things go? It's just a lot of little steps and waiting for things to dry.
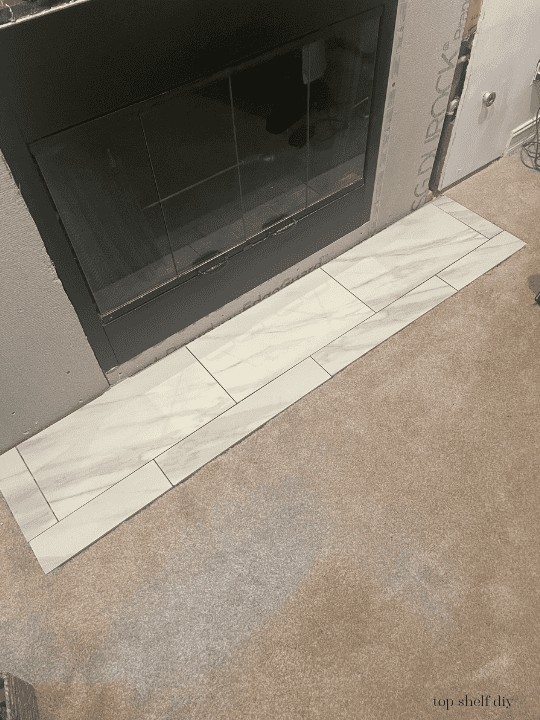
Map out your tile configuration in advance to see exactly what will look best with the least amount of cuts. I started with the center pieces that didn't need any cuts.
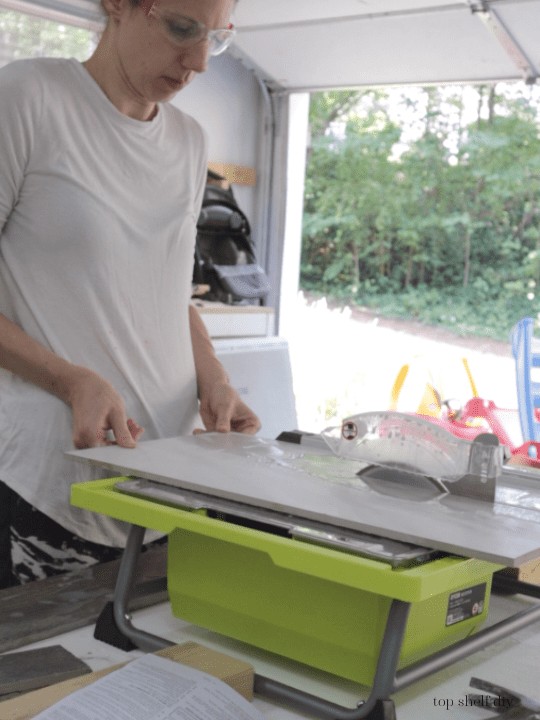
Use a wet saw to cut your tile. Once that's done, apply mortar to your cement board as well as to the back of your tile (i.e., "back buttering"). Gently set in place, being careful to keep your tiles level with each other.
Insert spacers between your tiles.
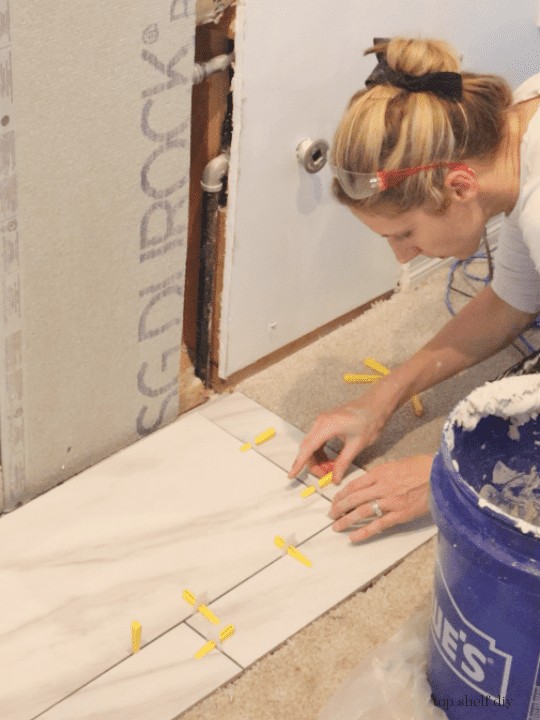
Let your tiles dry overnight and remove the next day. Apply grout.
Seal your tile to protect your hard work.
Annnnd you're done!
Cheers,
Erin


How did you attach your wood base structure to the wall 1x 12”
There's a cleat underneath the mantel holding it in place.