How I spruced up our marble fireplace using basic materials from my garage!
I've wanted to demo our 90s "Starry Night" fireplace ever since we moved into our home two years ago.
Tearing out marble tile wasn't in the budget nor did it seem like a good use of our time since the marble itself was in great shape. Painting it was an easy, inexpensive option with a huge impact!
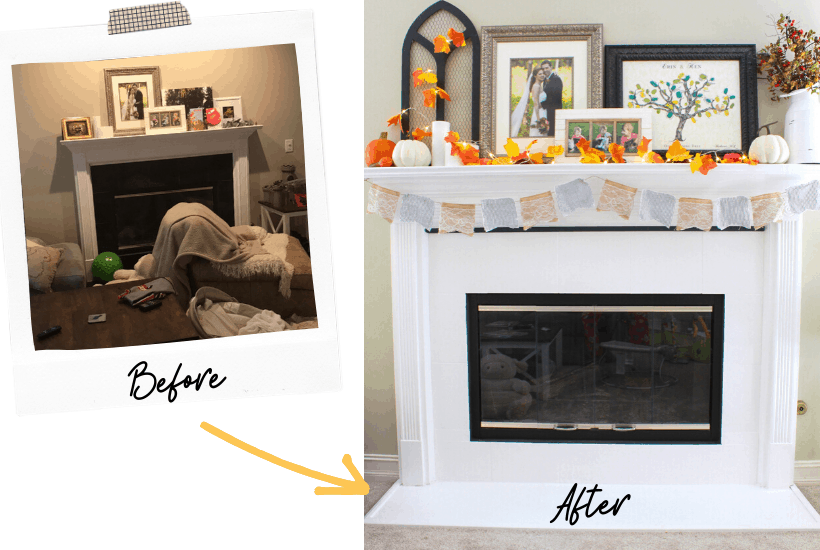
Eventually I'd like to beef up the mantel and bump out the wall with some simple framing in order to mount our television.
**Update: I demolished the entire fireplace one year later! See it now.
It's been difficult getting my husband on board with my design vision, however; he's in the anti-TV-over-the-fireplace camp.
Our current TV center is a modern white monstrosity that takes up the entire wall to the right of the fireplace. I absolutely cannot WAIT for the day I get to pull that sucker down!
Anyway, here's how I updated our marble fireplace using little more than a can of paint and some leftover baseboard trim.
Materials Needed
*Note this list includes affiliate links, which means I may receive a very small commission at no additional cost to you should you purchase any of the items recommended below. This helps me cover the costs of this blog! For more, see my disclosures.
- Sanding wedges (220, 120, 60 grit)
- Frog tape
- 3/8" nap and roller
- 2" paint brush
- Oil-based Zinsser Primer
- Latex paint (I used Benjamin Moore Chantilly Lace in Eggshell)
- Water-based Polycrylic protective finish
- Sponge applicator
Our fireplace had a few additional issues such as broken floor trim and gaps in the tile that needed grout and caulk. Extra materials specific to my project included:
- Quarter round shoe molding
- Trim paint in a matte finish
- Sanded grout
- Grout sealer (I used this brand in the spray-bottle version)
- Caulk
- Wood filler
- Liquid nails
- Spackle
- Caulk gun
- Nail gun
Materials Needed for Mantel Decor
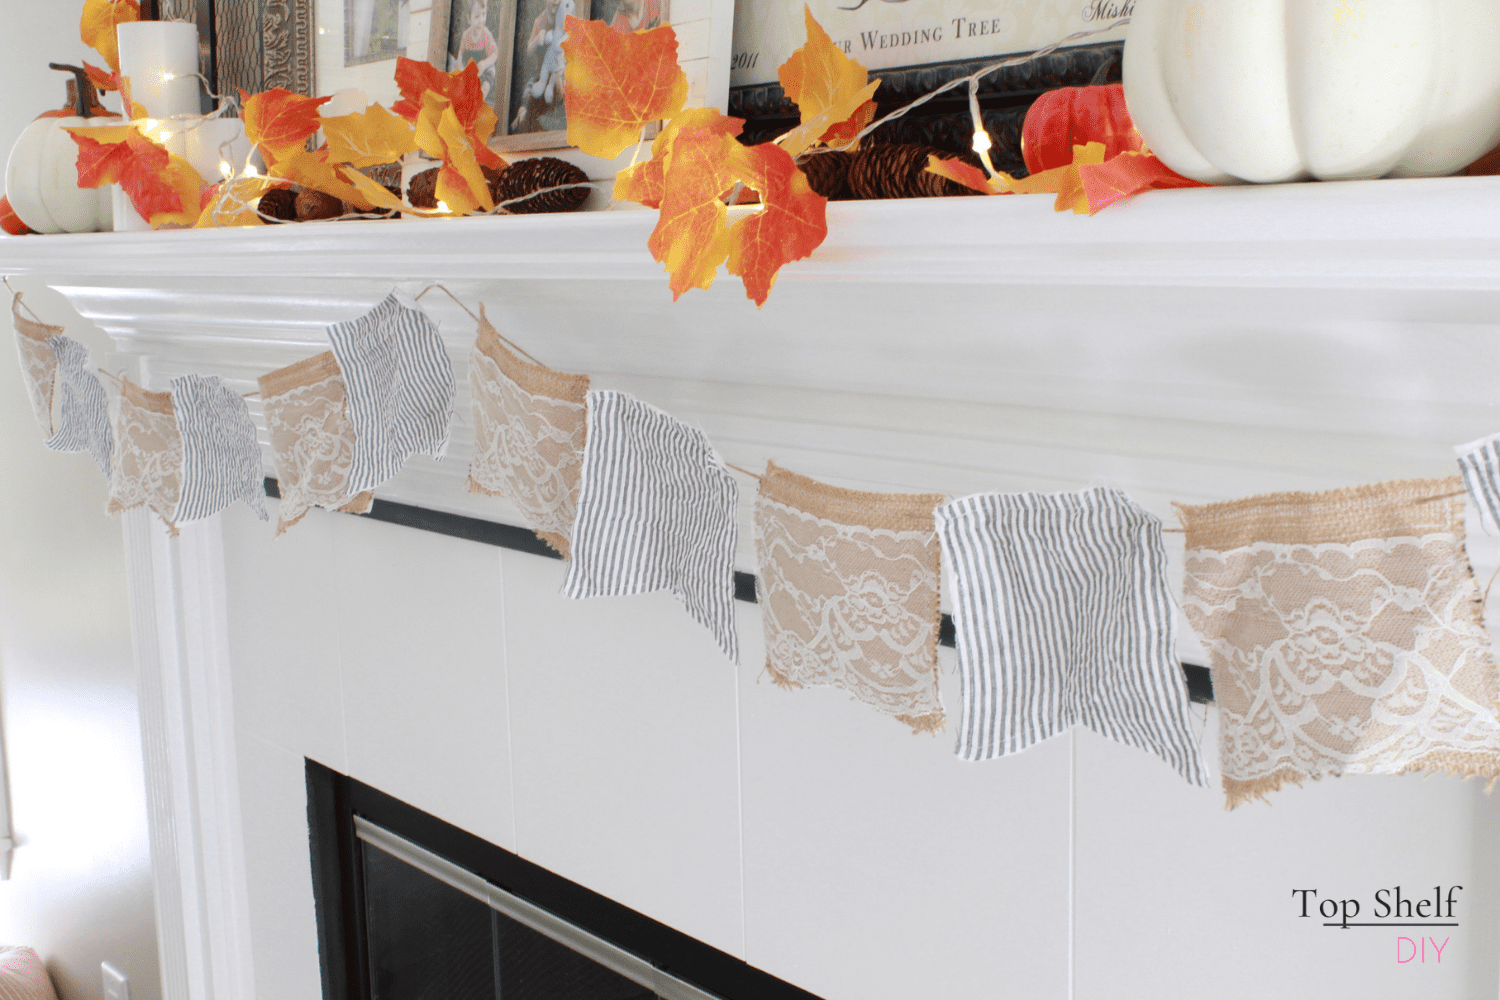
I was able to repurpose quite a few items from other areas of the house, such as my chicken wire window arch and some framed wedding artwork. I made a pennant garland out of fabric scraps and twine. I also purchased the following accessories:
- Pre-lit leaf garland
- Clear Command hooks
- White pumpkins (I bought ours at the grocery store, but I've linked something similar)
- Farmhouse milk jug (from Hobby Lobby)
- Seasonal floral decor (also from Hobby Lobby)
Prepping Your Fireplace for Paint
Give your fireplace a thorough cleaning. I wiped everything down with soap and water, then cleaned the glass with Windex.
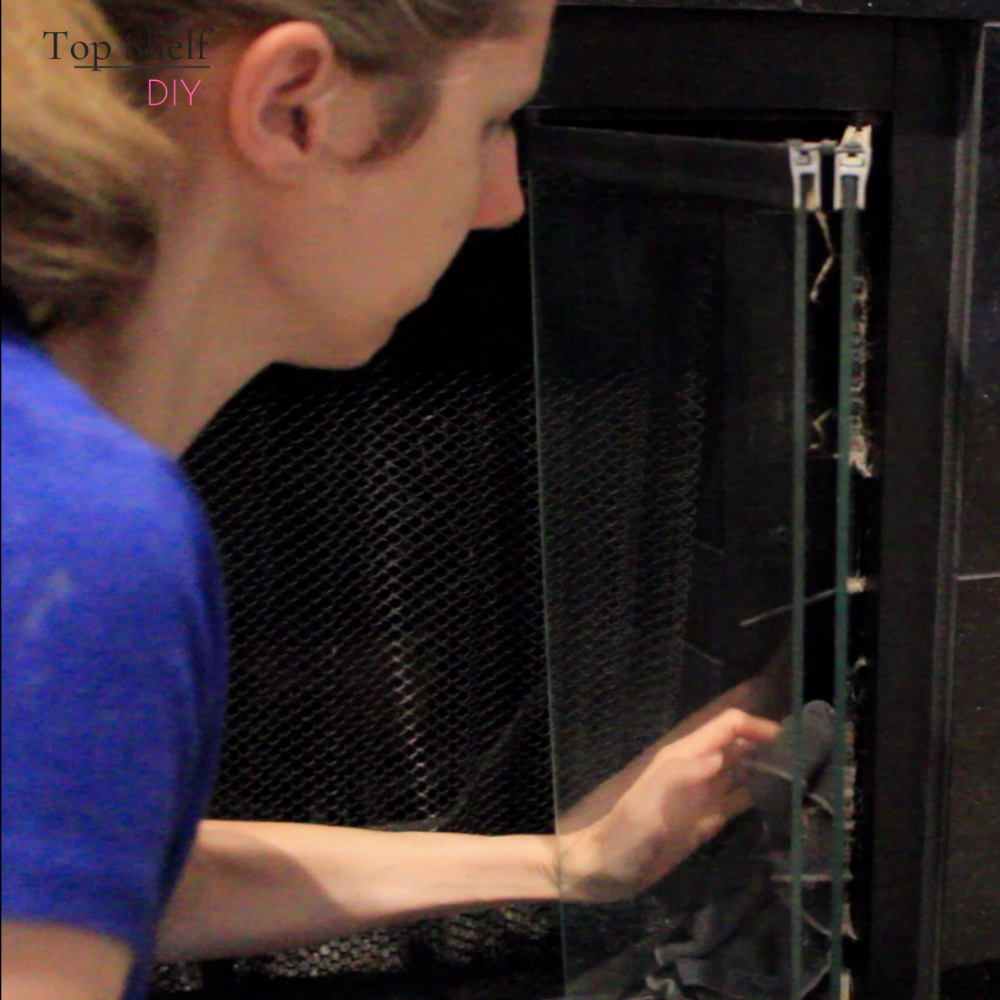
To make the marble a bit more porous, I sanded it down with a 120 and 60 grit sandpaper wedge. I wiped down the marble with a wash cloth once again, then I taped it off with frog tape.
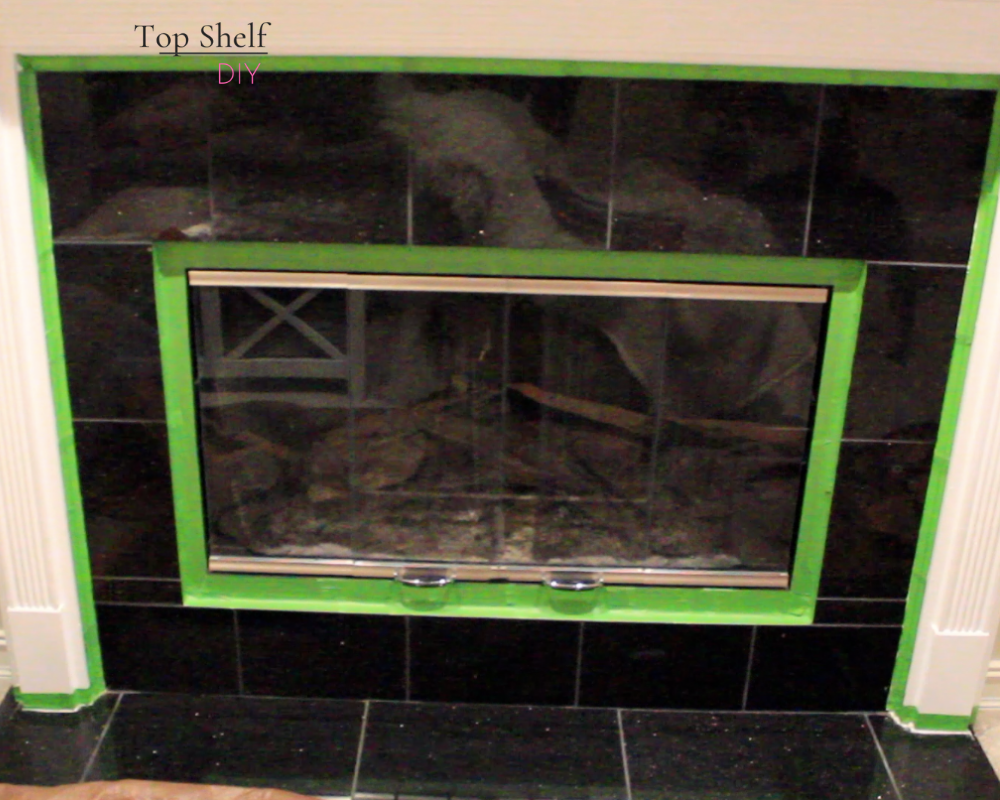
Next I gave the mantel three coats of oil-based Zinsser primer. Note: make sure you use the oil-based version! I had read a few tutorials where the water-based Zinsser was used...well, the first coat scraped right off at the slightest touch. The oil-based version is a bit stinkier but adheres much better to marble.
I could already tell this fireplace was going to look much better in white.
This was after three coats of primer.
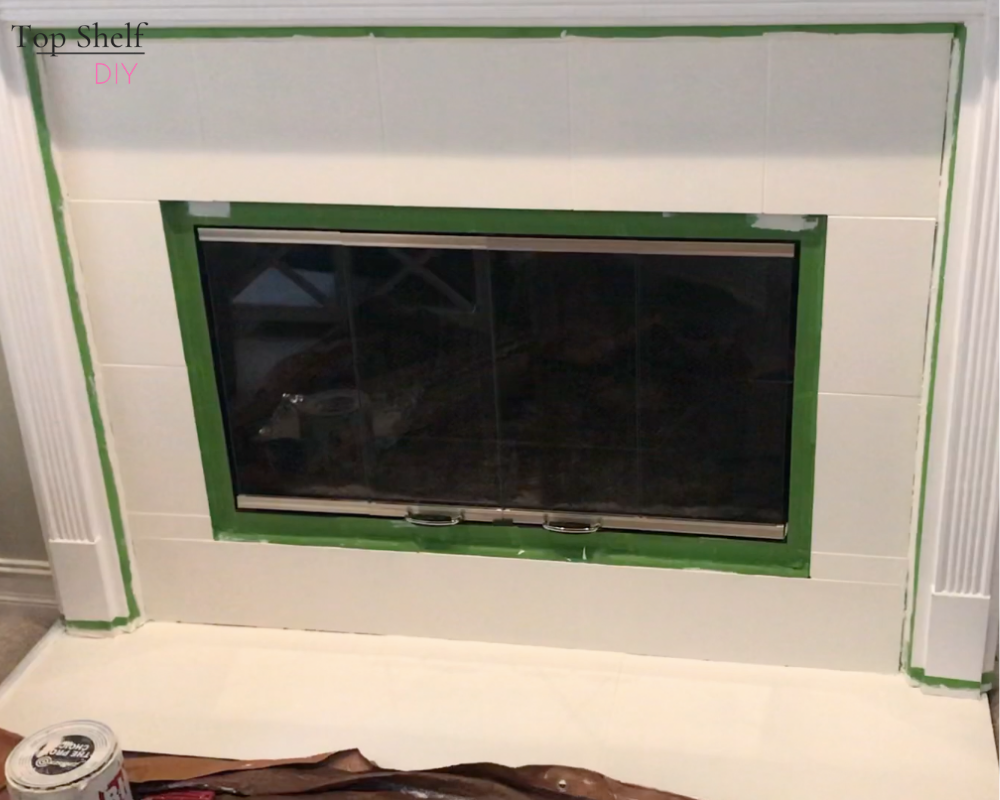
Before I could add the final coats of paint, I needed to take care of a few touchups. There was an obvious gap on the floor where the wall tiles met the floor tiles (especially in the left hand corner). I happened to have some leftover sanded white grout from a previous project, so I grouted the floor gaps and let dry overnight.
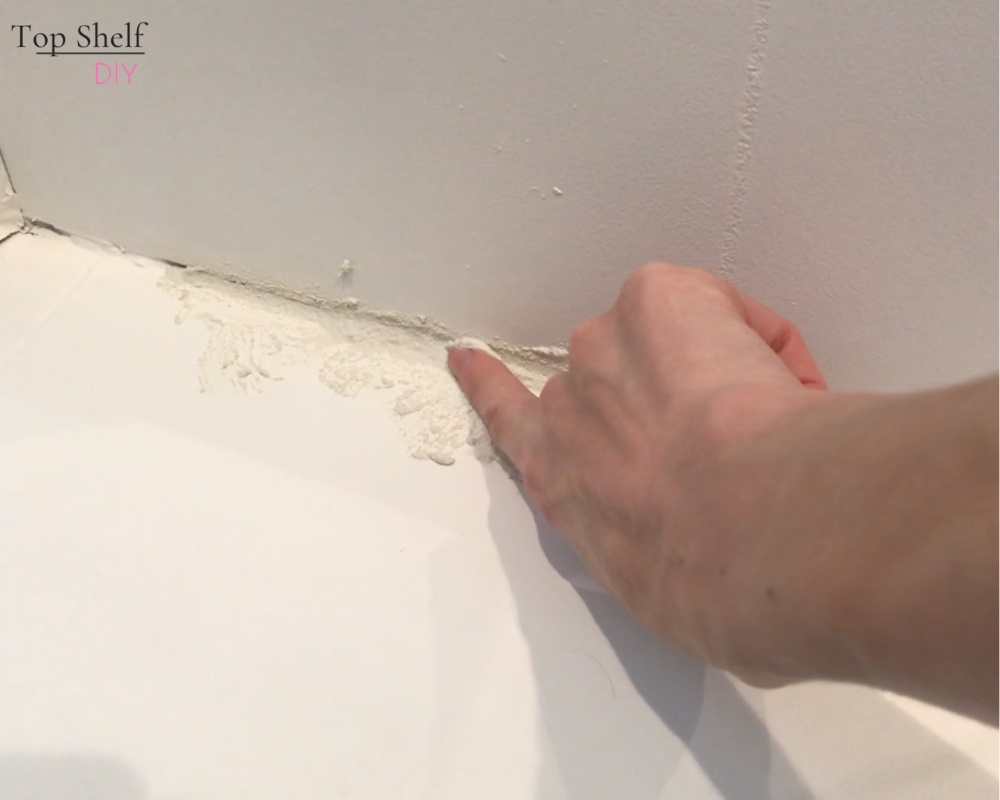
You really only need a very small amount of grout + a few drops of water mixed in a bucket. I applied it with my fingers, let dry for an hour, and then wiped the excess clean with a sponge.
The next night, while the kids were sleeping, I opened the windows and sprayed some grout sealer on the new grout.
There were lots of little touches at this point, like painting/nailing/glueing some broken pieces of floor trim. I also caulked the sides of the fireplace where the marble met the trim.
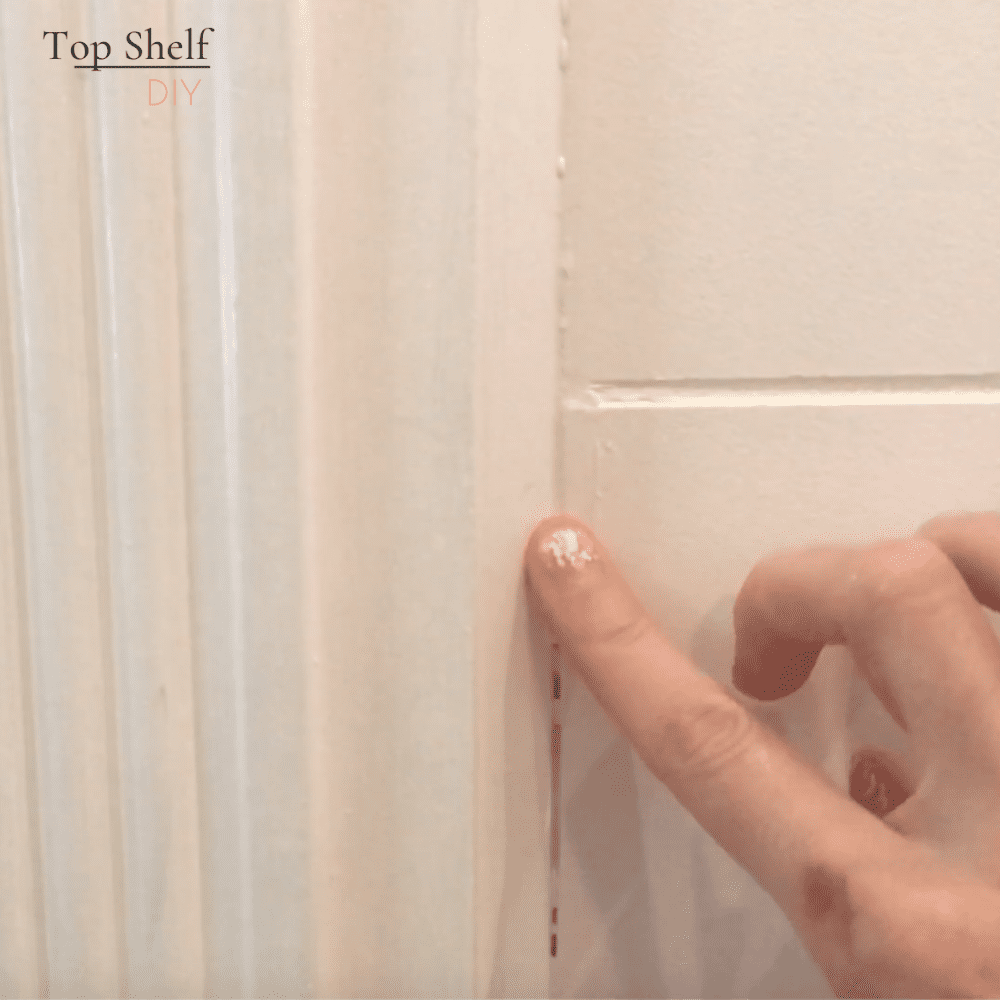
After all the touchups were done, I applied two coats of latex paint in Benjamin Moore Chantilly Lace Eggshell. I debated using this beautiful stencil from Royal Design Studio Stencils. But, after applying the mockup (on paper) my husband and I decided it would look too busy.
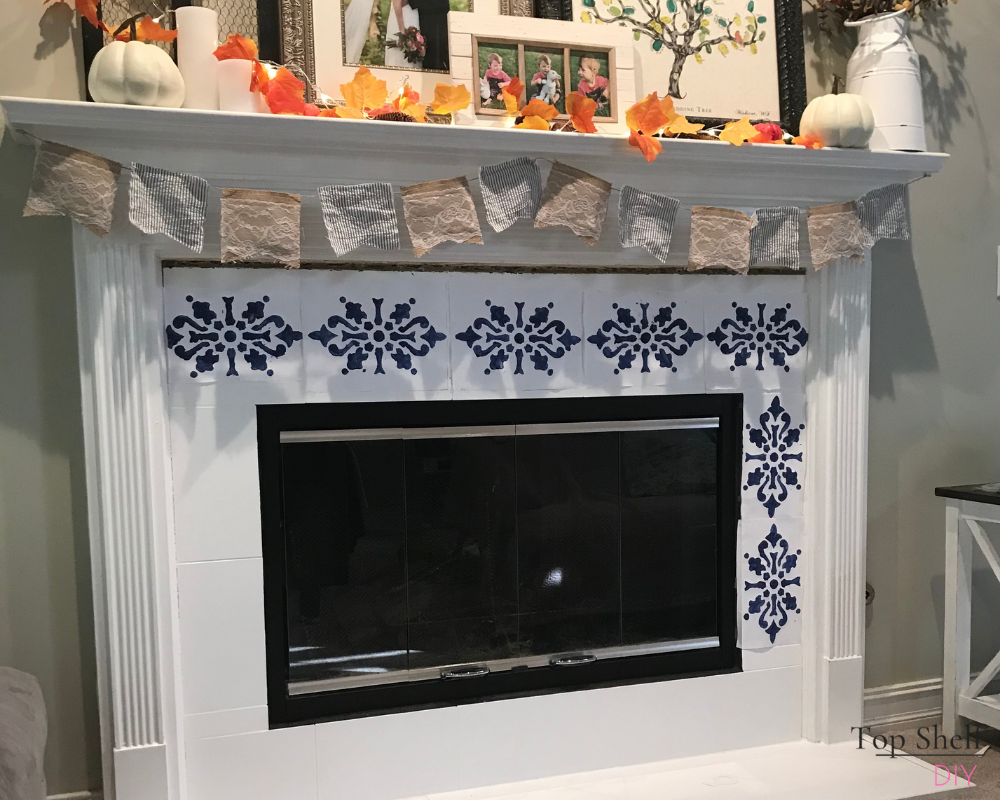
Unfortunately, before we had made a decision on the stencil design, I had ripped out a piece of trim at the top of the fireplace. You can see it in the photo above.
I was hoping the tile extended underneath and the 12x12 stencil would be a better fit. Alas, it was just empty space. I created a bit of extra work for myself since this meant I needed to replace the piece of trim entirely.
But it was a happy accident, because I ended up painting the new trim a beautiful dark charcoal color that added some necessary contrast to the overall finished look.

The last step was applying two coats of Polycrylic clear coat. I sanded the tile in between coats with a 220 grit sanding wedge. The clear coat gives our fireplace a beautiful sheen and a polished, professional finish.
Here's the final look!
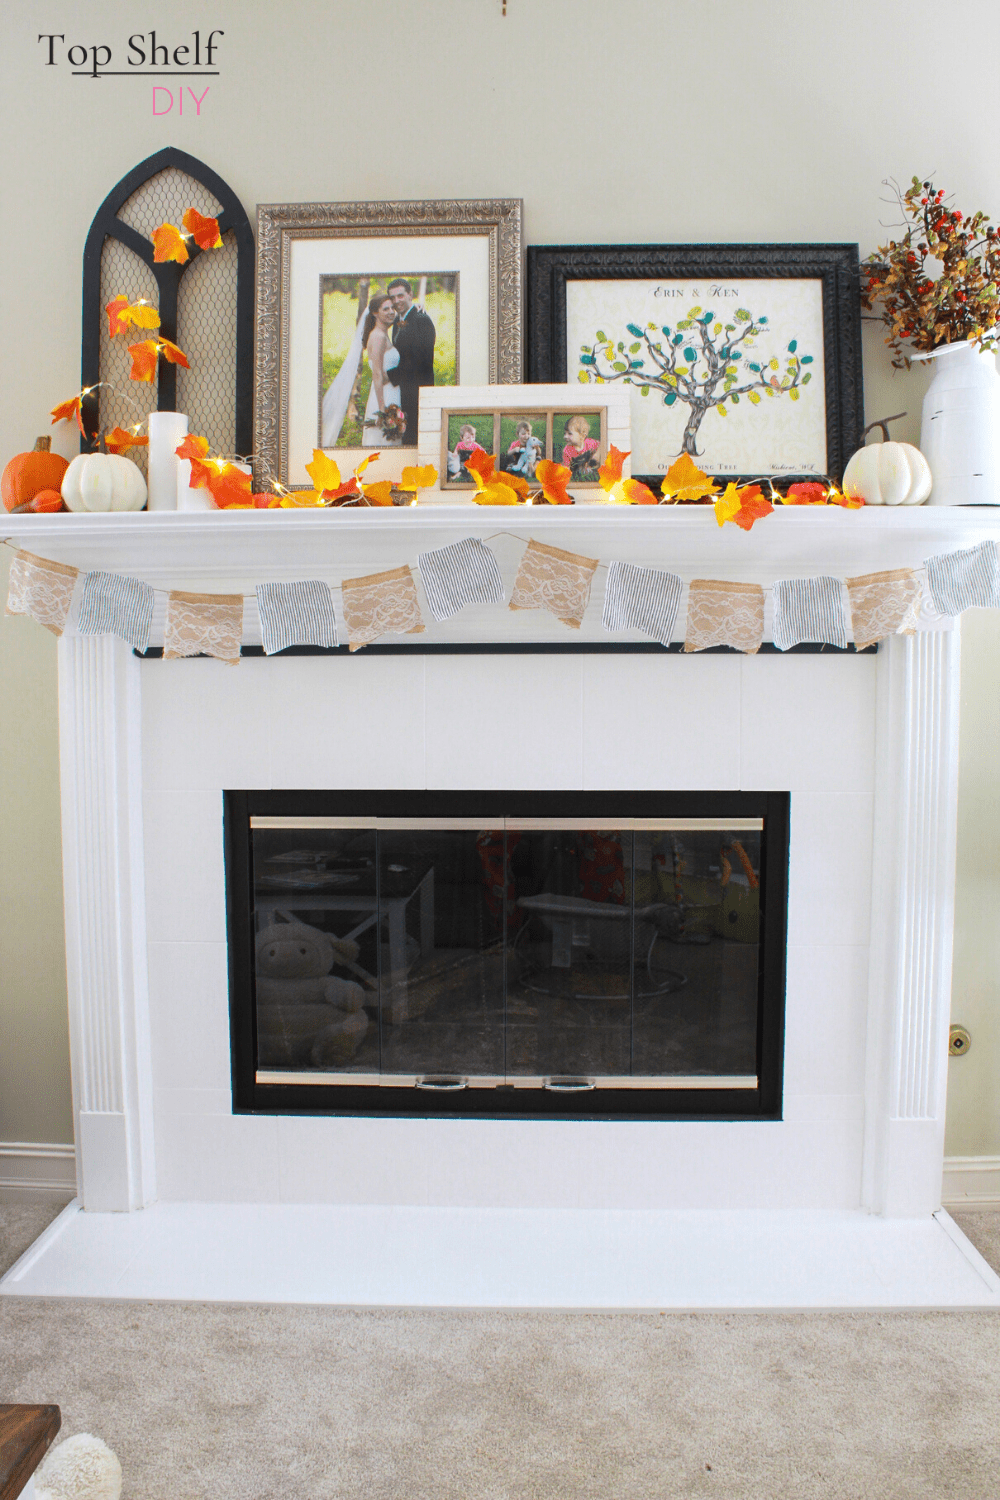
And here's a closeup of the garland I created from scrap fabric. I simply made a template on card stock, traced two layers onto the fabric and sewed together with a top stitch. I wove twine through the holes in the canvas material and two small holes cut into the backing material of the blue stripped pieces.
The great thing about this project is that I already had all the materials I needed to do the fireplace portion of this makeover. I spent about $50 on the mantel decor. Not too shabby considering!
I'm super excited to dress up this fireplace for the holidays. What do you think of the transformation??
Cheers,
Erin




Leave a Reply