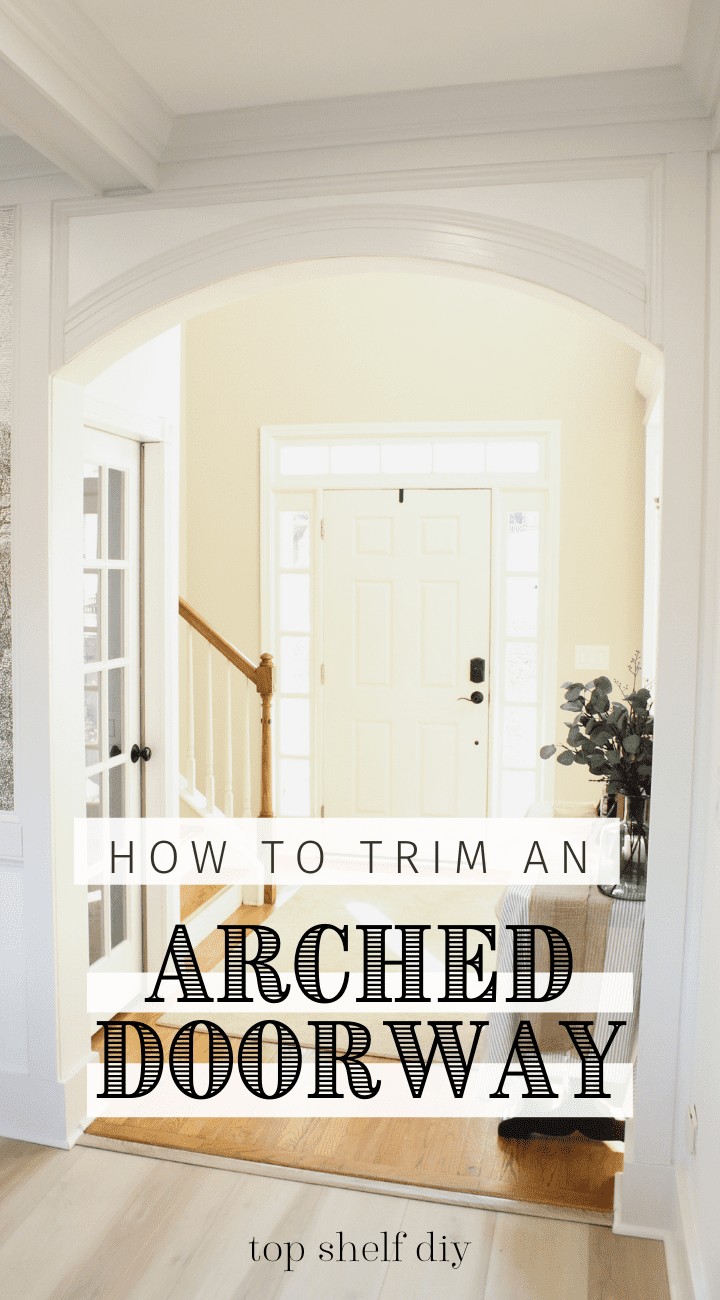
One of the biggest riddles for our living room renovation was the process of adding trim above an arched doorway.
Keep reading to see how I tackled this problem and incorporated the design into our coffered ceiling!
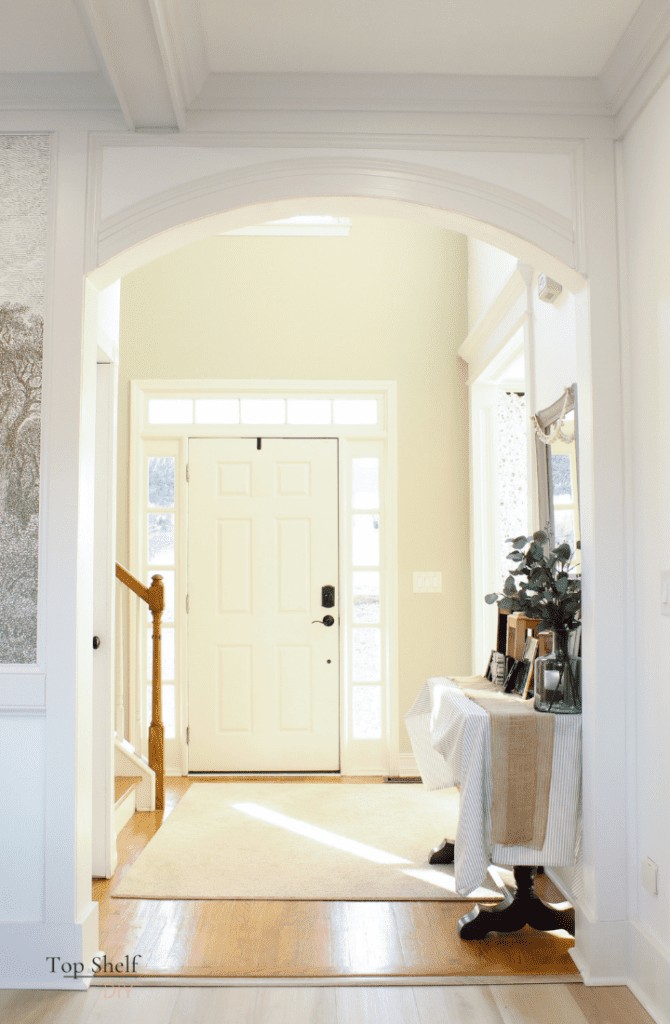
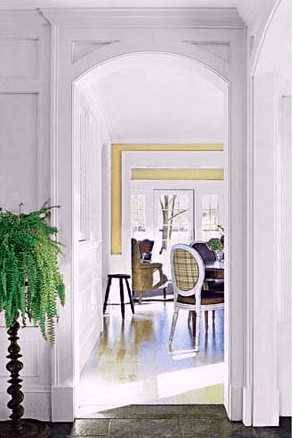
As I began researching all the various ways to add trim above an arched opening, I stumbled across this image on This Old House's website.
So elegant. So distinguished! I wanted this in my house IMMEDIATELY.
Whenever I'm inspired by great design I start feeling a bit adventurous. I tried two different kinds of trim and BOTH would have worked, but I didn't realize it at first.
It was the 11th hour and I was on my second order of trim. I was desperate. I went to the table saw and ripped that baby into pieces. I prayed that I didn't just waste $35 worth of trim 😬
And...thank goodness, it worked!
Tools for your archway
Disclaimer: this list includes affiliate links for your convenience. Thanks for supporting my blog in this way! Also, product was provided by The Home Depot as part of the Orange Tank competition.
Materials list
- Polyurethane flex trim. I used this baseboard molding but this flex trim would have also worked.
- 2" brad nails
- Wood filler
- Liquid Nails construction adhesive
- Caulk
- Caulk gun
- Latex paint in a satin or semi-gloss finish
Putting it all together
Start by ripping your trim into 4-5 narrow strips. Yes, you're going to lose about 1/8" inch from the kerf of your table saw, so try to rip along pre-existing grooves in your trim to make the seams less noticeable.
I had to rip my trim at least four times before it was flexible enough to span the entire archway.
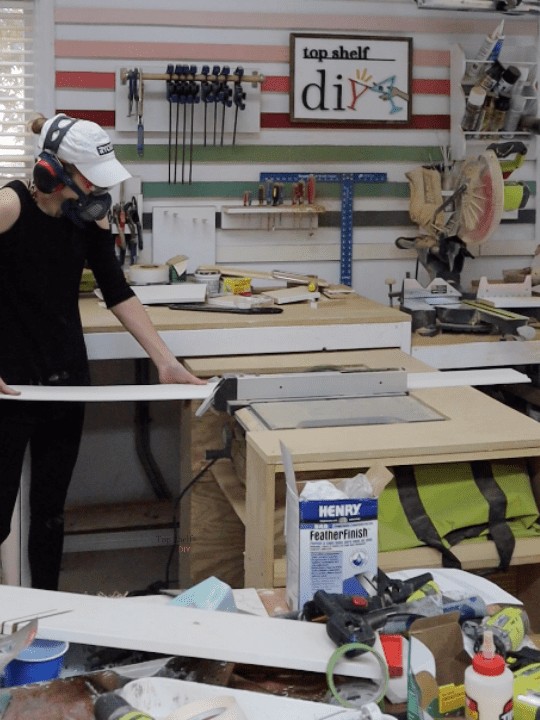
Once you've ripped that trim into flimsy little strips, it's time to put it all back together.
Do a test fit to check the length of your bottom-most piece. Your miter saw can cut through polyurethane trim like a hot knife through butter.
When you're ready for install, mark the center point of your board, then add a small bead of construction adhesive to the back.
Secure your trim to the centermost point with your nail gun, then work your way down to the outer edges.


Continue to add each layer of trim from the bottom up, nailing as you go.
You can see in the photos above that each side of the doorway is flanked by a strip of 1x4 MDF that meets the 1x6 perimeter of my coffered ceiling.
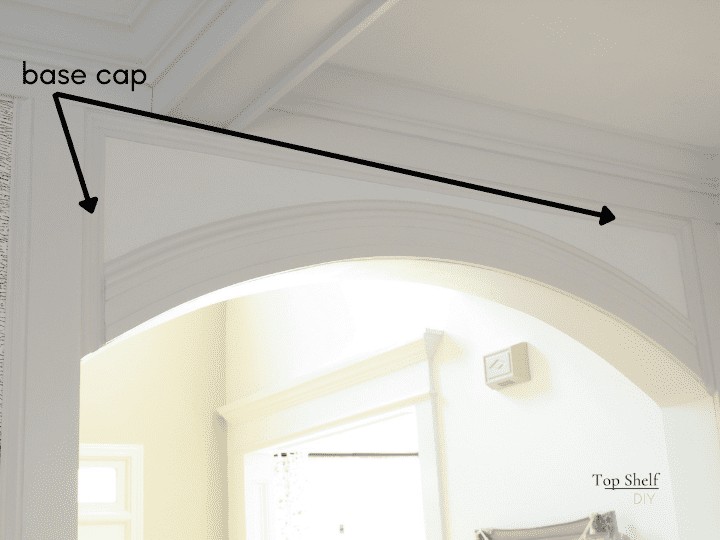
One reason why I went with this specific kind of molding is because it has a base cap detail along the top edge. This detail mirrors the trim in the rest of the room.
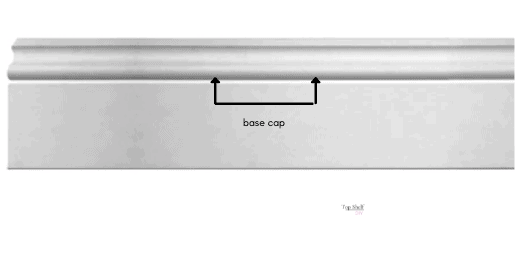
I removed this part with my table saw and installed it along the remaining portion of the doorway inset.
Use a nail set and a hammer to drive your nails beneath the surface.
Fill in all holes with wood filler, then sand smooth.
Caulk your seams any place where your new trim touches the surrounding trim; keep in mind that caulk, unlike wood filler, is difficult to sand once dry.
Give your trim a lovely coat of paint, and you are good to go!
I hope these tips inspire you to take your trim to the next level. To see how the rest of the renovation turned out, head on over to our Modern Farmhouse Living Room Reveal!
Cheers,
Erin



Omg I’m so truly blessed I found you‼️ I’ve been trying to figure out how to trim my 2 archways! I love your work & I wish I was as talented as you! Thank you so much for sharing this & all your awesome projects‼️
You are so welcome Karrie!