Follow these easy steps to make the very first cuts with your miter saw.
You've just unboxed your very first power tool – time to get crackin' on that long list of projects! Don't be intimidated; with a little practice, you'll be swinging away as if that miter saw were a third arm, humming along like the boss you are.
Let's use a miter saw today.
Step 1: Secure your miter saw to an elevated surface if at all possible. Use screws or bolts (depending on what's recommended by the manufacturer). For years I simply used a board stretched across two saw horses until I finally upgraded to this Ana White miter saw station.
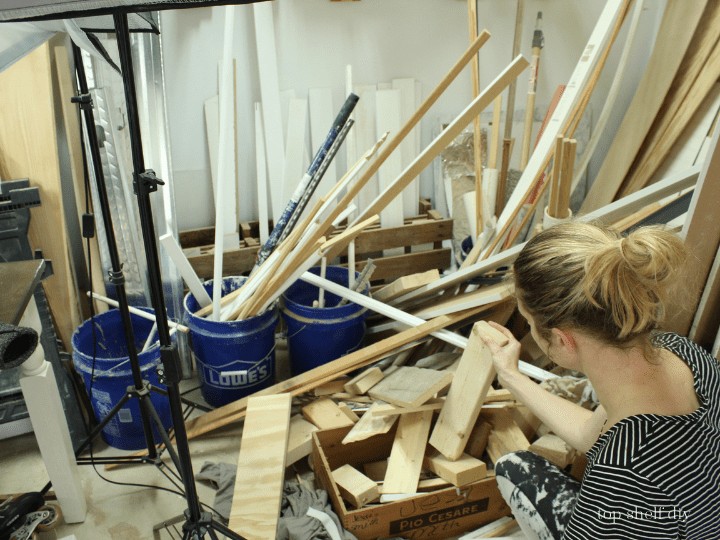
Step 2: Pull out a piece of scrap wood from your assumedly large collection of hoarded materials. Any piece will do – today is just about getting your feet wet.
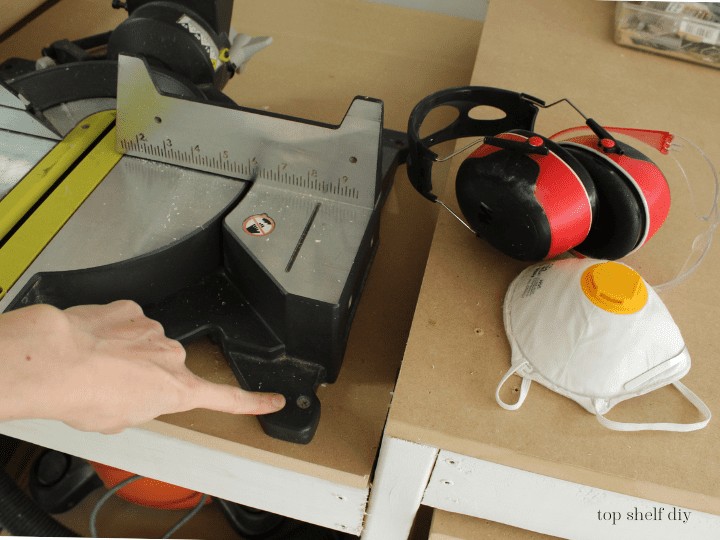
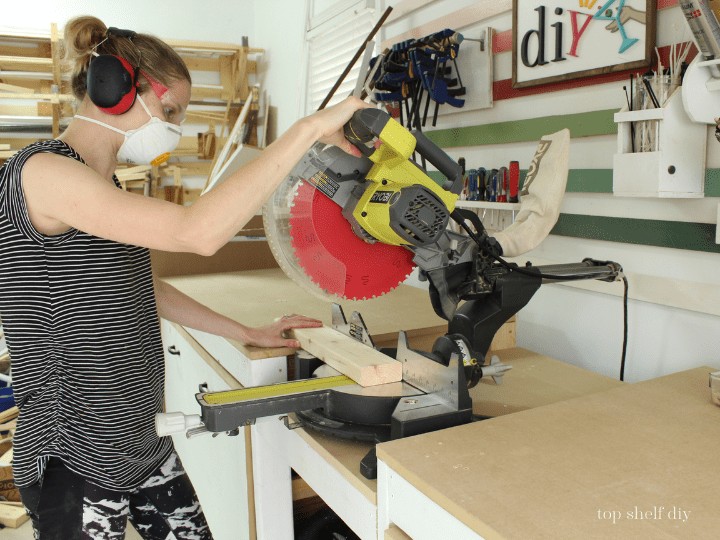
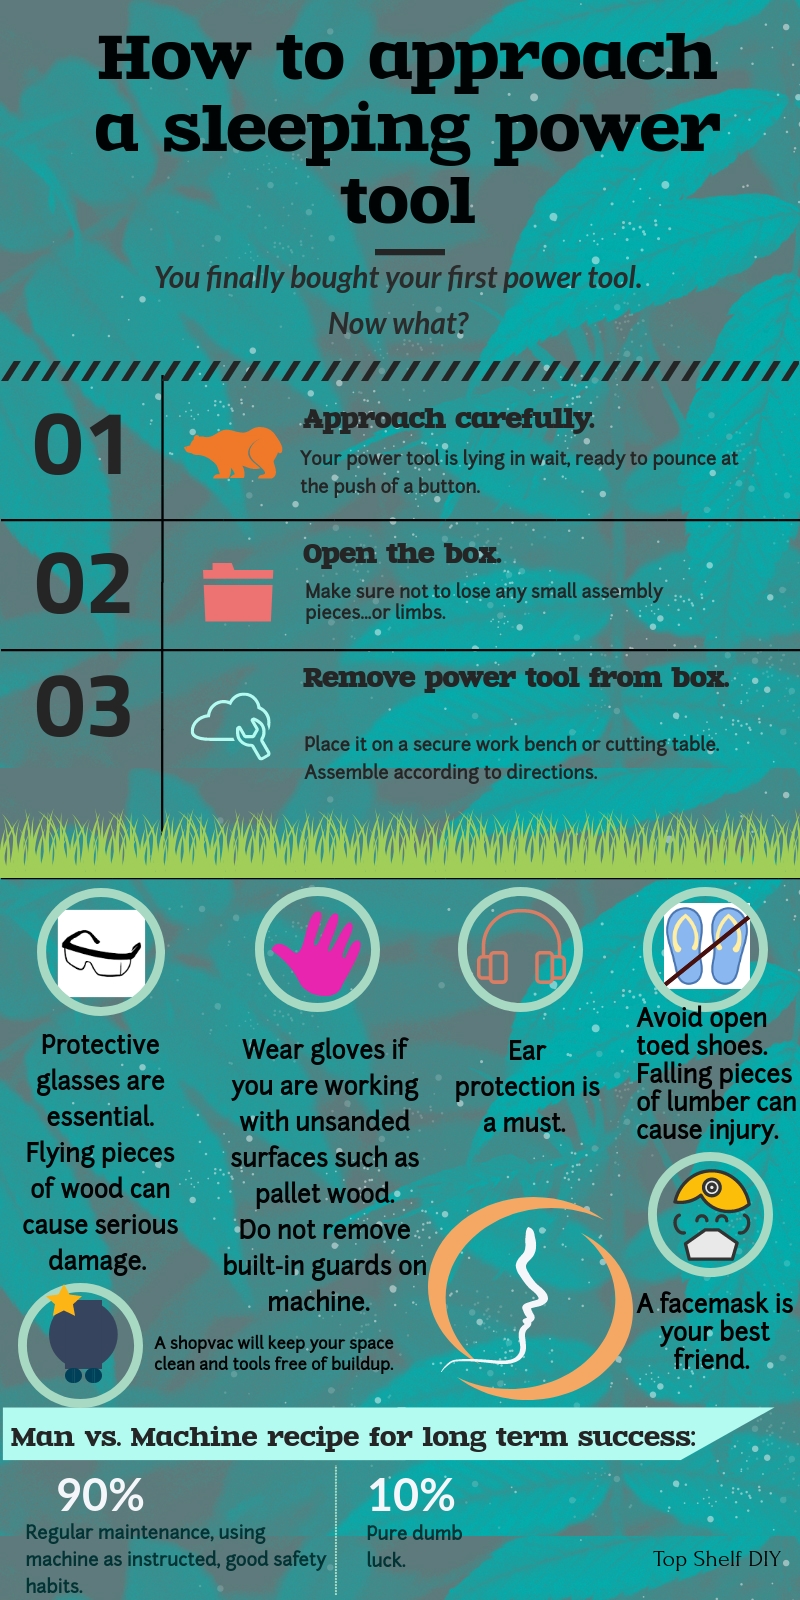
Step 3: Next, put on your safety gear. Safety glasses, hearing protection, and a face mask of some sort. Check and check.
If you haven't looked through the user manual that came with your box, do that now.
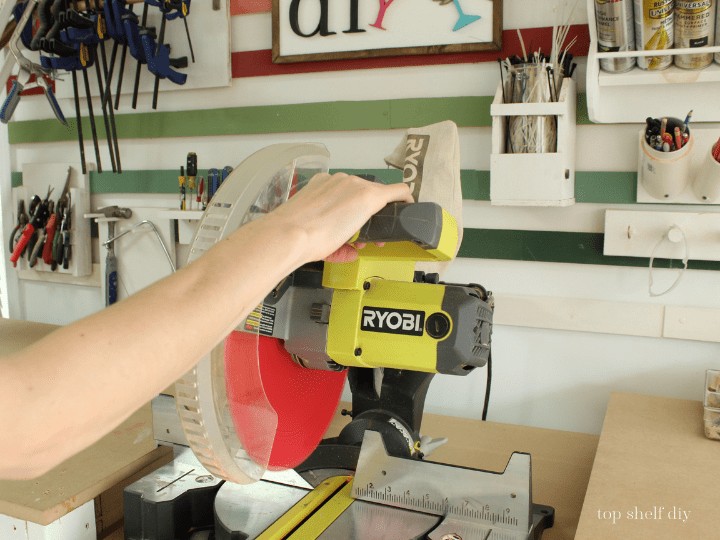
Step 4: This next step is underrated but very important; you should get used to the feel of your saw when it's running. There's a lot of horsepower in that one little trigger, and the noise level can be intense even with ear protection.
Without any type of material under the saw, practice squeezing the trigger and moving the blade with the power turned on. Feel yourself become one with the saw.
It's okay if your arm feels a little shaky the first couple of times. Fear is normal!
Still with me? If so, you're ready!
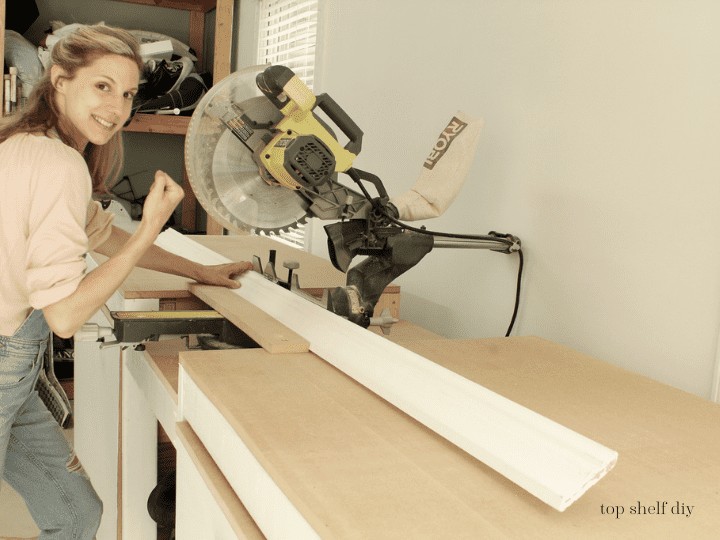
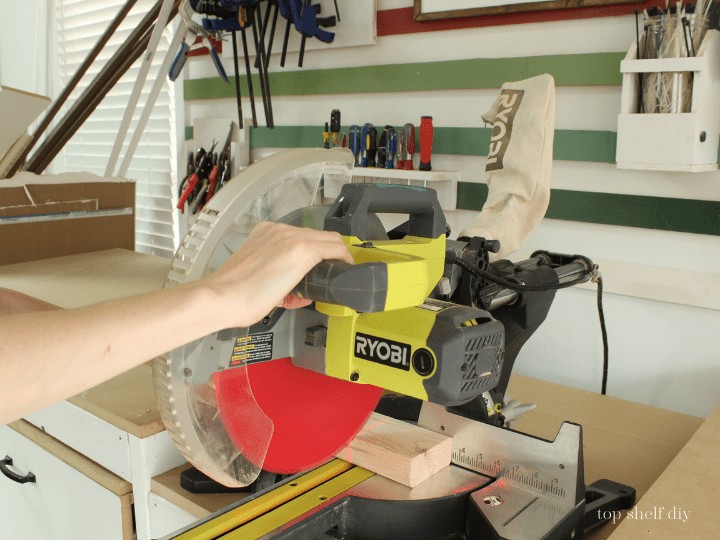
Step 5: Place a block of wood on your table. For this type of saw you'll only be able to do cross cuts, which are cuts against the grain of the wood.
Position your wood against the fence. Make sure the piece is long enough so that your hand is at least six inches away from the blade. It's very important you keep a steady grip on the wood to prevent kickback. Stabilize the wood against your fence as you cut.
Step 6: Squeeze the trigger and move your blade downward as before, this time cutting through your piece of scrap wood. Don't even worry about cutting to a certain length at this point.
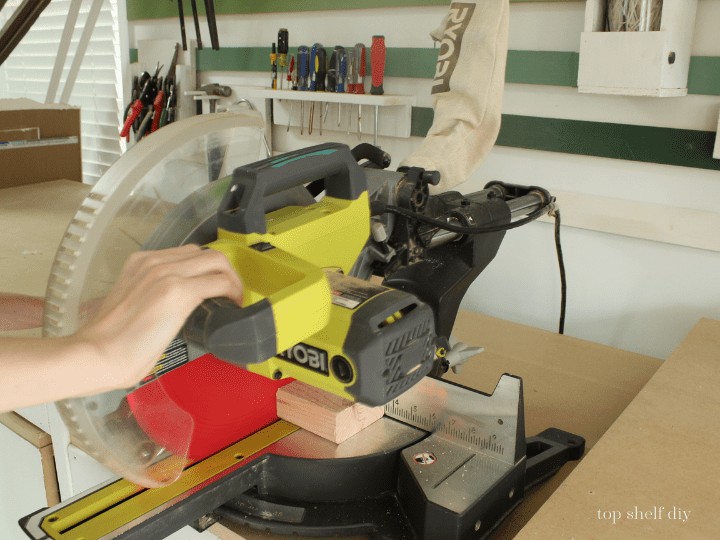
Let your blade come to a complete rest before returning it to its upward position. This will prevent it from removing any more material on the way up.

Take a deep breath. You did it!
Keep practicing and when you're feeling confident head on over to Part 2 of this tutorial!
Cheers,
Erin

Great tips! 💪