Make your own lined, custom-length curtains for only $8 per yard
It’s no secret that I love IKEA curtains.
They’re cheap, easy to hem, and super fun to customize with pom-poms, tassels, ribbon – the list goes on and on. I have them hanging in our office, both of my sons’ rooms, and now our dining room as well.
If you missed any of my previous updates on our dining room renovation, you may find them here:
- Phase 1: The Playroom Deep Clean
- Phase 2: Wainscoting Removal, Paint
- Phase 3: Widening the Interior Doorway and Adding Craftsman Window Trim
Now that I have a clean, bright space to work with, I’m onto the design phase of this room makeover. In addition to these budget-friendly curtains, I’ll be adding a new light fixture and a 2-story indoor playhouse for my kids. Stay tuned!
Ikea Curtain Fabric Options
It all started the other day when I visited the IKEA store in Atlanta. I was so excited to buy some curtains only to find that 75% of their pre-fabricated options were gone. We’re talking empty bins left and right. It was like some twisted, horrifying alternate reality where IKEA was going out of business.
In an act of desperation, I turned to the fabric bolts. Much to my surprise, I fell in love with this playful Scandinavian fabric priced at only $5.99/yard. I couldn’t decide what kind of sheers to use so I threw a bunch of these and these into my cart.
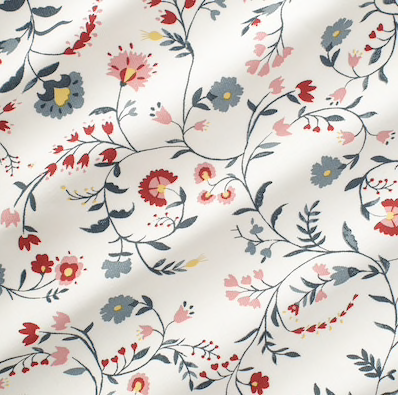
When I got home, I had a revelation: to use the HILJA sheers as lining! They already had tabs on the back which saved me the tedious step of adding ribbon tabs. I could hang the final panels as is or add RIKTIG hooks + SYRLIG rings to create a pinch pleat look. At 98” long, they were the perfect length without any hemming required.
Intimidated by sewing machines or power drills? I got you girl. Here’s how to make lined curtains AND hang them up on the wall in no time.
First, Here's How to Install Your IKEA Curtain Rod
This post contains affiliate links. By clicking a link and making a purchase, you can help support my blog at no additional cost to you! To read my policies, click here.
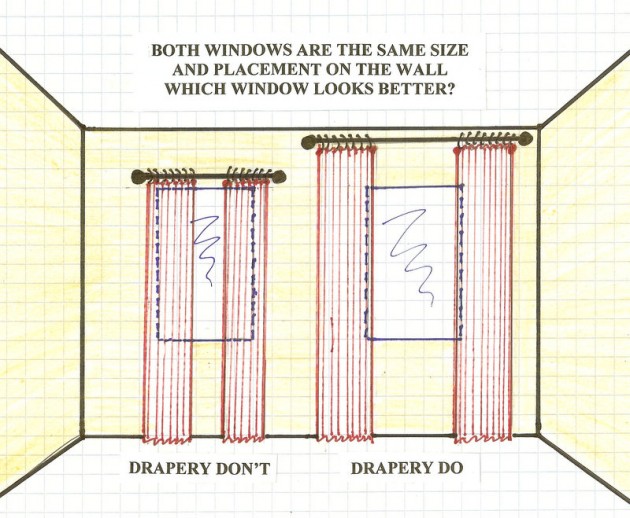
As the saying goes, plan to hang your curtain rod “high and wide.” This means as close to the ceiling as possible and as wide as possible to create the effect of tall ceilings and large windows.
I used wall anchors to secure my curtain rod brackets to the wall just in case my kids get any wise ideas. These puppies support 65-lbs of weight per screw and each bracket has two screws.
I used to dread putting holes in my wall with a drill. Now that I’ve had a lot of practice I can install 120” curtain rods like these all by myself. Here’s the trick:
- Once you’ve determined the final height of your curtain rod, put one of your brackets on the wall and mark the location of your screws.
- Use a laser level to mark the locations for your other wall brackets.
- Use a small drill bit to pre-drill the first hole. Put your bracket back on the wall and verify the location of your second screw hole. Pre-drill second hole.
- Grab one of your self-drilling drywall anchors mentioned above. Use a Phillips screwdriver to gently screw your wall anchor by hand into your pre-drilled hole. NOTE: it’s important to use a small drill bit in Step 3, otherwise your wall anchor may be too loose.
- Secure your bracket to the wall using the screws that come with your wall anchor kit. Repeat process until all your brackets are on the wall.
Now you're ready to hang your curtain rods! For a better visual demonstration, follow my video tutorial below.
Here are the IKEA products used:
- HUGAD curtain rods (2 total, size 83-152”)
- BETYDLIG ceiling bracket + curtain rod holder (3 total)
- BETYDLIG curtain rod holders (3 total)
- RAFFIG finials, 1 pair
- BEFOGAD finials, 1 pair
- KALKBRÄKEN fabric, 59" wide (6 yards)
- HILJA sheers, 1 set
Making Your Lined IKEA Curtains with Sheers
Step 1: Calculate How Much Fabric to Buy
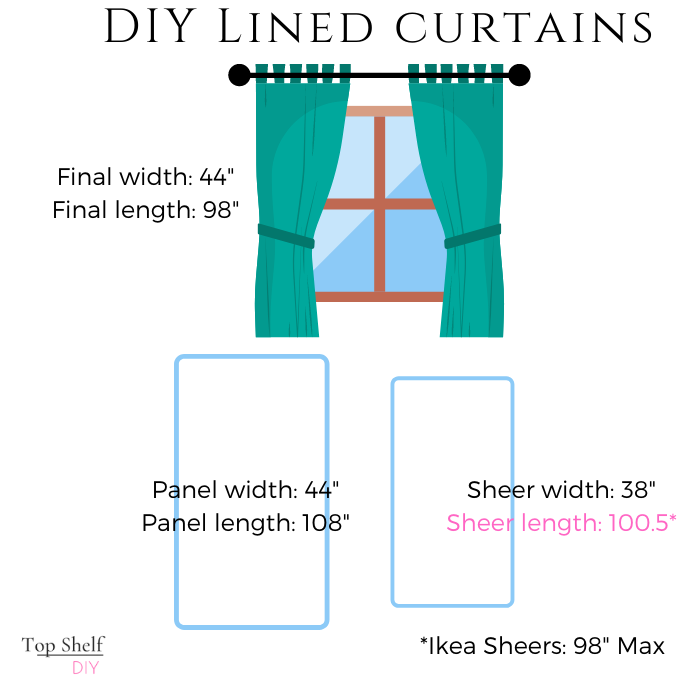
Most bolts run 55-59” wide which is usually more than enough to cover the span of your window with two panels. Take the final height of your curtains and add 10” (for an 8” hem on the bottom and 2” hem on top). For example, my final height was 98”, so I needed 108 inches of fabric.
To convert inches to yards, simply divide your total inches by 36.
108/36 = 3 yards x two panels, so I bought 6 yards of fabric off the bolt.
I didn't want my panels to be the full 59" in width (it would have obstructed a lot of the window even when pulled to the side). So I cut them down to 44" wide.
Step 2: Calculate the Length of Your Sheers
Use the final length determined in Step 1 and add 2.5" to that. For me this would have been 100.5". The packaged sheers come pre-hemmed at 98", so I just used them as is. Cut the width of your sheers to be 6" less than your curtain fabric. I cut my curtain fabric to be 44" wide, so my lining was 38" wide.
Step 3: Cut Your Fabric
I laid my fabric down on our dining room floor and cut off the first 108 inches. I laid this piece on top of the remaining fabric and trimmed it down to match.
Step 4: Iron all of Your Panels and Sheers
Double check the fabric tag to make sure it can tolerate the heat of your iron, or test a small corner of material. Both the bolt fabric and sheers tolerated the iron just fine for me.
The rest of this process happens pretty fast!
Step 5: Fold and Press Top of Curtain
Fold over the first inch of your curtain panel and press with an iron. Repeat process for one more inch and secure in place with pins.
Step 6: Pin Right Sides Together
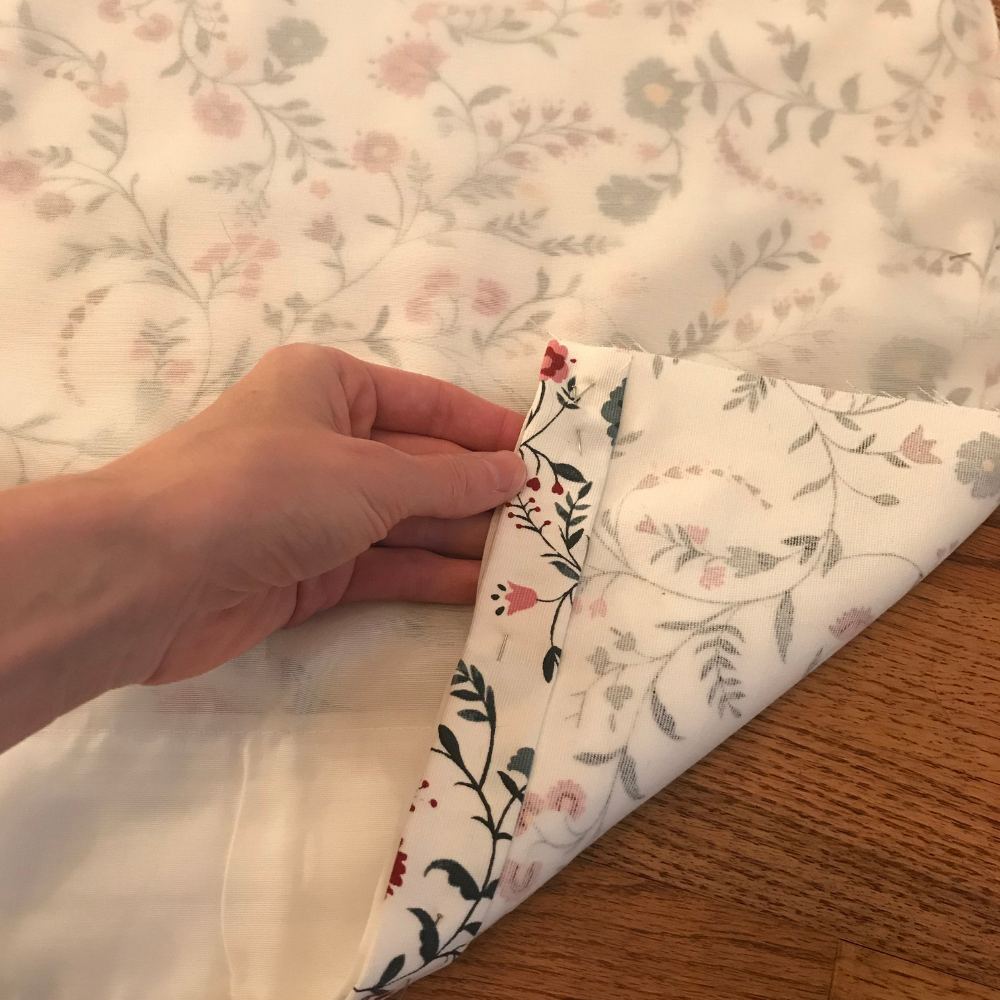
Lay your curtain panel on the floor, right side up, and your sheer down on top of your panel, right side down (so that the tabs are down). Align one side of your panel with one side of your sheer. Also align the top of your panel with the top of your sheer. Pin along the side and top of your pieces.
Step 7: Sew.
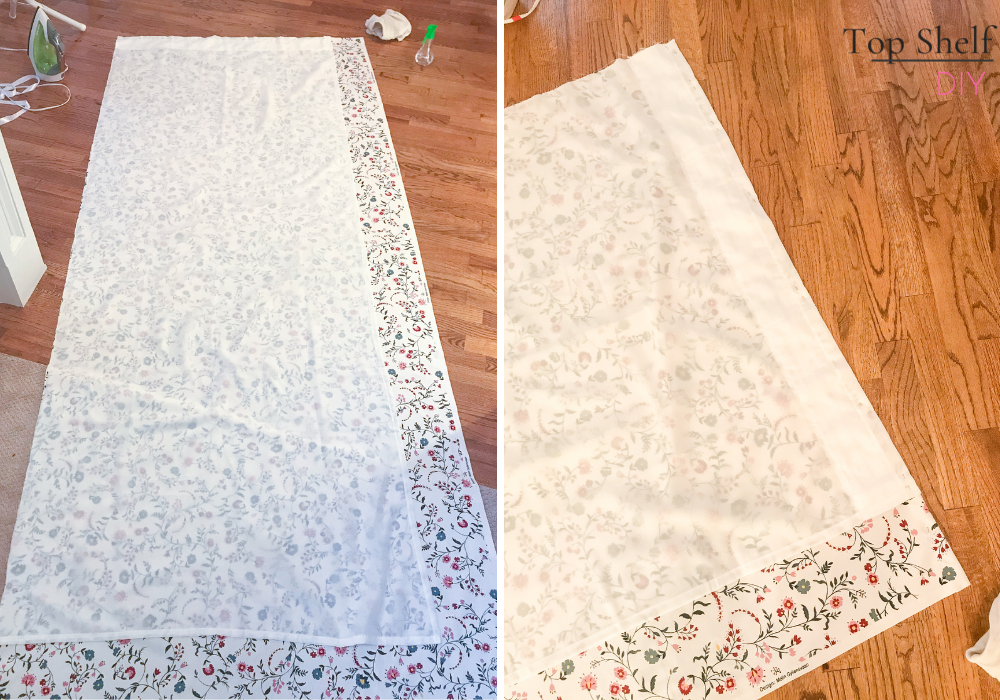
Sew a straight stich along the pinned side of your curtain and sheer. Don’t do anything with the top of your pieces just yet.
Step 8: Pin and Sew Again
Pin the other side of your curtain panel to the other side of your sheer. It’s going to be a little bit folded and awkward looking at this point, but that’s normal. Do another straight stitch along this edge.
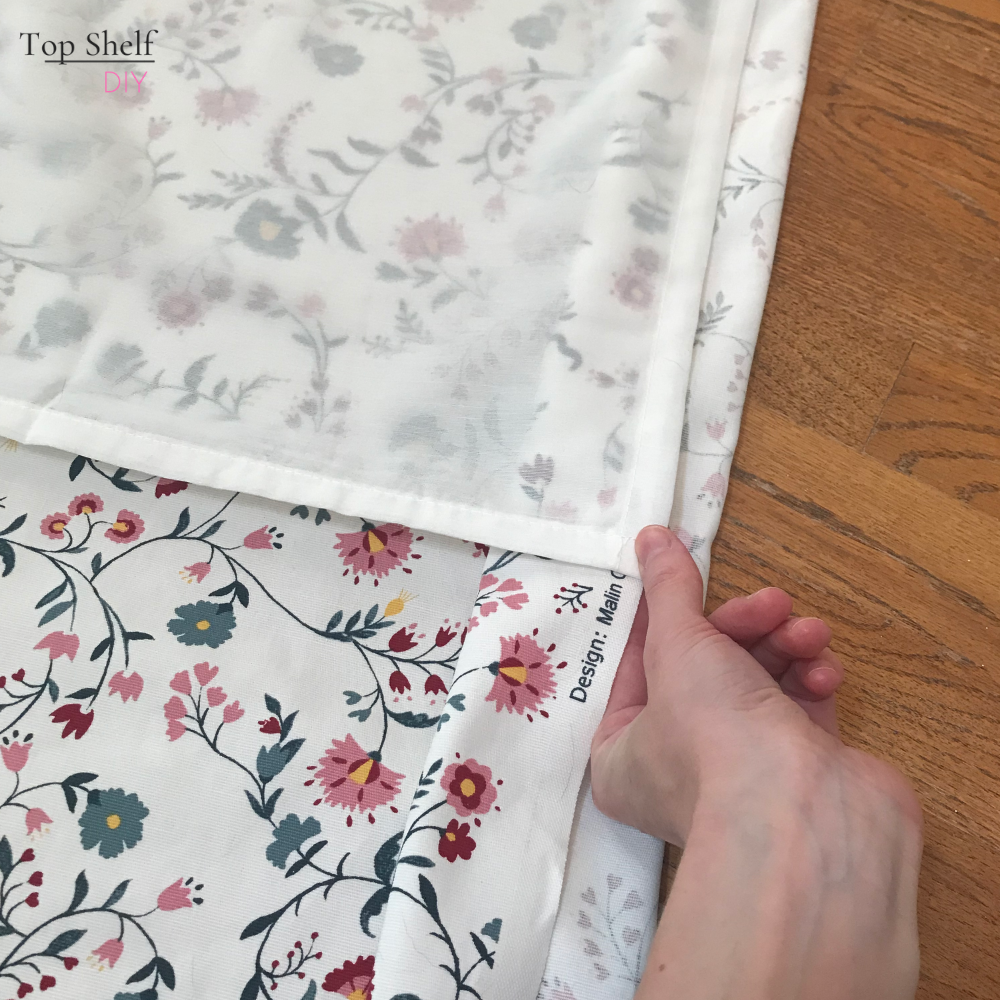
Step 9: My favorite part!
Fold your curtain panel inside out like a pillowcase. Remove the pins from the top of your panel. While your panel is still on the floor you’ll want to center the placement of your sheer. I took an iron and lightly pressed the sides in place.

Tuck your sheer underneath the top of your folded curtain panel and repin. Sew a straight stitch along the top of your panel to secure.

All that’s left at this point is hemming the bottom! Woo!
Step 10: Hemming your curtain
Fold up 4 inches of your panel and iron flat. Pin hem in place. Now hang up your panel directly on the curtain rod, feeding it through the tabs located on the back.
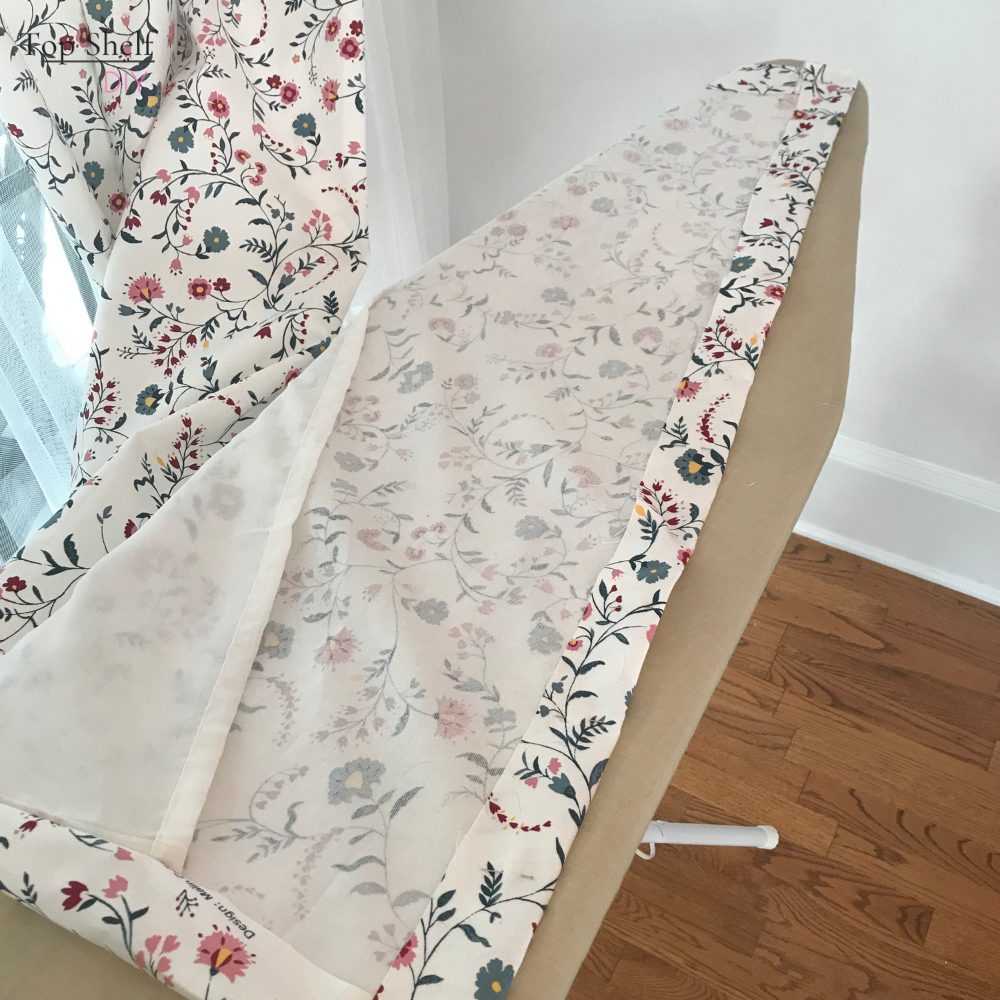
Step 11: Pin and iron flat
Hem your curtain so that it’s just “kissing” the floor and pin in place. With the panel still hanging on the rod, press the hem in place with your iron. Check once more to ensure your hem is exactly how you want it. Adjust as needed.
Step 12: Final straight stitch
Take down your curtain and sew a straight stitch along the bottom. Put your curtain back on the rod and you’re done!
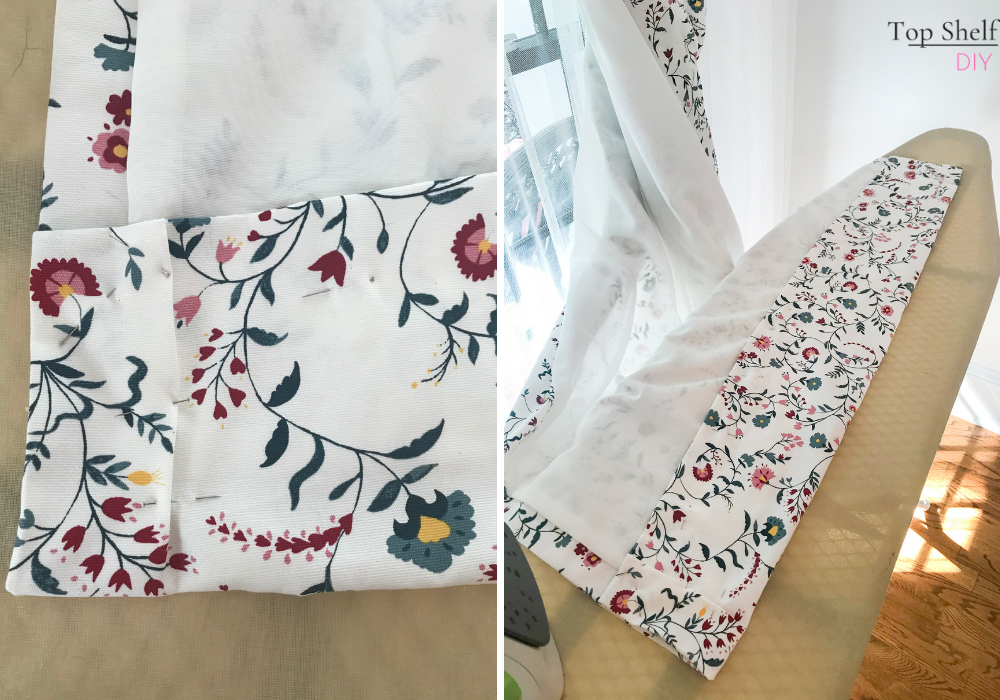
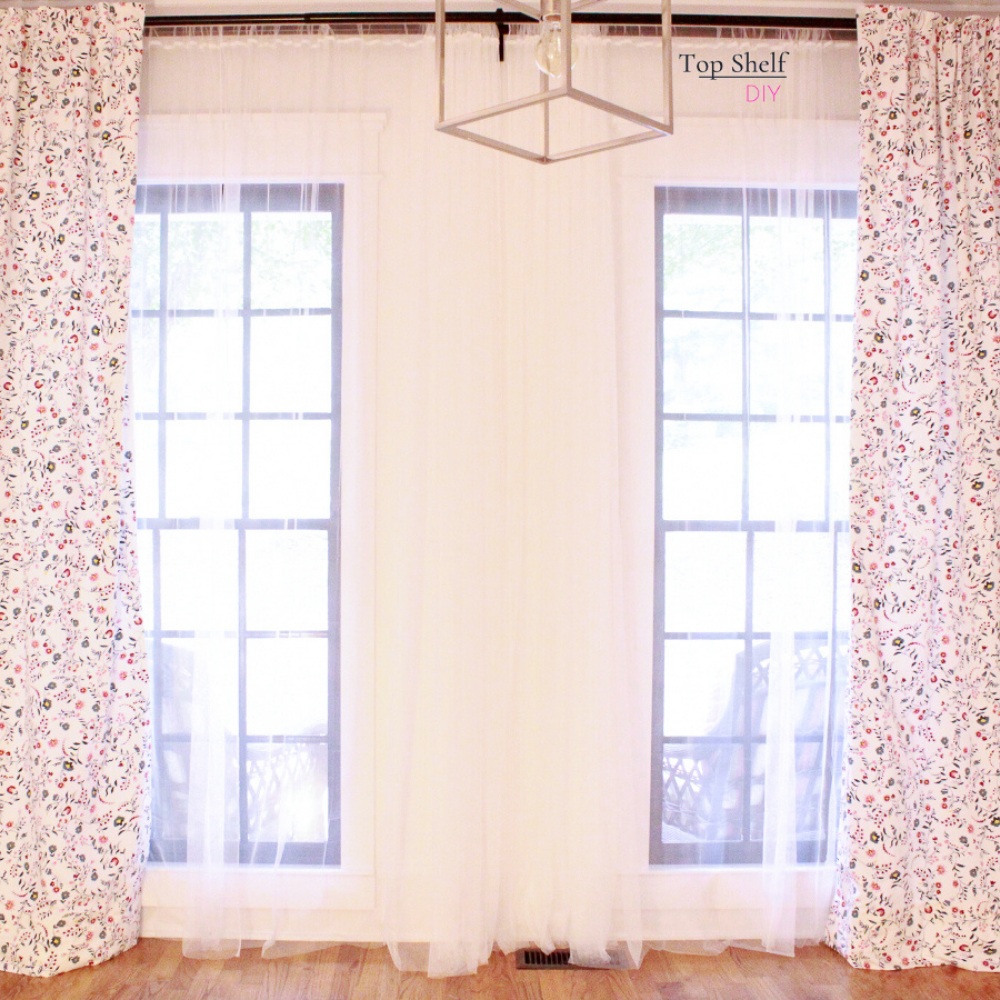
BOOYAH! DIY LINED IKEA CURTAINS
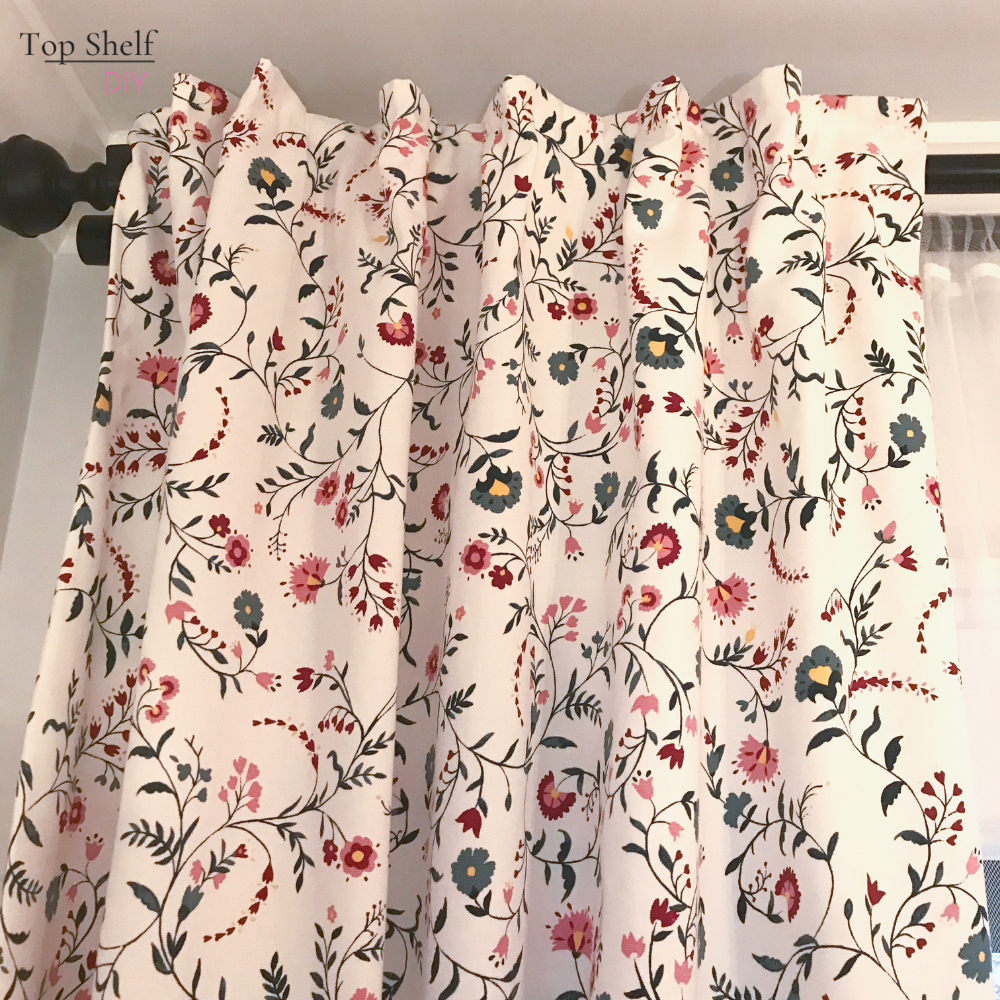
I’m pretty sure Ikea hacks could save the world from hunger (those meatballs!), illiteracy (Billy bookshelves), a shortage of PPE (repurposed blue shopping sacks), and clean drinking water (Raskog bar carts) if we put our heads together.
Maybe for now we’ll just stick to curtains 🙂
Cheers,
Erin



Leave a Reply