Do you want your floors to look as fresh as they did the day you installed them? Of course you do! Kayla Russell from KJP Select Hardwoods shares her expert tips for restoring and maintaining hardwood floors, which can quickly show signs of wear and tear when subjected to daily environmental hazards.
Over the years, your floors become marred by scratches, dents, and dirt build-up. Oak hardwoods that were once so stunning will look less than impressive after years of damage.
Even if you love the look of hardwood floors, you’re not such a fan of ones that are worse for wear. But if you want to give your hardwoods a refresher, what are your options? Here’s what you can do to make your hardwood floors look like new.

Jump to:
Use floor mats

Whether it’s the beginning of spring or the dead of winter, shoes and boots can bring a lot of dirt and water into your house.
Bad news for your hardwood floors.
To prevent this, put a few protective floor mats near any entrances and exits in your home. These mats will absorb liquid and keep any dirt under control.
Many companies now offer washable rug options, meaning you don't have to sacrifice style for protection. These include Ruggable, Boutique Rugs (featured in our living room remodel), and RugsUSA (featured in my older son's nursery).
Fill voids and cracks
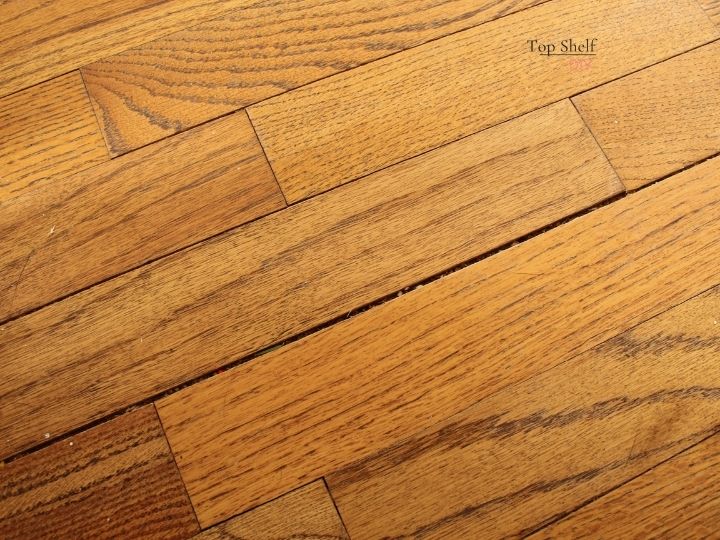
Voids and cracks in the wood can be uncomfortable to walk on, not to mention unsightly. What can you do to repair them?
The owner of KJP Select Hardwoods writes, “An epoxy wood filler will blend in with your current floors to fill cracks, voids, or other damage. Once the product cures, it just needs a light sanding to level the surface”.
Wherever your floors are heavily damaged, repair them with an epoxy wood filler. Choose a color that closely matches your hardwood floors, or stain patched areas once they have dried.
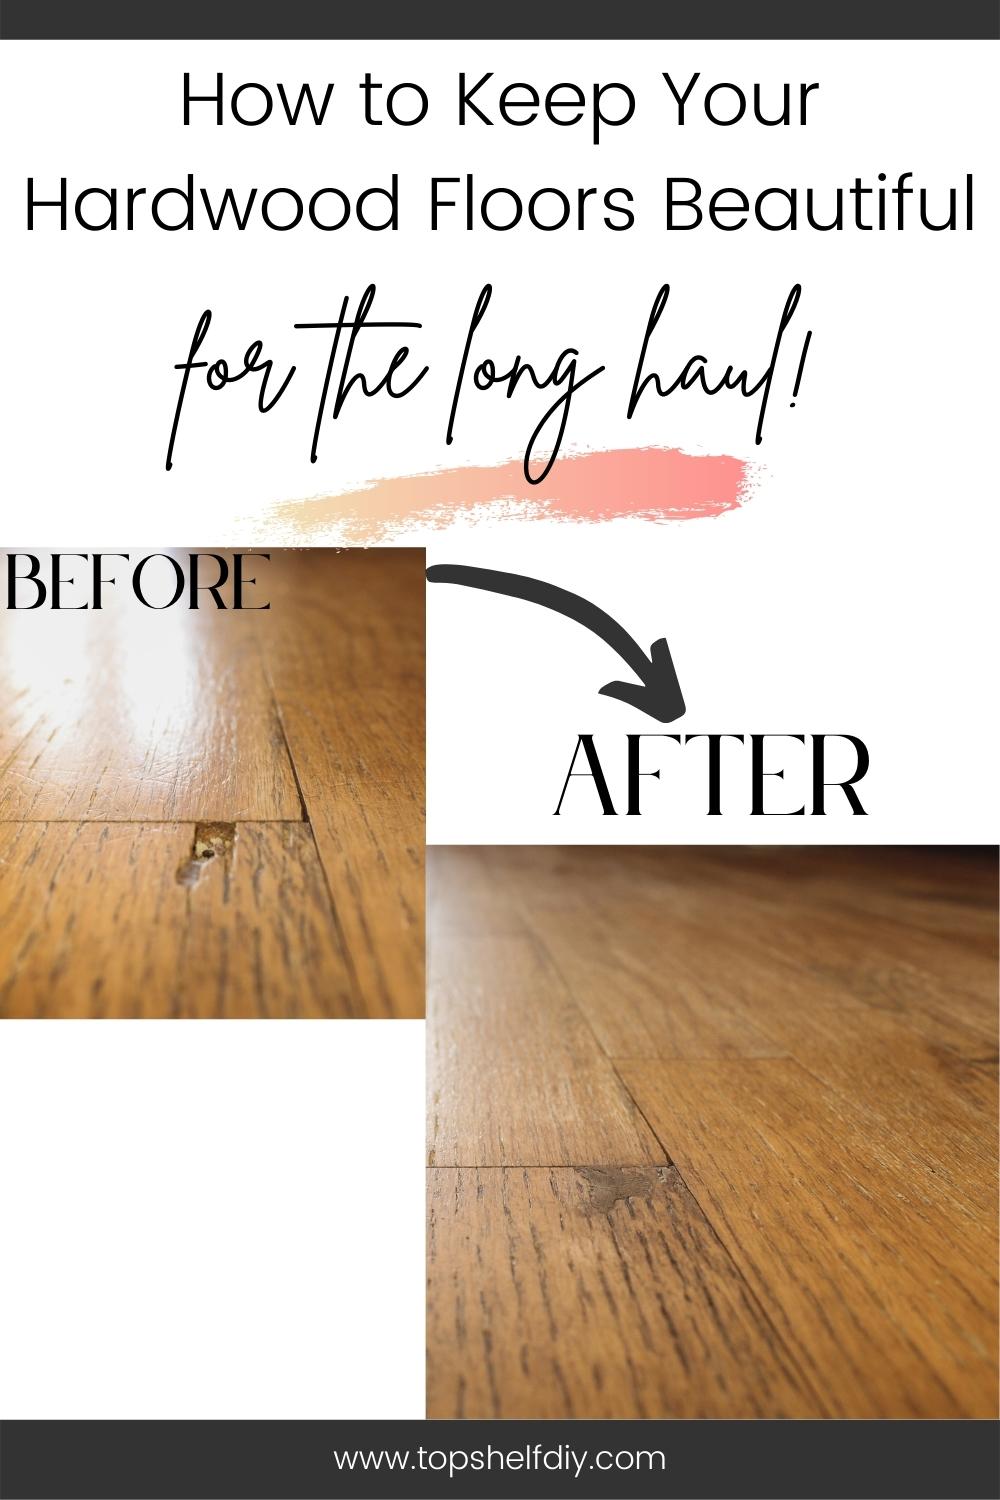
Vacuum up any loose crumbs that have fallen into the gaps. Then mix your wood filler part A and part B, which consist of a resin and a hardener. (It will feel like playdough in your hands! A little bit goes a long way!) Fill the hole with your puddy, and sand thoroughly once dry. In the scenario pictured below I applied a few layers of Dark Walnut by Minwax with a tack cloth to make the filled area look more like a knot in the wood.


Applying a new finish
What gives hardwood floors their flawless, shiny finish? Applying a fresh coat of polish to your floors will transform your hardwoods. However, this process isn’t as straightforward as it sounds; you’ll need to use a specific product based on the finish that’s currently on your floors. If you choose the wrong product, the floors might end up looking cloudy.
Step 1: Assess Your Current Finish
Let’s start by finding out what finish is currently on your floors. Using a sharp knife, carefully scrape some of the coating off your floor. Try to choose a spot that’s out of sight. Now, take a look at what’s underneath. Did a clear material come off? If so, you can use a polish (or a surface finish) on the floors. But if nothing scrapes off the floors, then it’s probably coated with wax (or a penetrating finish).
What if your floors have no finish at all? To test for this, add a small drop of water to the floor. If the water is absorbed, that means the hardwoods are unsealed. We suggest using wax to seal your floors.
Step 2: Prepare Your Surface
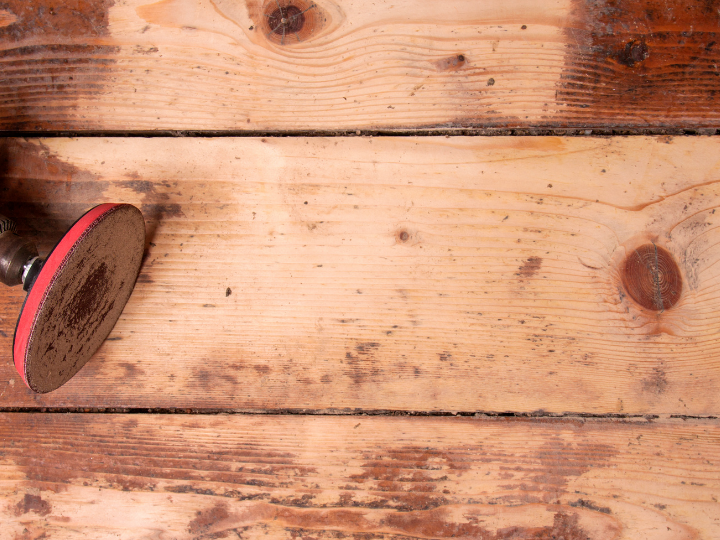
The next step is cleaning the floors. Any lingering dirt or dust will interfere with the finish, so you want to sweep them thoroughly. If there are any stains or residue on the floors, use a soft cloth and warm water to remove them. Then, dry them with a different towel.
Depending on the condition of your floors, you might need to sand them before applying a finish.
Let's say you have full-thickness scratches or you're planning to stain your floors a different color. In this scenario your hardwood floors will need to be sanded, and you’ll need a bit more equipment: a drum sander, a dust mask, and varying grits of sandpaper.
What about superficial scratches? According to the editors at This Old House, you don't necessarily need to sand your floors down to bare wood. Simply rent a buffer machine from a home improvement center, which will buff away any surface-level scratches and help the finishing oil apply evenly. Once you're done buffing you can apply either a water-based or oil-based polyurethane.
Step 3: Apply Your Finish
Now it’s time to apply the finish. Start by pouring a small amount of wax or floor polish onto the hardwoods. Then, carefully spread it in an even layer using a flat-surface mop or T-bar. Try not to get any product on the baseboards or walls; otherwise, the product may discolor the paint.
Step 4: Let It Dry
While the finish dries, try to avoid walking on it (wait at least a day). If you want a glossier finish, add another layer of the product after the first one dries.
Use furniture pads
Before you change the layout of your living room or bedroom, make sure that you have plenty of furniture pads. Without these felt protective covers, any chairs or couches you move will leave scratches behind. Add one furniture pad to each leg of furniture before you move them across the floor.
Cleaning and maintenance
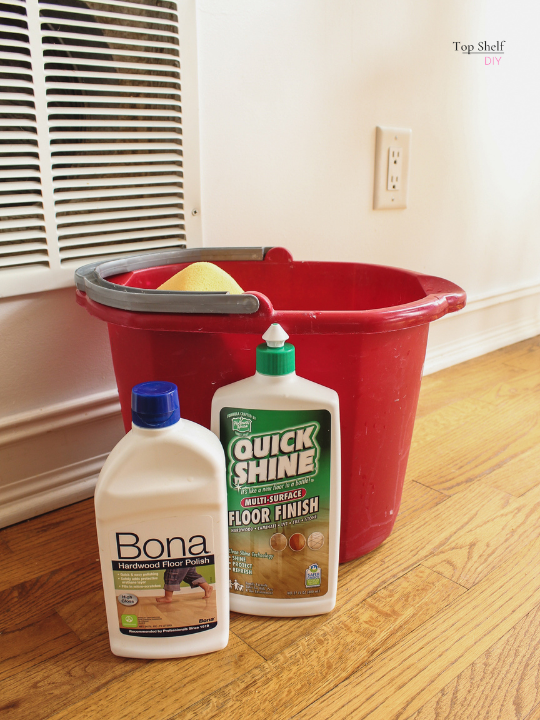
What are some simple, everyday things you can do to protect your hardwood floors? Here’s a general cleaning routine that you can follow:
- Try to sweep the floors every few days. Once or twice a week is a good target to aim for. If you have pets or small children, you’ll probably need to sweep more often. Want to clean your floors more often, but you simply don’t have the time? Consider investing in a Roomba, a small robot that automatically vacuums your floors.
- When your floors get especially dusty (like after a home renovation), you can use a vacuum. A vacuum with a rubber coating or brush attachment will reduce the chances of scraping your floors. Try not to apply too much pressure, or the vacuum could scratch the floors.
- If you’re mopping the floor, make sure to use as little water as possible. Wring out the mop as much as possible before wiping your floors. Excess water may cause the floors to warp or split.
- Whenever you spill water on the floor, make sure to clean it ASAP! If you leave standing water on your hardwood floors, the material will soak up all that moisture in no time. You’ll be left with floors that are discolored and misshapen.
Here’s one last tip: if you’re applying a cleaning product to your floors (such as a floor cleaner or soap), make sure that it’s specifically designed to be used with hardwoods. Otherwise, it might contain cleaning agents that are too harsh and may damage the surface of the floors.
Enjoy your renewed hardwood flooring!
And that’s it! With these tips, your hardwood floors will be restored in no time. A bit of floor polish, cleaning, and a few floor mats will keep your floors looking fresher for longer.
Thank you Kayla for sharing your knowledge and expertise!
Cheers,
Erin



Leave a Reply