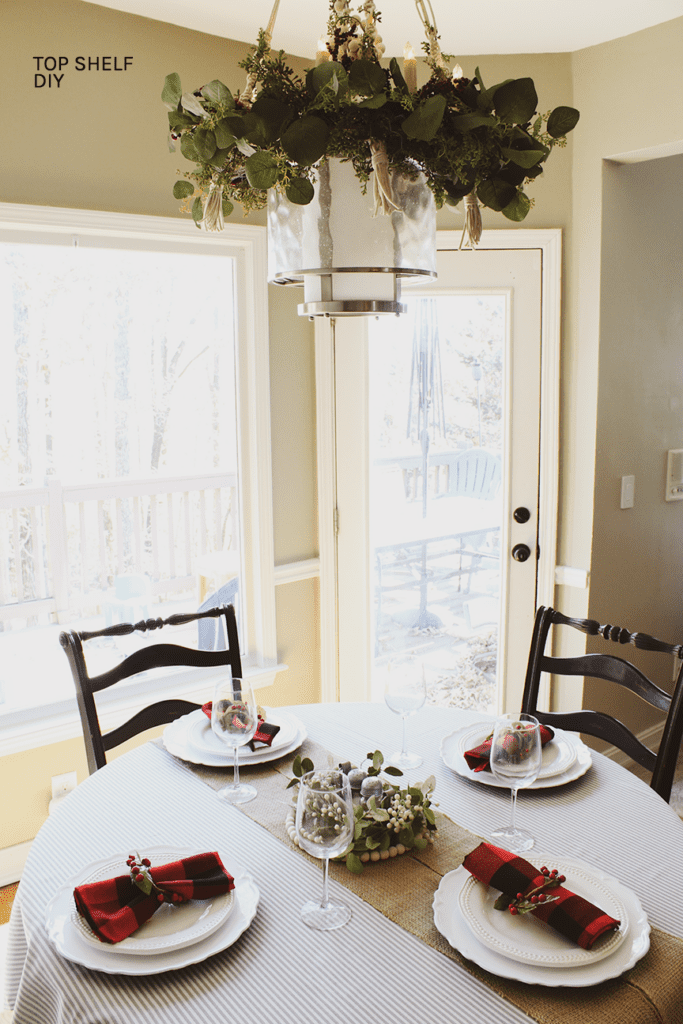
Give your existing light fixture a bohemian lift with just a few easy macramé knots, some chicken wire, and garland.
Welcome to Week Two of the 2020 Christmas Craft Materials Challenge, where every week is like a crash course in a niche crafting medium.
Last week I shared Three Christmas Projects Made with Clay, and this week we're making something with macramé.
I'm feeling very tribal-eco Anthropologie this week, since my latest project features not only macramé, but also tassels (yes, tassels), wood beads, and a Scandinavian-inspired rustic chandelier. All I need now is some bongo drums to complete the look.

It's 2022. Who doesn't need a set of bongos?
My DIY Macramé Chandelier
This project was designed with the upcoming holidays in mind, but could be easily tailored to other seasons by changing up the floral arrangement. All you need is basic starter macramé skills...and bandaids (more on that in a second).
Macramé is super on trend right now, and rightly so. Not only is the creation process therapeutic, but even the simplest of knots will leave you with a beautiful finished product.
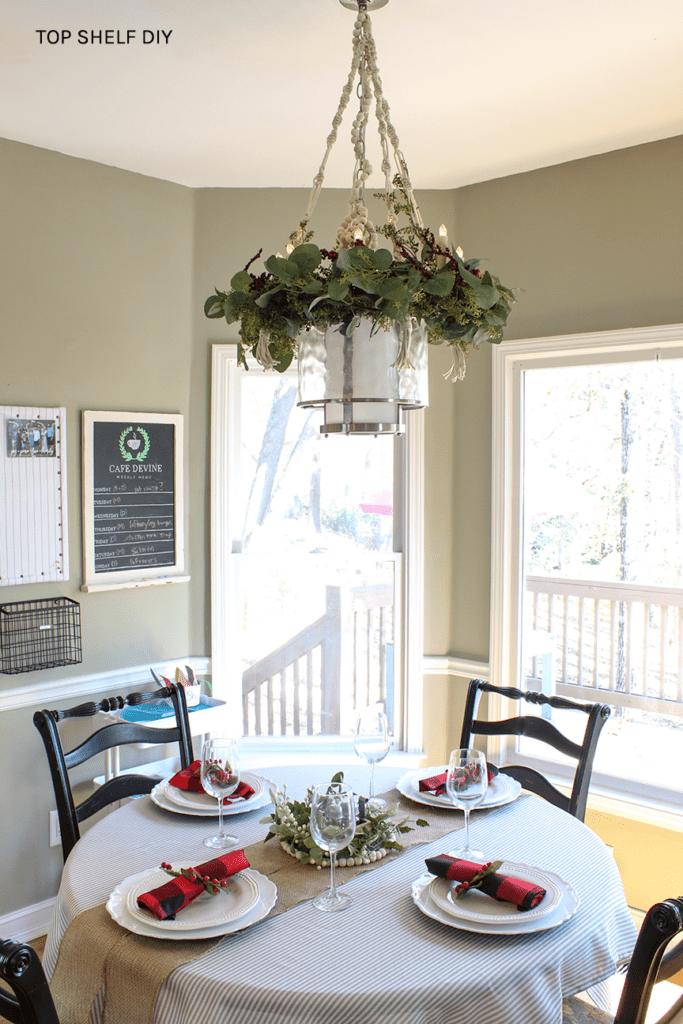
I was very eager to up the lighting game in our kitchen eating area. I can't really afford to swap out all the brushed nickel fixtures in our house, but I can definitely afford to cover it up.
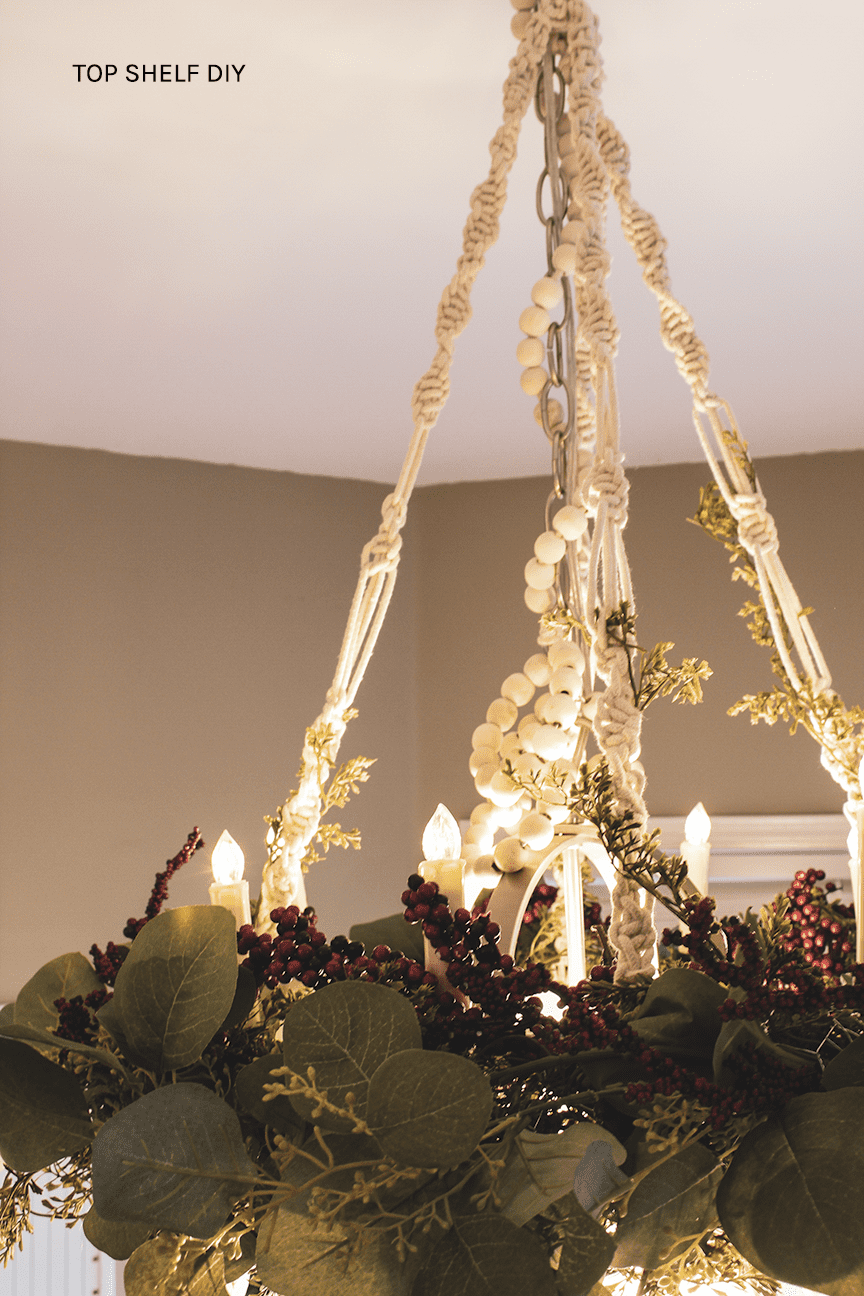
Crafting Materials Needed for Your Eco-Chic Macramé Chandelier
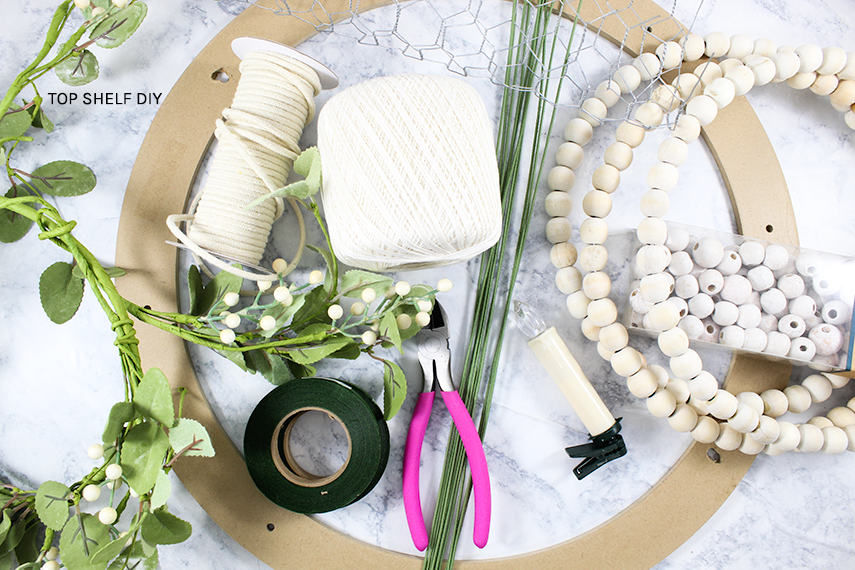
Start by gathering the following:
Note, this list includes affiliate links for your convenience, which means I will make a very small commission should you purchase any of these recommendations. For more, see my disclosures.
- 4mm macramé cording
- metal snap hooks
- chicken wire
- 6" wreath ring
- wood beads
- aluminum wire
- 2 floral garlands (eucalyptus, cedar) + faux holiday berries
- flameless tapered candles
- floral tape (optional, to cover any exposed chicken wire)
Tools
- Drill with large drill bit
- wire cutters
- safety gloves (for while you are working with the chicken wire)
Making Your Macramé Chandy Cords
Start by cutting 8 cords from your macrame roll. This will give you 16 cords total when each cord is folded in half. You'll want each strand to be about 54" long. I made mine 48" long and could have used a little more length.
Next, find a hook — I used the wreath hanger on our front door. Attach your metal snap hook to your hanger. Now pull your cords through the hook so that there is an even amount of strand gathered on either side.
Make a gathered knot at the top.
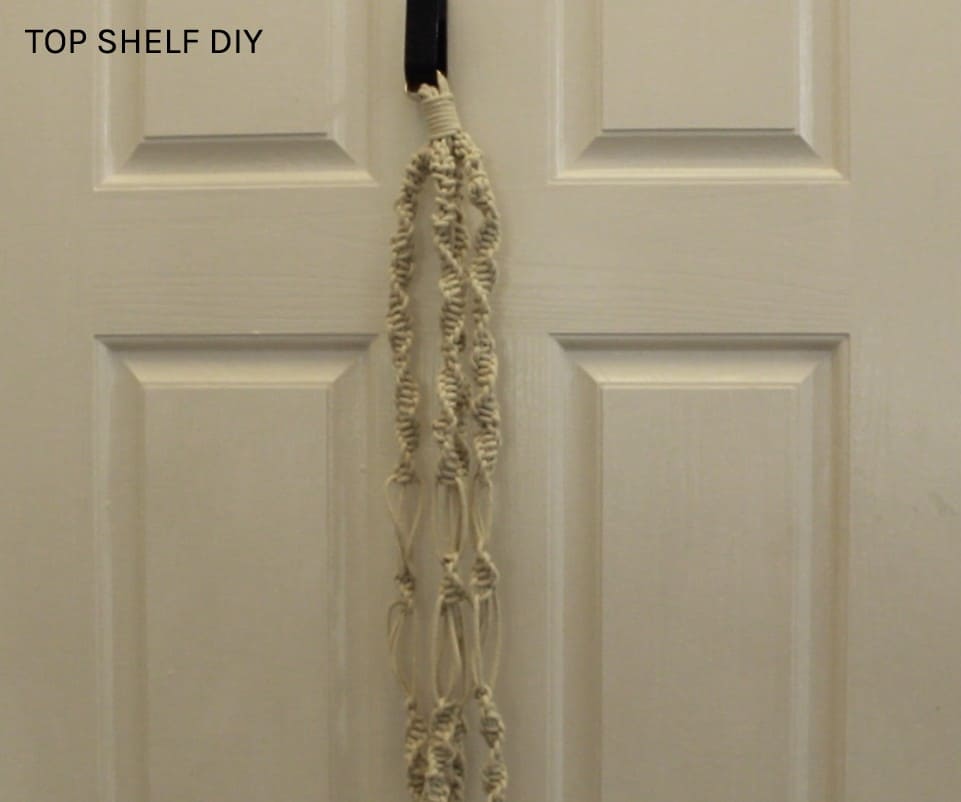
At this point you should have 4 sets of cords with 4 strands each. You can do any kind of knots you want along each set, but I recommend keeping the design consistent from one strand to the next. Here's what I did for my pattern:
- (3) Crown knots
- (3) 4 Cord french knots
- (32) Spiral knots
- 2" gap followed by (1) square knot
- (5) Spiral knots
- 2" gap followed by (1) square knot
- (32) Spiral knots
*You may need to add more knots or more length to your cords if you have a larger light fixture to work around. This is just what worked for me.
Preparing the Base of Your Floral Wreath
Set your macramé cords aside for a minute.
Find the four holes in your wreath ring at North, South, East, and West. Take your drill bit and enlarge these holes to double their size. As you can see below, the preset holes are too small to fit four cords as is.
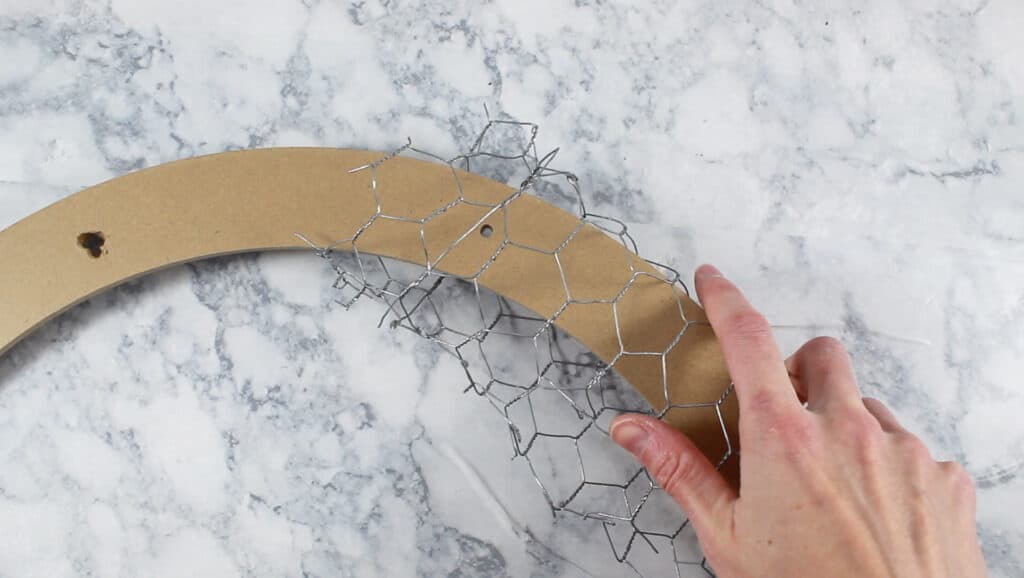
Now it's time for your chicken wire. Using your wire cutters, cut pieces of chicken wire about 4" wide and 8" long. You'll need about 6 or 7 of these total to cover your wreath. Wrap your pieces around the wreath, interlocking each section as you go.
Time to hang the base of your chandelier!
Now, it's time to party like it's 1999 and get up on that dining room table. Or... use a ladder to reach the top of your light fixture. Your choice. But for the love of all things holy, please be careful! Please make your husband hold your beer until after these last few steps have been completed.
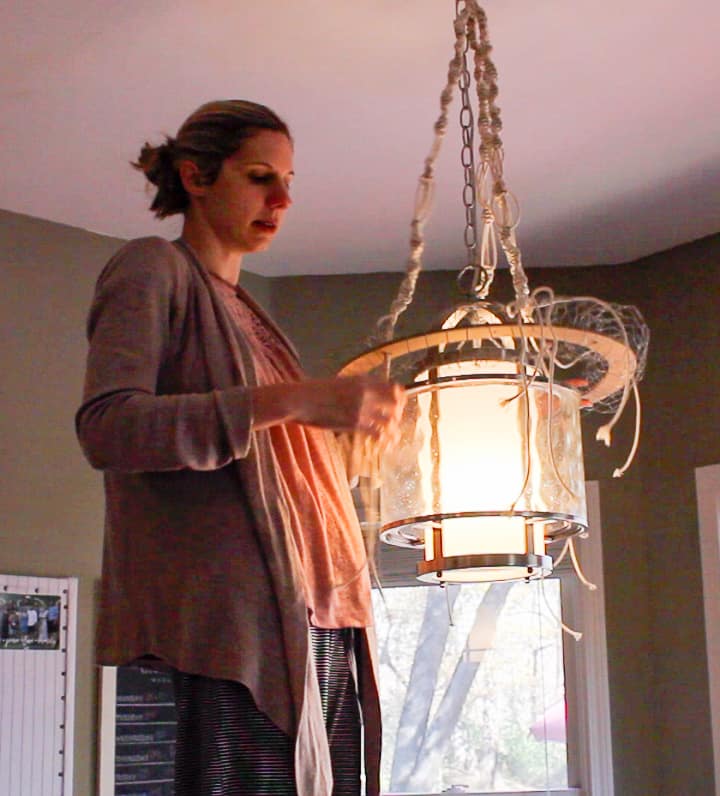
Thread each set of chords through the holes you enlarged with your drill. Secure the threads with a gathered knot.
Your chandelier is looking pretty ugly right now, but that's about to change.
Don your gloves.
Now, cut small strips of your garland and start tucking them into your chicken wire. Go all the way around until you have the first layer of garland inserted. See, it's already looking better!
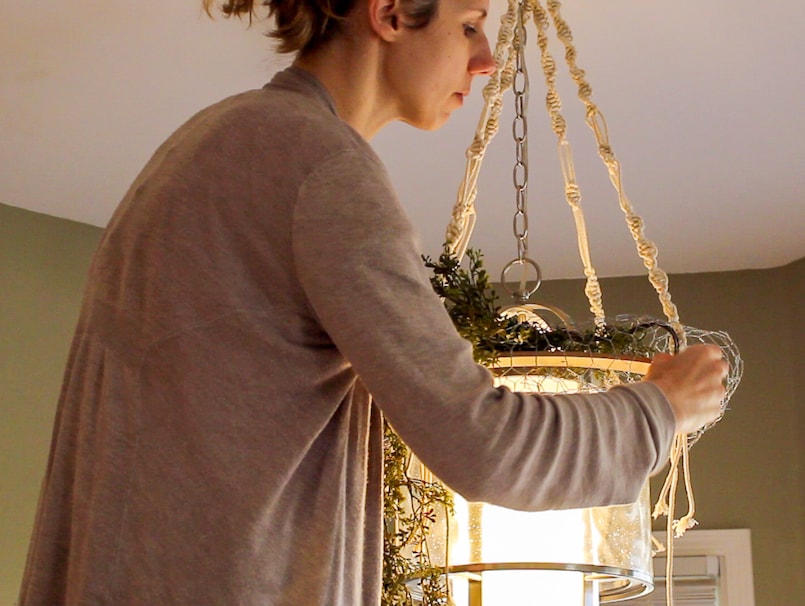
Now add your second layer of garland. Finish by tucking in your holiday berries and battery-powered tapered candles.
Clean up the ends of your macrame cords by adding a pretty tassel.
Optional Final Step: Add Wood Beads to Your Chandelier
I purchased some hoops of wood beads in the hopes of using them somewhere. I really didn't know where I was going with this, but I really wanted an excuse to work with wood beads!
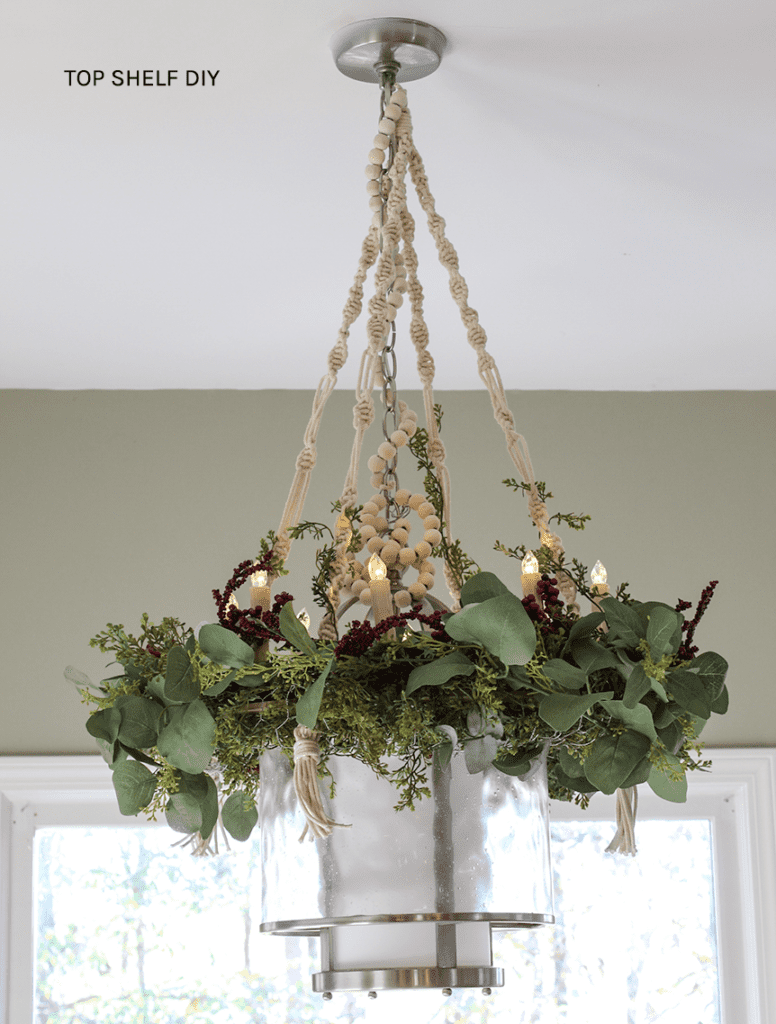
I cut 4 pieces of aluminum wire at about 12" each and added 13 wooden beads. I wrapped them around the base of the light fixture in an interlocking manner. Then, I strung a long piece of cording with another 25 or so beads and wrapped that around the chain of my light fixture.
Voila!
I really hoped you enjoyed this tutorial and are considering a trial run of macramé! After a little research and seeing some of the more advanced options out there, I'm beginning to understand what all the fuss is about.
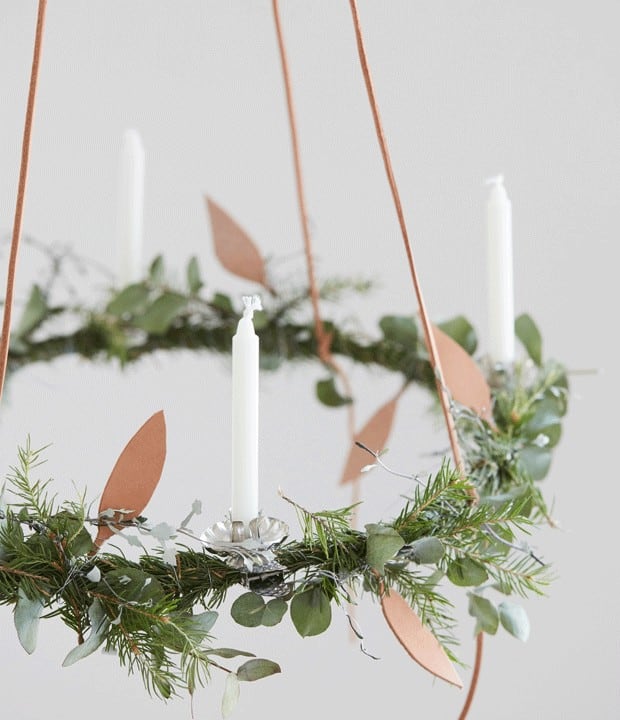
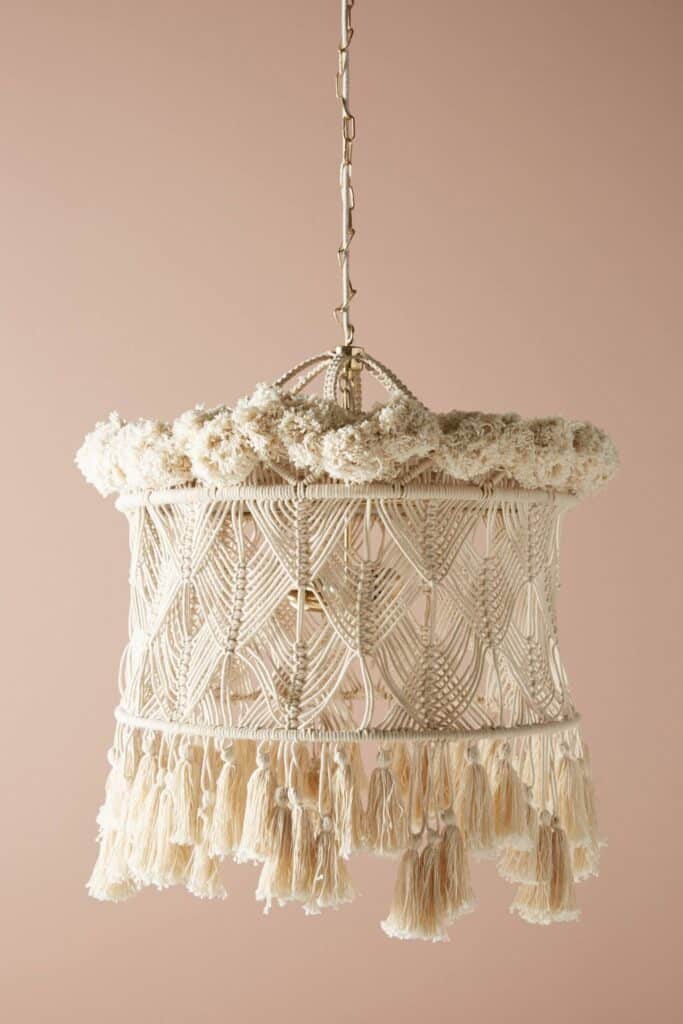
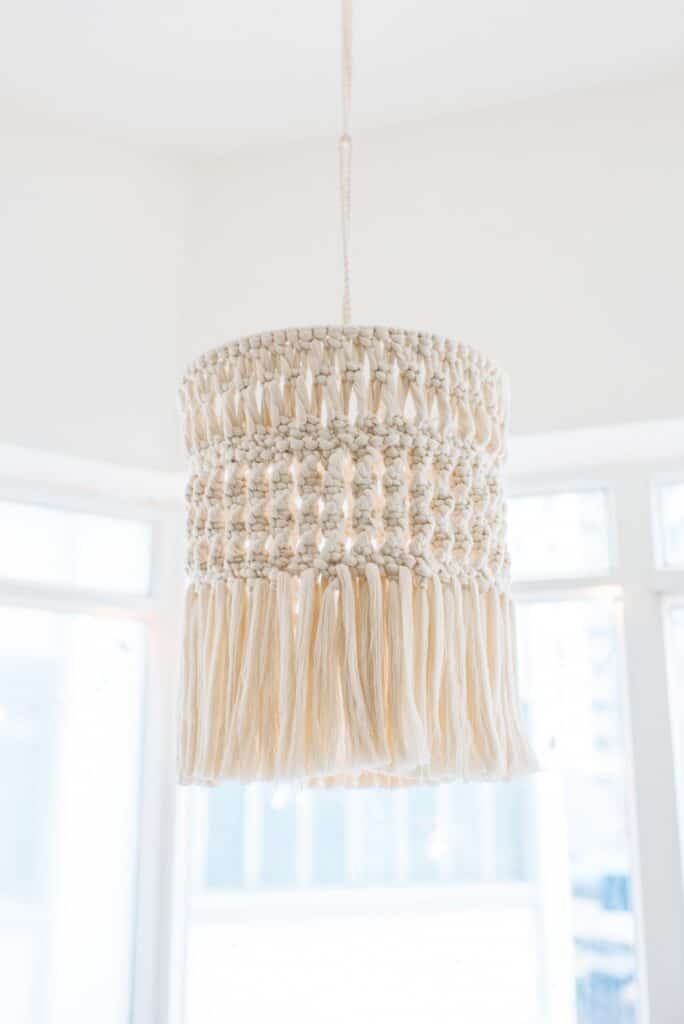
Here are a few more chandelier options to inspire you.
If you missed last week's venture into clay crafts, I have linked the post below. And please check out my sister blog, If Only April, to see how she made Scandinavian Advent Calendar with a Macramé Crescent Moon 😍
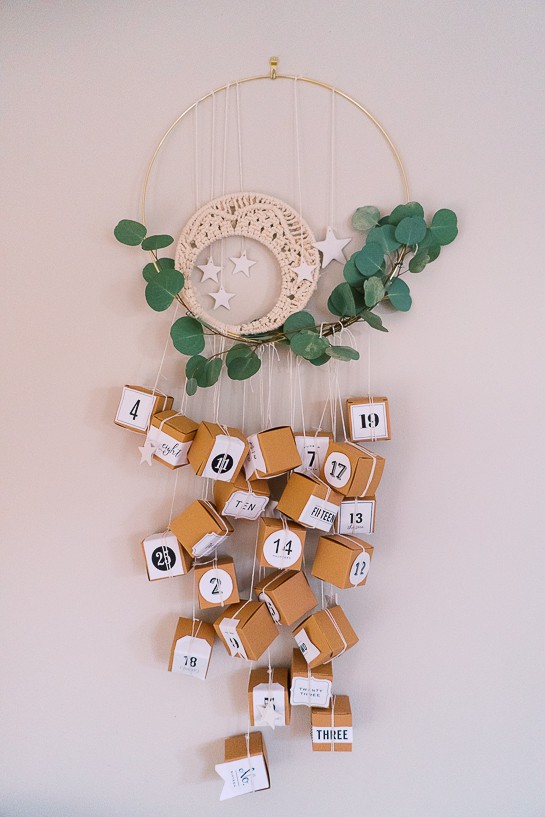
Stay tuned for next week's Christmas Craft Material Challenge, where we take on the beautiful world of felt!

Week 1: Clay
Week 2: Macramé
Week 3: Felt
Week 4: Cork
Week 5: Cement
Week 6: Chalkboard
Cheers,
Erin


Leave a Reply