When your dining room doubles as a playroom, organization is key.
I don’t know about you, but this quarantine has me watching some very strange videos on YouTube. The kind where it hits you 15 minutes in that this is not normal.
Like disgusting car details. A cobbler with the manual dexterity of a plastic surgeon. People dyeing their hair orange.
First off, YouTube -- you have a sick, twisted mind. And I like it.
Secondly, I must say, there’s something so satisfying about a transformation right now, even if it pertains to a worn out leather shoe. Maybe we need to see the world moving in a positive direction…or maybe we just have too much time on our hands…I’m going to go with option #1.
Anyway, these videos inspired me to take on the most chaotic room in our house – ENTER IF YOU DARE – The Playroom. I’m being a little dramatic. It’s not that bad. But it needs help. Picture yourself wading through this room with a toddler glued to your leg...
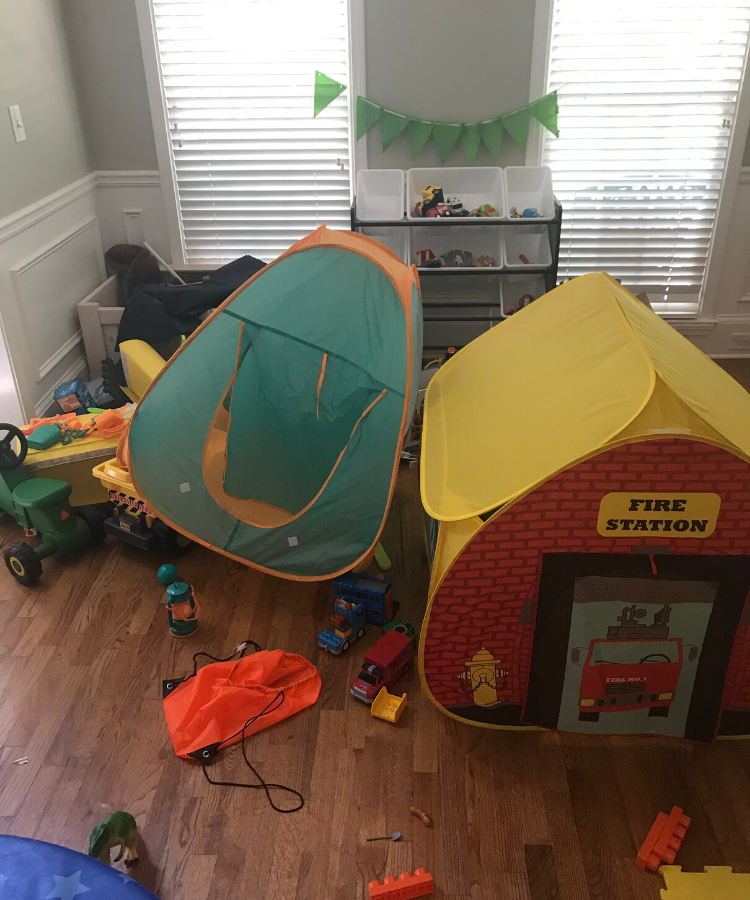
Our kids’ playroom is actually a very small dining room off the foyer of the house. Note: I say “kids” but our 3-month-old can barely lift his head at this point. It’s one of the first rooms you see when you walk in the door. So naturally the chaos gives me anxiety.
As expected, the cleaning process was quite cathartic and inspired me to take it one step further. This room needs more than just organization.
It needs beauty.
But first, let’s break down the cleaning process straight from my head to this page.
How to Deep Clean a Playroom (one baby step at a time)
Step 1: Clear Your Workspace. Give yourself a small area to work with, even if it’s just a larger path. You’re setting the stage for the massive dump your room is about to take. Just kidding...not really.
Step 2: Dump everything out. Remove every item from its resting place so you can take stock of what needs to be categorized. Have a few designated sorting bins handy – once you get started, you won’t want to stop to put things away. Trust me.
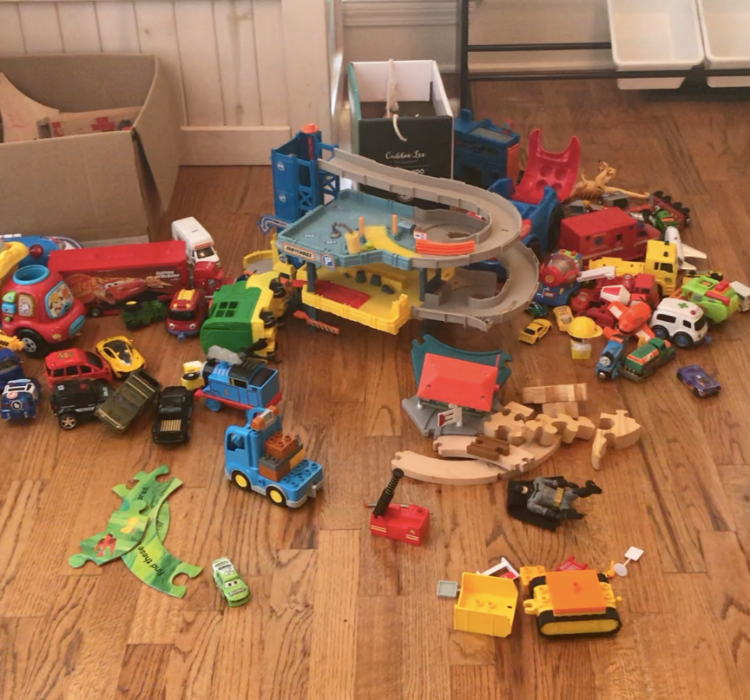
Step 3: Clean your containers and toys. This one's easy to miss. Before putting everything away, make sure your bins and containers are spic and span. Wipe everything down with Lysol wipes. If you have sensory bins, get your kids involved by having them scrub their toys in a “car wash” (more on your kiddos in a moment).
Step 4: Start purging. Less is more. This would be the moment all those broken Happy Meal toys somehow find their way to the garbage. This is a home, not an orphanage. Abandoned toys belong in a storage bin – not your prime real estate space.
If your kid hasn’t played with it in the last 6 months, he or she probably never will. Want to know the best way to find out? Reintroduce the toy after a short time and see if there’s any “spark” as Marie Kondo would say. If not, donate or ditch it.
Step 5: Wipe down your walls, windows, floors, and lighting fixtures. This is a rare moment in time and you may never get it back. Attack this empty room while you still can. Isopropyl alcohol does wonders for getting crayon off of the walls.
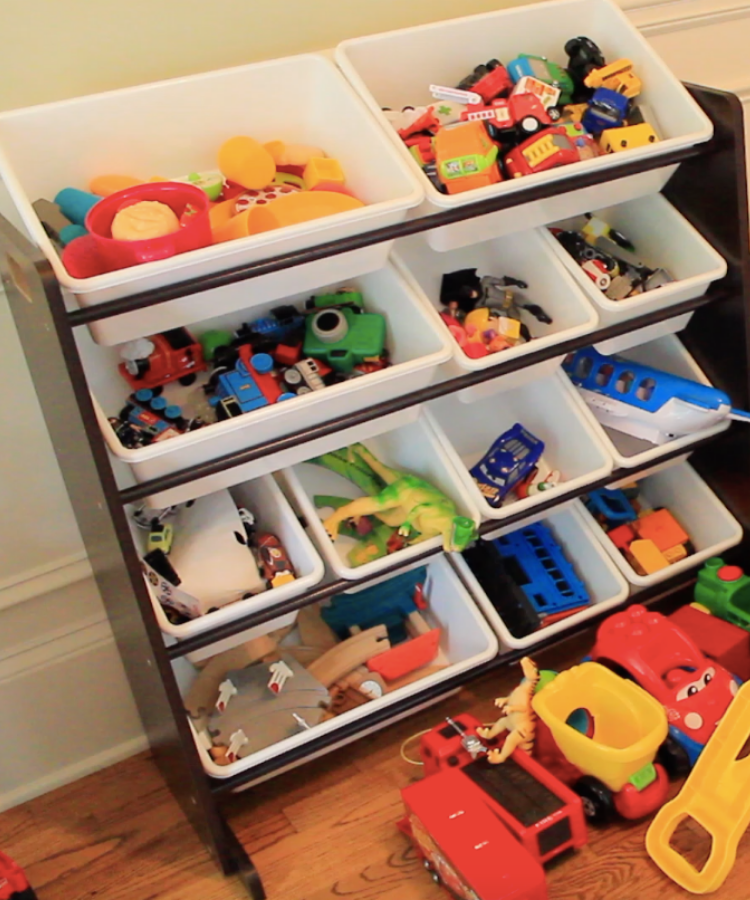
Step 6: Assess your inventory. Consolidate. Before putting everything away, see what needs a “home.” It might be time to upgrade your storage system to plastic Tupperware bins or a cubby shelving unit of some kind.
Step 7: Establish play zones. Make sure there’s enough breathing room so your kids can actually play with the stuff you just organized. Square footage allowing, designate one area of the room as a Tinkering Space (blocks, puzzles, Montessori toys), another as a Reading Space, and another as a Creative Space (craft table, easel, supplies). The rest of your area can be dedicated to storage.
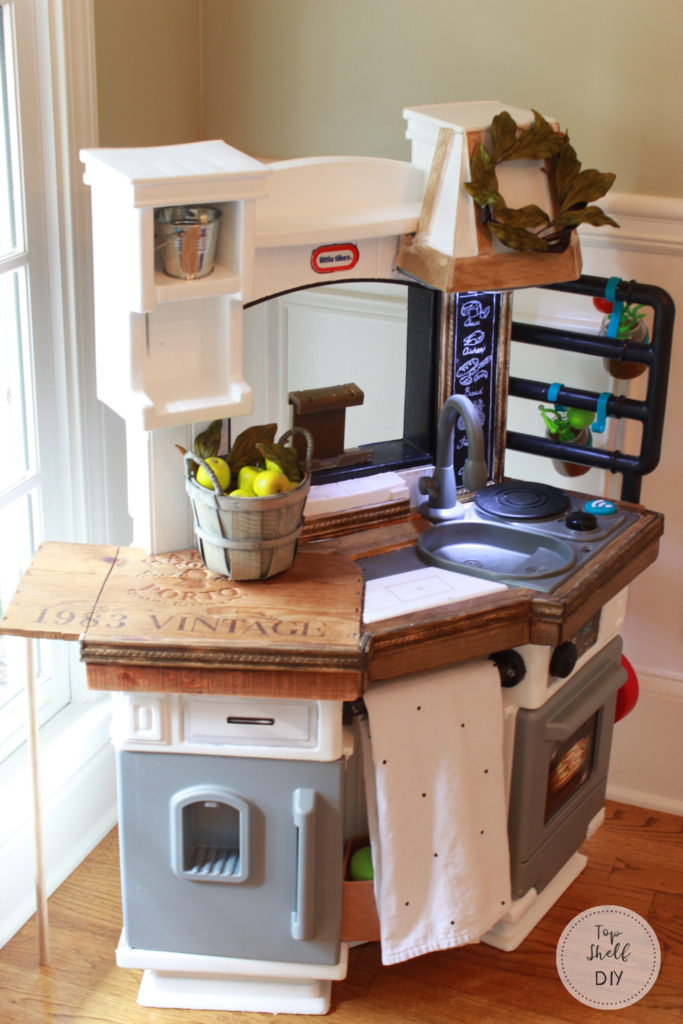
Step 8: Keep like items close together. Have your kitchen gear near your play kitchen, your craft supplies near your kid tables, etc.
Step 9: Label it! Now you can start having fun with this. There are so many cool mommy bloggers out there making gorgeous labels – a cursory search will make your head spin. If you don't own a Cricut, don't sweat it! Many Etsy shops sell pre-fabricated vinyl labels. You could also purchase blank labels from your nearest office supply center and feed them through your laser printer.
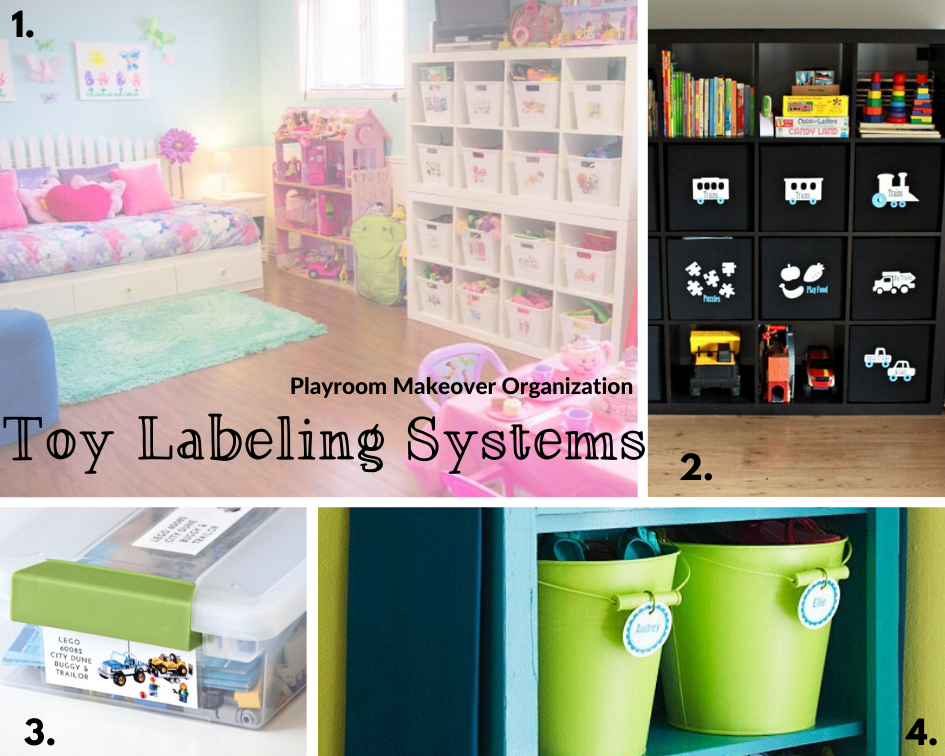
Step 10: Put away everything in its place. Savor these fleeting moments of glory. With a little reinforcement, I gather your kids will do a better job putting toys away in their designated spots each night…especially if there wasn’t a system to speak of before!
For a visual breakdown, follow me (and Evan) along in our playroom deep cleaning journey here:
Getting Your Kids Involved in a Playroom Deep Clean
Treat It Like It's Their Job
Kids like having a job. It makes them feel independent and useful. I didn’t really give my older son the option of not helping me clean. It’s his space and he was going to help me clean it.
Limit Instructions to 1-2 Steps
At 3 years old, Evan needed a LOT of help and redirection lol. He did best if I gave him simple, 1-2 step directions. For the most part, I didn't get mad at him when his attention span wavered (I say that but you can hear me yelling "Ev!" in the first five seconds of my video haha). Even if he lost interest, he'd eventually swing back to see what I was working on when he realized I was on the floor messing around in his play area.
Keep it Fun
Make each step a game with various challenges (set a timer, pause the music and make them freeze in place, line up their stuffed animals for “lunch,” etc). We put on background music and tried to keep it light…with varying degrees of success!
Keep it Stimulating
Sorting is a great way to stimulate your kids’ categorization skills. It keeps their minds and bodies busy. It helps them rediscover lost toys. It forces us parents to fix broken or “dead” toys. For the most part, our kids enjoy spending time with us. Tell them their next mission is to make artwork for the walls. This time it will be the framed/wall friendly kind.
Keep it Safe
If your kids are too young to help, at least have them in the room with you. Mostly to make sure they’re not getting into trouble!
Lastly, getting your kids involved will hopefully instill accountability for keeping the room clean. We make Evan put his toys away before going to bed every night. It’s not always pretty, but he usually does it because it’s part of the routine.
My Plans for this Room
While my kids’ playroom looks spotless, I’ve only just begun. Sadly, it’s not my style to just leave things well enough alone. It's a sickness, really. I just can’t help myself.
This room isn’t going to be a playroom forever. Someday, it will be a place to host Thanksgiving or swanky, Downton Abbey-style dinner parties (one can dream!). The more I can get done now, the better.
Here's our starting point after the deep clean was complete. It's a lovely starting point, but these photos help pick apart its inherent flaws. Cuz I'm picky like that.
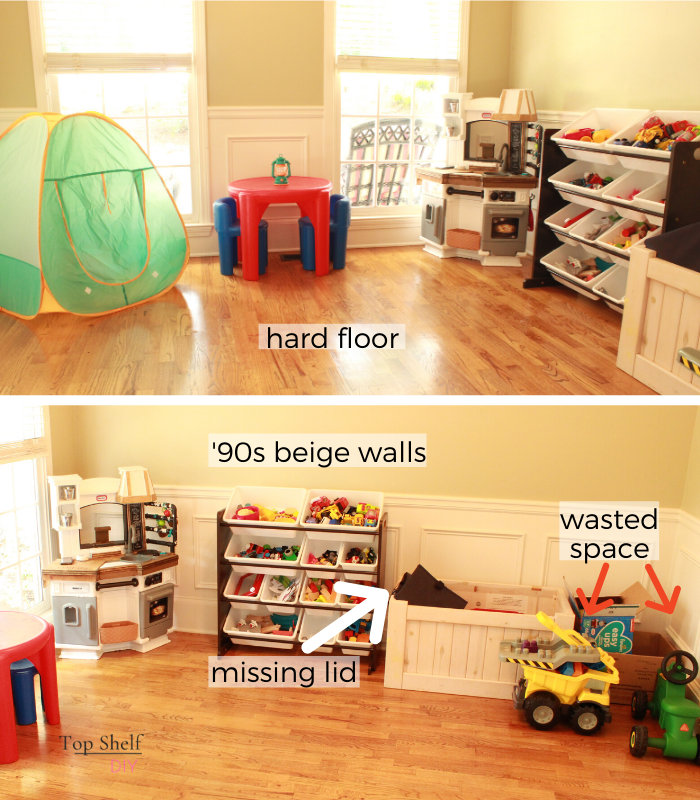
Here’s a list of remaining projects I’d like to tackle in this Playroom Makeover Bonanza
- Make an upholstered, slow-close lid for the toy box (currently no lid)
- Paint the room bright white, using magnetic paint for some of the walls so the kids can play with magnetic letters and crafts.
- Establish a window reading nook from the toy box seat cushion and some kind of Ikea shelving next to it it.
- Get a bin system for the larger toys: train tracks, car tracks, and Legos.
- Set up Ikea craft tables and shelves for art supplies. Establish some kind of strung display system for artwork.
- Get a playful circle rug for the middle of the room
- Replace the cheap blinds with colorful drapery
- Add a wood panel feature to the tray ceiling.
- Replace polished nickel lighting fixture with a black rustic lantern or something more farmhousey.
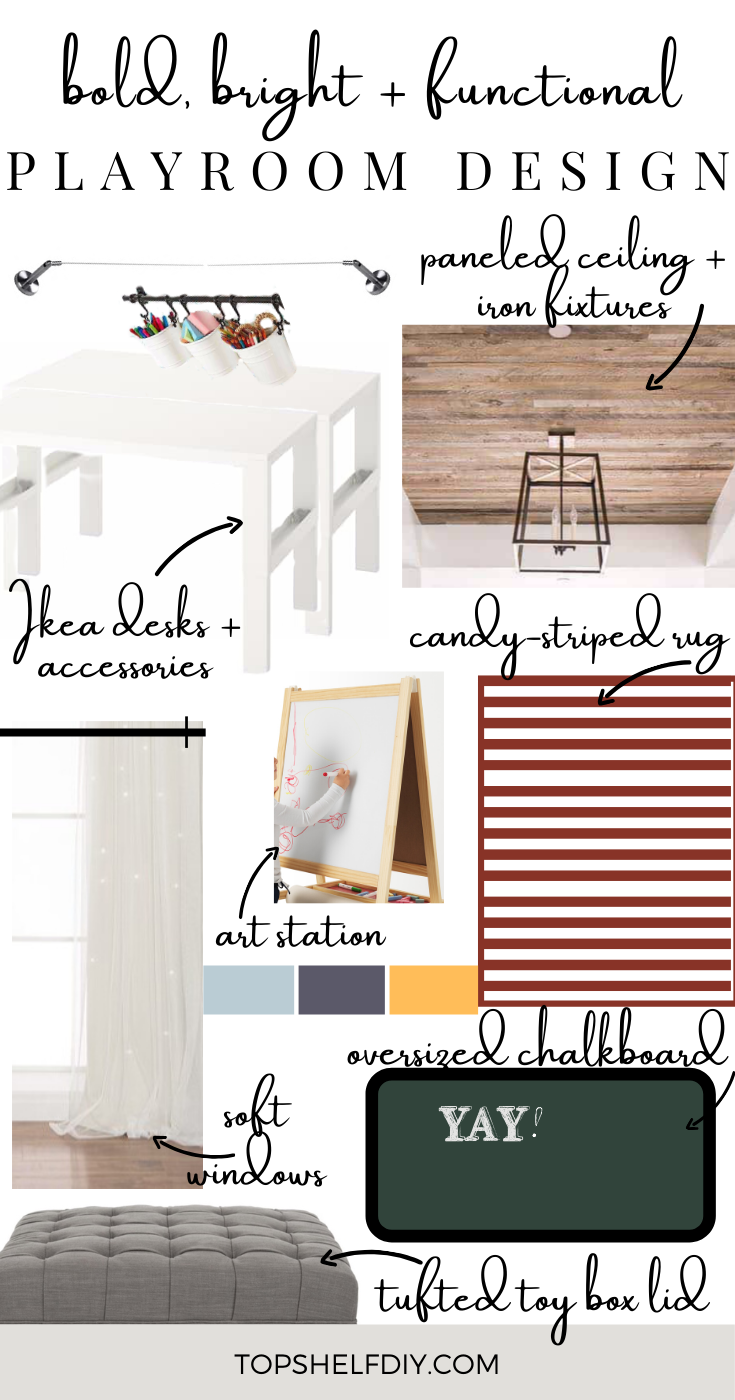
My Vision Board for This Playroom Makeover
I love sharing these because I feel like it helps you get inside my head! It also gives you a preview of the projects I'll be sharing in the coming weeks.
Primary colors: white, black & red. Accent colors in yellow/navy blue will be reserved for accessories.
Soooo...what do you guys think?
Stay with me as I complete this room! For progress updates, head on over to the Top Shelf DIY Handywoman Facebook Community — it’s a great place to ask questions and feel supported. If building stuff is your jam, we’d love to have you!
Cheers,
Erin


Leave a Reply