Last week I was churning out one DIY project after another as part of a 7-day gratitude challenge. My goal was to make 7 easy, innovative projects using only what I had in my garage.
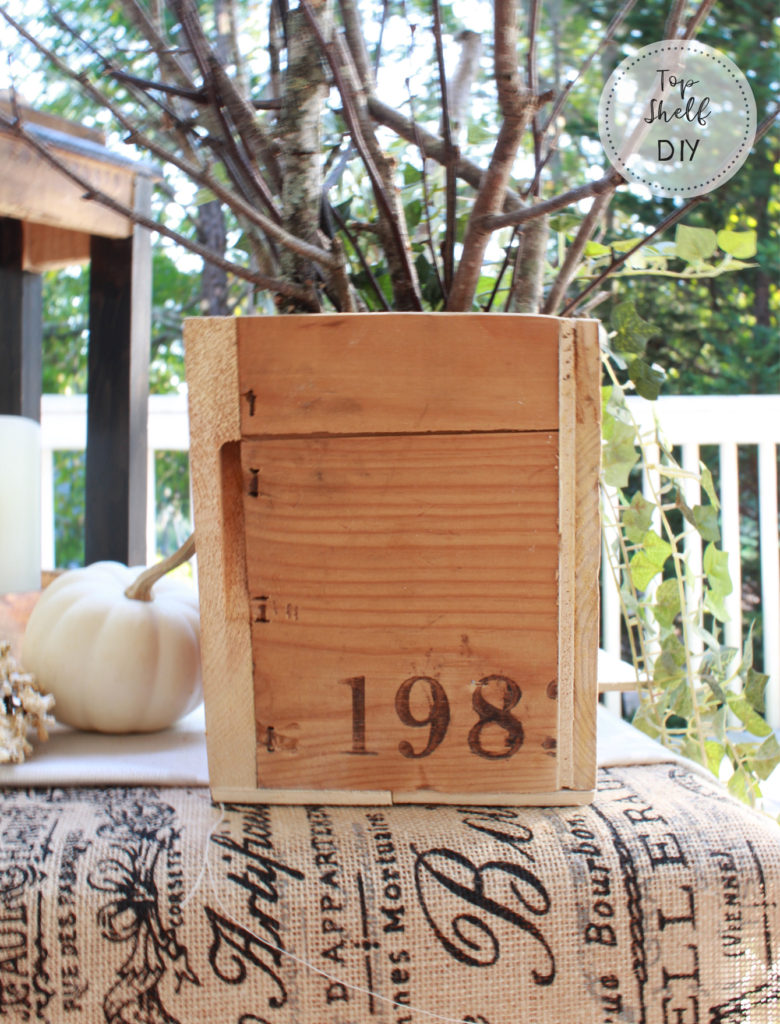
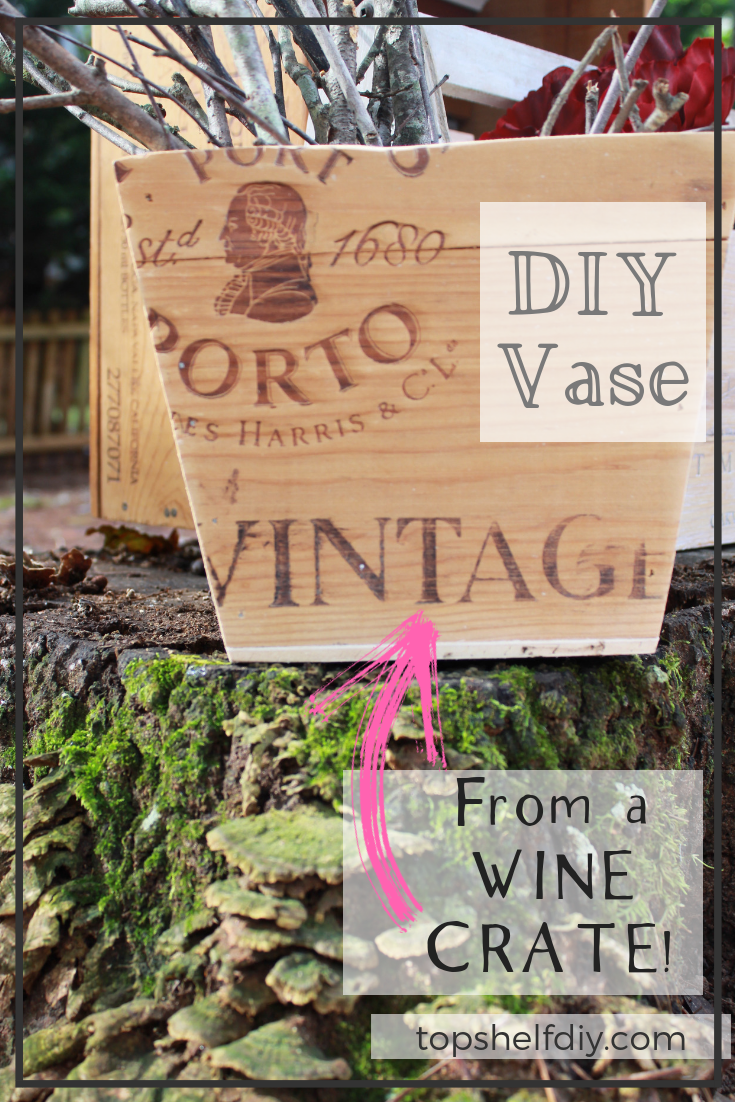
On Day 3 I was stocking up on groceries when this little gift tray/vase (?) caught my eye:
.

.
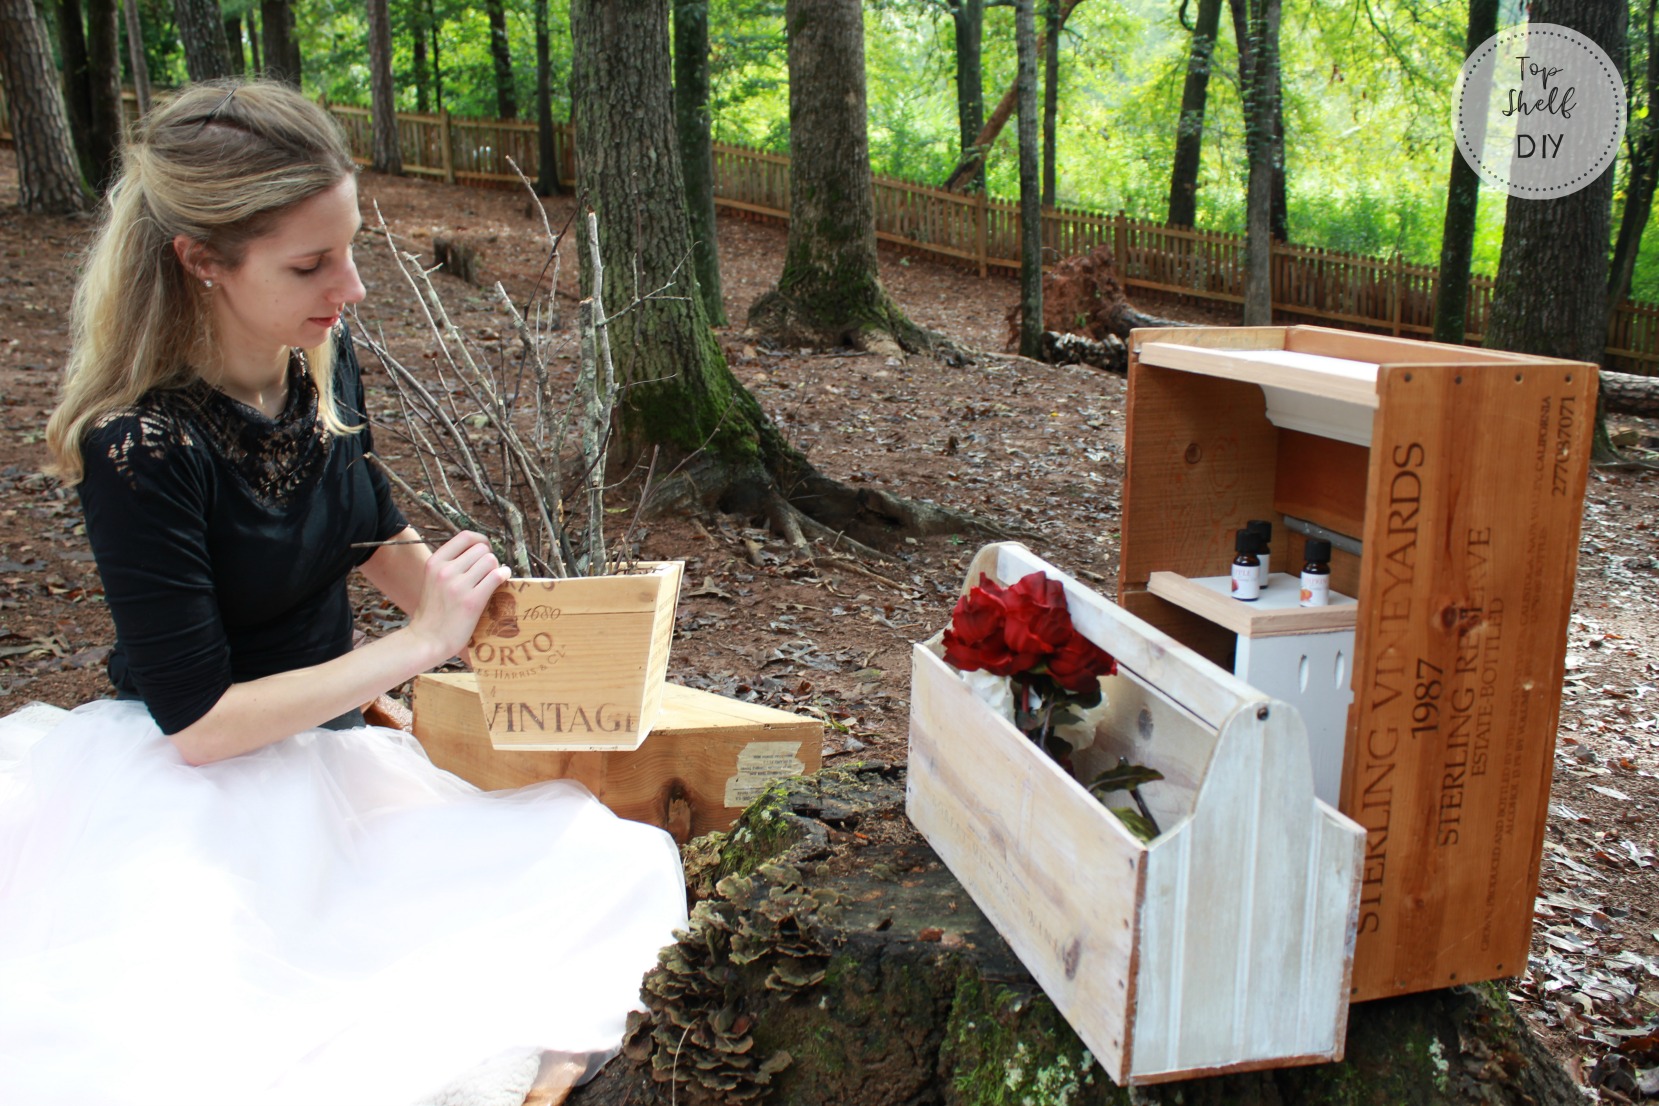
After a little trial and error, I was able to pull together my own interpretation using some of the wine crates I had already deconstructed for my Essential Oils Shelf and Farmhouse Tool Caddy.
I think this project took me MAYBE two hours. Tops. And cost me $0.
.
 .
.
.
Ready to make one yourself! Let's do it!
.
How to Make a Vintage Vase from an Old Wine Crate
Supplies:
- one wine crate
- a reciprocating saw or jigsaw for deconstructing your crate
- stain/paint of choice, depending on the look you're going for. I left mine unfinished.
- nail gun (I use an 18v Ryobi)
- 1 1/4" brad nails
- miter saw or table saw
- protractor
- regular small nails + hammer
- Titebond wood glue
- tracing paper
- polycrylic protective finish (optional)
.
Directions:
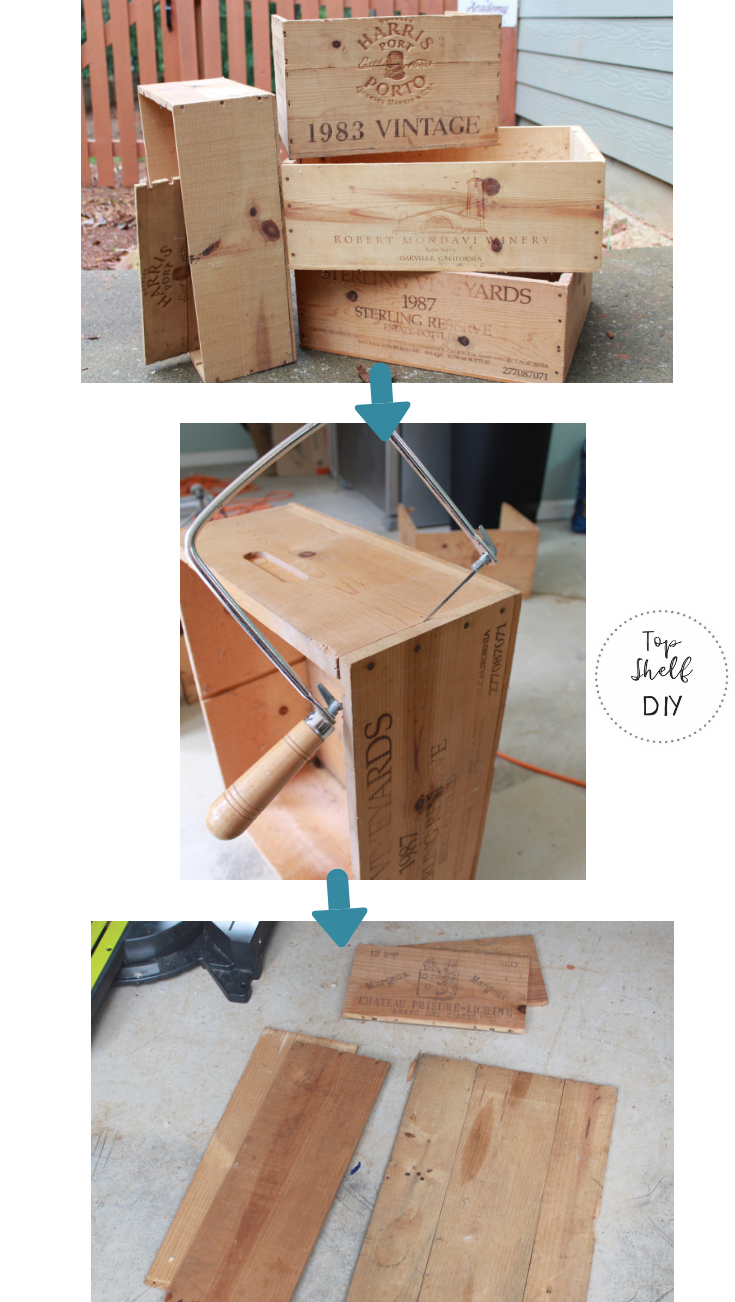
- Start by deconstructing a wine crate. A reciprocating saw works best, but a hand saw or jig saw will also work in a pinch. Side note: don't make my mistake of using a coping saw -- it's too flimsy and you'll just end up breaking the blade.
. .
.
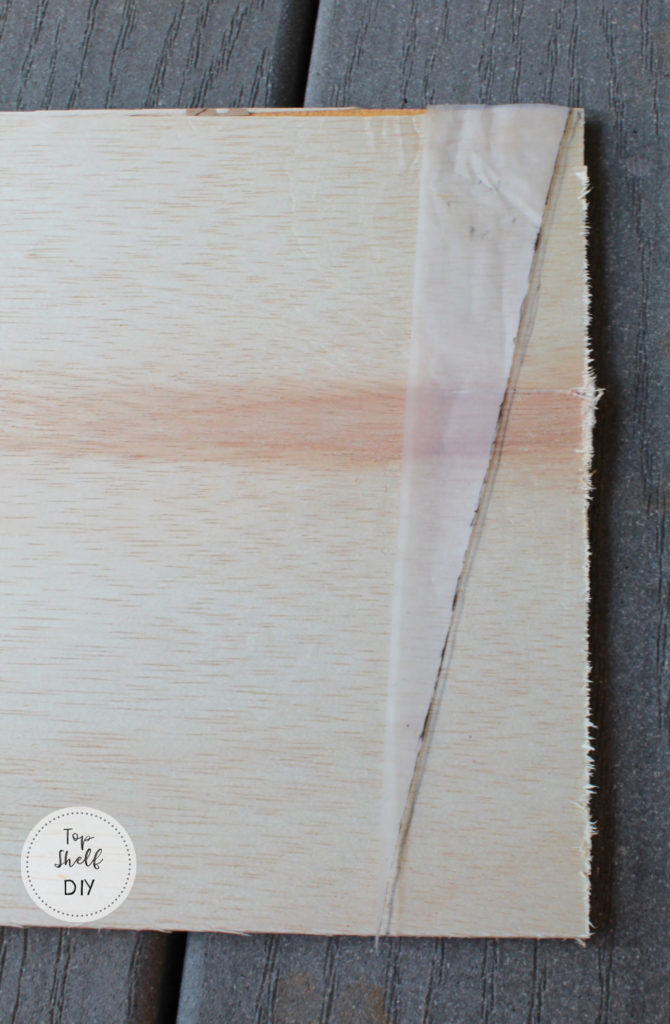
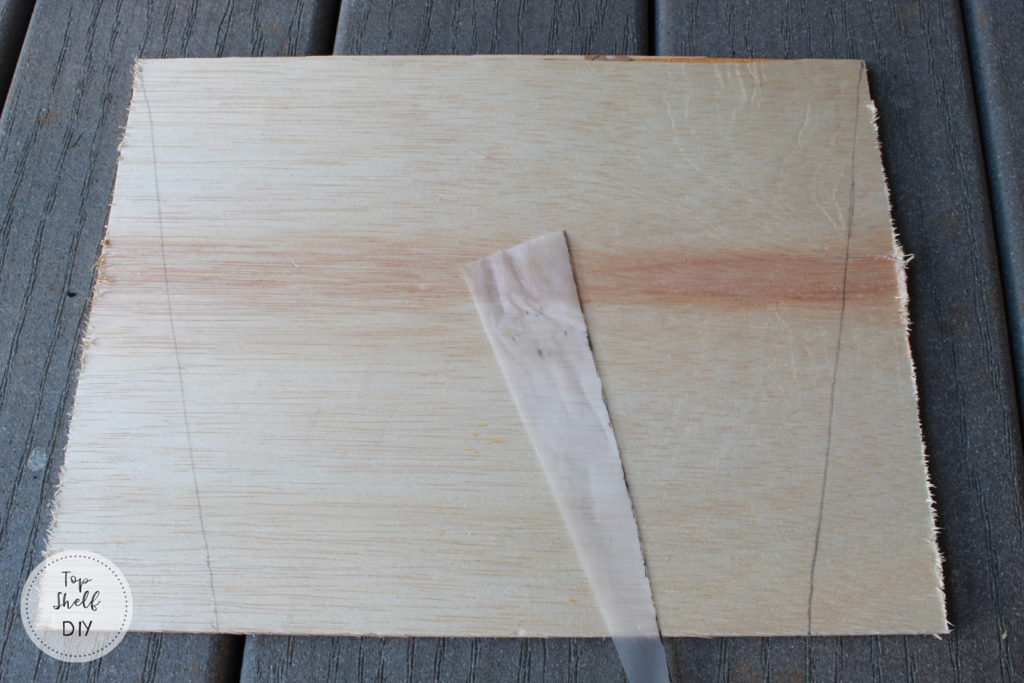
2. To get the cool angled look of the front and back pieces, you'll use a protractor to draw a 10-degree line ( it doesn't have to be exactly 10 degrees, but somewhere around there) from the top corner of your tracing paper to the bottom of your tracing paper, like this:
.

.
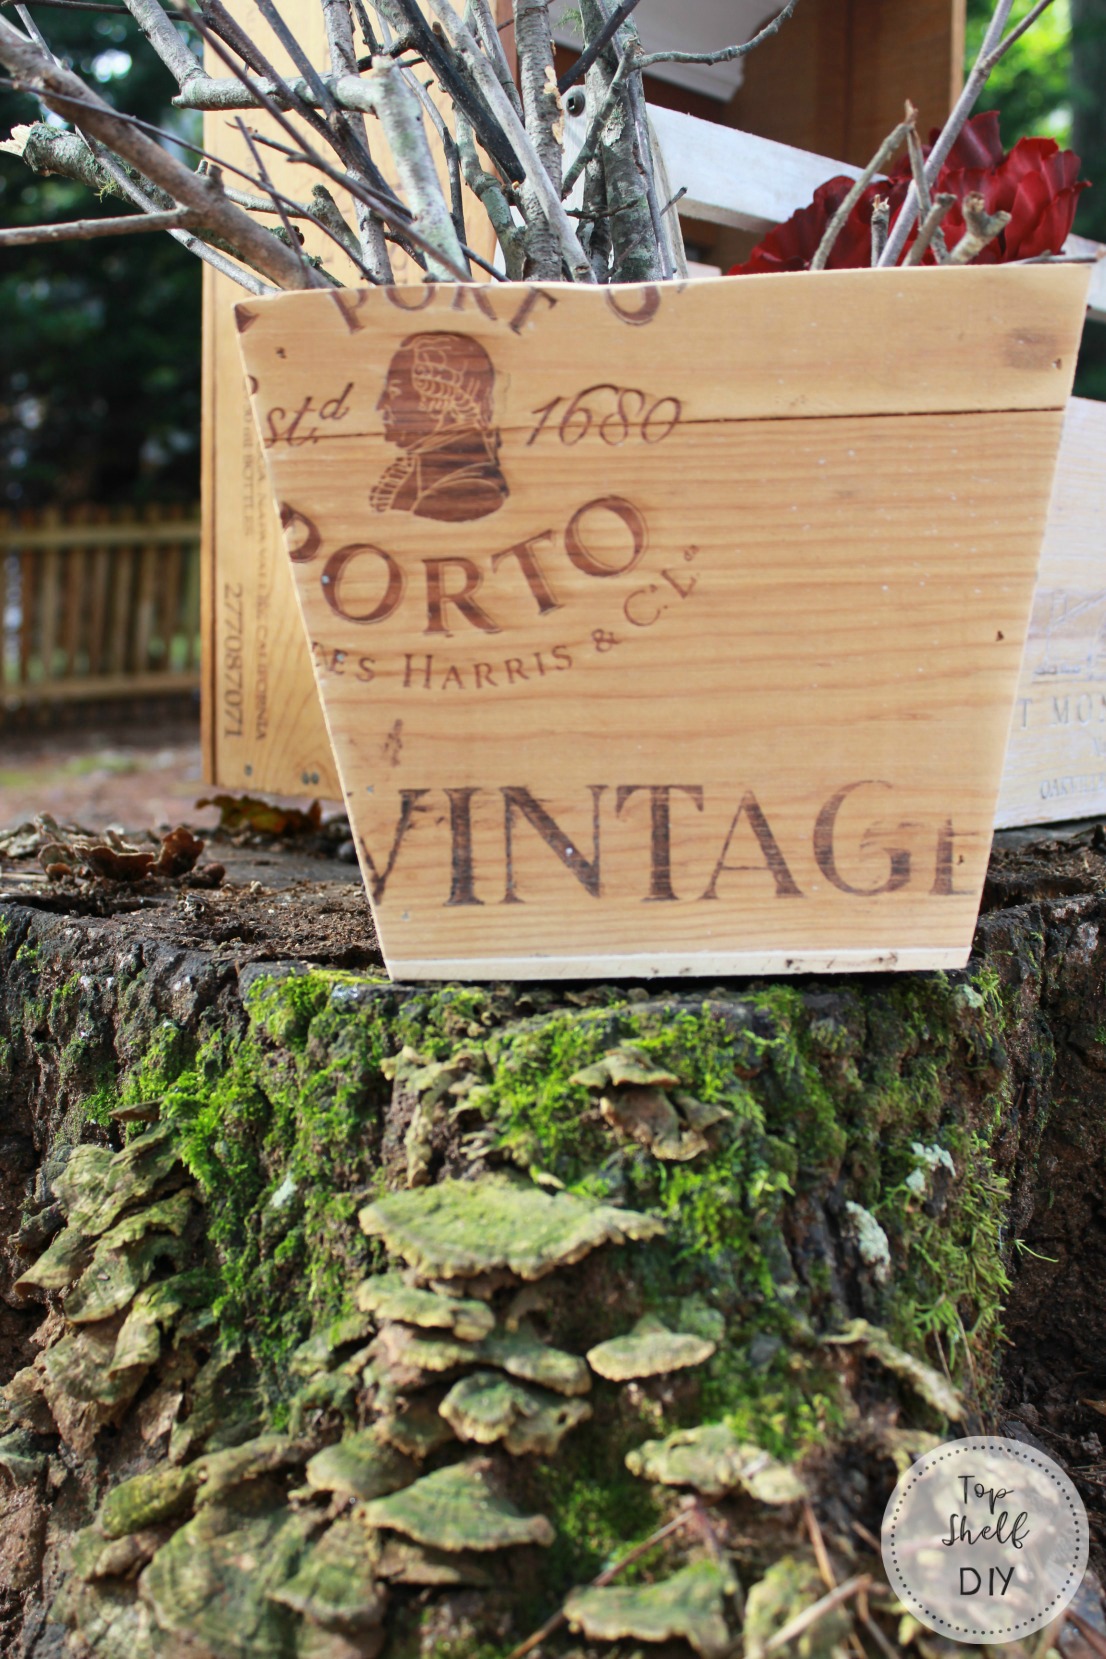
3. Cut out your template and position it on the front piece of wood you'll be cutting. I positioned mine on my wood so that I would see the full word "Vintage." Trace it.
.
.
Now flip your cutout over and position it onto the other side of your piece. Cut out your pieces with a jigsaw.
.
4. To make your back piece, simply trace your front piece. This way, both pieces will be the exact same size and shape. Cut out with a jigsaw.
.
5. Next, figure out the depth you want your vase to be (mine is 6") and cut out a piece of wood with your miter saw to form these dimensions. No special angles or templates this time -- just straight cuts.
.
 .
.
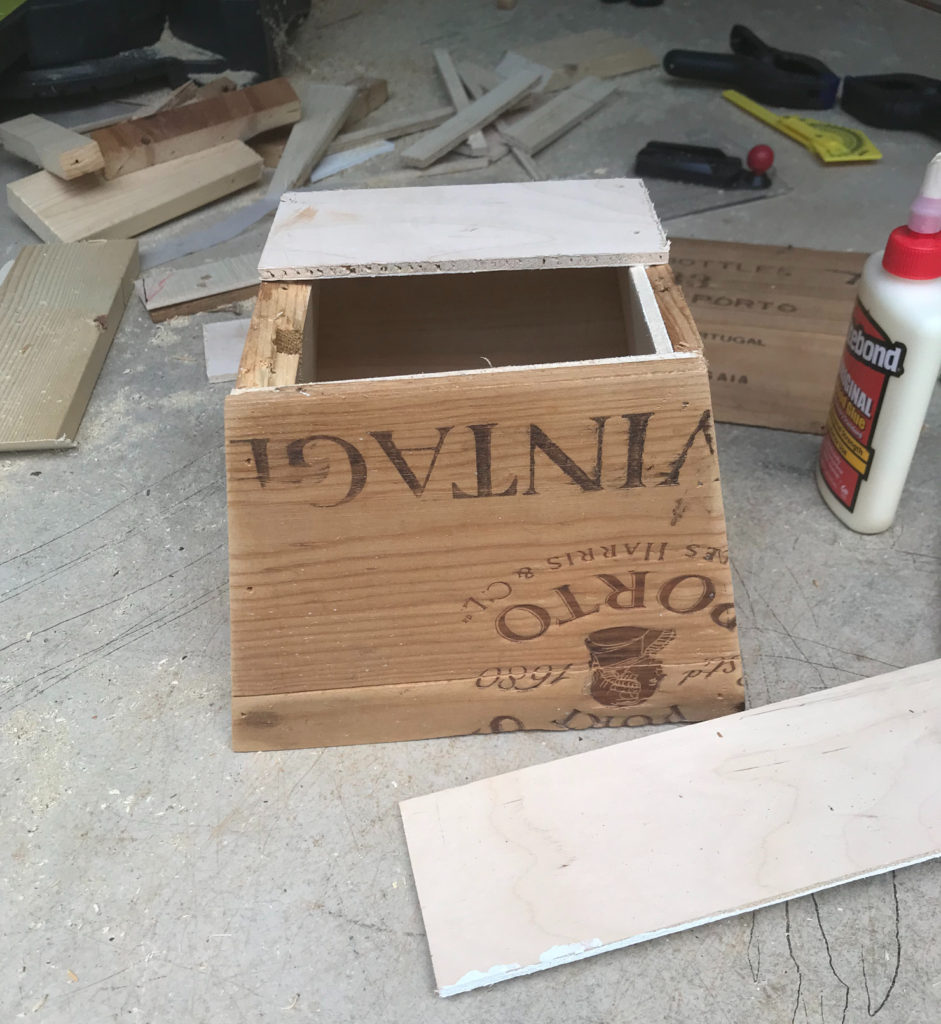
6. Once you've cut out your side piece, secure it to your front and back pieces with your wood glue and brad nails. Repeat this process for your other side piece.
.
7. Lastly, take any remaining strips of wood and secure them to the bottom of your base with small nails and a hammer. If you're planning to use this outdoors, you'll definitely want to give the vase a nice protective coat of polycrylic (Minwax is my go-to).
.
 .
.
8. Once your stain and poly is dried, you're done!
.
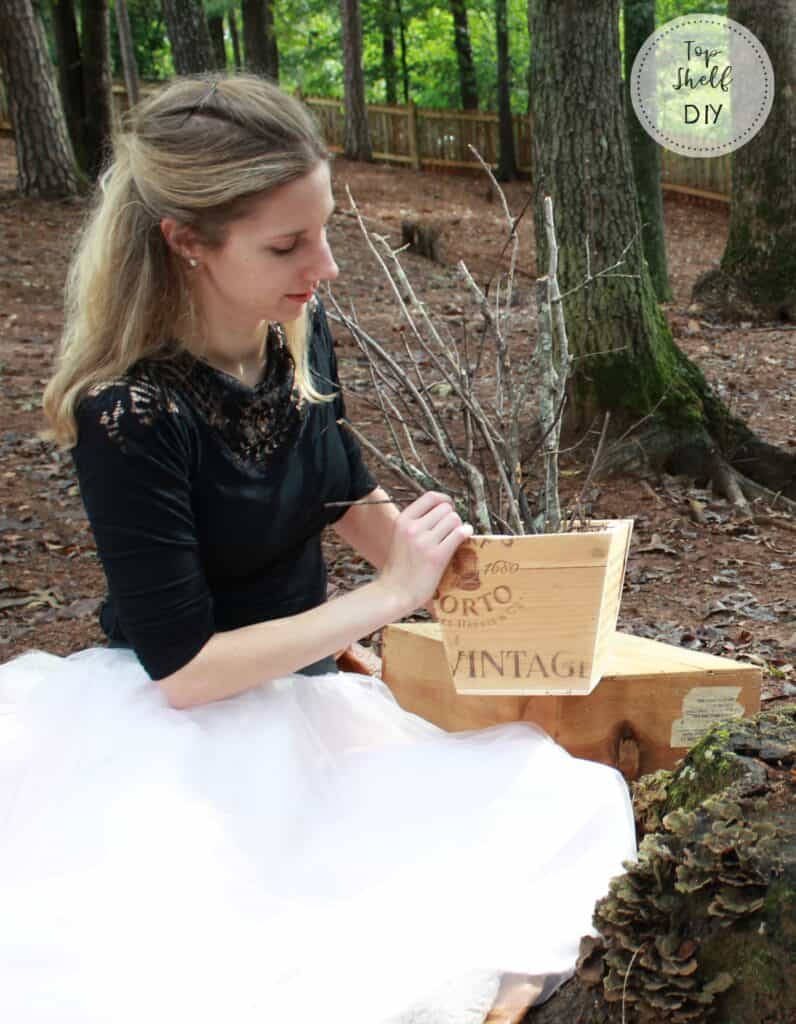
Now pour yourself a glass of wine for the full effect.
For more wine crate projects like this one, here's a roundup of all the items made during my challenge:
Day 1: An Oily Shelf (get the full scoop here)
Day 2: A Farmhouse Tool Caddy (tutorial available here)
Day 3: A Decorative Vase
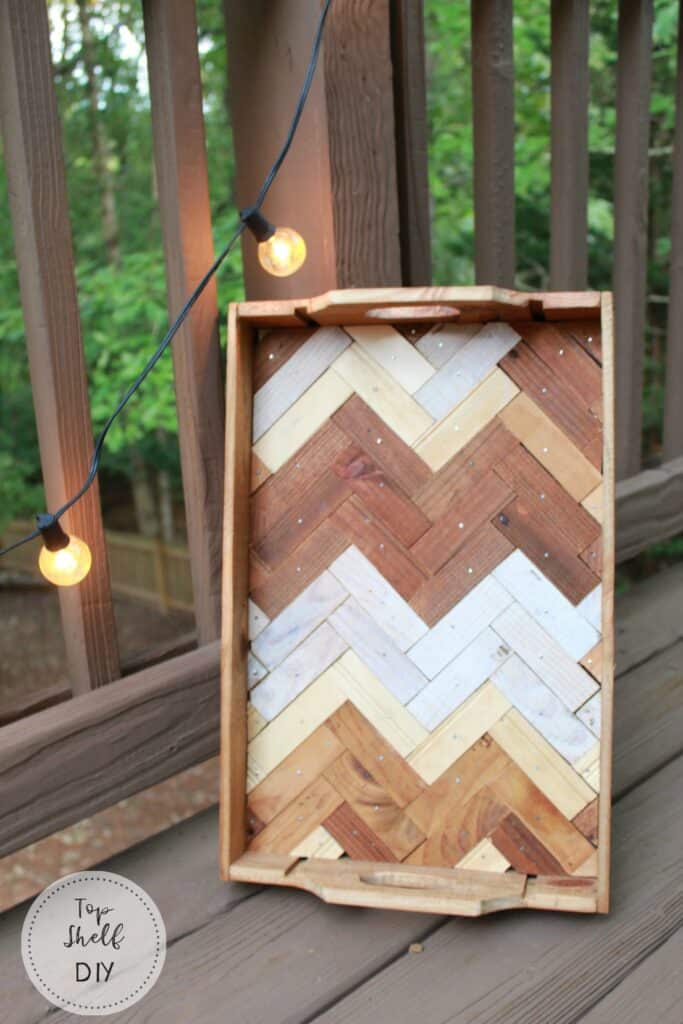
Day 4: A Herringbone Tray
Day 5: A Lantern
Day 6: A Drop Leaf Table for my son's play kitchen
Here's a sneak peak of tomorrow's tutorial...this gorgeous Herringbone Tray:
Cheers!
Erin
Leave a Reply