Hi Friends!
Did you know that wine crates are just as versatile as pallets, but cheaper, smaller, and waaay prettier?
Last week I challenged myself to 7 Projects in 7 Days using only materials already in my garage. This happened to include four wine crates purchased months ago from a lady on Craigslist. Not only did I find a use for them, but I was able to decorate my previously empty front porch in time for Fall!
.

.
Here's what I came up with:
Day 1: An Oily Shelf
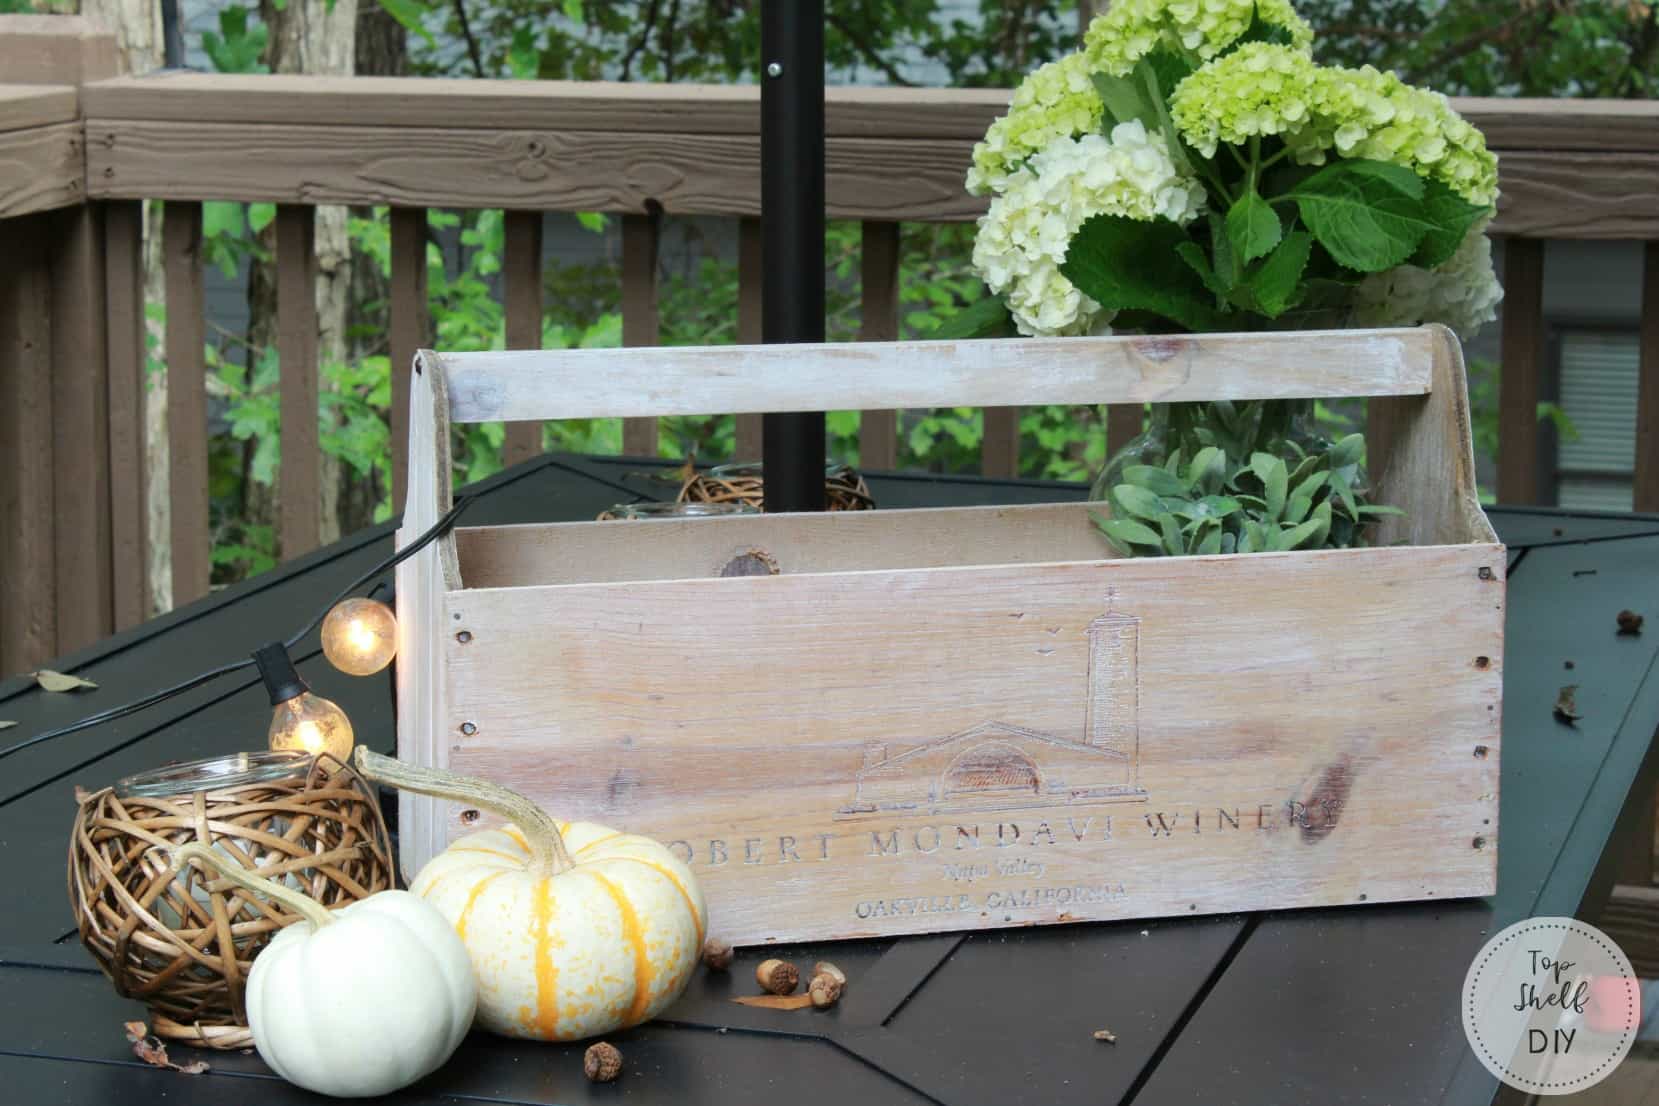
Day 2: A Farmhouse Tool Caddy (see that post here)
Day 3: A Decorative Vase
Day 4: A Herringbone Tray
Day 5: A Lantern
Day 6: A Drop Leaf Table for my son's play kitchen
Since you're here I'm guessing you're all about making an oily shelf, so let's get to it!
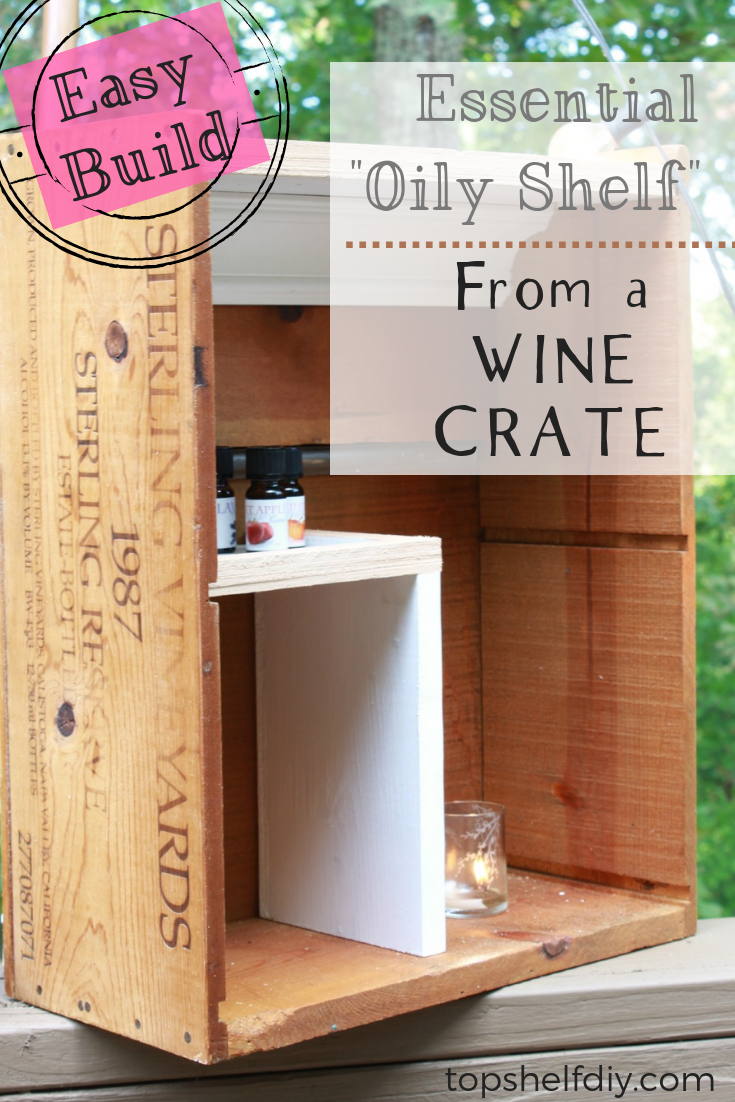
How to Make an Oily Shelf Using an Upcycled Wine Crate
.
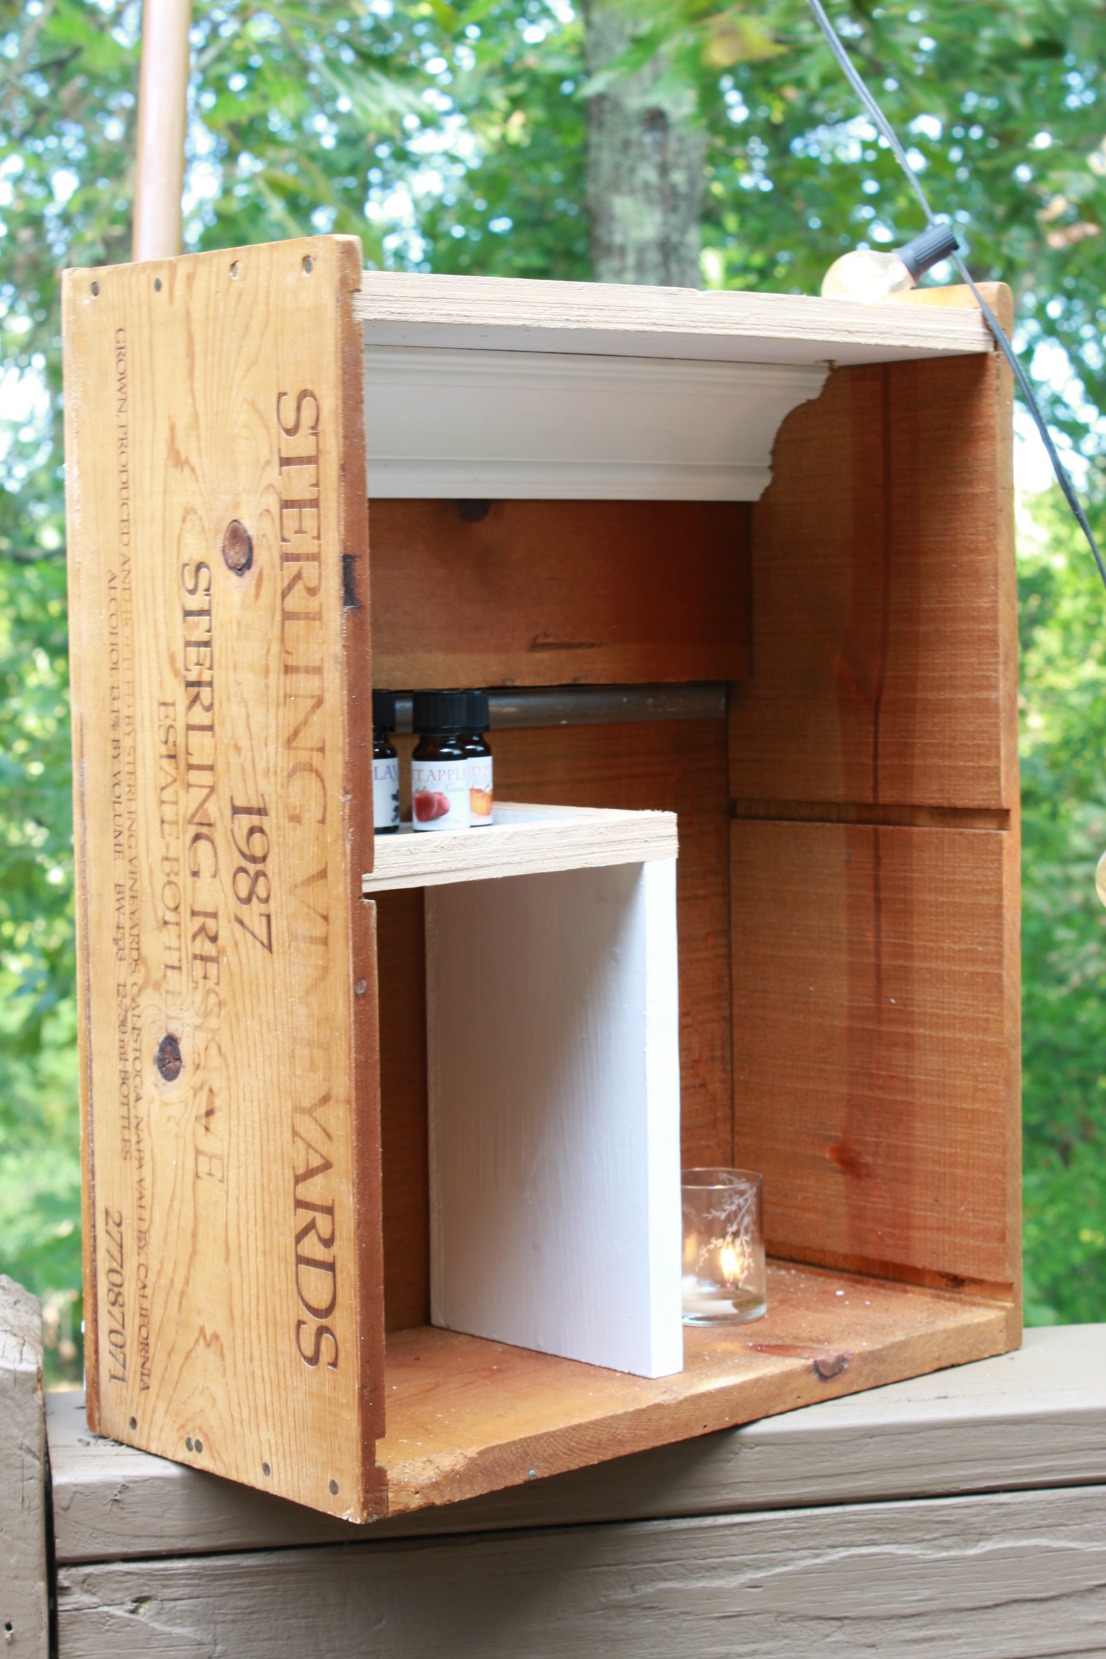
.
Supplies:
- one wine crate, preferably intact
- some kind of saw for deconstructing the crate: a reciprocating saw works best, but a jigsaw and hand saw will work in a pinch.
- miter saw
- 1/2" plywood (or you can do what I did and glue two layers of 1/4" plywood together) for your shelves.
- Titebond wood glue
- paint/stain of your choosing. I used Minwax Special Walnut for the crate.
- nail gun (I use the Ryobi 18V)
- 1 1/4" brad nails
- small nails (about an inch) for your trim
- 1/4" strips of plywood ripped to 3/4" wide for the shelf lip (optional)
- small ogee trim (optional)
- crown molding (optional)
.
Directions:
- Start by removing the top panel of your wine crate. I used a hand saw because it's what I had available, but a reciprocating saw would have been so much better!
.
 .
.
2. Take the piece you just removed from the top of your crate and secure it inside your crate with wood glue and nails. This will help reinforce the structure of your box. Since my box was too shallow for brad nails, I secured this top piece from the back with small nails.
.
 .
.
3. Clean the cobwebs out of your wine crate and stain it any color you choose. I looove Minwax Special Walnut, it's like my Frank's Hotsauce for wood.
.
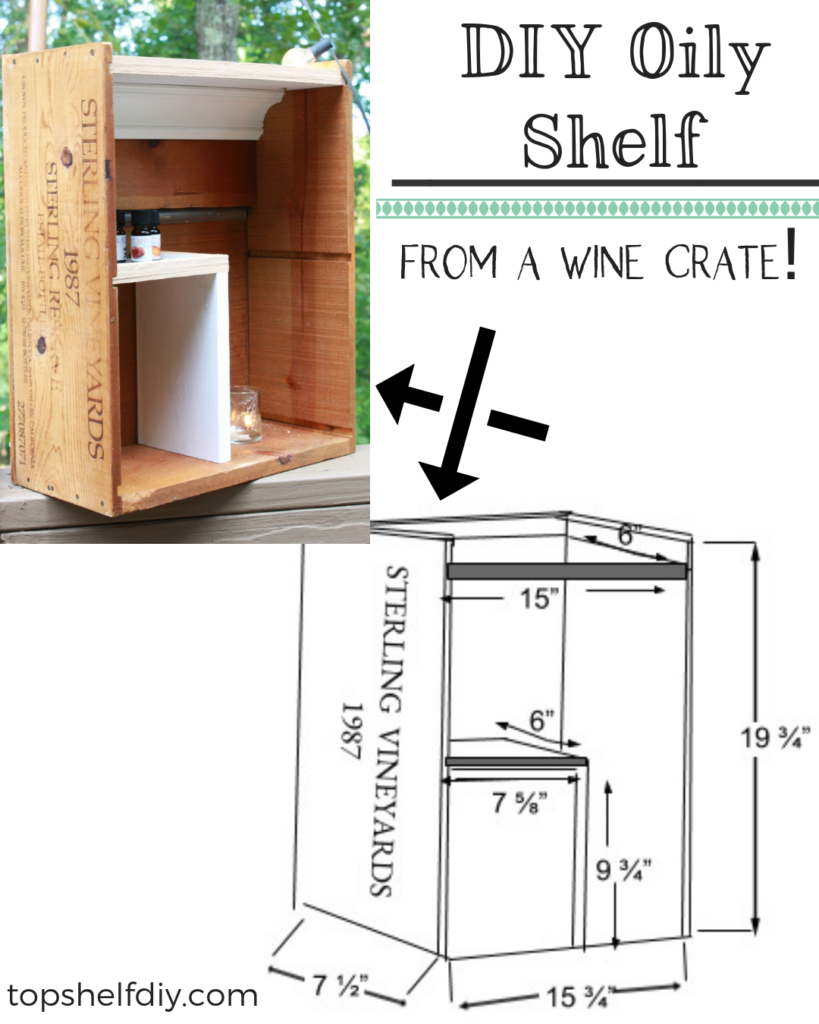
4. While that's drying, make your shelves. Cut your shelves from your 1/4" plywood to the dimensions shown below. Since my shelf grooves were 1/2" tall, I cut two pieces of 1/4"plywood and glued them together. Your shelves should slide right into the pre-existing grooves and be easily removable!
.
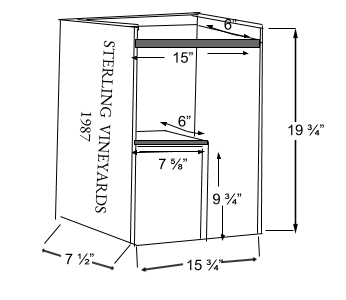
If you prefer, you can make your lower shelf run all the way across your box (like the top shelf) by cutting it to the same dimensions as your top shelf (15" wide by 6" deep). My friend wanted to store some tall oil bottles in that open space, which is why I made the lower shelf short.
.
If you choose to use my design, you'll make the "L" shape of your lower shelf by cutting a piece of wood to 6" wide by 9-3/4" long and securing it to your 1/2" plywood shelf with brad nails.
.

**I actually used a piece of 1 x6 and secured it to the shelf with a kreg jig, but brad nails would work just as well.
.
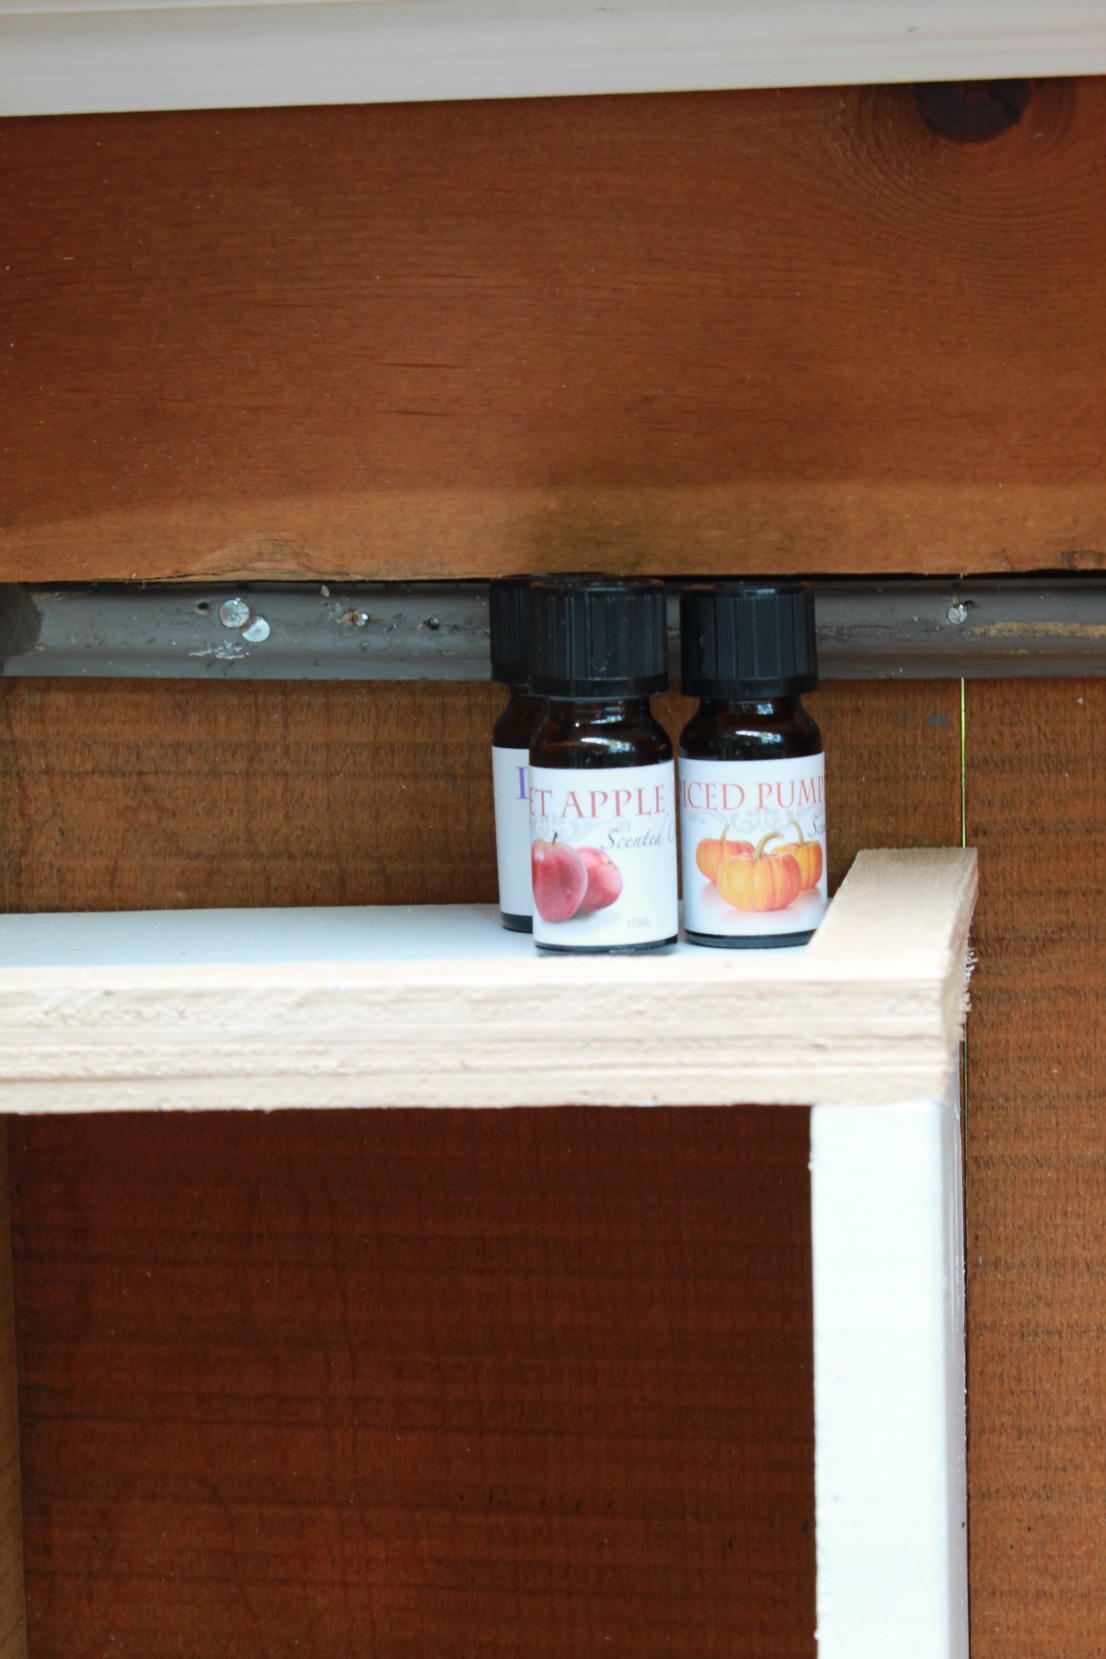
Once my shelves were done I added a small lip to both so that my friend's oily bottles wouldn't slide off, as pictured below:
.
 .
.
 .
.
5. Paint your shelves in any color your choose.
.
6. While your shelves are drying, add a small piece of ogee trim across the back of your shelf to give it a little pizazz. I painted mine a taupe color (Gateway Arch by Valspar) and secured it with small nails.
.
I also added a small piece of leftover crown molding under the top shelf and secured it with brad nails. Both of these pieces are entirely optional!
.
7. Once your shelves are dry simply slide them back into their grooves, and you're done! If you're planning to hang your oily shelf on the wall you'll want to add some picture frame brackets on the back.
[convertkit form=5159602]
.
I hope these instructions help you design the oily shelf of your dreams! Really I made things up as I went along, so I encourage you to get creative and just add whatever features appeal to you.
If you liked this option, check out the next tutorial in this Wine Crate Project Files Series: a fabulous DIY Farmhouse Tool Caddy.
.



Leave a Reply