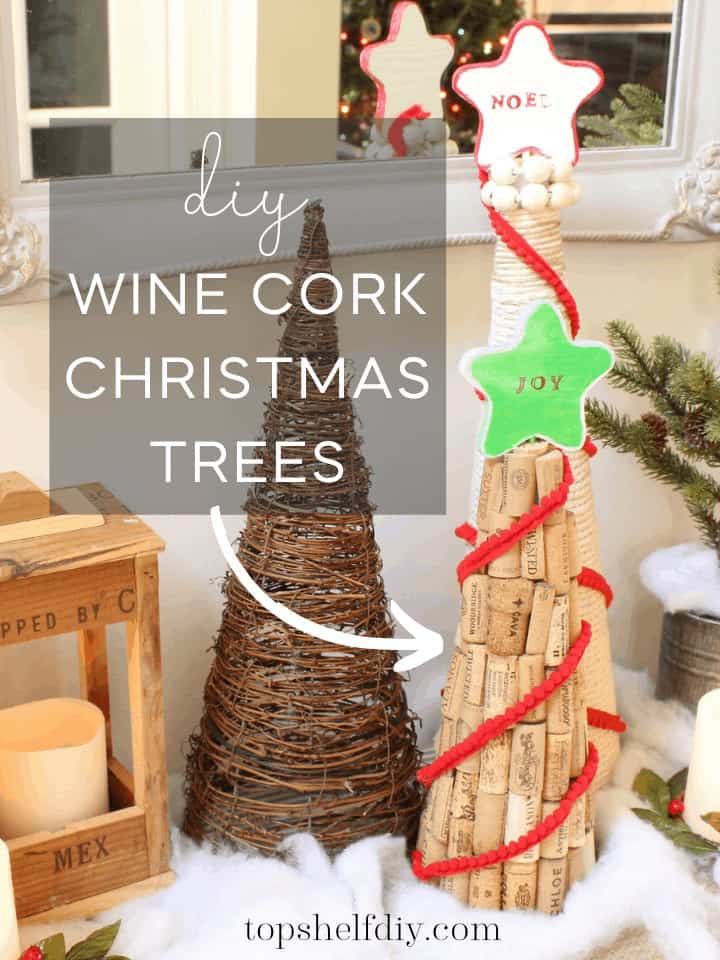
Nordic holiday decor is all the rage these days, and what better way to use up your ever-growing stash of wine corks than by incorporating them into a Northwoods-inspired table spread?
Welcome to Week 4 of the 2020 Christmas Craft Material Challenge! Every week sister blogger April Reade and I tackle a craft project using a different medium. We are two busy blogger moms on a mission. You can catch up on our other posts in the series here.
Cork is an easy challenge for me since I always have extra wine corks lying around. You can make these wine cork trees and wine cork garlands in one afternoon. Coffee in one hand, glue gun in the other. A win-win, no?


Wine Crate Lanterns
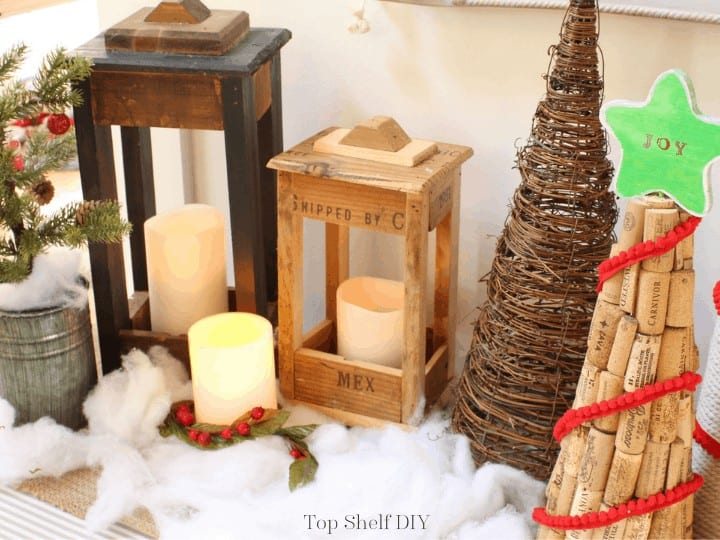
I made quite a few things on this table spread, including wood lanterns built from deconstructed wine crates. They're super easy to make and add such a lovely rustic touch to our foyer table! To make them yourself, head on over to the tutorial here.
Last year, while heavily pregnant, I painted the mirror above our foyer table using Annie Sloan chalk paint, and you can see how I transformed that old brown mirror here.

Now onto the wine cork tutorials! I don't recommend drinking wine while doing these projects, as you'll be making very precise cuts and don't want to risk serious injury. Be sure to use a sharp knife and take your time.
*Reader assumes responsibility for personal safety when attempting to re-create this project.*
Wine Cork Tree Supplies
Note: this list includes affiliate links.
- wine corks
- crafting cone (either paper Mache or styrofoam will work)
- sharp paring knife (our exact knife set, which has a built in sharpener)
- cutting board
- hot glue gun
- mini pom garland
- wood star wand
- acrylic paint + paint brush
- letter stamps
Wine Cork Garland Supplies
- wine corks
- sharp paring knife
- cutting board
- needle
- thread
Wine Cork Tree Assembly
Start by cutting your wine corks in half lengthwise. Be VERY careful with this step! You'll want to cut your cork such that you'll be able to see the pretty design on either side.
Begin glueing your corks along the bottom of your cone, working your way up. When you get to the top you can add a small cap of cork. Paint your star wand and poke it through the top of your cone. Add embellishments such as pom garlands, string lights, etc.
Wine Cork Garland Assembly
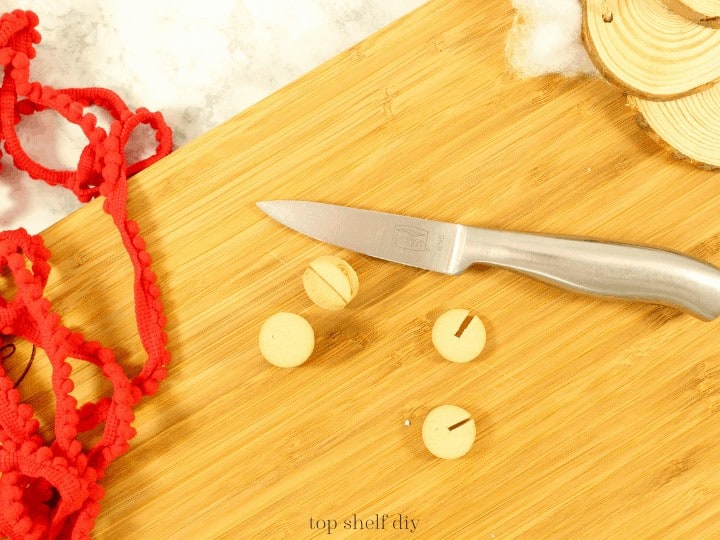
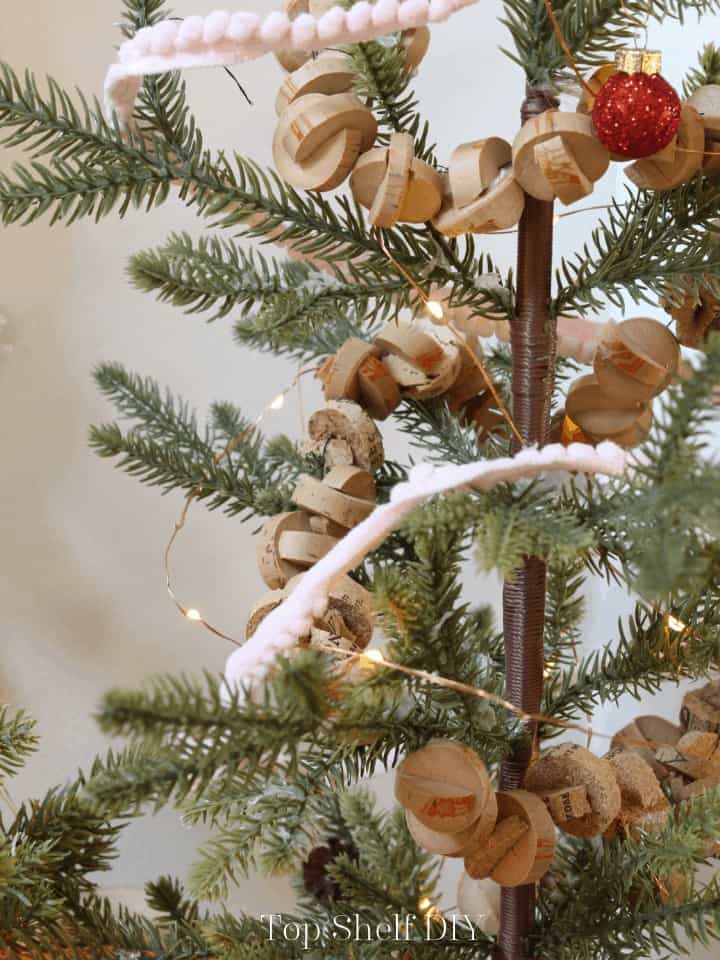
Cut each wine cork into circular rounds. Using your knife, cut a small notch into two rounds. Fit your two pieces together, sliding them into the notches you made.

Lastly, string each bulb along a piece of thread using a sewing needle. That's it!

Stay tuned for next week when April and I conquer our next Christmas Craft assignment using cement! The full lineup:
Week 1: Clay
Week 2: Macramé
Week 3: Felt
Week 4: Cork
Week 5: Cement
Week 6: Chalkboard
I'll leave you with this dreamy quote:
The woods are lovely, dark and deep.
But I have promises to keep,
And miles to go before I sleep,
And miles to go before I sleep.
-Robert Frost, Stopping by Woods on a Snowy Evening
Cheers,
Erin


Leave a Reply