An Easy Sewing Project with a Custom Back Panel Design
How are you holding up, friend?
Have your kids driven you completely bonkers yet? Have you started talking to yourself in the mirror out of sheer loneliness?
We are #alonetogether in this. And whenever my husband questions my daytime drinking habits I just shake my head, repeating, "These are dark times."
Two weeks ago the CDC recommended the use of cloth face masks by non-medical personnel venturing out into the community for essential tasks. At this time my mom scoured the Internet for all different face mask tutorials. She extracted her favorite parts to come up with a simple design.
Today I'm sharing that design. Added bonus: her mask includes a pocket opening in the back, intended for the insertion of paper towels or napkins as an extra layer of filtration!
Here are 10 easy steps for creating your own DIY Coronavirus mask. A sewing machine is nice but not required.
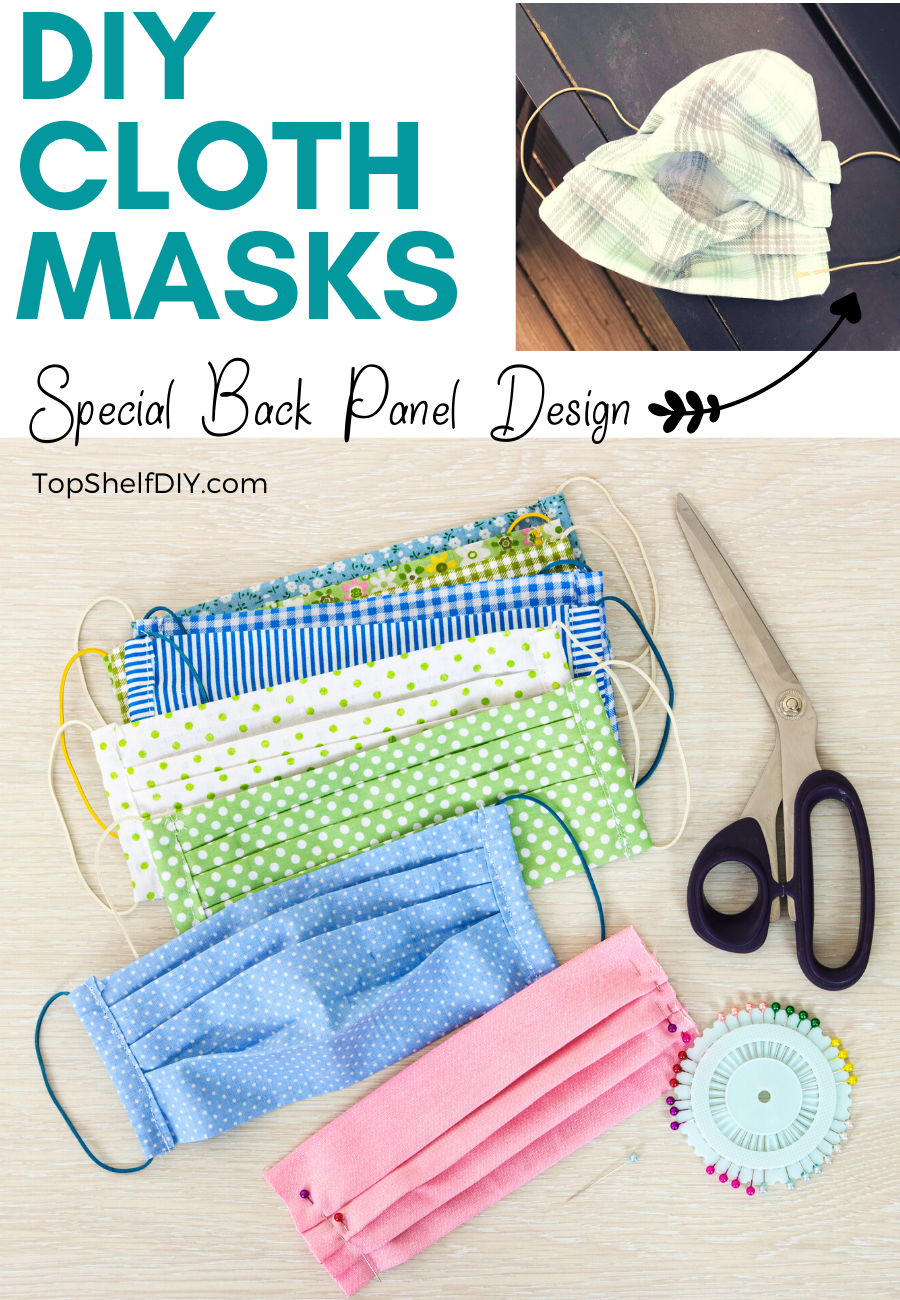
A note from Kerry Hendricks, Erin's Mom: I wrote these instructions for Erin because she is simply the best daughter ever! Before you begin, you'll need the following supplies:
DIY Cloth Mask Tools and Materials
- scrap material cut to 8 1/2" x 16". Cotton works well, but any washable material you can breathe through will work.
- Coordinating thread
- Sewing scissors
- a sewing machine (you could also sew by hand with needle and thread)
- pins
- elastic (1/8" or 1/4" thickness), enough for two pieces cut to 7 1/2"
With these in hand, you're ready to get started.
Step 1:
Cut a piece of fabric 8 1/2" x 16".
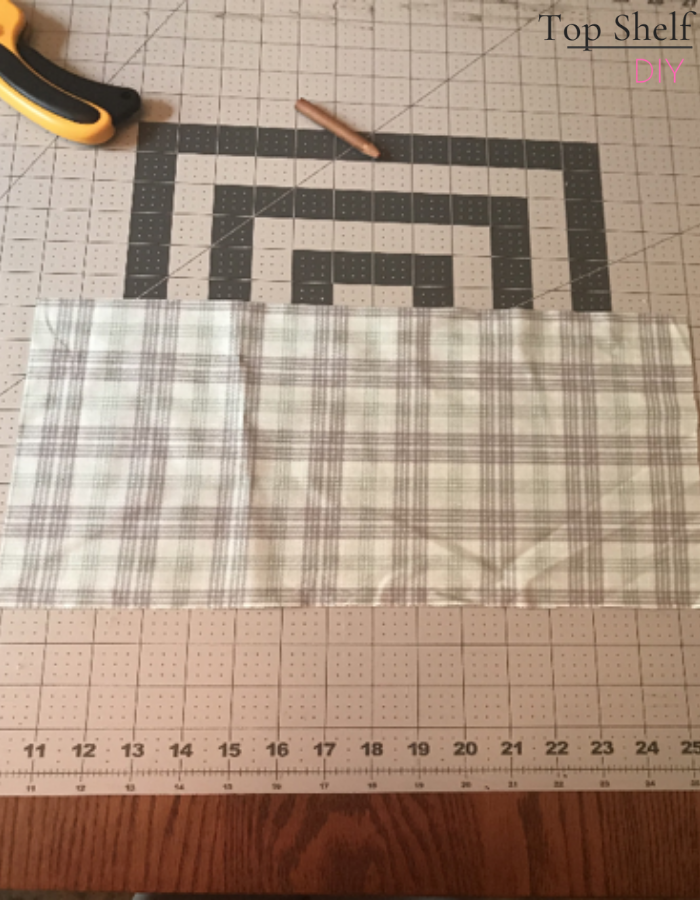
Step 2:
With right sides together, fold the fabric in half and mark on the open edge a 4” center section.
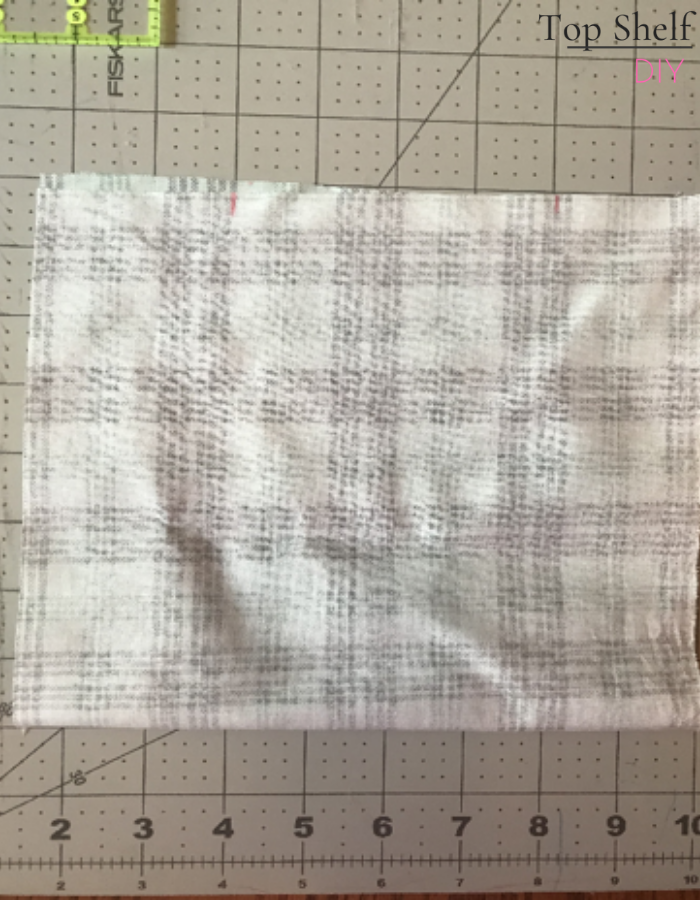
Step 3:
Cut two 7 ½” pieces of 1/8”– ¼” inch elastic.
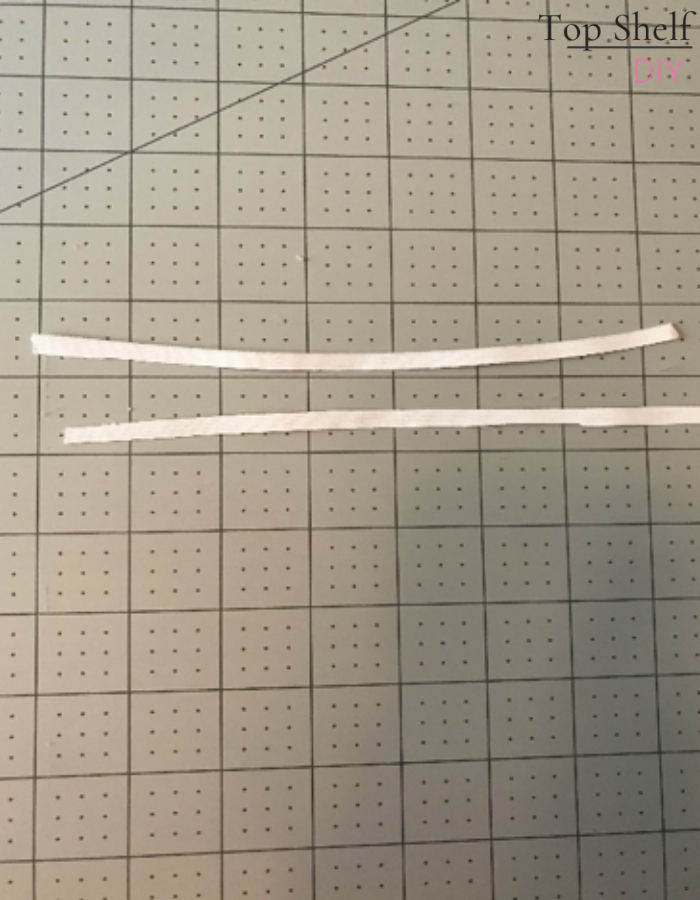
Step 4:
Sew from the edge to the mark on both ends of the open side of the fabric, leaving the 4” area in the center open.
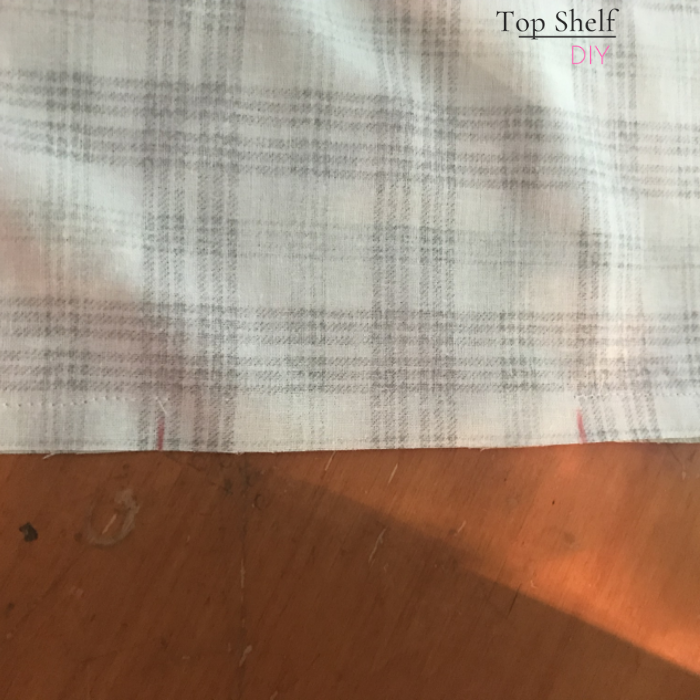
Step 5:
Move the seam to the center and iron or finger press the edges flat.
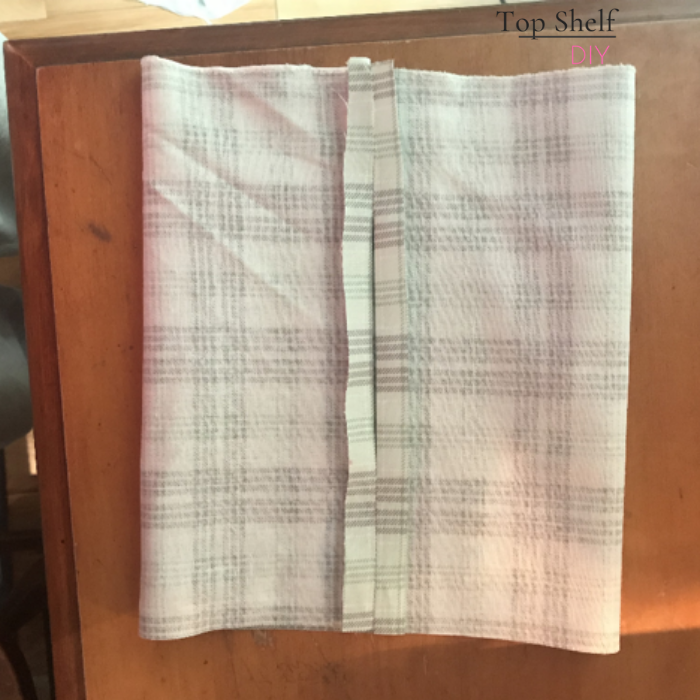
Step 6:
Pin one of the elastic pieces to each end of one open side, and sew across. Make sure that the elastic is not twisted and that it is securely sewn into the seam. You can go over it a second time for extra hold. Repeat on the other side.
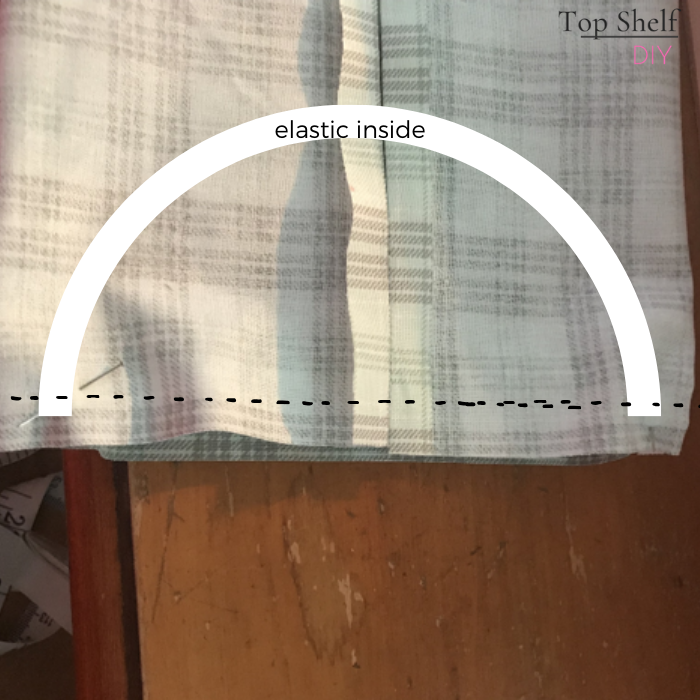
Step 7:
Turn the piece right side out through the opening in the back.

Step 8:
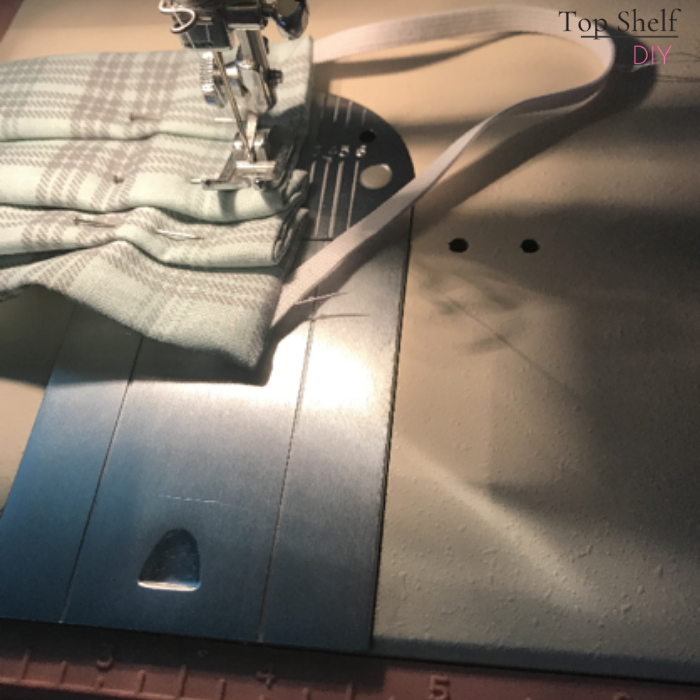
On the front of the piece (the side without the opening), pin three folds on each side.
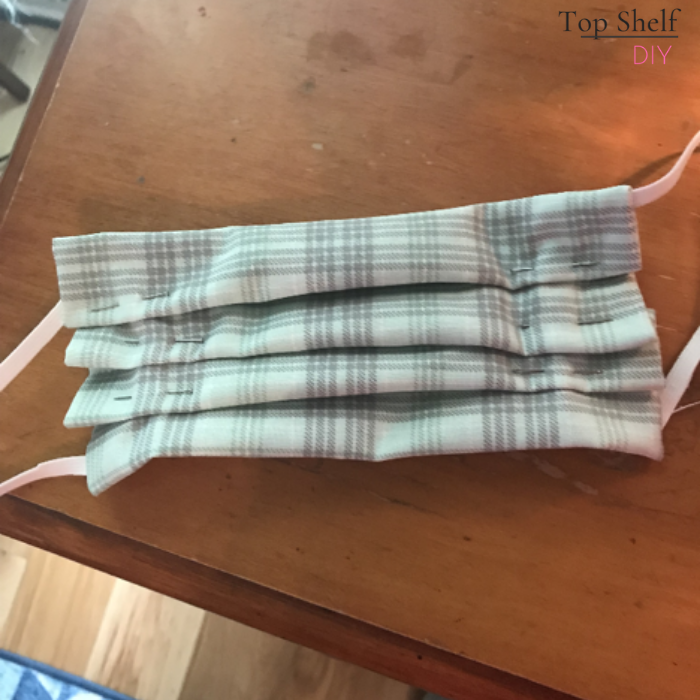
Step 9:
Sew across each end.
Step 10:
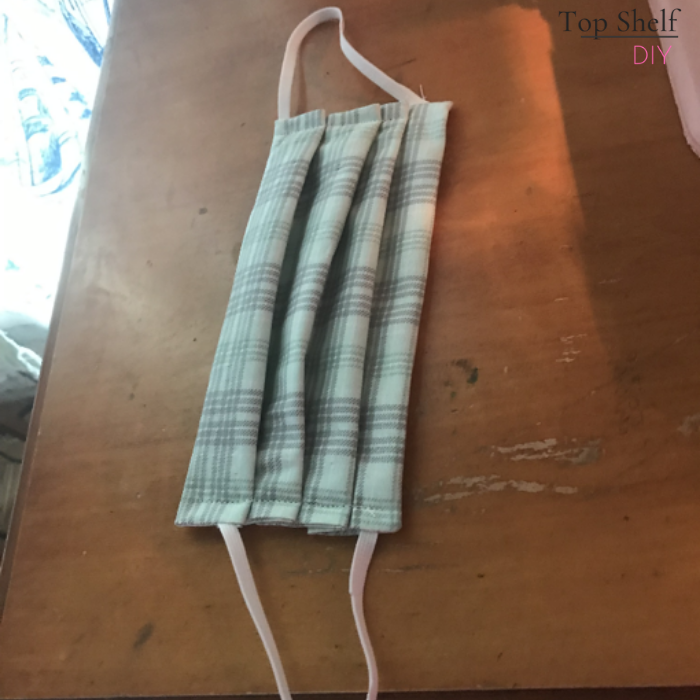
Remove pins and your mask is complete!
Care and Use Instructions for Your DIY Cloth Mask:
- Masks should be machine washable and dryable, but can be re-used if left to sit for 24 hrs. after wear without washing.
- There is a hole in the center back where a filter (e.g. napkins or paper towels), can be inserted. Dispose of these filters before washing.
- Be sure to touch the elastic only when putting on or taking off the mask.
- Do not touch your face or the fabric part of the mask while wearing it.
- Wash hands after use.
Here's what your back will look like.

Making these masks is not only a great way to protect yourself and your family, but also a great item to make in bulk for donation purposes.
Best of luck with all your quarantine projects!
Cheers,
Erin


Leave a Reply