The products in this post were provided by The Home Depot. All opinions and photography are my own. Thanks for supporting the brands that support this blog!
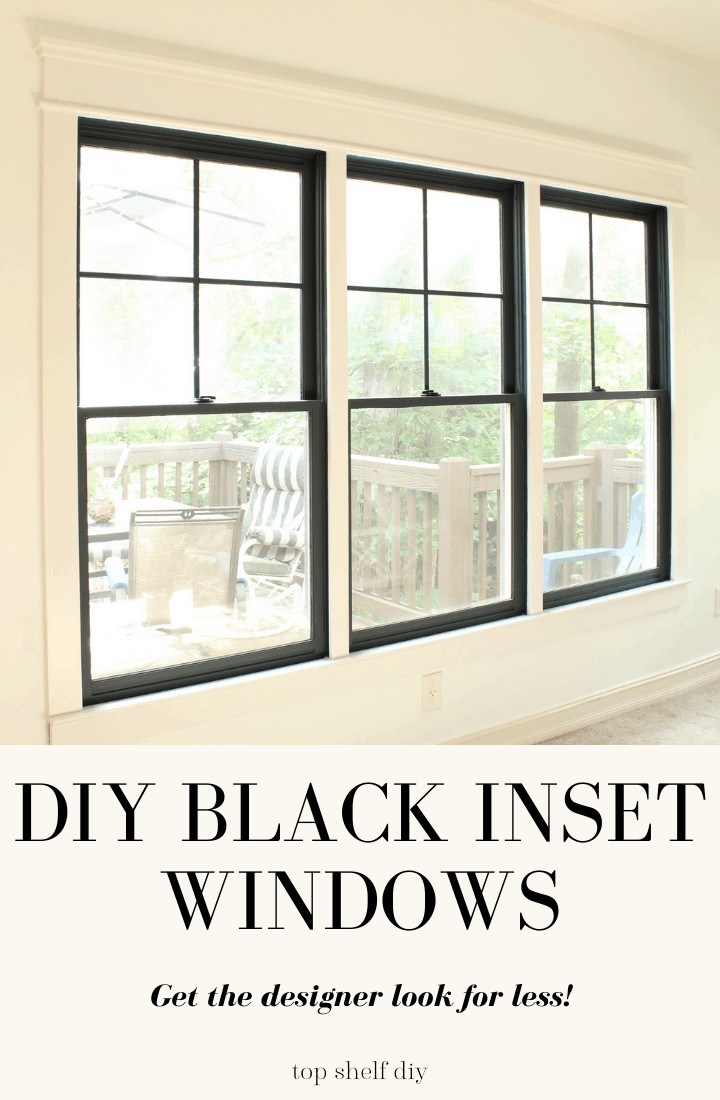
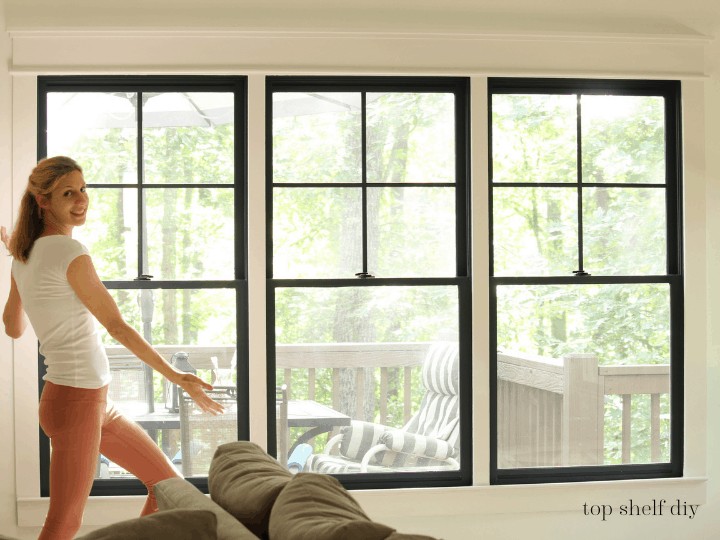
Who doesn't love the look of black windows set against a backdrop of crisp, white walls?
While the cost to replace your windows is steep, I was able to achieve this look for about $100!
Follow along to see how I replaced our builder-grade window trim and gave it a black designer finish with DIY mullions.
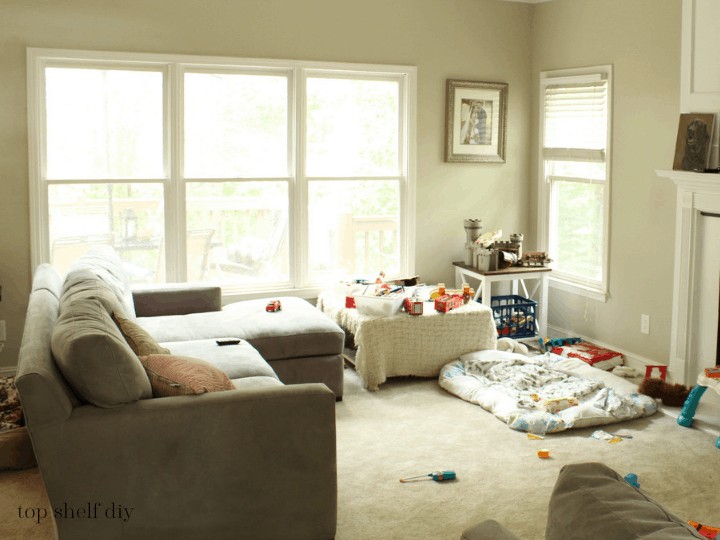
Would you believe this is where it all started? Beige walls, dusty blinds, and boring ol' trim.
I had already removed the blinds when this photo was taken. It looked so much better with the extra light coming in!
If you'd only like to upgrade your trim OR you're just looking to add black window dividers (i.e. mullions), follow the jump index below.
Jump to:
DIY Craftsman Window Trim
Here are the exact steps I follow every time I replace my window trim. I replaced at least 8 windows in our Denver home and 10 in our current home. My style has evolved a bit over the years as my confidence and abilities have grown.
But hey, everyone has to start somewhere...
My #1 tip for replacing your trim is to HAVE NO FEAR. Proceed confidently and soon you'll be wanting to rip out every single piece of trim in your house!
Tools and Materials
- Hammer
- Pry bar
- Utility knife
- Miter saw
- Nail gun
- Liquid Nails construction adhesive
- Caulking gun
- Caulk
- Wood filler
- Wood glue
- Sanding wedge
- Latex paint (semi gloss or satin) - typically I'll buy the Ultra White right off the shelf! For this project I used Cameo White by Benjamin Moore, which is a warm white with beige undertones.
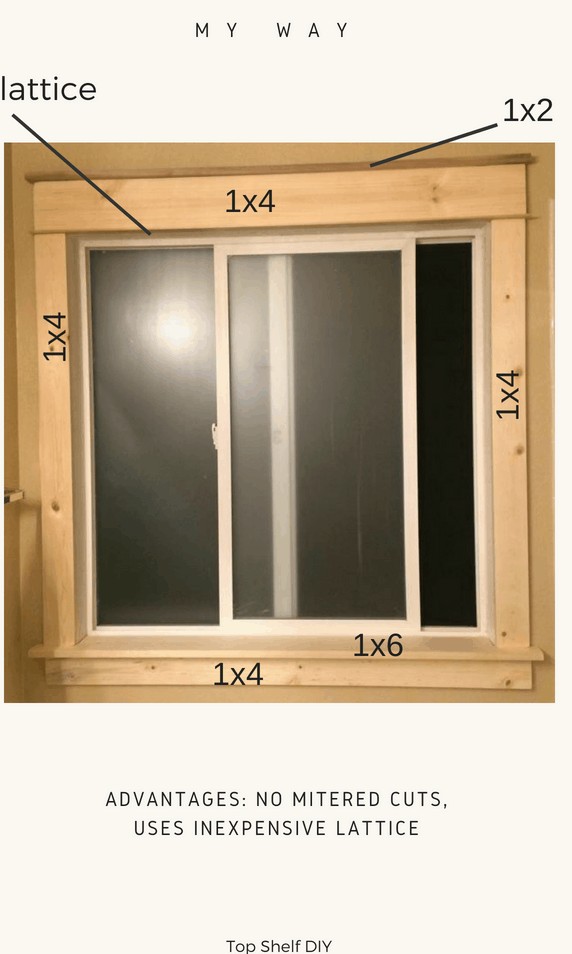
- 1x6 pre-primed MDF (top header piece)
- 1x4 pre-primed MDF (sides, window sill & apron)
- 1x3 pre-primed MDF (header)
- 1X2 pre-primed MDF (header)
- ogee trim or base cap (header trim)
*Note the above list includes affiliate links, which means I may earn a small commission should you purchase any of the recommended items.
Window Trim Demo
Remember that time you were watching HGTV and Nicole Curtis went right thru the wall with a sledgehammer? Yeah, don't be Nicole Curtis right now.
Here's how to carefully remove your window trim so that you don't end up with craters in your drywall.
Step 1: Score Your Seams
Important! Before doing any kind of demo, score the (caulk) seams around your window with a utility knife. Skip this part, and you'll be ripping off a whole lot more than you bargained for. Take my word for it.
Step 2: Go for the Jugular
By jugular I mean start with the weakest points in your molding: the header and the apron. These pieces typically have a lot less caulk due to their location.


Wedge a pry bar in the seam and tap with your hammer. Those pieces should come off in a snap!
Once you have those top and bottom pieces off you should be able to access the rest of the trim quite easily.
Step 3: Pull & Score Some More
As you're pulling your trim away you may need to score your caulk a bit more if you notice anything clinging to the wall.
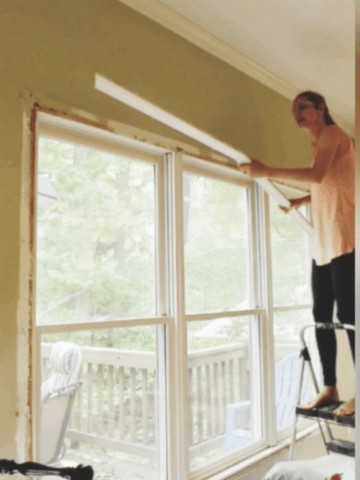
That's it! Demo complete.
It's going to look a little scary at this point, but I promise it'll look 100x better when it's all done!
Cutting and Installing Your New Trim
Choosing your style of window trim comes down to personal preference. There are many different ways to achieve the Craftsman look -- I go into more detail on all of the options in this post.
For this post I'm going to focus on my choices for this project.
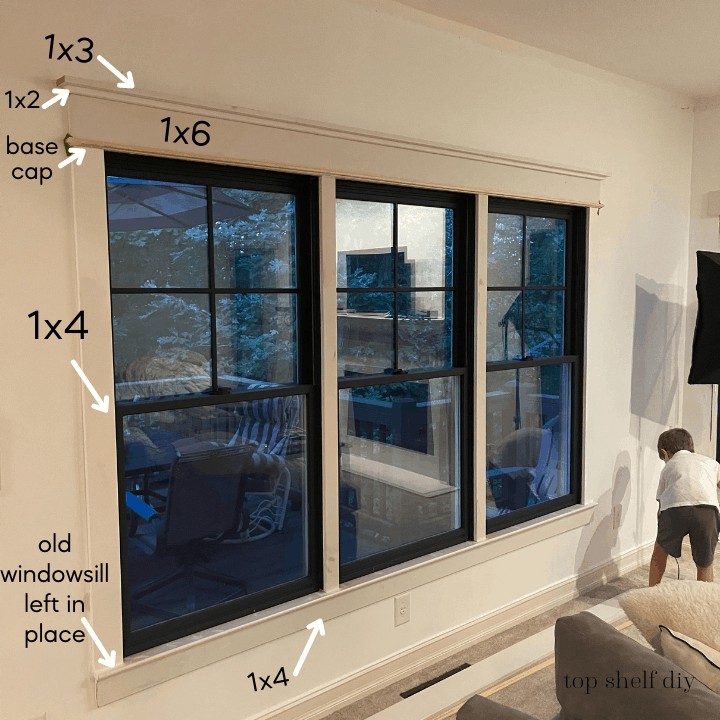
Order of installation:
- The stool (windowsill). Cut and install this piece first because it's the most difficult. In most cases I leave the existing windowsill in place because it saves me time and money. If you opt to remove it, you'll need to notch out holes for the sides and middles with a jigsaw, like this.
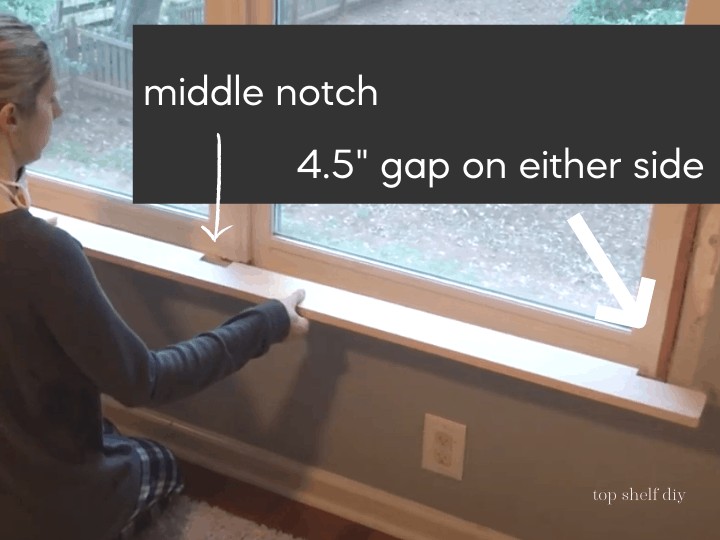
- (As noted above) The stool. Once you have this piece cut, add Liquid Nails to back and secure with 2" brad nails.
- The apron (the piece that goes under the windowsill). This piece is by far the easiest, as there are no special cuts involved. Secure with Liquid Nails + 2" brad nails as before.
- The header. Start with the 1x6, cut so that it extends 3.5" from either side of the window (the width of your 1x4s). Then, add your 1x2 trim, cut 1" longer than your 1x6 (1/2" overhang on either side). Lastly, add your 1x3 trim, cut 1" longer than your 1x2.
- The 1x4 sides. It's best to leave this last so you can get an exact measurement from your header to your stool.
- Lastly, add your base cap to the bottom edge of your 1x6, being sure to cut the ends at 45-degree outside miters. Secure with wood glue and brad nails.
If you'd like a visual I recommend watching this video!
Finishing Touches
Once your pieces are installed you'll want to fill in all of your nail holes with either spackle or wood filler. If your nails extend beyond the surface of your wood use a nail set to drive them in a bit further. Sand once dry.
Caulk, caulk, caulk all your seams.
I like to keep a bowl of water handy so I can smooth things over with my index finger as needed.
Once the caulk is dry you're ready for paint! I used Cameo White in a satin finish.
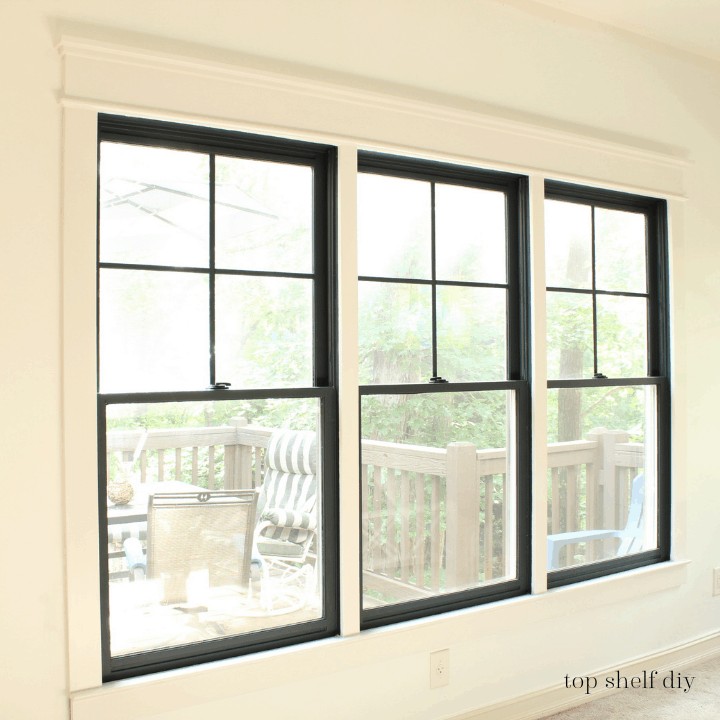
Black Inset and DIY Window Mullions
Painting your windows gives them that little extra something, don't ya think? This is the kind of project that can be easily completed in a day.
I was inspired to create my own window mullions after reading this tutorial from Lucy over at Craftberry Bush. I took her advice and purchased three 16-foot pieces of Woodgrain pine molding for $30! And I have a lot leftover, even after doing six windows.
Tools and Materials
- Pine screen molding
- Power drill
- Miter box or Miter saw
- Black latex paint in an eggshell sheen
- Paint brush
- Epoxy glue
- Measuring tape
- Rustoleum metal primer
- Rustoleum protective matte enamel
Prepping Your Windows
Maybe this goes without saying, but start by cleaning your windows really well. If you're anything like me, your windows are covered in a lovely layer of dust, cobwebs, and small grubby finger prints 🙂 I was amazed how much better they looked after just a little elbow grease (crazy, I know).
Next, you'll want to remove any window hardware with a drill.
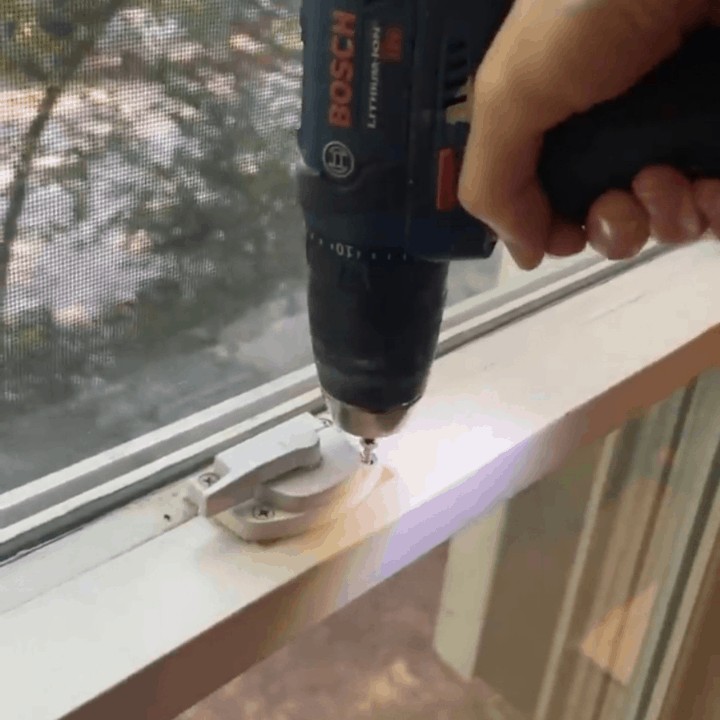
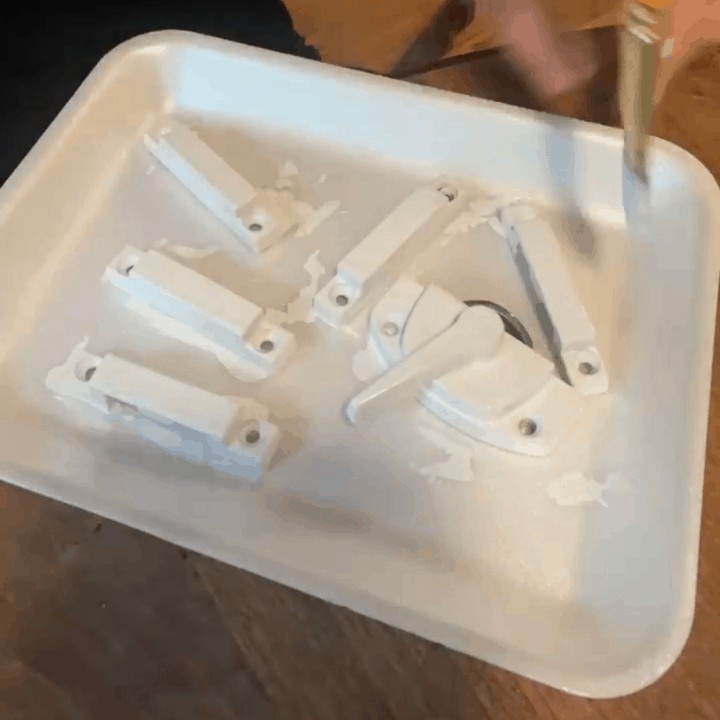
If you're planning on painting your hardware, I recommend using Rustoleum's metal primer. Once the primer dried I added two coats of protective matte enamel (linked above).
With the hardware removed, it's time to paint your windows!
Cutting and Installing Your Mullions
Everyone has a their own style when it comes to painting windows. Some prefer to tape their glass, others use masking liquid. Me, I just paint everywhere and don't waste time trying to protect the glass. It will can all be scraped off with a putty knife afterward.
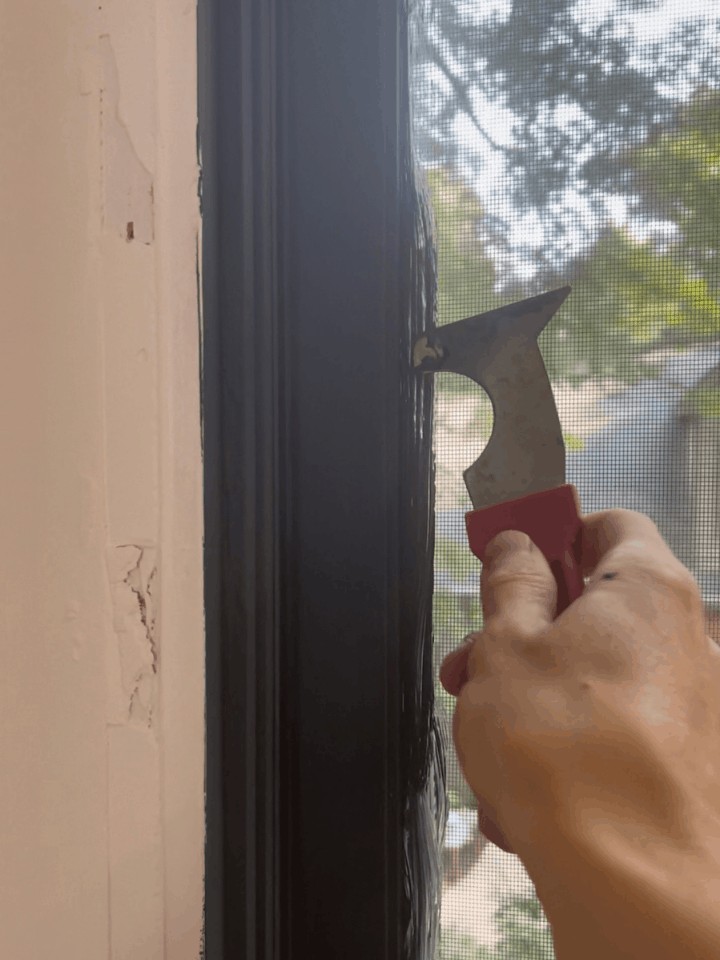
Lucky for me, I had some charcoal "oops" paint in an Eggshell sheen leftover from a different project.
While your windows are drying, go ahead and paint your pine molding. Divide your window into equal portions and then cut your molding 1/8-1/16" long so that it actually "snaps" into place. Do a dry fit to test the length, then add epoxy glue for final placement.
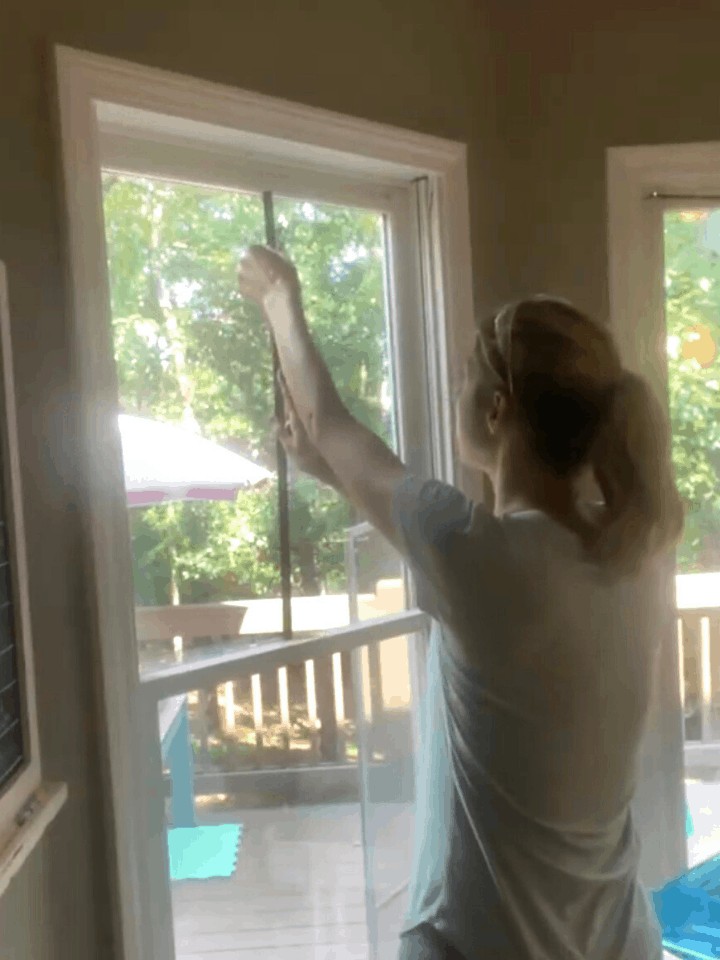
Continue this process until all of your windows are completed!
**One last note: you may need to score the inner window seams with a utility knife once the paint has dried in order to keep your windows functional.
At this point you can reattach your hardware and add window treatments – the sky's the limit!
I added sheers and a $10 curtain rod made from 10-foot electrical conduit. You'd never know it was conduit after I painted it gold! If you're interested in doing something similar, here's the tutorial I followed.
Cheers,
Erin


Love it! Thank you for the inspiration!
You're welcome Dee!
Hi May I know where did you buy the insert black stick? Thanks
The black sticks/mullions are from Home Depot.
I have a new remodel going on in a mansion from 1870s. I have been looking for something like this for all white brick when we are done with it. Do you have a site where you show all of this when you did it? We are trying to do the same exact thing and put black inserts and possibly some tint in all the windows. Thank you. You are awesome.
Looks beautiful! Did you add mullions to the outside of the window as well? If only adding to the inside and adhering with glue, how does it do in extreme heat? I'm in the southwest with 100+ degree weather. Thanks.
I didn't add mullions to the outside of the window! I don't think you'll need it. I live in Georgia where the heat is pretty intense and they have held up great one year later 🙂
Are your windows wood? Mine are vinyl. Probably can paint them.
Yes they are wood.
https://www.homedepot.com/p/Woodgrain-Millwork-WG-142-1-4-in-x-3-4-in-x-96-in-Solid-Pine-Screen-Moulding-109605/203898775
Has the black painted peeled at the window track, because of opening and closing the windows?