This living room renovation is sponsored by The Home Depot.
Goodbye, chrome! This simple hack will allow you to paint any metal surface in your home without having to deal with the mess and fumes of spray paint.
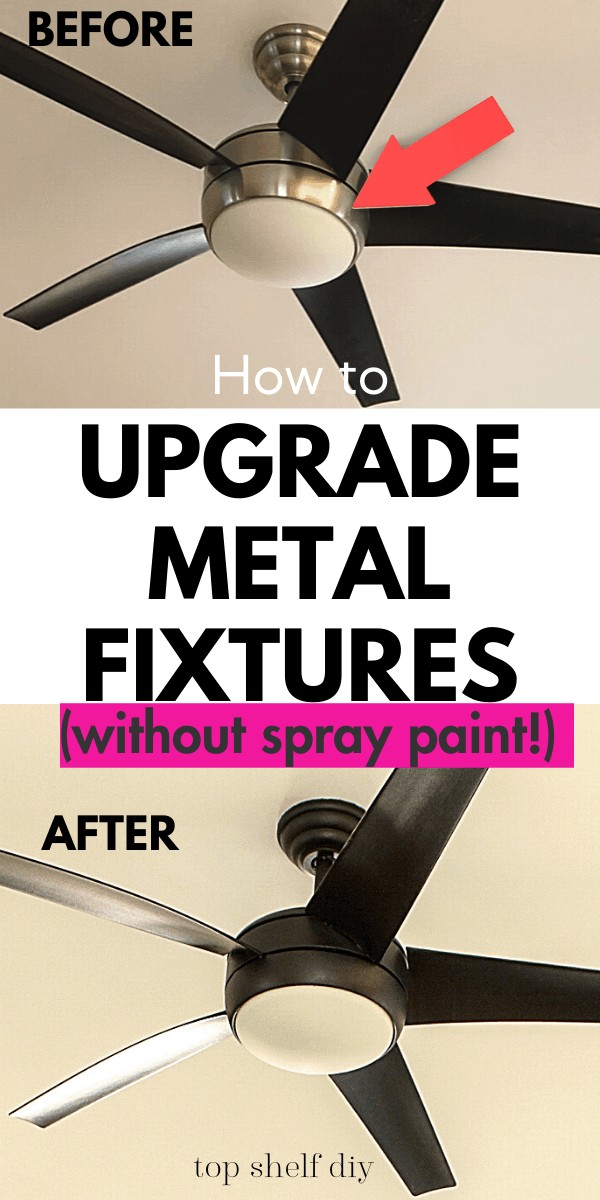
First off, I can't believe I waited so long to try something this simple, because my living room literally looks transformed with $30 in materials!
If brushed nickel is your thing, I apologize in advance. I hate brushed nickel and the previous owners of our house put it everywhere.
I guess it's still slightly better than '90s brass.
Our Living Room Renovation
If you're new here, hello and welcome to the start of our living room renovation! Here's what the space looked like in the beginning.
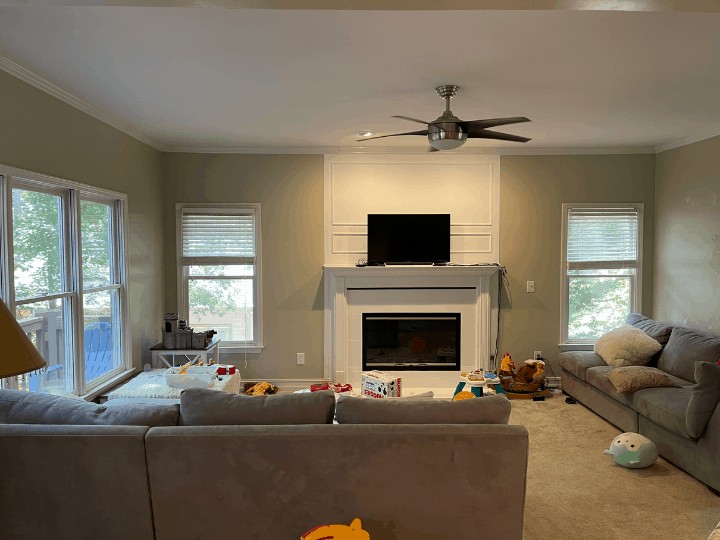
Pssst - If you'd like to see how the final reveal turned out, skip on over to this post!
One of the first things I did was paint the walls a bright, happy color (Benjamin Moore's Chantilly Lace) and update all the brushed nickel fixtures. It always bothered me, but I guess I assumed I was going to need to spray paint it, so I never touched it with anything else.
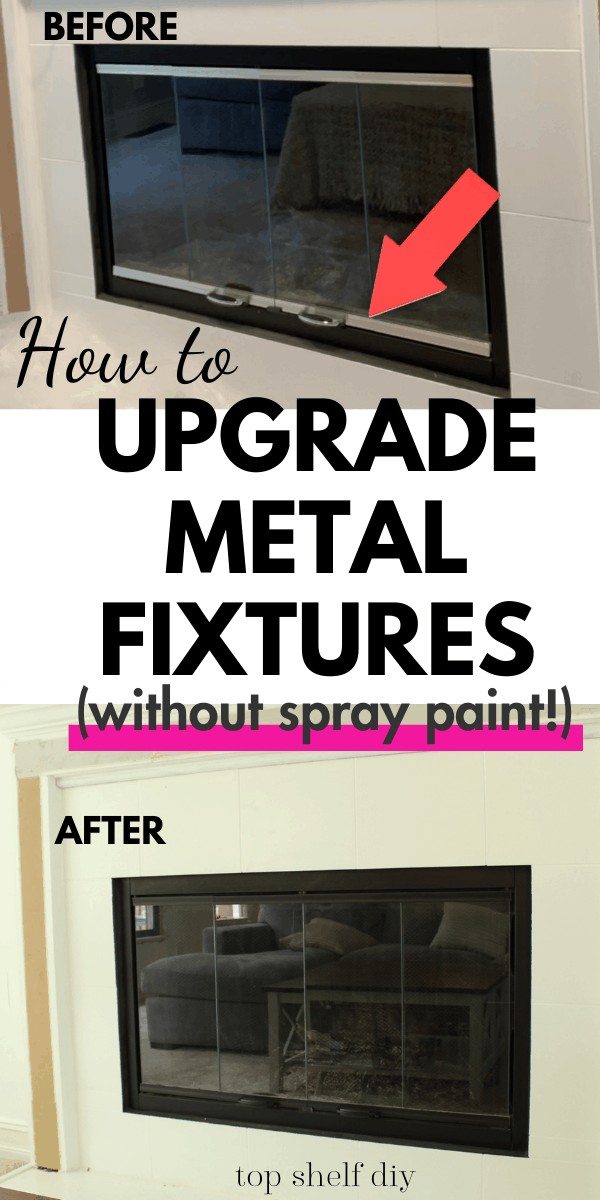
This renovation was the push I needed to change these finishes. After a little research and elbow grease, our fireplace has gone from this:
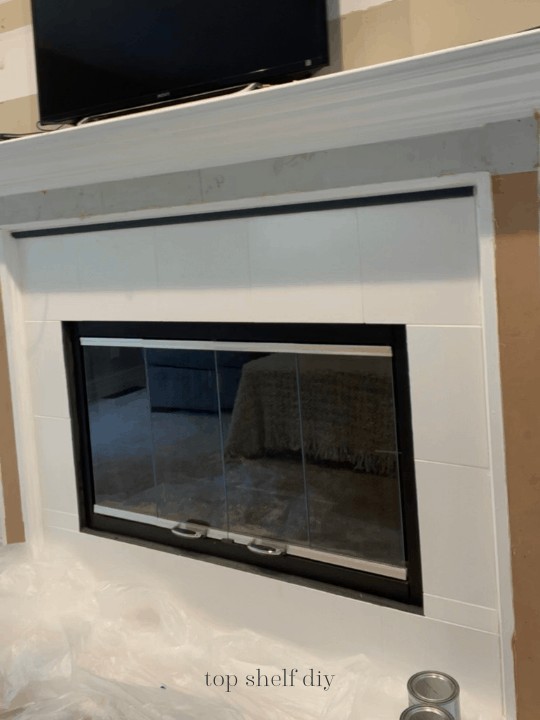
To this!
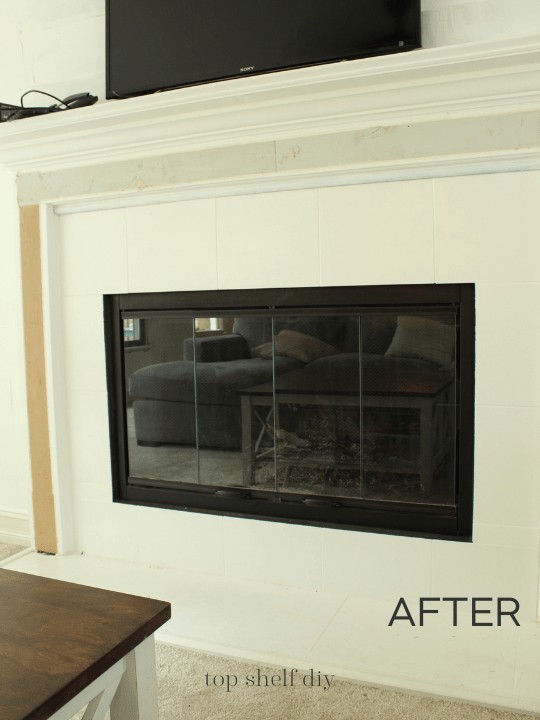
Did I mention this cost about $30!? And I have enough leftover materials to basically refinish all the brushed nickel in my house.
Ready to get your project list together? Here's what you'll need.
Supplies
- Wiping cloth
- Painter's tape
- Sanding sheets (220 grit is fine)
- Paint brushes
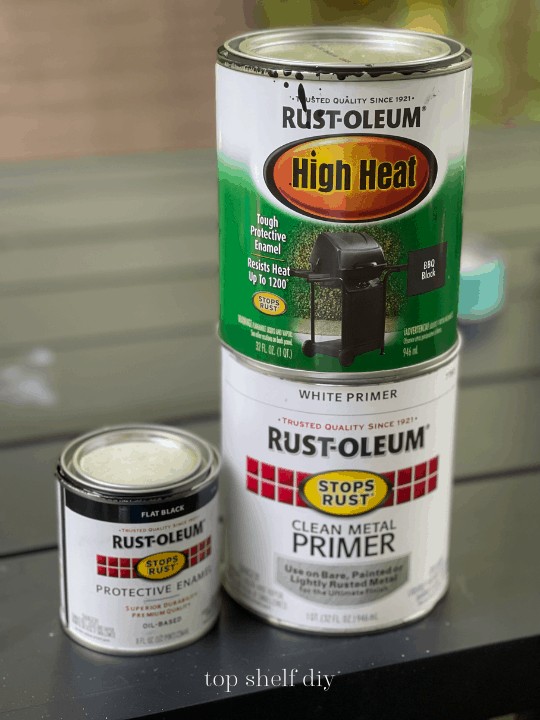
- Rustoleum metal primer
- Rustoleum high heat enamel (for fireplace)
- Rustoleum protective matte enamel (for lights, fans, etc)
*Note this list includes affiliates links, which means I will make a small commission should you purchase anything recommended here.
Steps
Step 1: Gently remove any dirt or dust from your surface. Our fan in particular was loaded with dust and needs to be cleaned every few months because it's a dirt magnet.
Step 2: Give your surface a light sanding using a high-grit sanding wedge. This will help open up the "pores" in your metal so your paint has something to adhere to.
Step 3: Tape off any unwanted areas and lay down painters' tarps to protect the area.
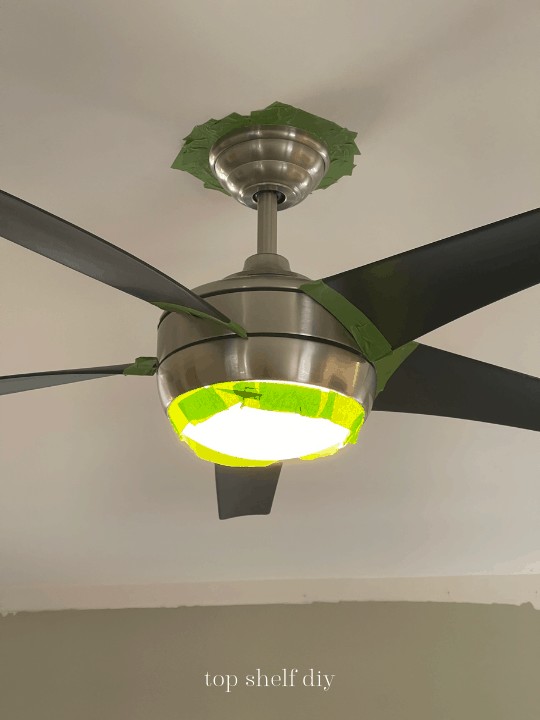
Step 4: Prime your surface with the metal primer recommended earlier. Use light, even strokes for good coverage.
Step 5: Once the primer has dried (about 10-15 minutes max), paint your surface with the appropriate Rustoleum enamel product. I used the high heat finish for our fireplace and the basic enamel finish for the light fixture. I needed 2 coats for good coverage.
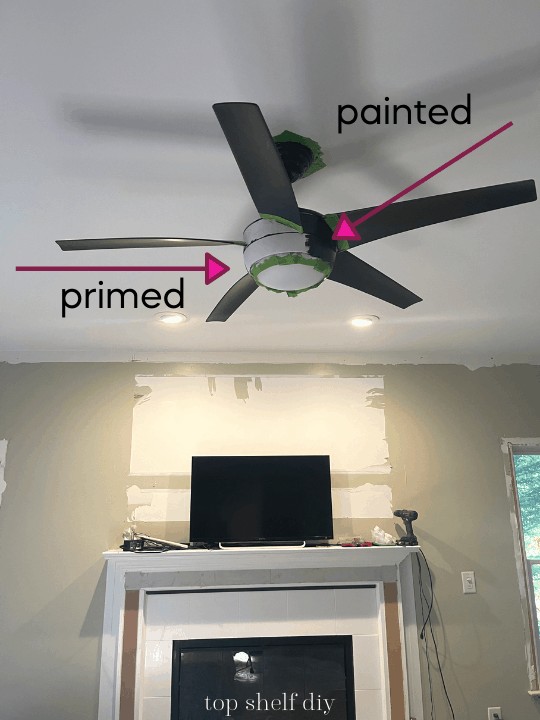
Note: these are oil-based paints, so they're a bit different than your run-of-the-mill latex paint.
- they dry very fast (dry to the touch in about 1-2 minutes!)
- use denatured alcohol to clean your brushes (dish soap won't cut it)
- it has a little bit more of an odor than latex paint. I didn't need a mask, however, as the fumes were minimal.
Once you're happy with the coverage, remove your painters' tape and you're done!
Now get painting and stop worrying about replacing those outdated fixtures (for a while anyway haha).
Ready for more living room projects? Here are all the projects completed in this room:
- Luxury Vinyl Plank Flooring (Weeks 9-10)
- The Coffered Ceiling (Week 8)
- DIY Cast Stone Fireplace (Part 3) – Mounting the TV (Weeks 6-7)
- DIY Cast Stone Fireplace (Part 2) – The Mantel (Week 5)
- DIY Cast Stone Fireplace (Part 1) – Demo & The Hearth (Weeks 3-4)
- DIY Black Inset Windows (Week 2)
Cheers,
Erin



Leave a Reply