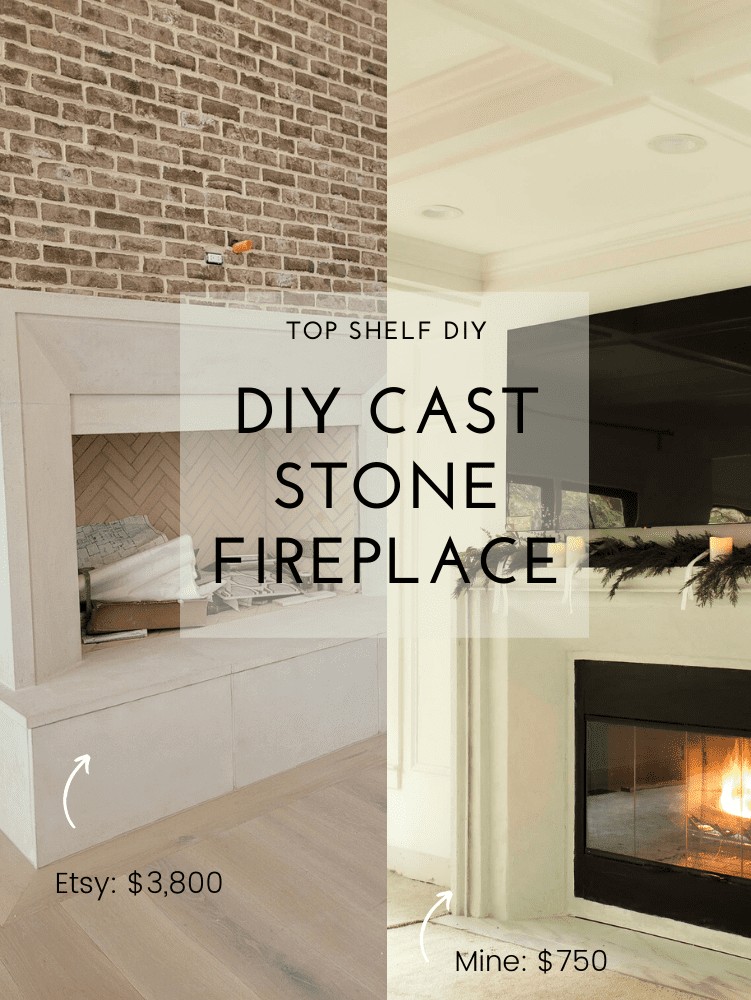
Ready for the second part of this build?! Keep reading to see how I recreated the look of a cast stone fireplace on a budget.
This part entailed a lot of trial and error, but where there's a will, there's a way!
In case you missed Part 1 of this fireplace build, you can catch up here.
The Fireplace: Tools and Materials
- (6) 1x12 pine boards
- Miter saw
- Kreg jig
- 1 1/4" pocket screws
- Wood glue
- Right angle clamps
- Galvanized steel framing studs
- Galvanized Steel High-Hat Furring Channel (optional)
- Metal Schluter edging
- Tin snips
- Safety gloves
- Self-tapping metal screws
- Durock cement board
- Circular saw with a diamond blade
- Rock-on cement board screws
- Henry's Pre-mixed leveling compound
- Henry's feather finish
- Titanium dioxide cement pigment (white)
- Trowels + bucket
- 220-grit sanding wedges
- Cement sealer
Mantel construction
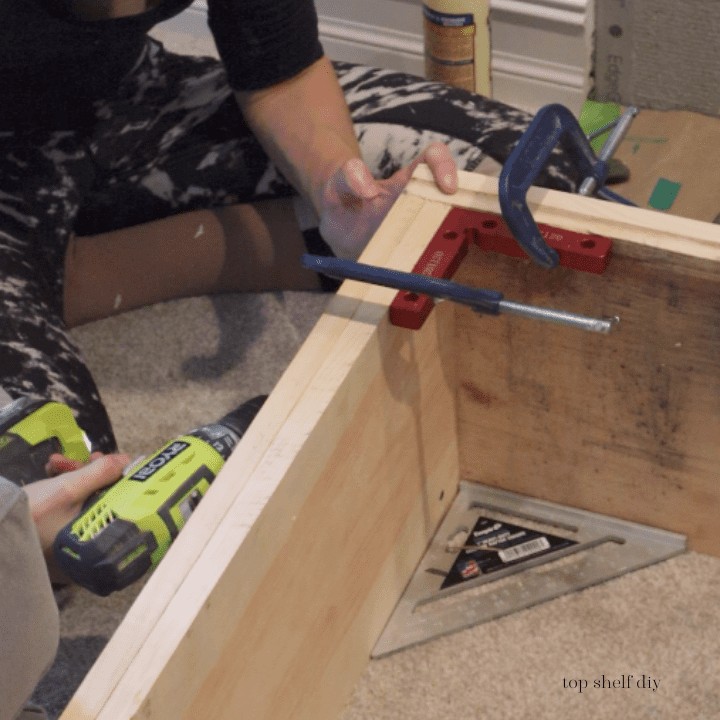
I started by joining 1x12 pine boards together via pocket hole joinery. Each side consisted of two boards glued and screwed together (be sure to countersink your screws for a nice flush surface). I assembled the mantel right in the living room.
Clamps are your best friend!
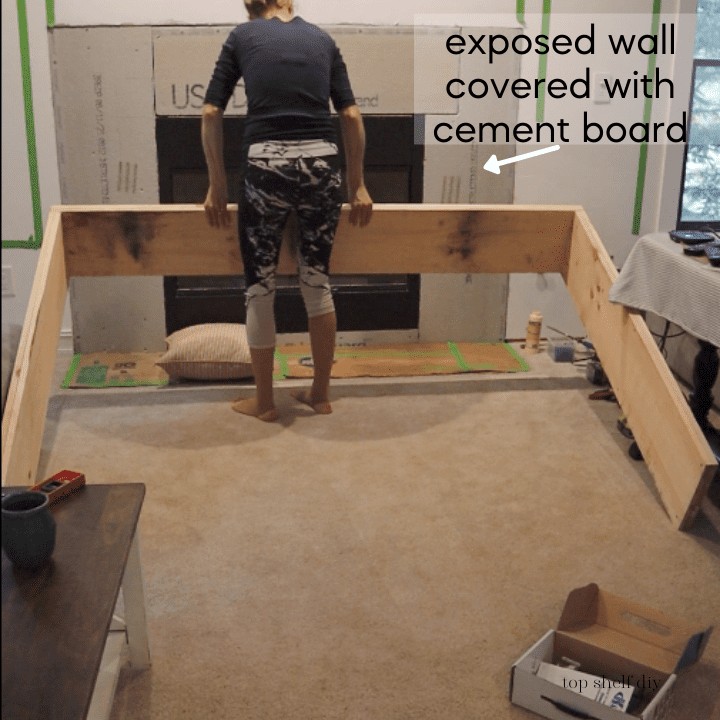
Set your mantel in place. I also taped down some grocery paper to protect my newly placed hearth tile.
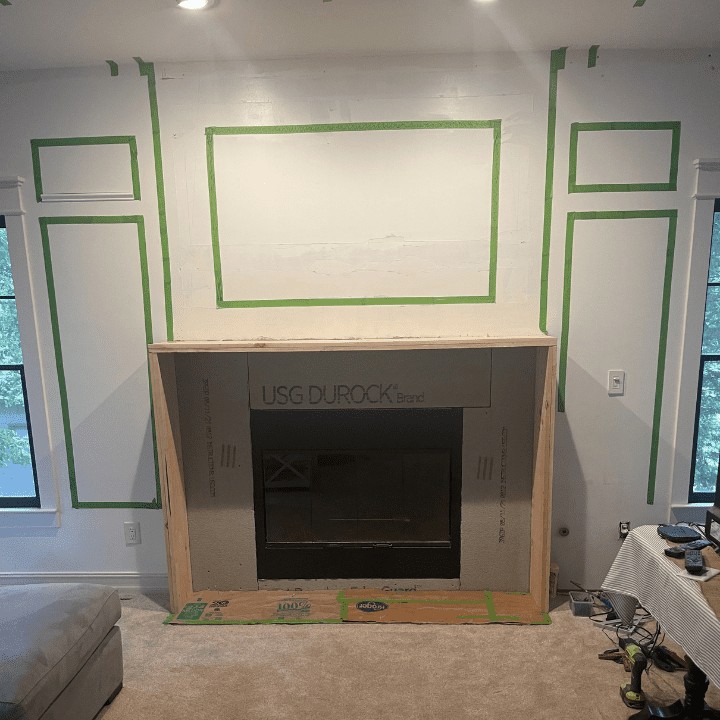
The rest of the mantel was made of non-combustibles: metal studs and cement board. I began by placing my metal studs inside the mantel so that there would be a layered effect once it was all covered with cement board.
Metal studs are super lightweight and can be cut with tin snips (just be sure to wear gloves!). Start with the top and bottom pieces, then slide the sides in to build your box. Secure the studs to each other with metal screws, then secure them to the wall via cement board screws.
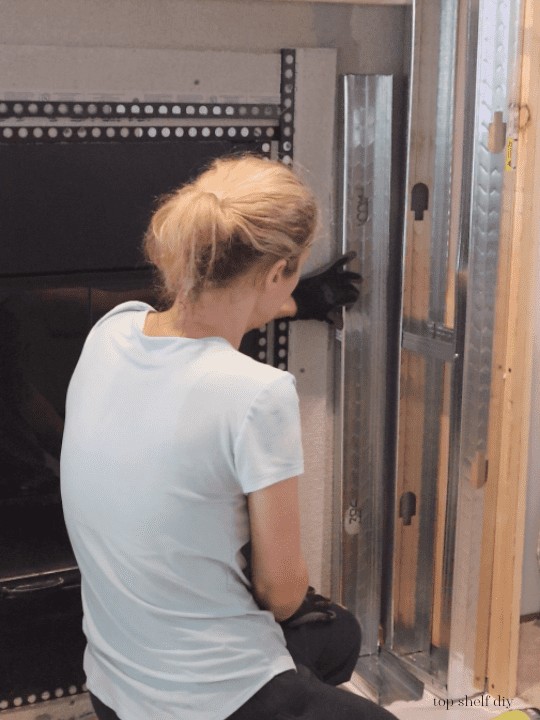
Below is what the framework looked like once it was assembled. For added architectural detail, I secured a metal furring channel to the wood frame using metal screws.
A few more small details: I added metal Schluter trim around the fireplace opening. I also doubled up the cement board in this area to create the layered effect I wanted.
I wasn't working with any kind of plans here...I just winged it and hoped for the best.
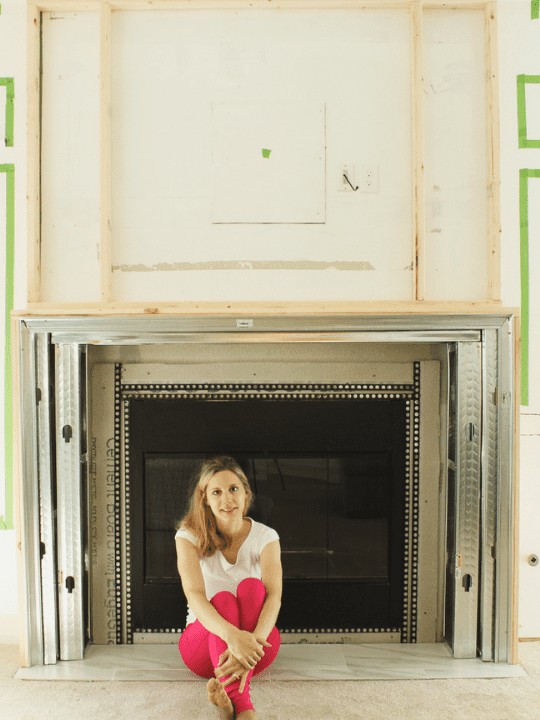
Can you see it coming together now? 😁
At this stage our electrician had just added an electrical box and ethernet port above the fireplace! I was so freaking excited.
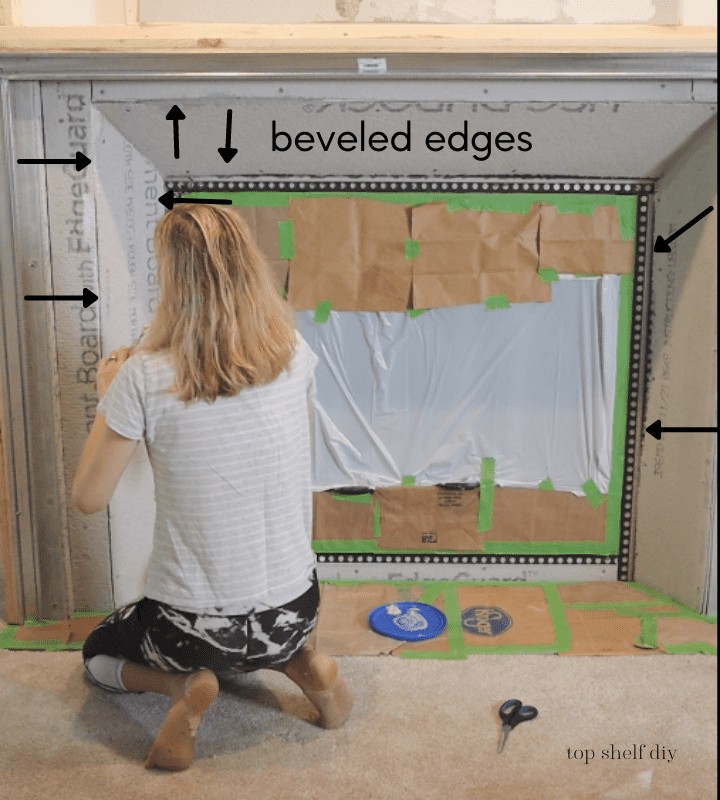
The final step of construction was adding cement board to the outside of the mantel. As before, you'll want to use a diamond blade on a circular saw or angle grinder. For some of the cuts you'll have to use a circular saw in order to achieve a beveled edge.
Three inner pieces will need to be cut at a 45-degree bevel on their ripped edges (see photo). The rest can be just cut at the regular 90 degrees.
Getting the stone "look"
The last step in this process is a bit tedious and time consuming, but well worth the effort. First, I filled in all the seams with Henry's leveling Patch n'Level.
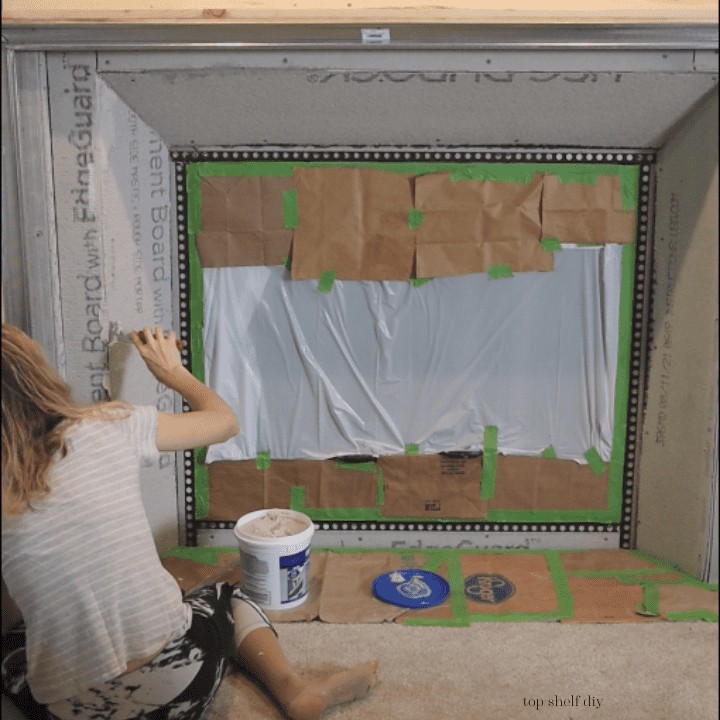
Next, I covered the entire mantel and fireplace surround in Henry's cement feather finish. Because the mixture is naturally a dark gray, I reconstituted the mix in a 1:1 ratio with titanium dioxide (white pigment). I sanded with a 220-grit in between each coat. Three coats was enough for me to get a uniform finish.
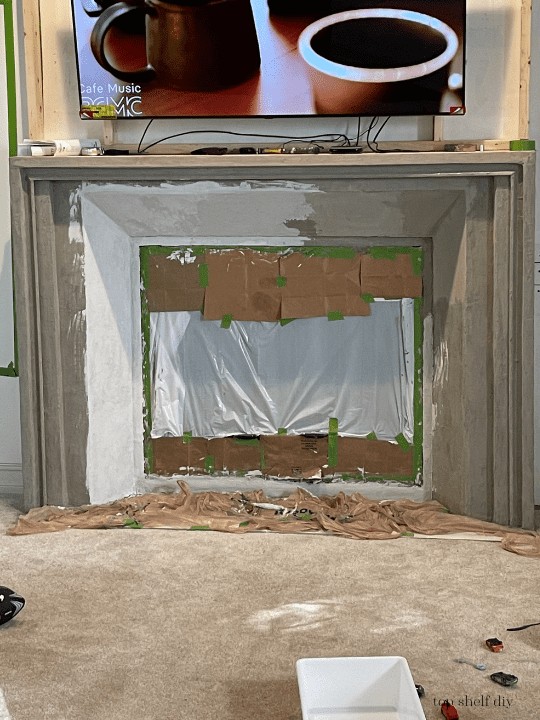
I love all the movement and texture of a cement feather finish! You'd never know the inside of this fireplace is as hollow as a drum.
The last step was to seal the cement with 511 sealer (linked above). It didn't affect the final color of the fireplace, thankfully!
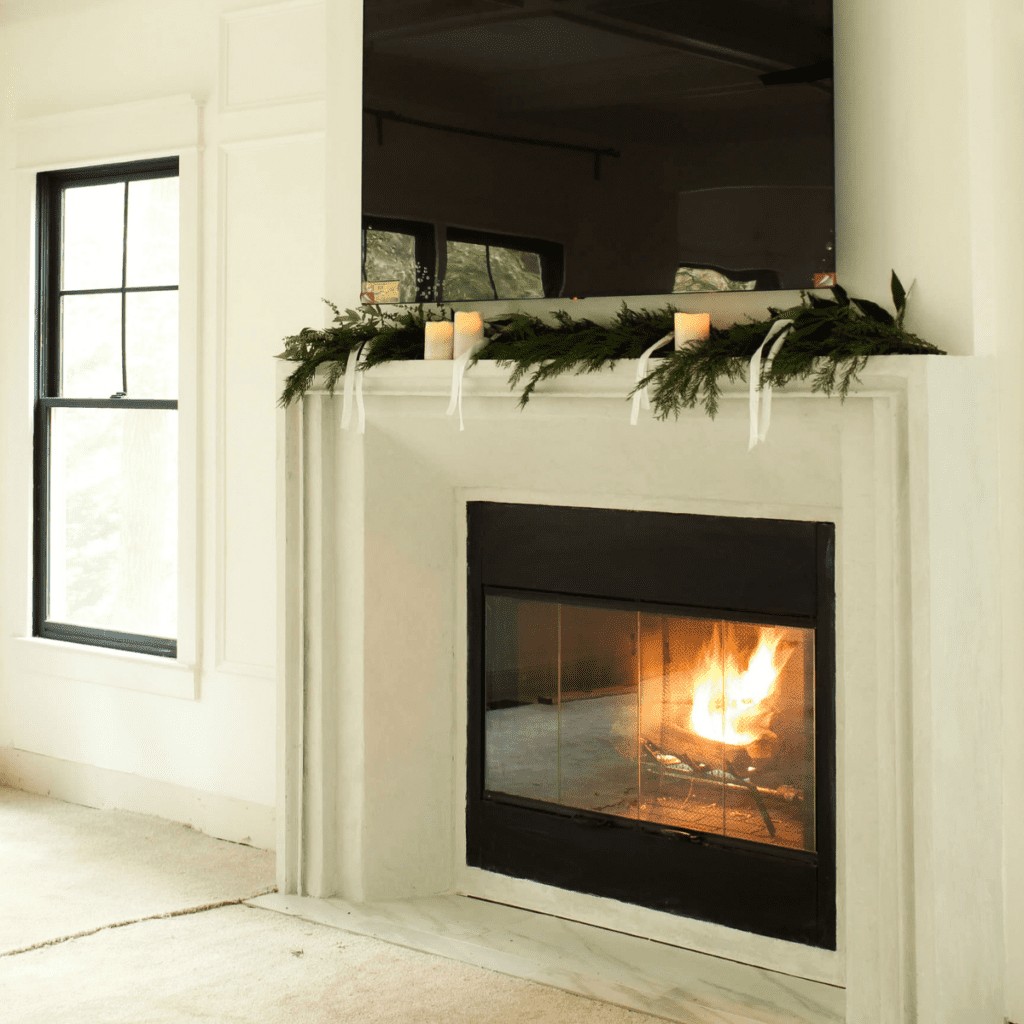
That's it for this step in the renovation process!
Ready for more? Here are all of the projects from this renovation:
- Painting the Chrome Finishes (Week 1)
- DIY Black Inset Windows (Week 2)
- DIY Cast Stone Fireplace (Part 1) – Demo & The Hearth (Weeks 3-4)
- DIY Cast Stone Fireplace (Part 2) – The Mantel (Week 5)
- DIY Cast Stone Fireplace (Part 3) – Mounting the TV (Weeks 6-7)
- The Coffered Ceiling (Week 8)
- Luxury Vinyl Plank Flooring (Weeks 9-10)
- Modern Farmhouse Living Room Reveal!
Questions? Hit me up in the comment box below! Hopefully the 1500 photos help 🙂
Cheers,
Erin


Hi there!
Beautiful Work! I was wondering- how did you apply the cement feathering?
Thank you!
I watered down the Henry's Cement feather finish until it was about a toothpaste consistency. I added the whitening powder (titanium dioxide) in a 1:1 ratio so that it would look lighter. Then I applied even 2-3 coats with my hands, sanding with 220 grits in between. Hope that helps!
I also have highlights saved on my Instagram account (@topshelfdiy) if you need more of a visual guide! -Erin
Beautiful Mantel! I am attempting to make my own in Mae...and cannot for the life of me figure out the two corners! Are they 45 degree cuts, with 90degree edges? I'm so lost and would love some help on how set up the my chop saw for the right angles! I have the long edges figured out, but totally stumped on the two corners.
The top mantle (the part made of wood) was cut at 90 degrees so you shouldn't have to change the miter angle on your saw. They were secured at the corners with pocket hole joinery. I hope this helps!
This is beautiful! Do you have plans for this for sale?
Thank you! I don't have plans at this time unfortunately.
Erin - I'm on my way to Home Depot! This is awesome and what a project. Can you help me understand the transition between the wood mantle and the first layer of metal studs? Is there a small strip of concrete backer board or did you use wood trim?
Thanks Sherry! I simply screwed the metal studs directly to the wooden mantel. Good luck with your project!
Did yours turn out to be creamy or a light gray? I'm in the process of doing my mantle and it looks light gray. I added a 1:1 ratio of the cement finish with titanium dioxide. Is this what you did? Thank you so much! Your mantle turned out beautiful!!
It turned out to be a very light gray!
Looks great! I work for company that produces Cast Stone fireplaces & we started offering a "lightweight concrete" option that would only require liquid nail to adhere to your walls. Less demo and less $$$ for materials & labor. Your design and finish looks spot on, great work!
Awesome! I think that product would sell very well! Thanks for the positive feedback, truly appreciated.
Great how-to ! Beautiful home !
So is there no concern in regards to structural integrity or adhesion when mixing the Henry's and TiO2 pigment in a 1;1 ratio ?
Cheers.
This looks amazing! I know you beveled the angles on the 3 pieces from the picture above, but how did you calculate the bevel angle of how those pieces come together in the left and right corners? Or is that also 45 degrees?
yep I think the beveled cuts whenever i made there were always 45 degrees. Hope this helps!
Yes everything was 45 degrees when I made beveled cuts!