There really isn't anything fun about moving.
The packing, the unloading, the unpacking...it's enough to make you want to live under a bridge just so you don't have to deal with packing ever again.
There is one perk to having all those empty boxes lying around, though.
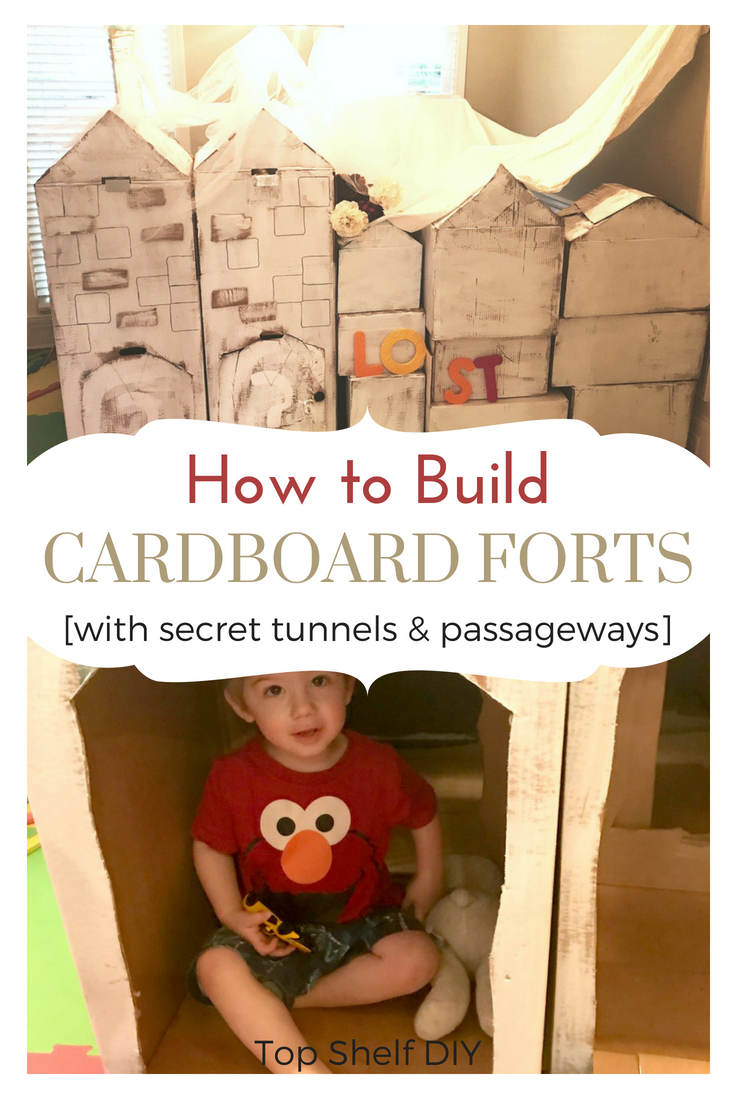
And that of course is forts.
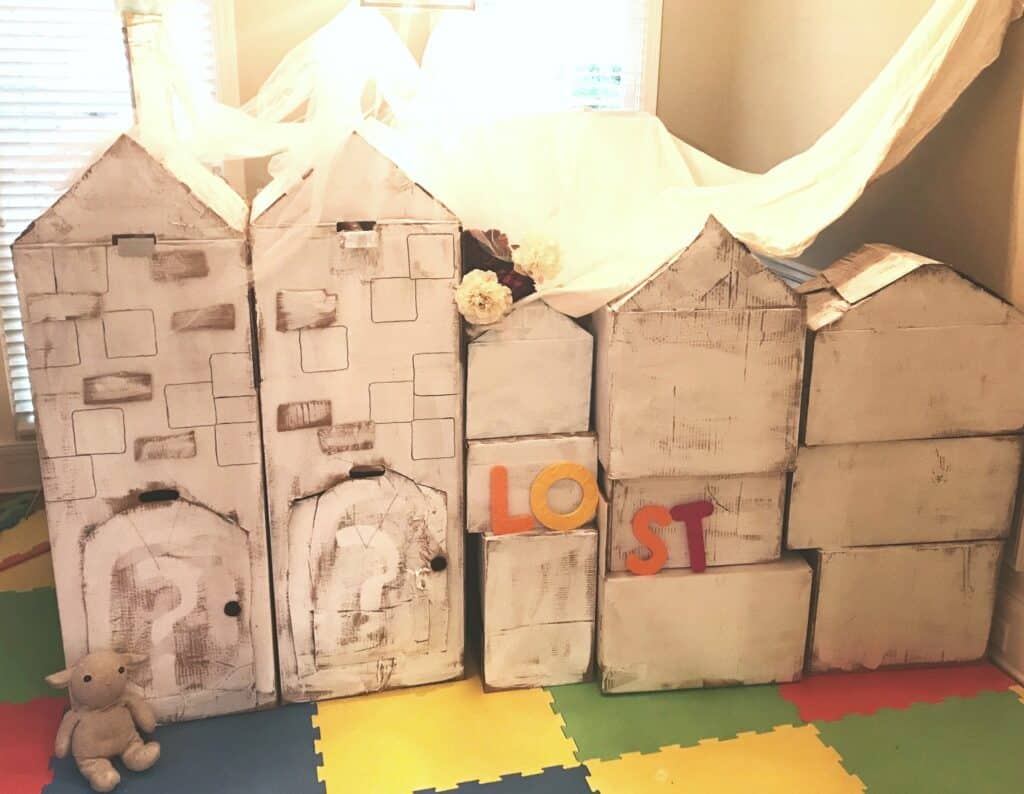
I'm pretty sure I had more fun making this than my son had actually playing in it. He's not even two years old, so all my plots of secret societies and secret handshakes were totally lost on him.
Perhaps your kids would enjoy something of this caliber. I kinda wish I was 7 years old again -- my imagination isn't what it used to be. Plus, I can't squeeze through my own tunnels (I tried).
Here's how I built it. You can get as elaborate or as simple as you need it to be.
Supplies for Your Fort
- Cardboard boxes (if you have a huge one from an appliance or furniture purchase, those work well)
- Duct tape
- Butcher knife (cuts faster and cleaner than scissors, just be careful if you have young children around)
- A large bedsheet
- Latex paint (optional)
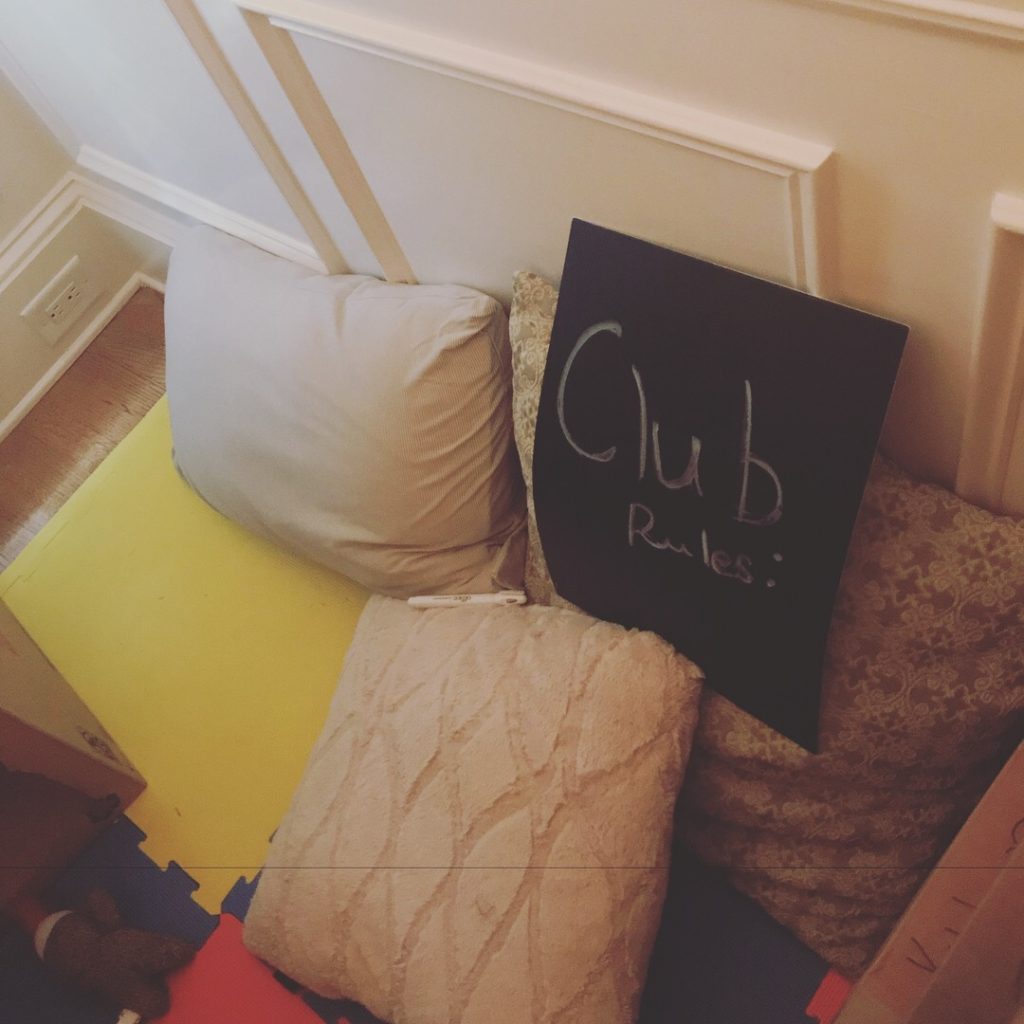
- Accessories (tulle, fake flowers, large pillows, string lights, etc.)
Total cost: $0. I only used what I had lying around. I used clear mailing tape because I didn't even have duct tape. You could secure your bedsheet to the wall using 3M Command hooks, or just use an existing picture hook like I did.
Directions:
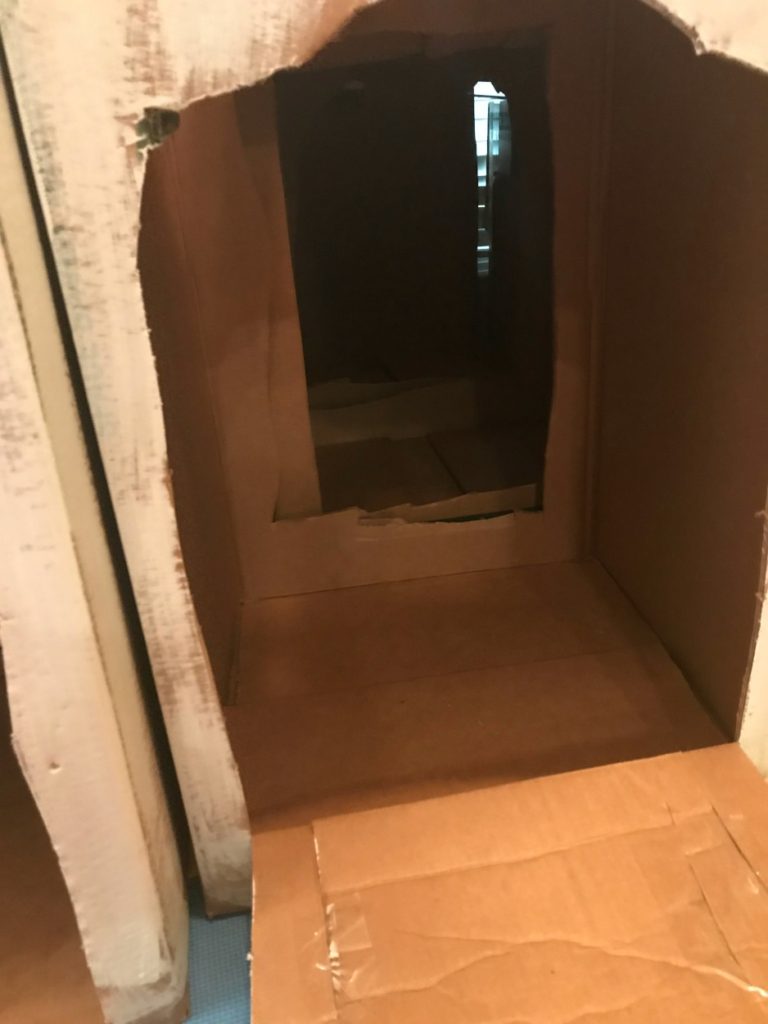
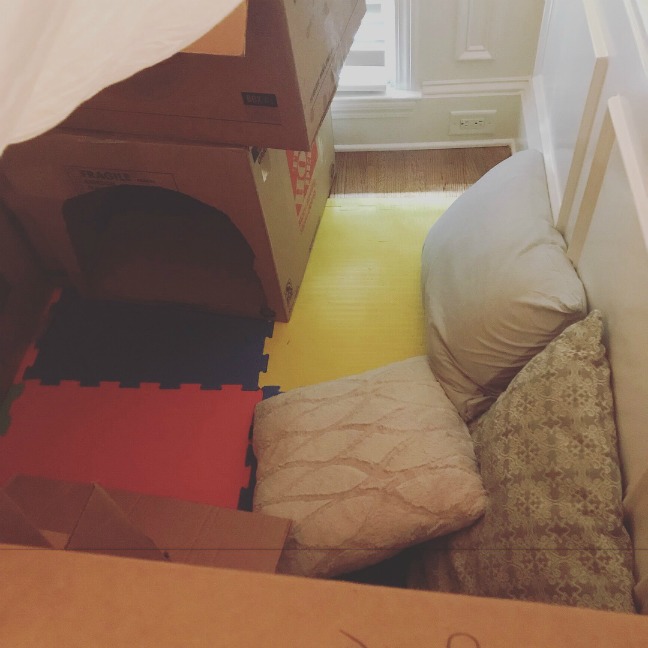
- Align your boxes in a maze-like configuration. Cut portals through your boxes so that they connect via tunnels.
.

.
.

.
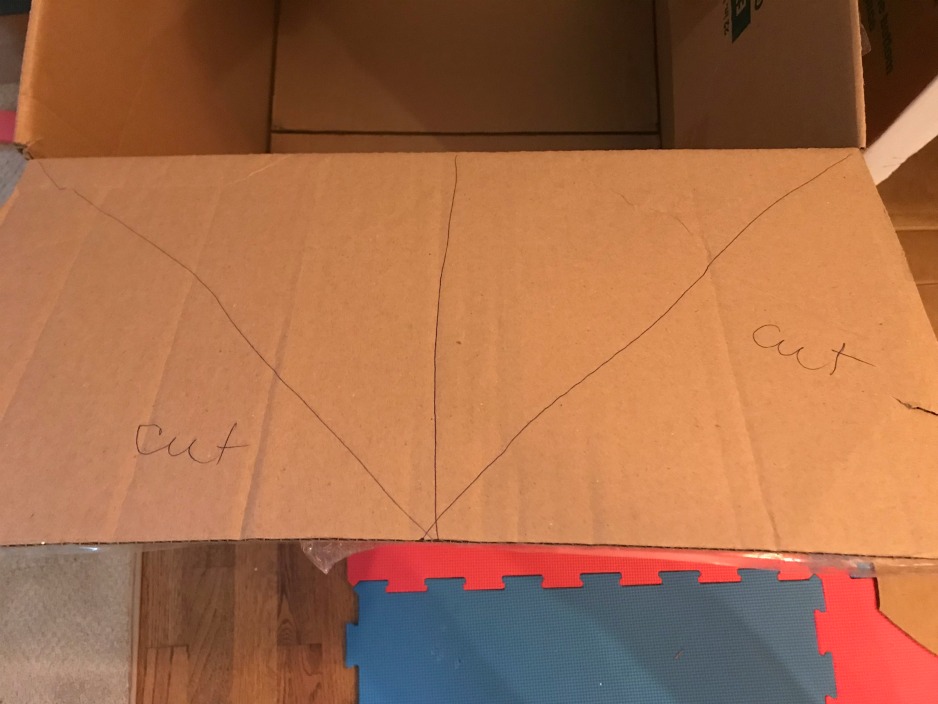
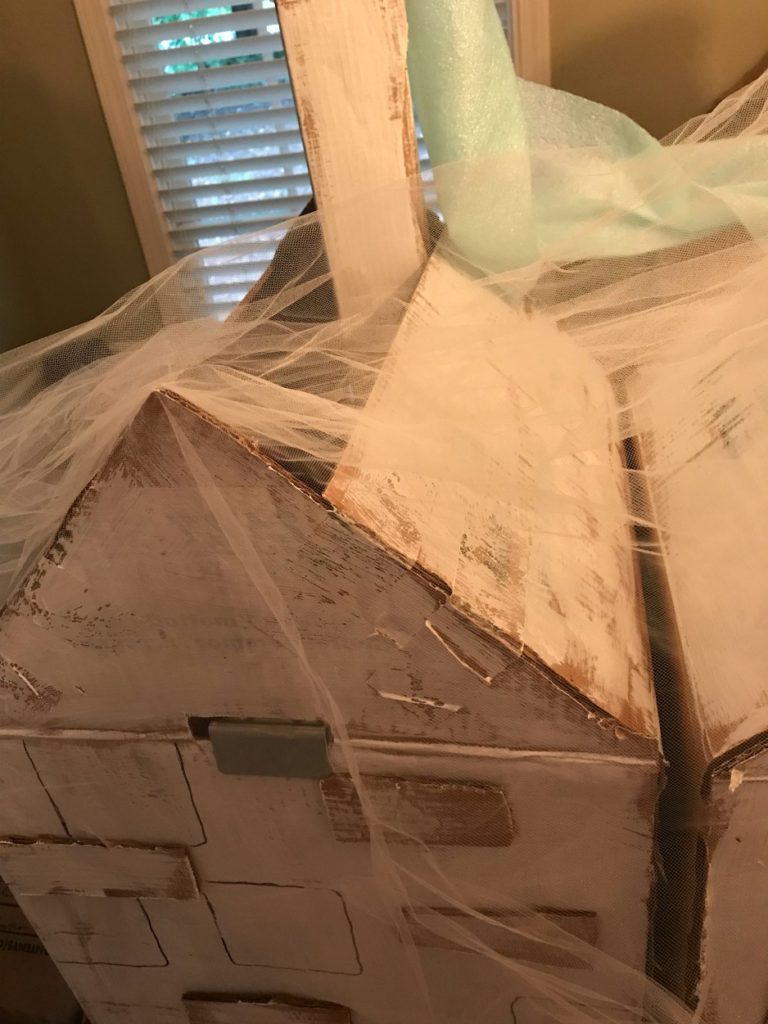
I didn't even bother closing off the roof with additional cardboard because the opening allows light to come in.
That's it! I hope this has given you a little inspiration for your next rainy day.
Have fun getting lost!



Leave a Reply