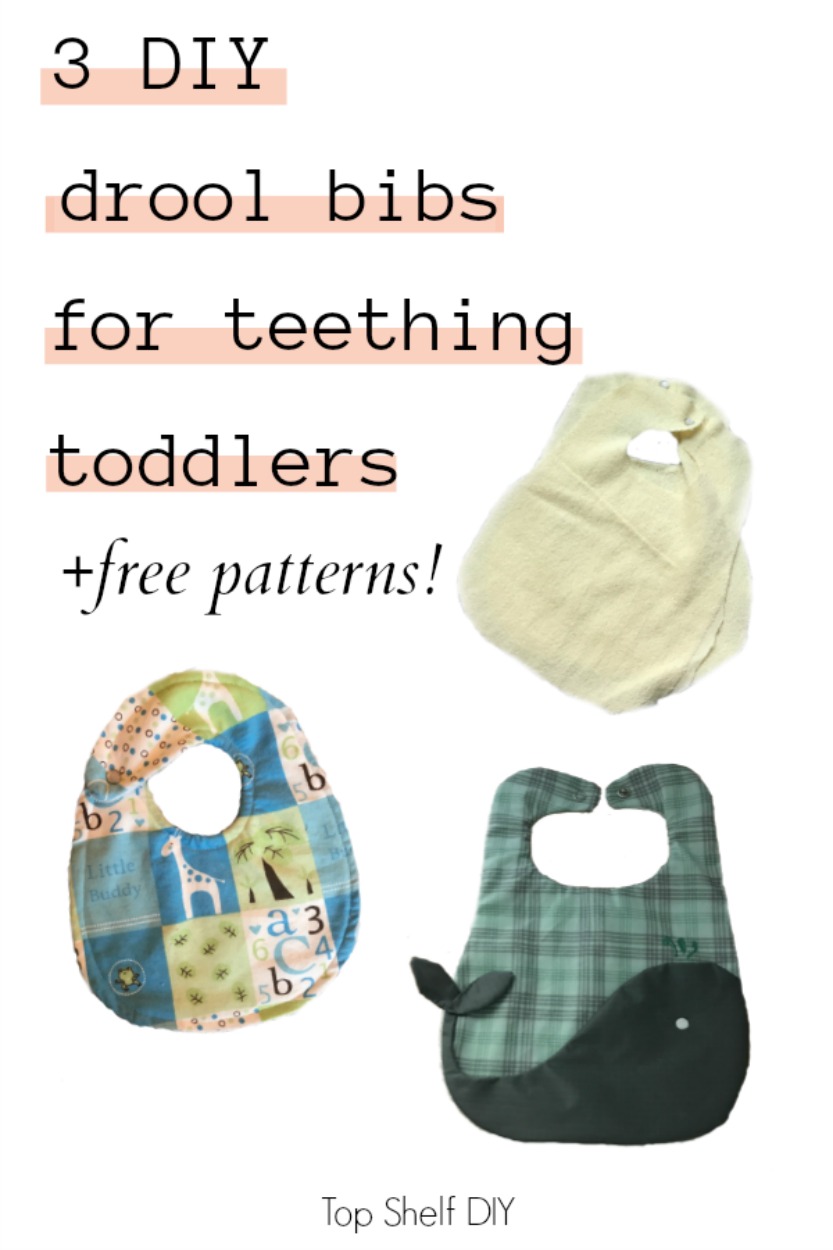
A few months ago, my son was teething and drooling buckets of saliva all over everything.
Since his old baby bibs were packed up in storage, I resorted to using his meal bib, which worked fine aside from being bulky and slightly strange for him to wear to school (it has a scoop at the bottom).
I needed some durable drool bibs, and I needed them fast.
My mom, who is a bomb-diggety seamstress, suggested I whip up a few disposable bibs from a pattern she made last summer.
Ain’t got no time for that sheot, I thought.
Then she pointed out that I wouldn’t even need to use a sewing machine because she had extra snaps in her drawer.
Bingo.
Two great advantages snaps have over buttons: they don’t pose a choking hazard like a loose button would, and they don’t require any sewing if you use a Snap Tool Kit.
Double Win.
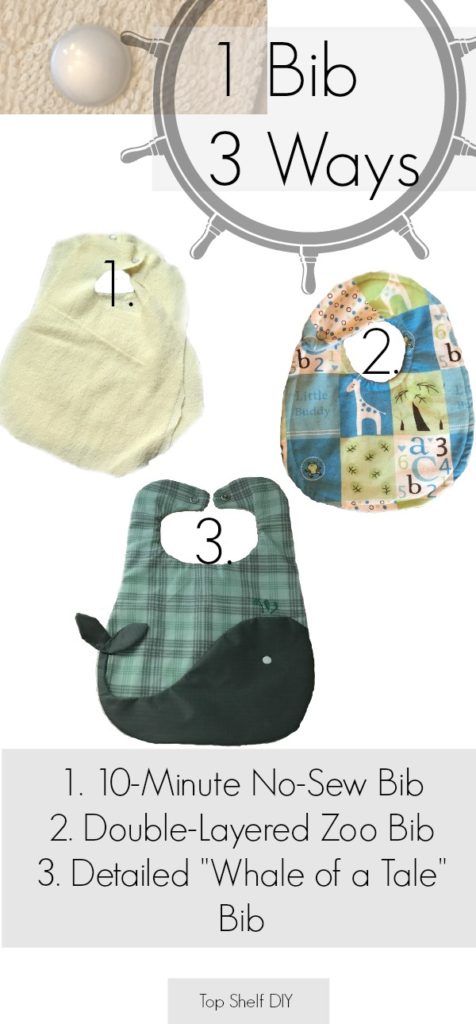
A 20-minute, No-Sew Drool Bib Tutorial
Let's start with the easiest bib. As I mentioned, this doesn't require any sewing. The drawback to this design is its limited longevity, but I will tell you I was able to reuse this bib after several washes despite the absence of a hemmed edge.
I'm a very visual learner, so I've tried to incorporate as many images as possible.
Here’s what you’ll need:
Supplies
note: affiliate links included
- Scrap fabric (jersey or cotton work well)
- A simple bib pattern (I will include my pattern at the end of this post!)
- Scissors
- Fabric pins
- Hammer and Snaps Tool Kit OR Snaps Pliers (I tried both and found the pliers easier, but they are slightly more expensive).
- Snap Fasteners (make sure it’s the same size as your snap tool kit or pliers)
Step 1:
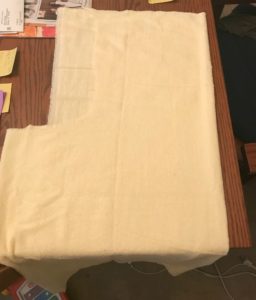
Lay your fabric flat, then fold it over once. I used terry cloth, but I don’t recommend this material for a no-hem, no-sew project. The ends will fray and you’ll keep finding these sassy little fuzz balls everywhere.
Step 2:
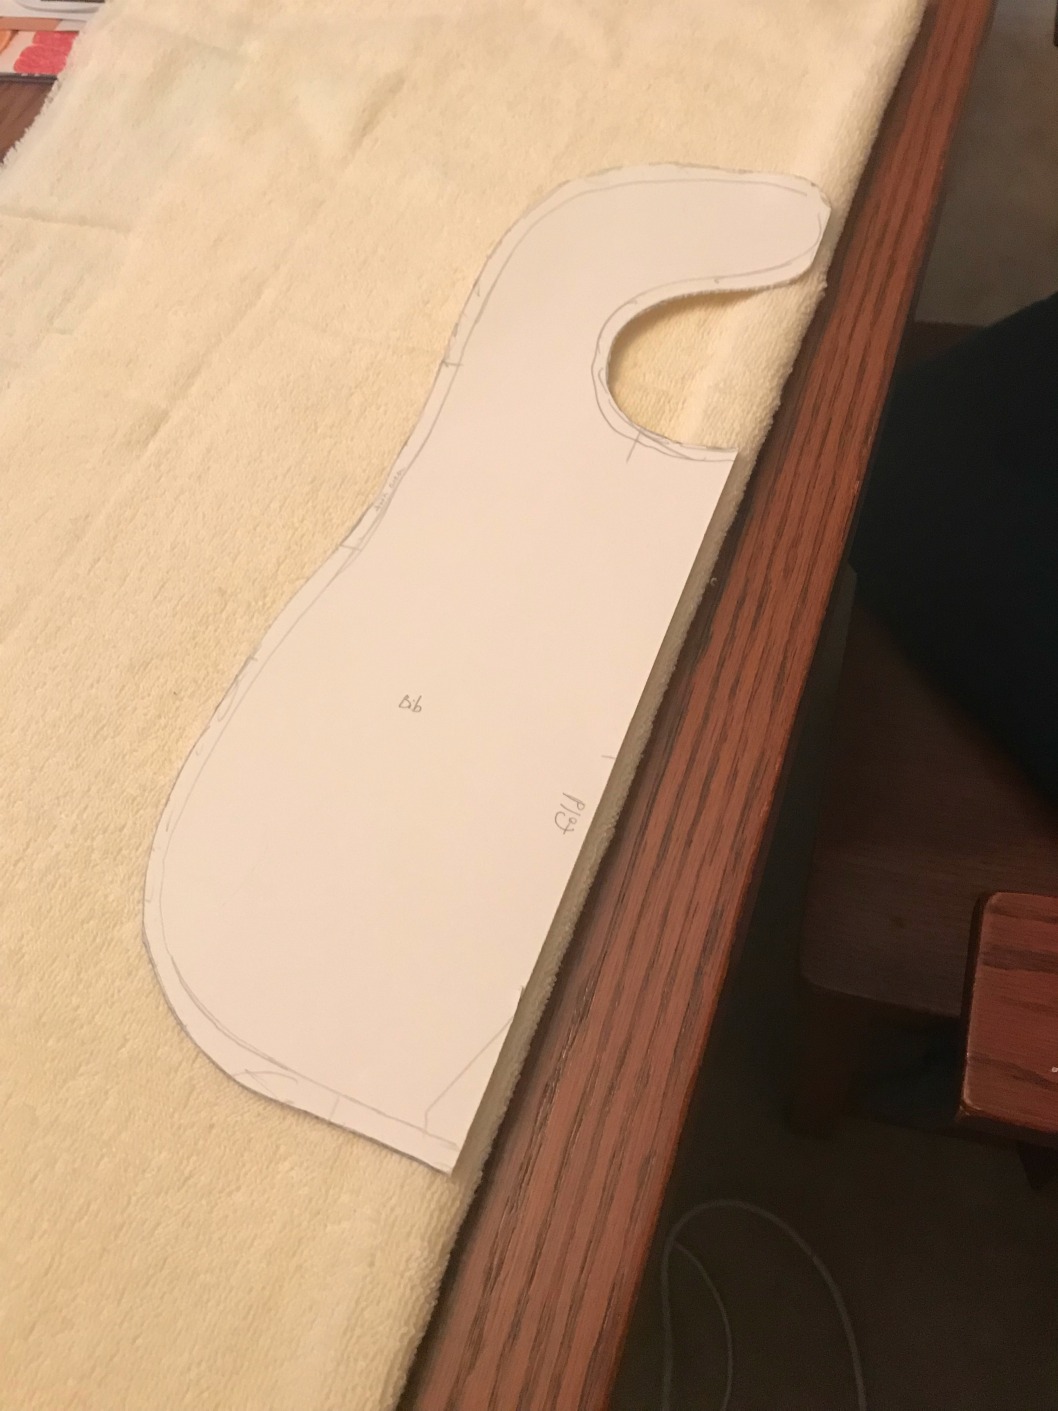
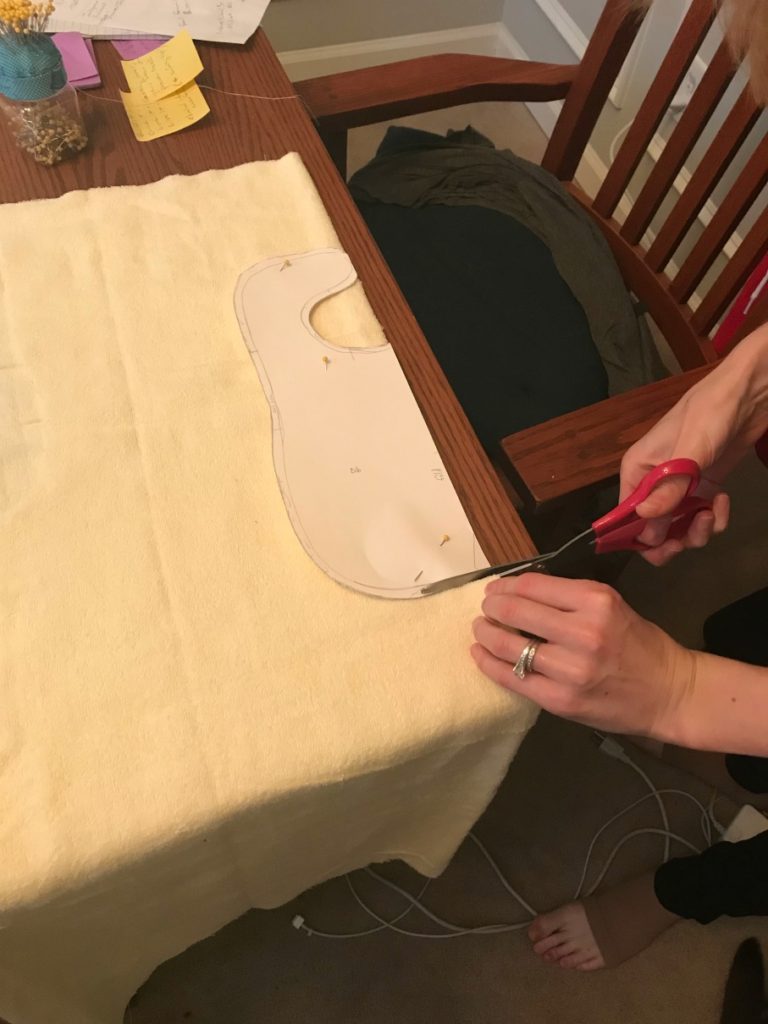
Place your pattern on the fold, aligning the folded edge with the part of the pattern that says “fold.”
Step 3:
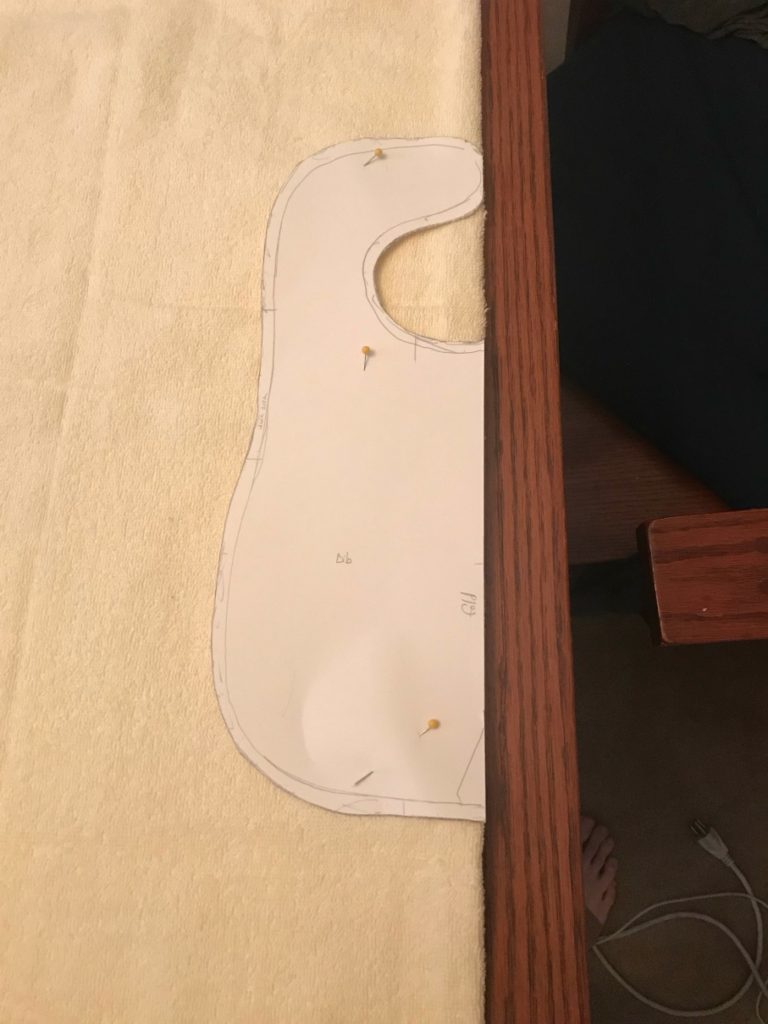
Pin your pattern to your fabric.
Step 4:
Cut out your bib from the fabric.
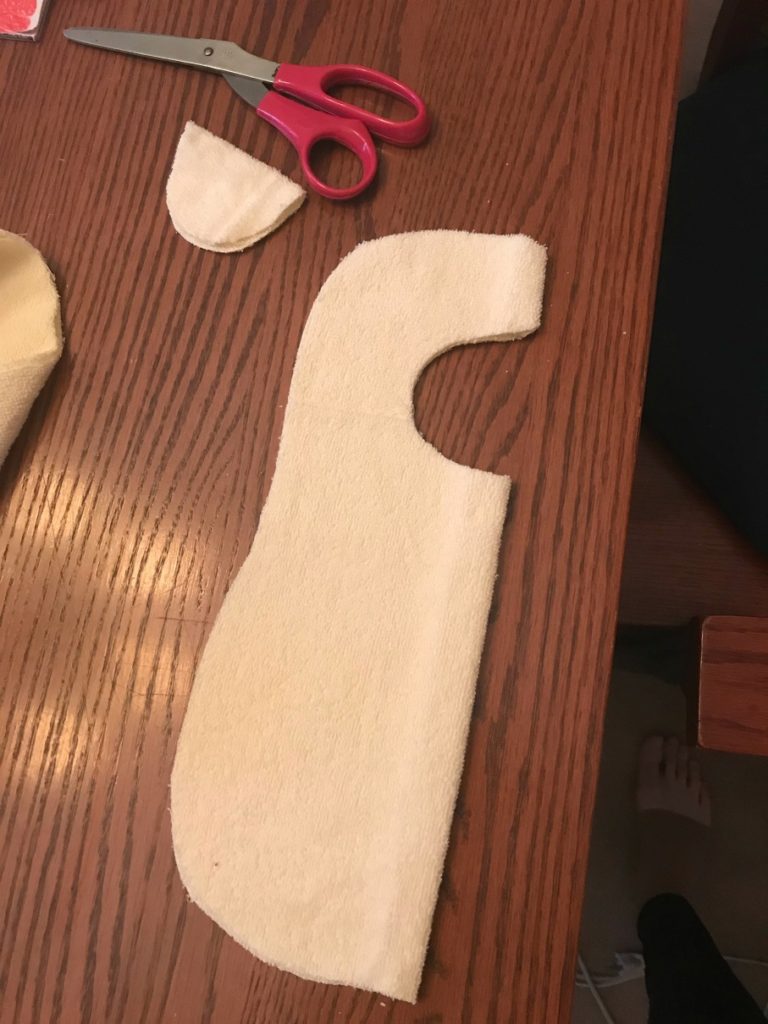
Unfold your pattern. It should look like this when you’re done!
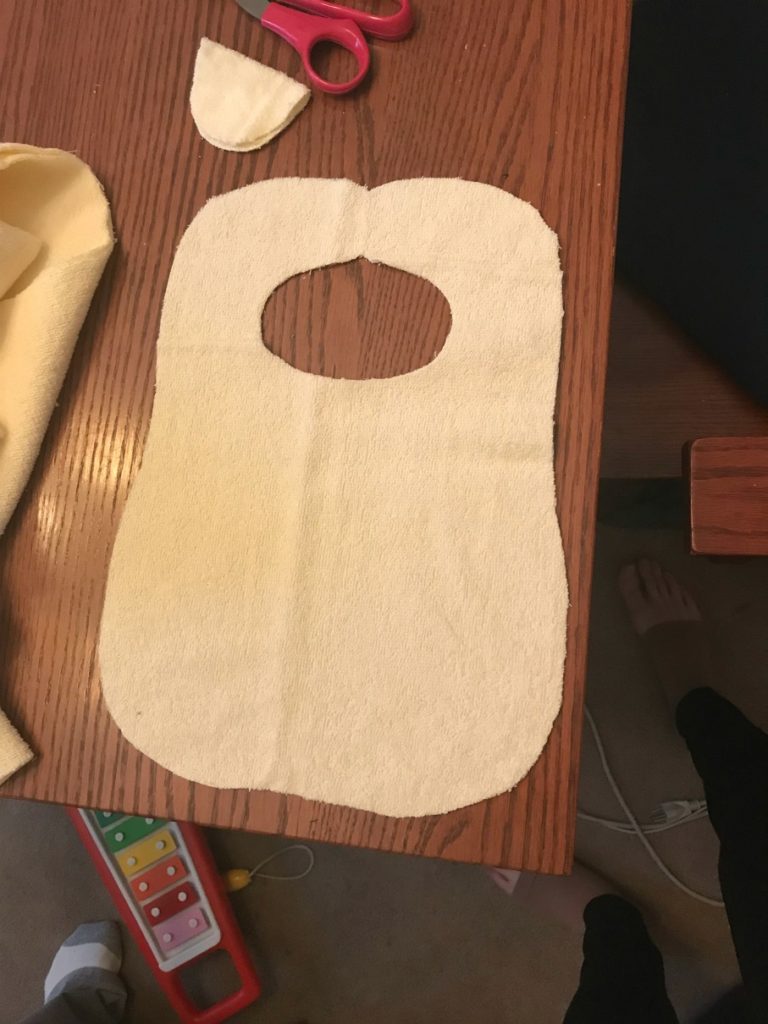
Step 5:
Cut a slit in the top of your bib.
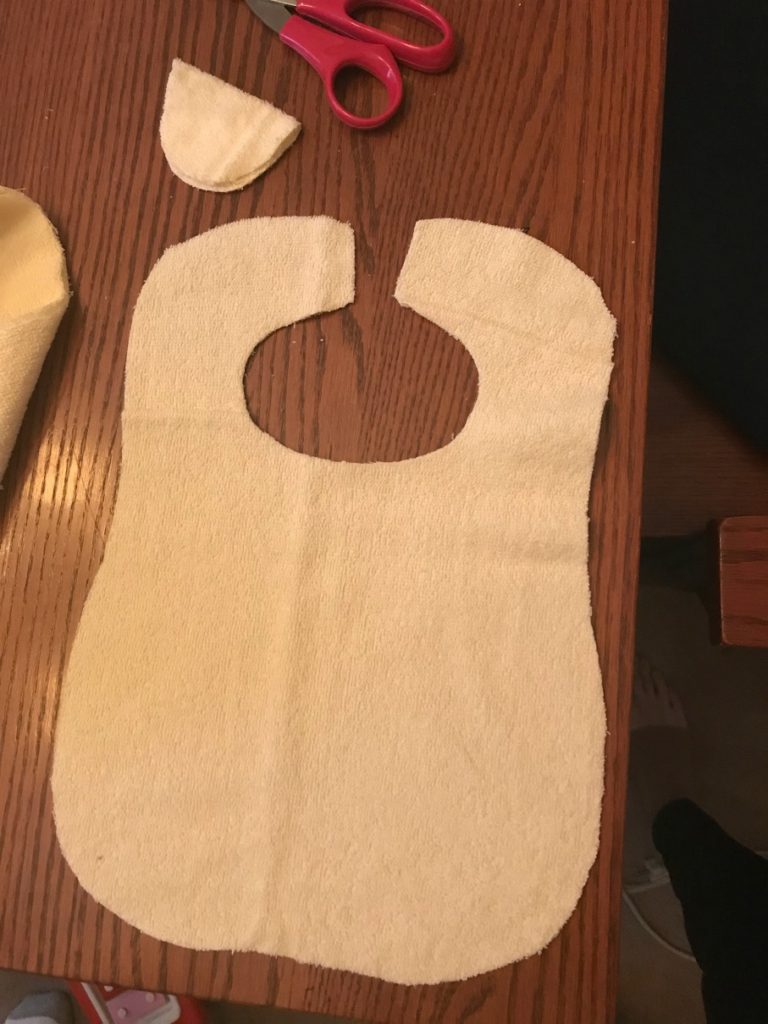
Step 6:
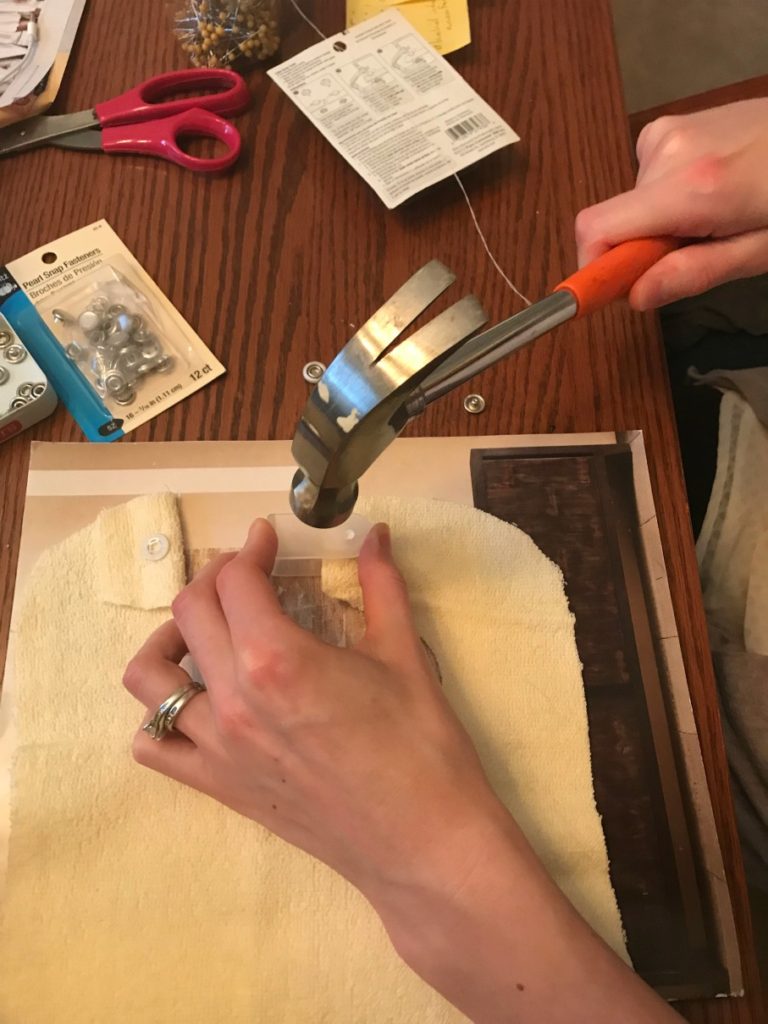
Add the snap fasteners. This part can be a little tricky, so follow your instructions closely. There are two parts for the top snap and two parts for the bottom snap. The fabric gets essentially “sandwiched” between each set of parts.
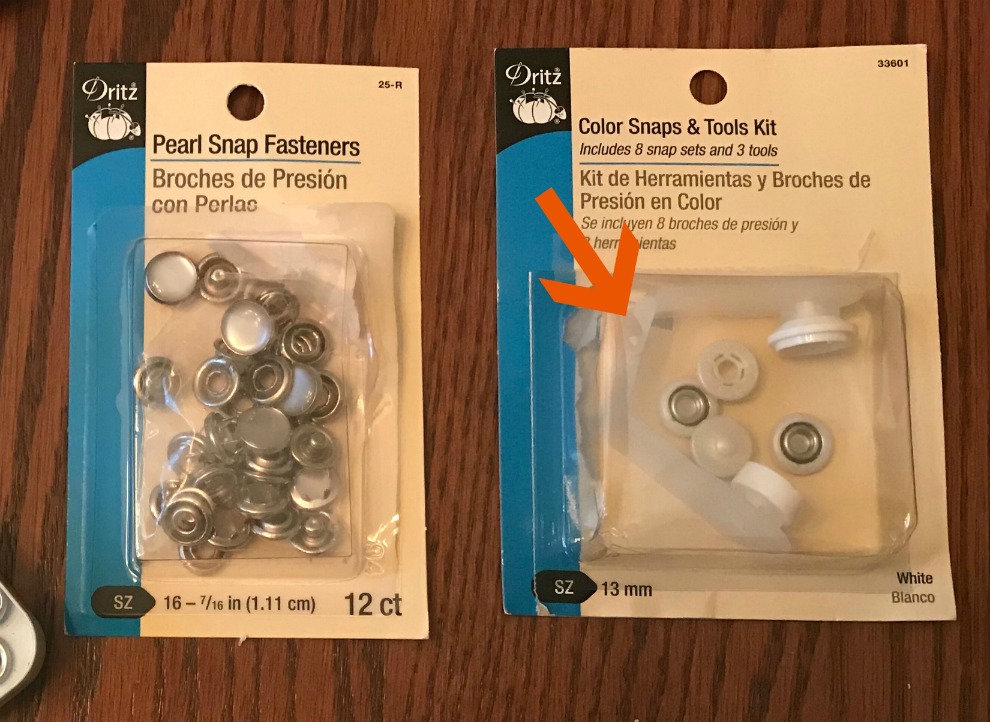
Simply set your snap parts into the tool, then hammer the parts into the fabric once the fastener is closed.
Side note: I bought Snap Pliers after this bib and found it much easier to use than the Snaps Tool Kit.
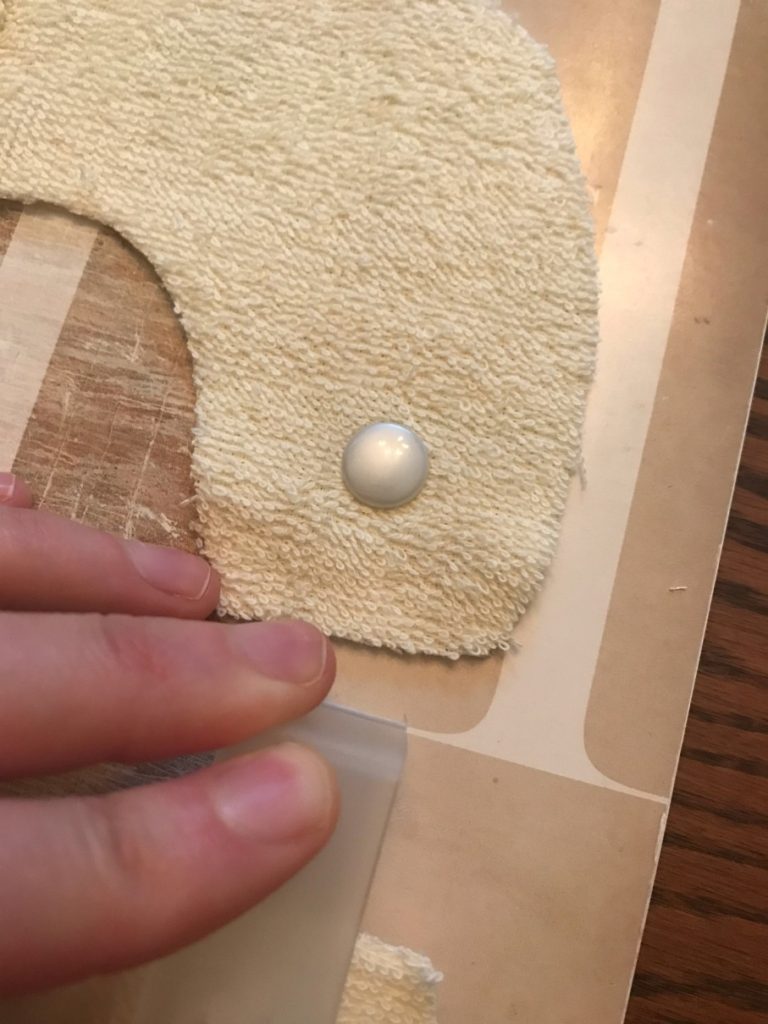

Step 7:
Put it on your kid and take a photo of him/her being silly!
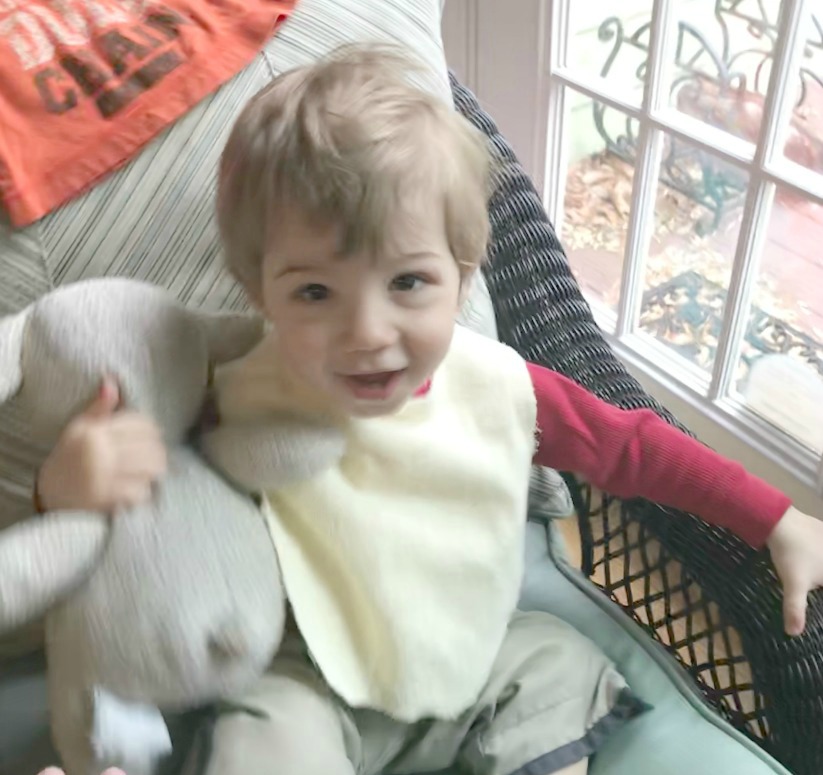

As I mentioned earlier, this bib survived a couple of machine washings without any major issues. I bet you could use this bib several times before having to recycle it as a wash rag!

Access the sewing pattern for this tutorial in my Top Shelf Printables Library by clicking below!
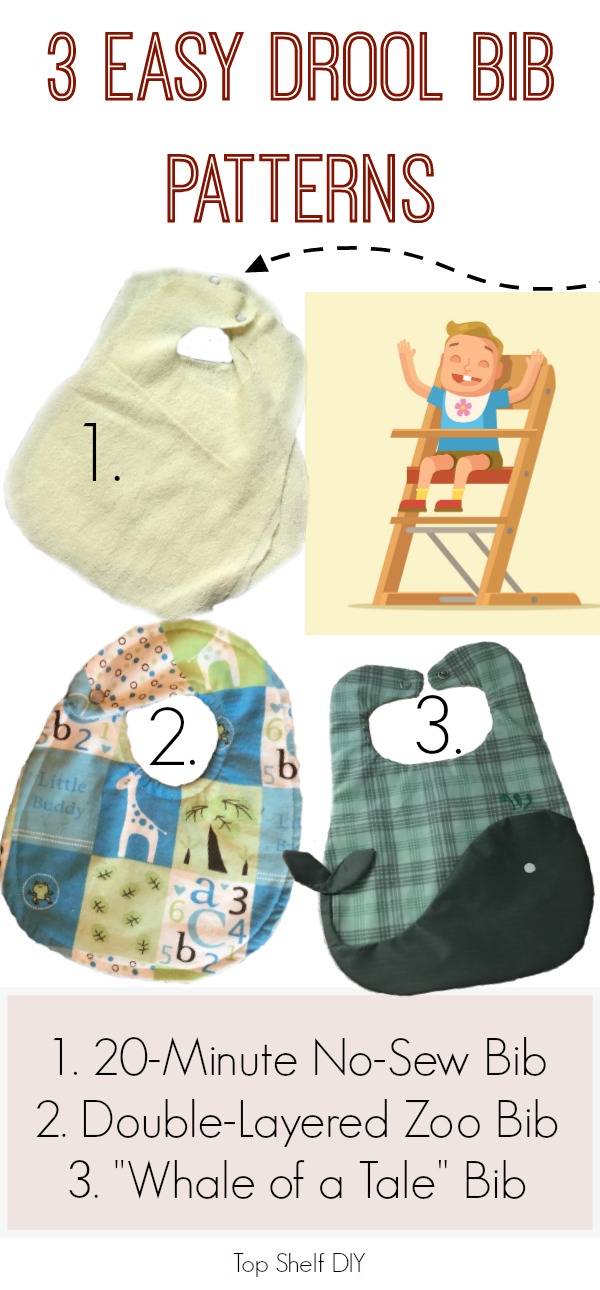
For the experienced sewer looking to add longevity with a hemmed edge and second layer of fabric, follow along for the second bib tutorial, available here -------> Bib Tutorial #2 <----------




Leave a Reply