Add Removable Wallpaper to Your Billy (Or Any Surface) Following These 10 Steps!
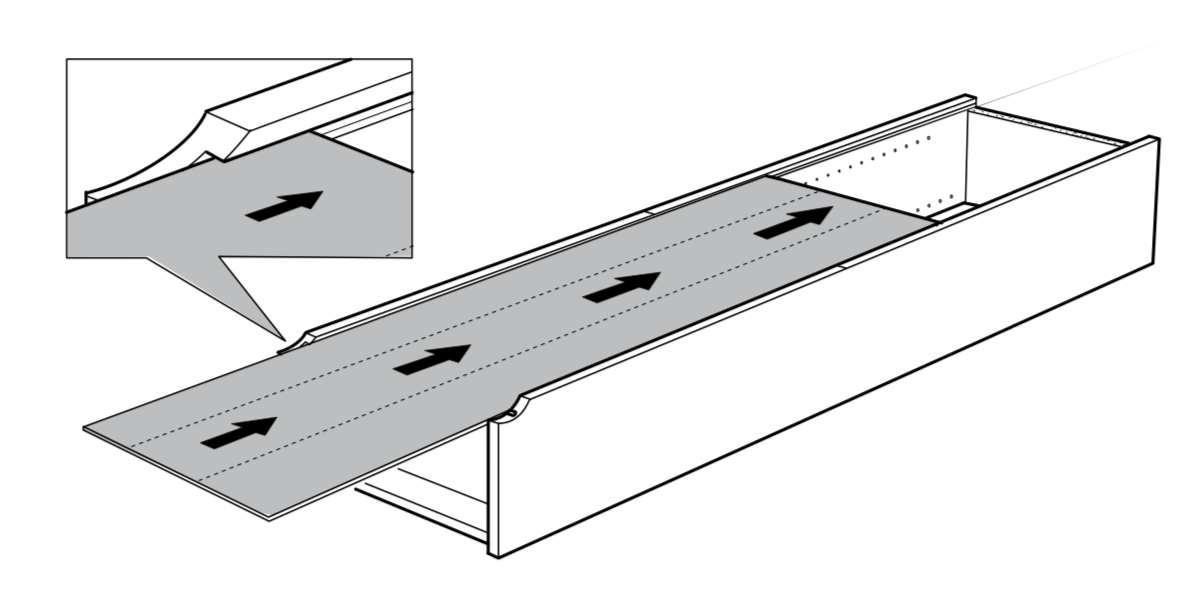
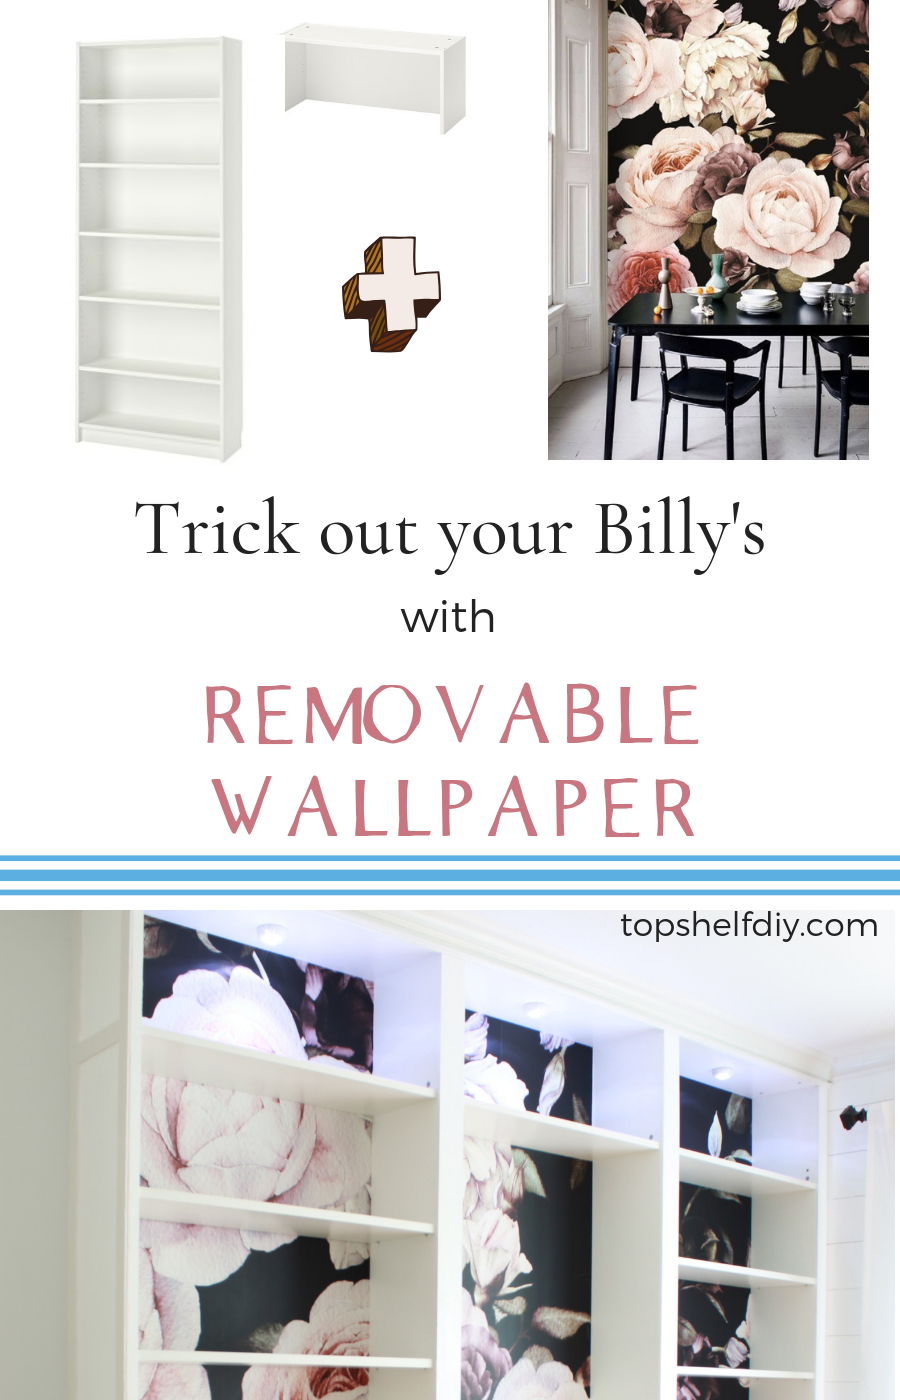
If you've ever built a Billy – as in, the oh-so-versatile, $59 bookshelf – you know it comes with a trifold board that slides into a groove along the back.
If you're less than a fan of this flimsy particle board backing, you have a couple of options:
- insert your own backing, such as 1/8" hardboard cut to size (30.5" x 76.5"). Beadboard also looks great when applied as its own special backing.
- leave the backing off altogether, especially if you have a nice feature wall behind it or don't want to deal with cutting around outlets.
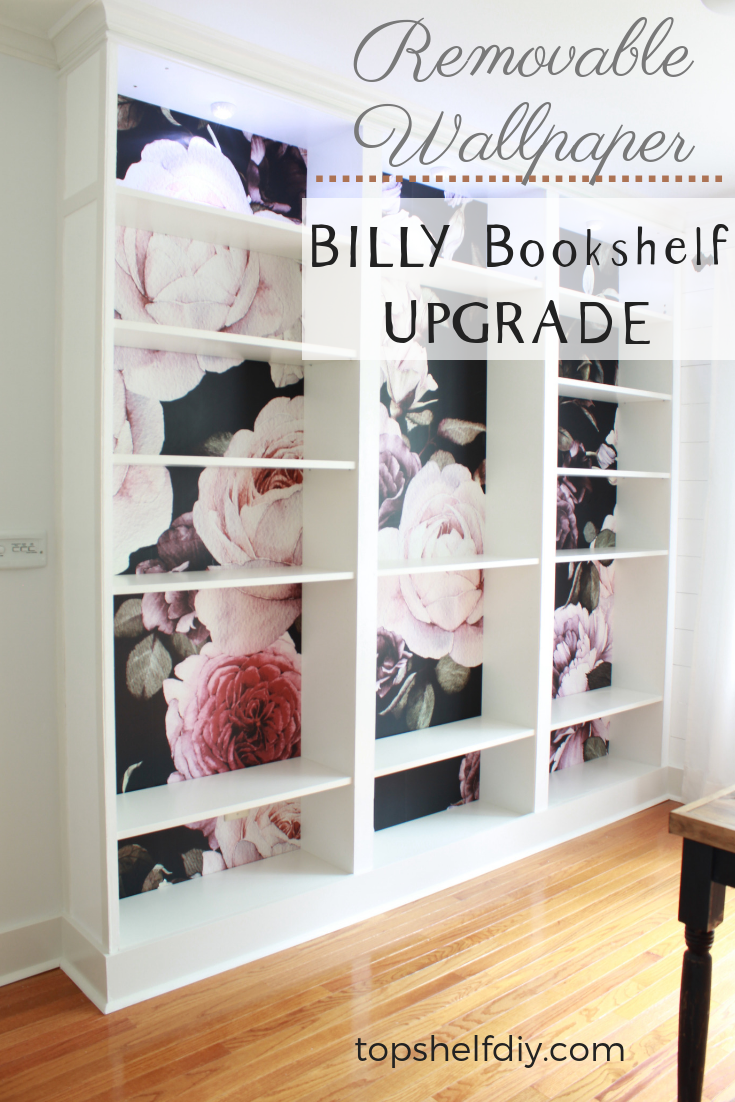
- Jazz up your backing.
I was primed to get things a little crazy up in herrr, so I went with option 3.
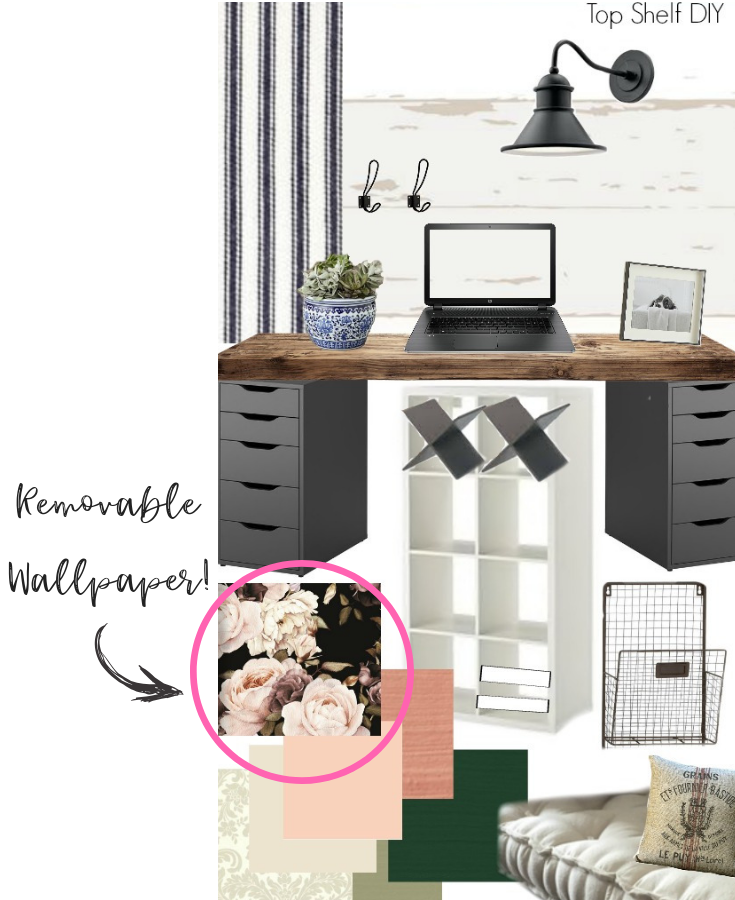
I could have painted the backing and that would have been sweet. But I really wanted to incorporate a pattern from our His and Hers Farmhouse Office vision board:
.
.
I saved this option on Etsy months ago, hoping I could use it someday (full disclaimer: I negotiated a discount in exchange for reviewing this product. Gotta save money where I can!)
Guys, I was so scared to start because the paper came via courier from POLAND. I didn't want to screw up and be out 270 bucks!
If you're like me and tentative about the whole removable wallpaper process, I'll say it's easier than it looks as long as you go slowly and plan your steps.
How to Carefully Add Removable Wallpaper to Your Billy (Or Any Surface)
What You'll Need:
- a level
- scissors
- utility or X-ACTO knife for precision cuts
- a soft roll for pressing down your paper (I used a rolled up toddler shirt)
- Billy Bookcase unit
- Billy Bookcase extender unit (optional)
- Removable wallpaper (I got mine here)
Applying Your Removable Wallpaper
Step 1. Make sure you surface is clean, dry, and free of outlet covers or nails. You'll want to wait 2-4 weeks if your wall has been recently painted. If your walls are visibly dirty, wipe them down with a sponge and small amount of TSP diluted in water.
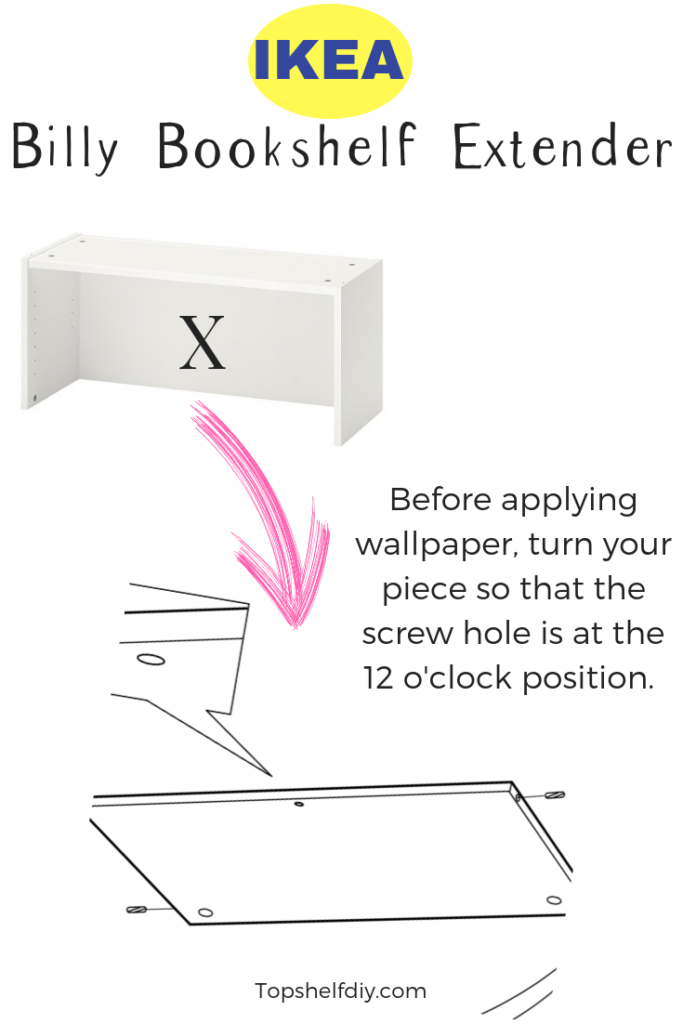
Billy Bookshelf Specific: Assemble your BILLY's as instructed, stopping at the part when they tell you to slide the particle board backing into the back of your shelves. Set these aside. If you're using extenders like I did, don't assemble this piece yet. "X" marks the spot you need for the wallpaper:
.
**Do not insert the shelves yet.
.
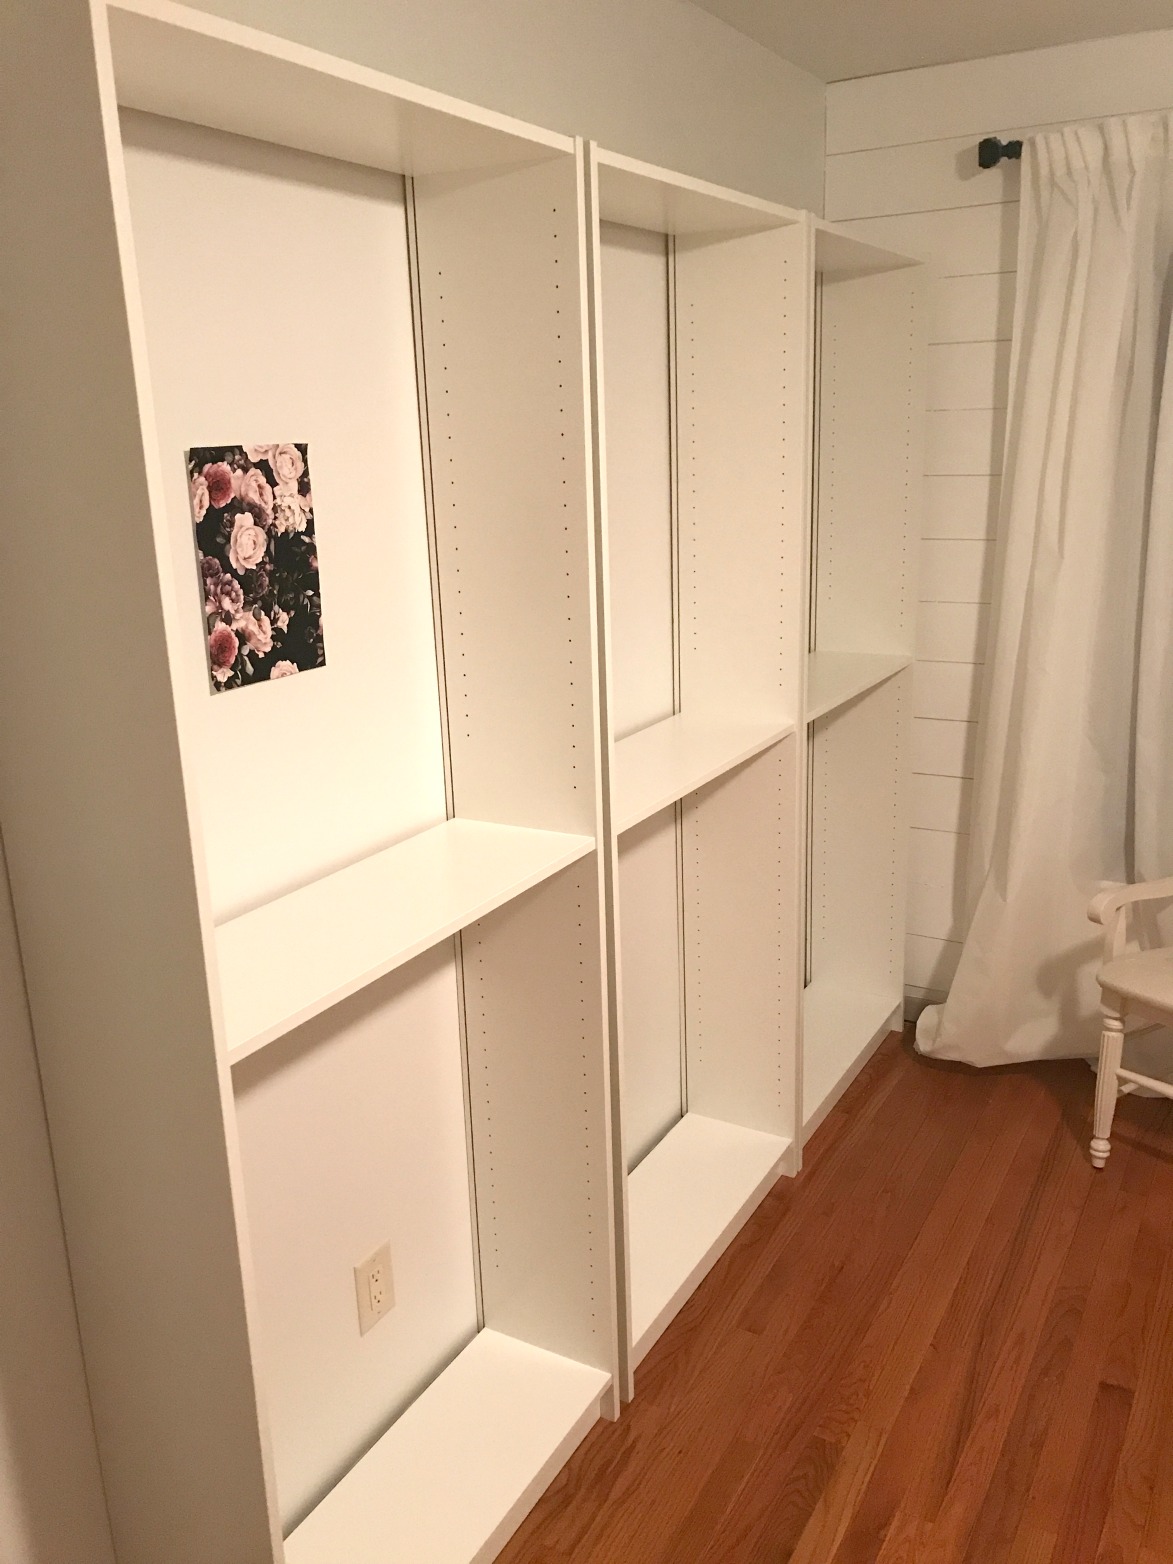
At this point your bookshelves should look like this:
..
Step 2. If you're applying wallpaper directly to your walls, measure your walls. You probably did this prior to ordering your wallpaper so you knew how much you needed. This time, make a little diagram of your wall dimensions. This will help you determine where to cut your large sheet of wallpaper into smaller, more-manageable panels.
.
Billy Bookshelf Specific: you can ignore this step since your measurements are pre-determined by the size of your bookshelves.
.
Step 3. If you're applying wallpaper to your walls, draw a straight horizontal line (on your wall) where you'll start to apply your wallpaper. Use a level; 99% of ceilings and walls are not level.
.
Billy Bookshelf Specific: again, ignore this step.
.
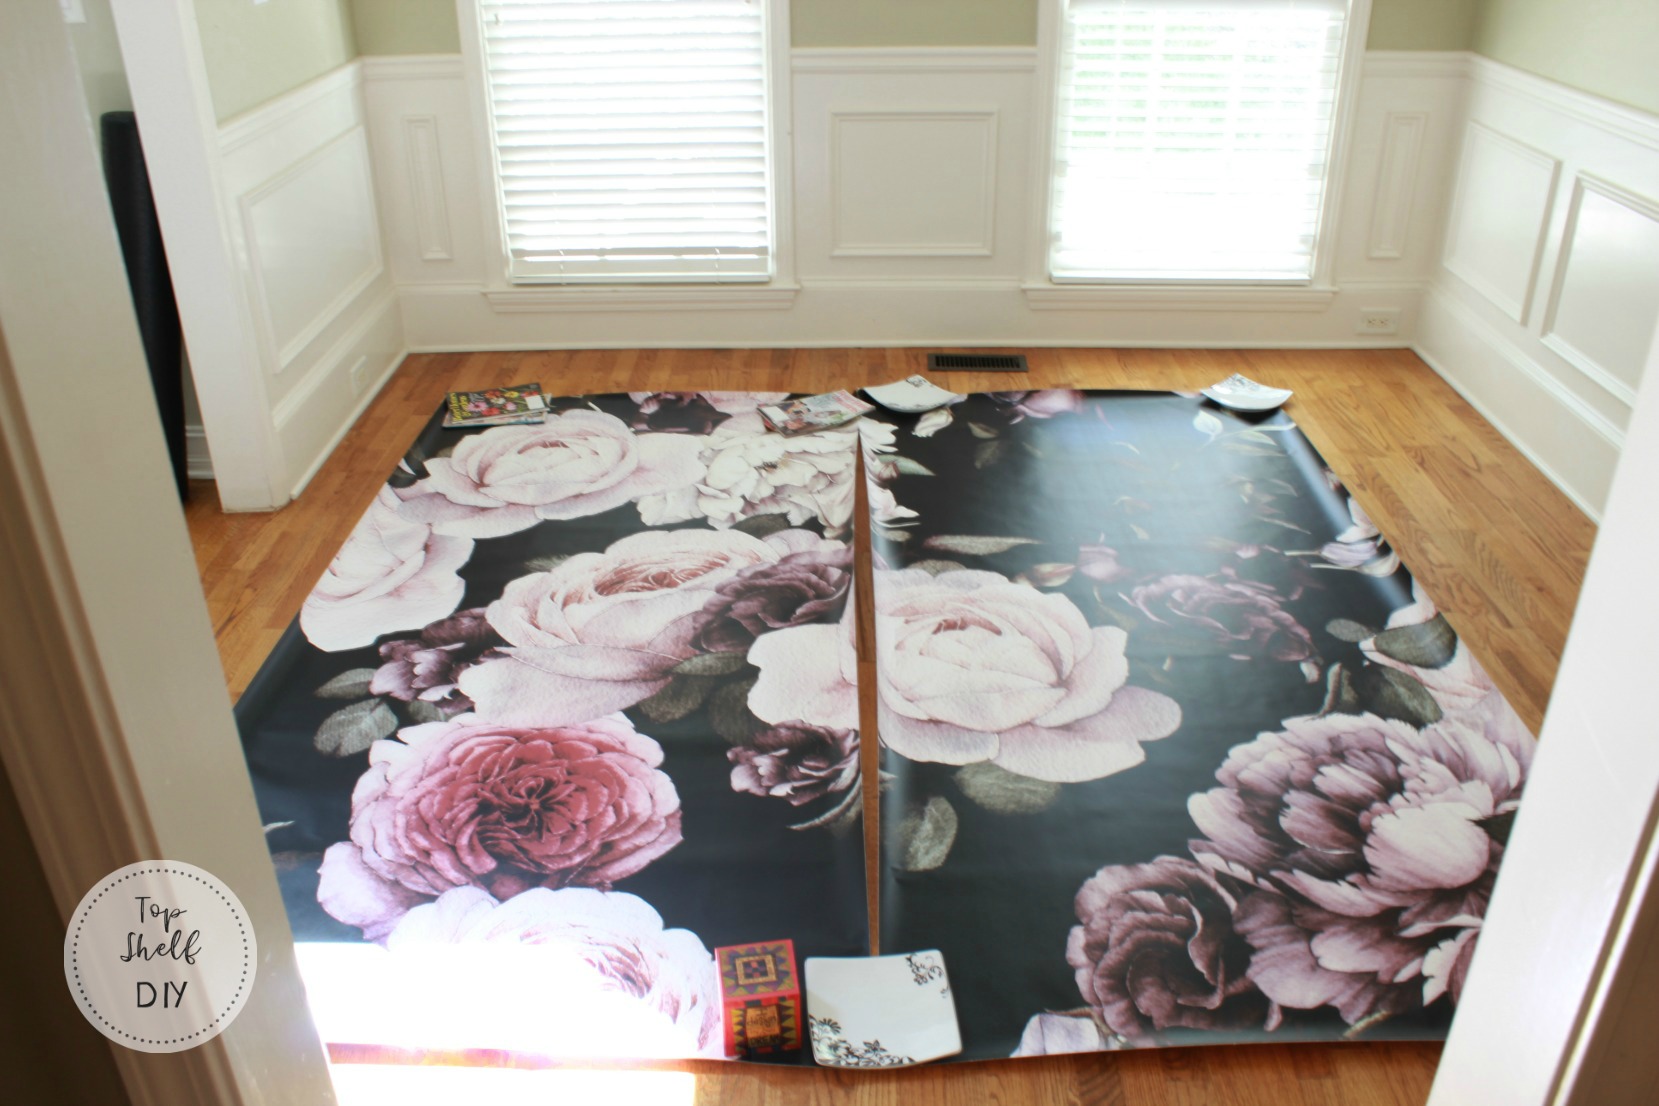
Step 4. Unroll your wallpaper and flatten it by applying weights to the corners. I used magazines and plates lol.
.
Step 5. If you're applying removable wallpaper directly to your walls, cut it into smaller panels. This will make your life a helluva lot easier!
..
Billy Bookshelf Specific: While your wallpaper is on the floor right side up, take a moment to mark the undersides "Right," "Left," "Middle seam," etc. This will make things less confusing when you flip it over in Step 6.
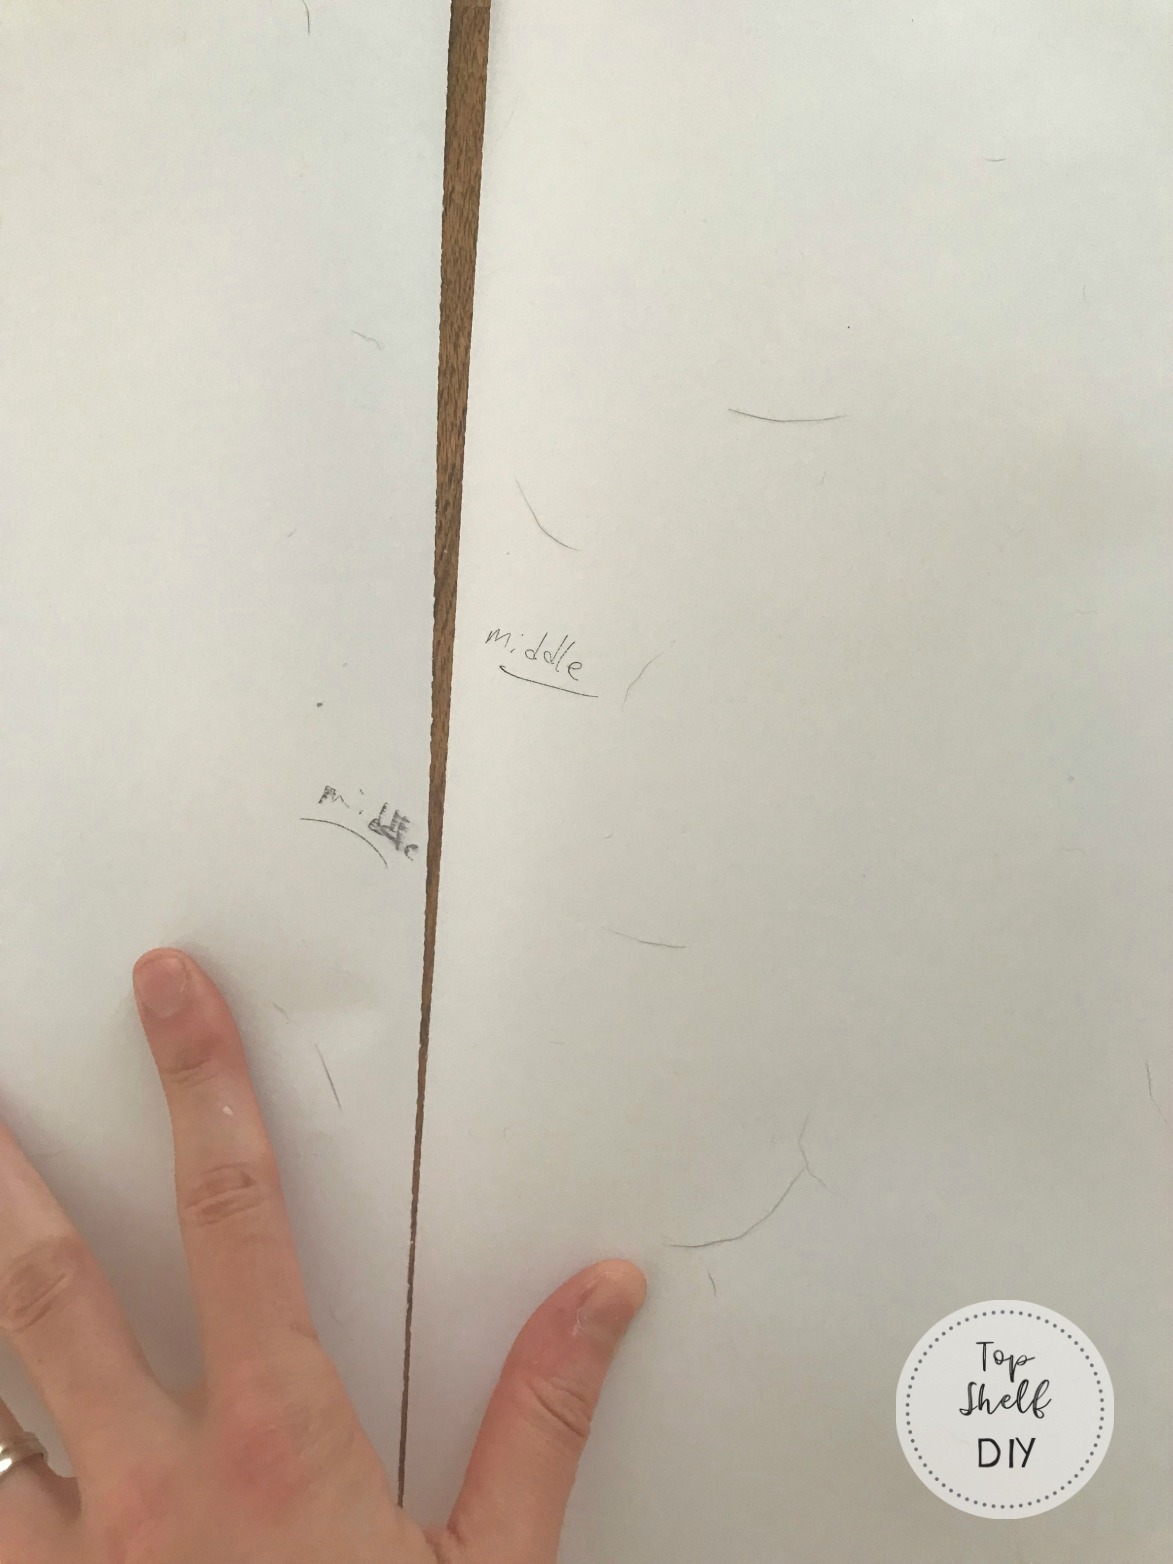
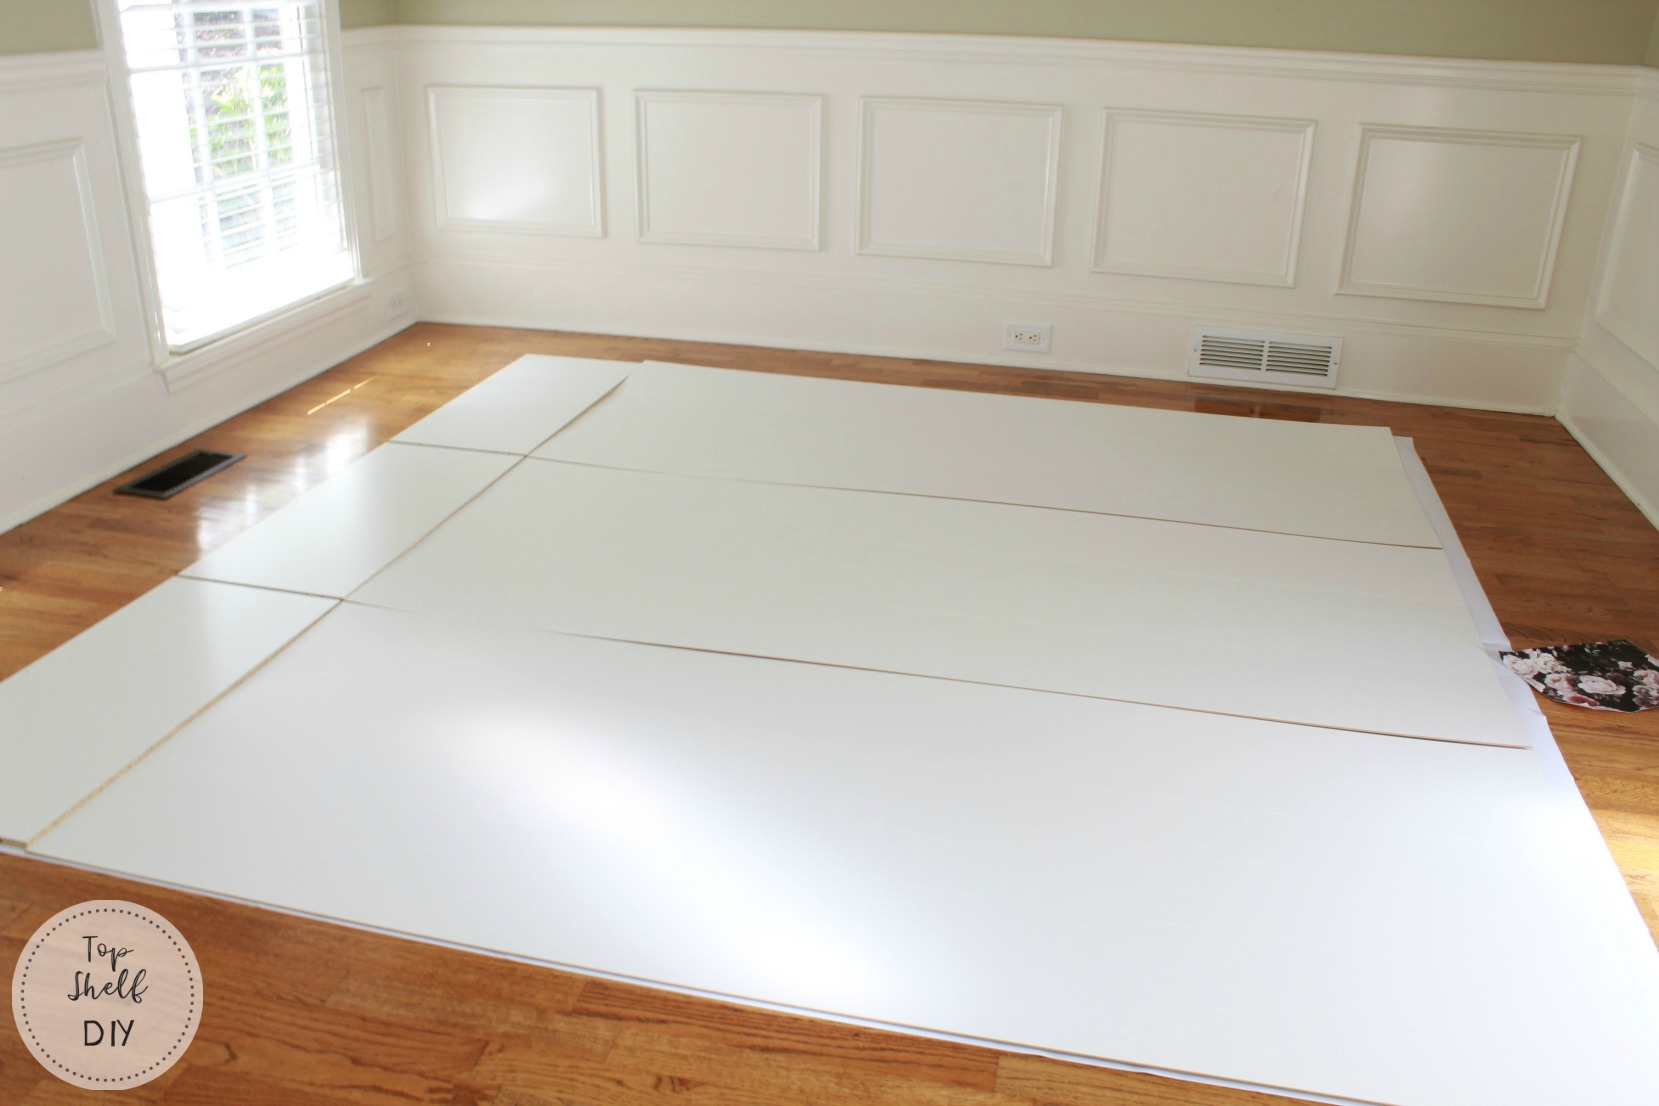
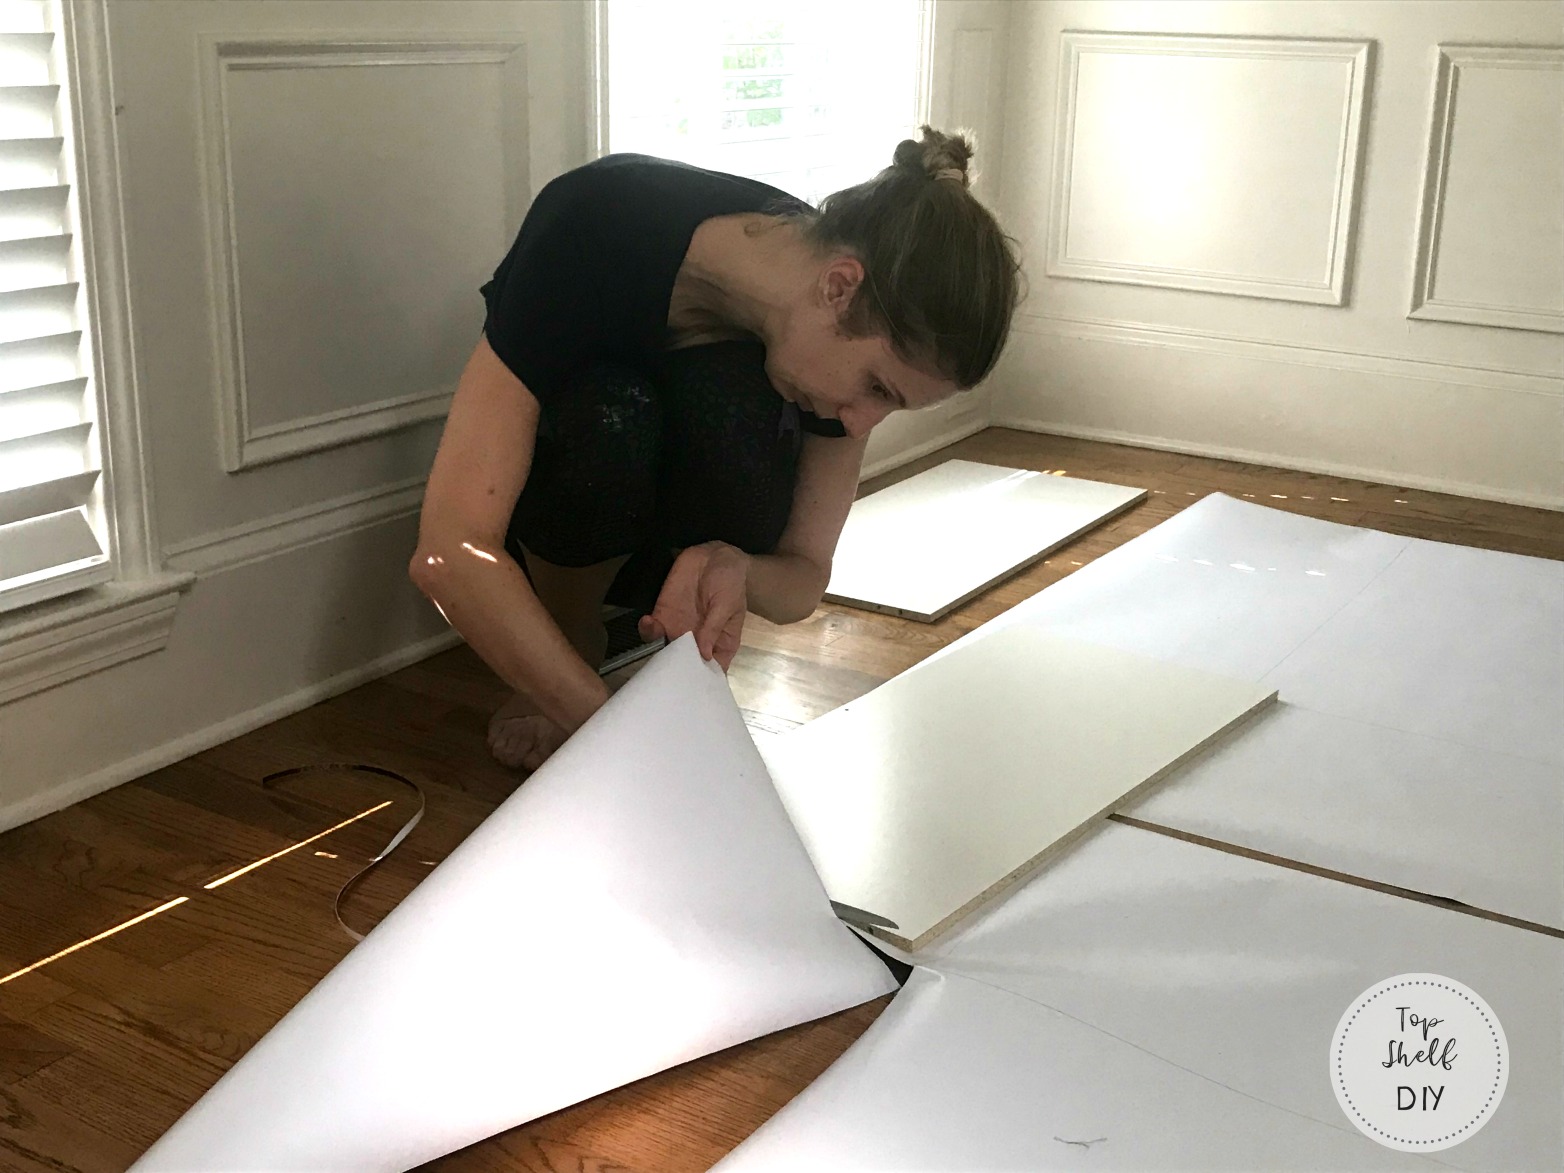
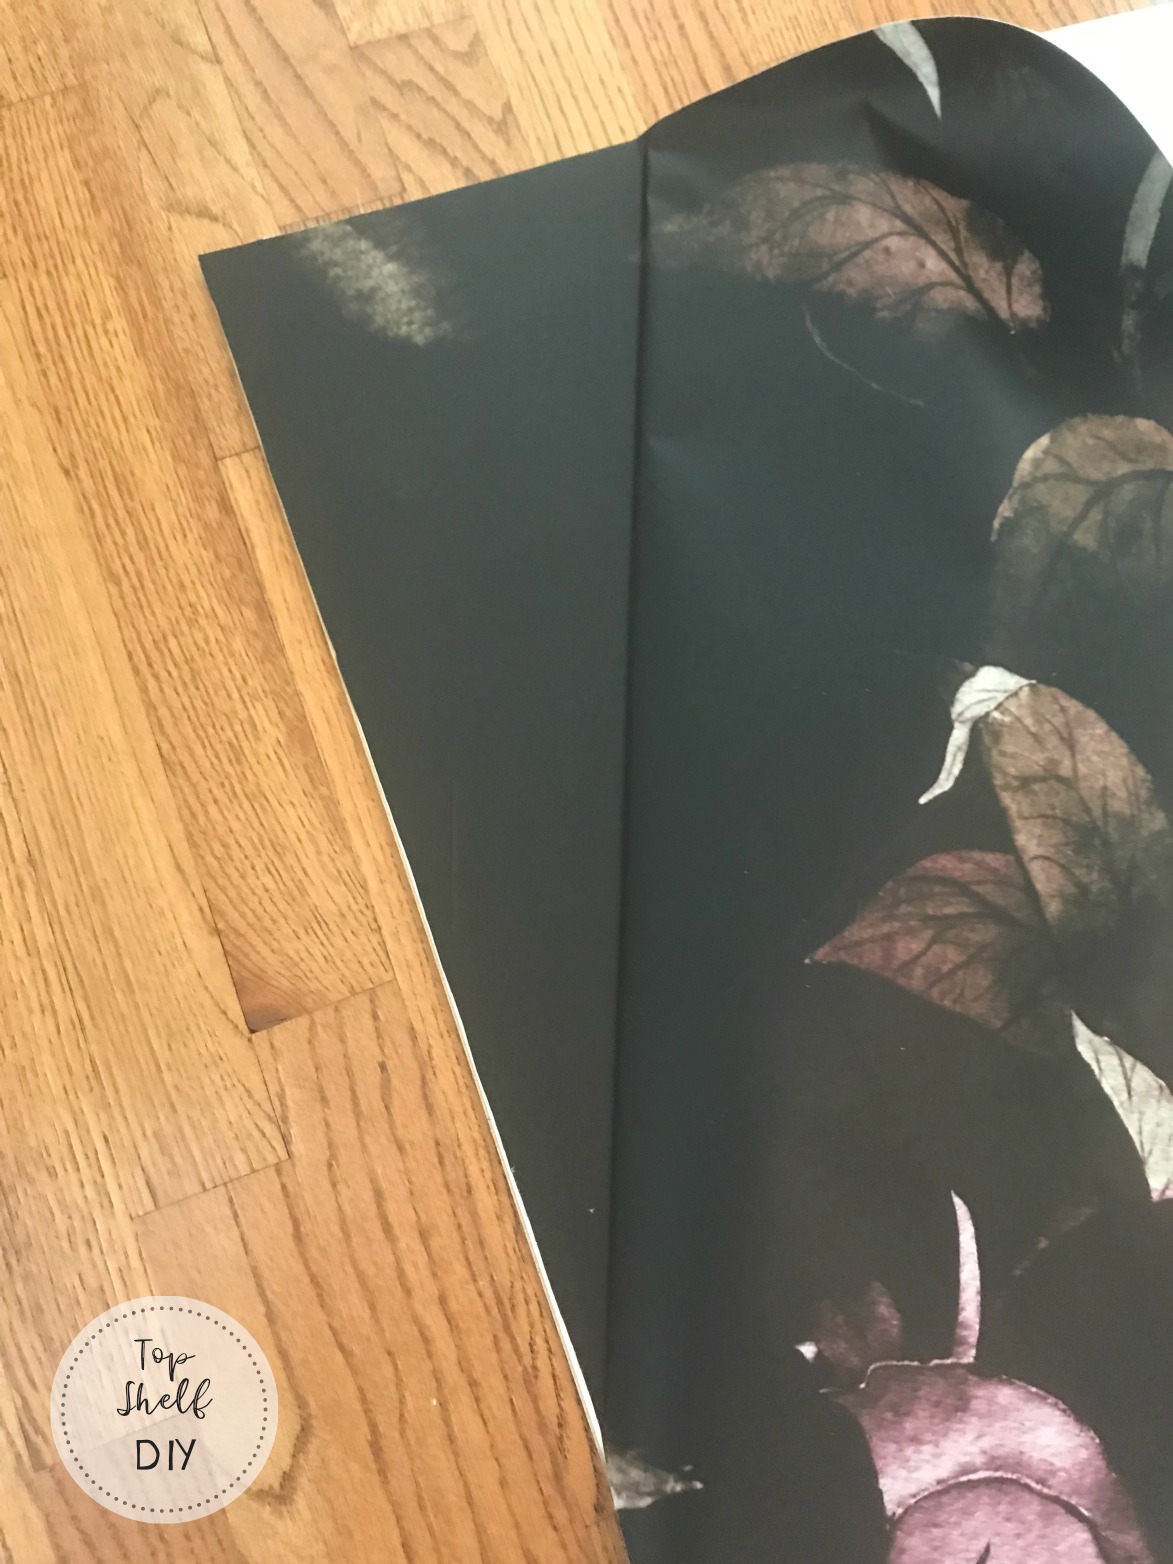
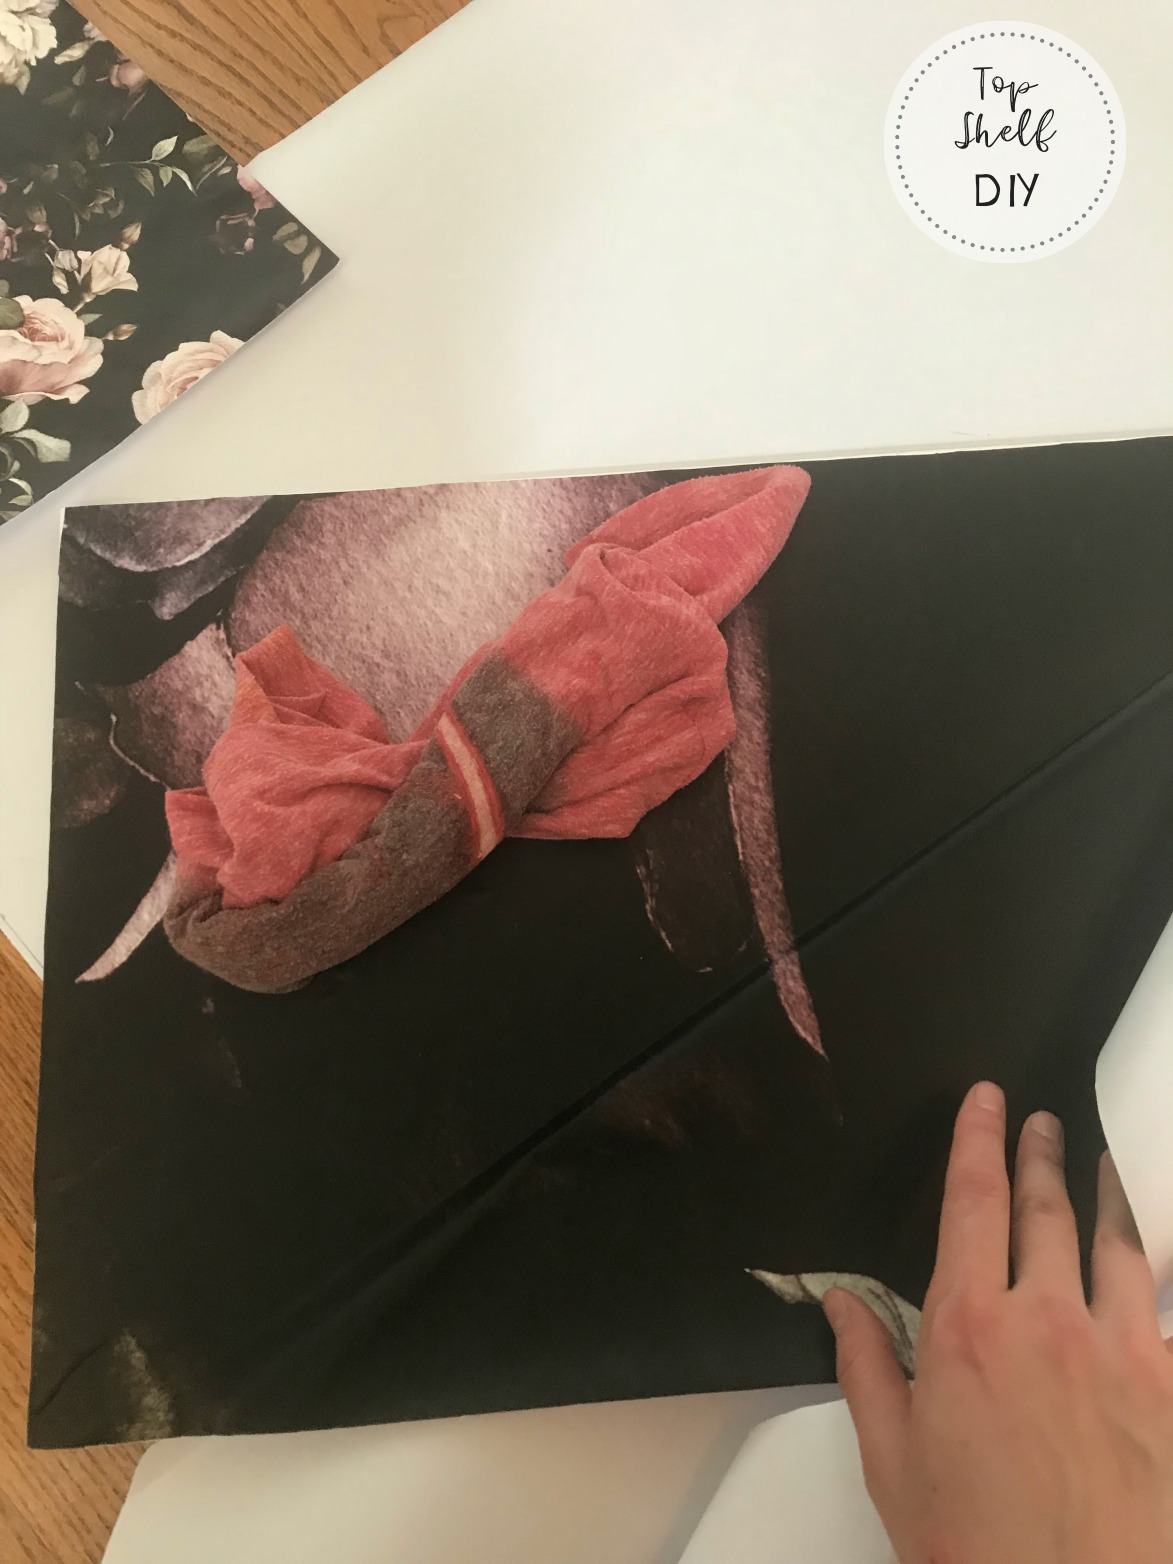

Flip your wallpaper over, right side down. Place your bookshelf backs (including the extender unit backs) on top of your wallpaper. Position everything evenly and then trace your backs.
Cut out your pieces.
Step 6. Grab your first panel. Working from top to bottom, left to right, start by unrolling a small piece of your adhesive backing. Smooth down your wallpaper with a soft roll, such as a rolled up t-shirt. As you work your way down, fold the backing paper up underneath.
Step 7. Continue working your way down until the entire wallpaper panel is applied. If you have any bubbles or wrinkles, gently lift that portion as you're working your way down and reapply.
Step 8. Once your entire piece is covered, slide it into the groove on the back of your bookshelf and secure it with the small nails included in your Ikea assembly kit.
Step 9. Now it's time to cut holes for your outlets.
.
Lightly coat the protruding portion of your outlets with lipstick and gently push your Billy up against the outlet. When you pull the bookshelf away from the wall, you'll be left with a perfect outline. Cut out this outline with a jigsaw. I prefer to start with small, conservative cuts just to confirm placement and then make the hole bigger once I know how much to trim away.
.
Step 10. Cut off the power supply to your room. Place an electrical box extender in your outlet and then reattach your outlet plate over the top of your Billy bookshelf backing. Turn the power back on.
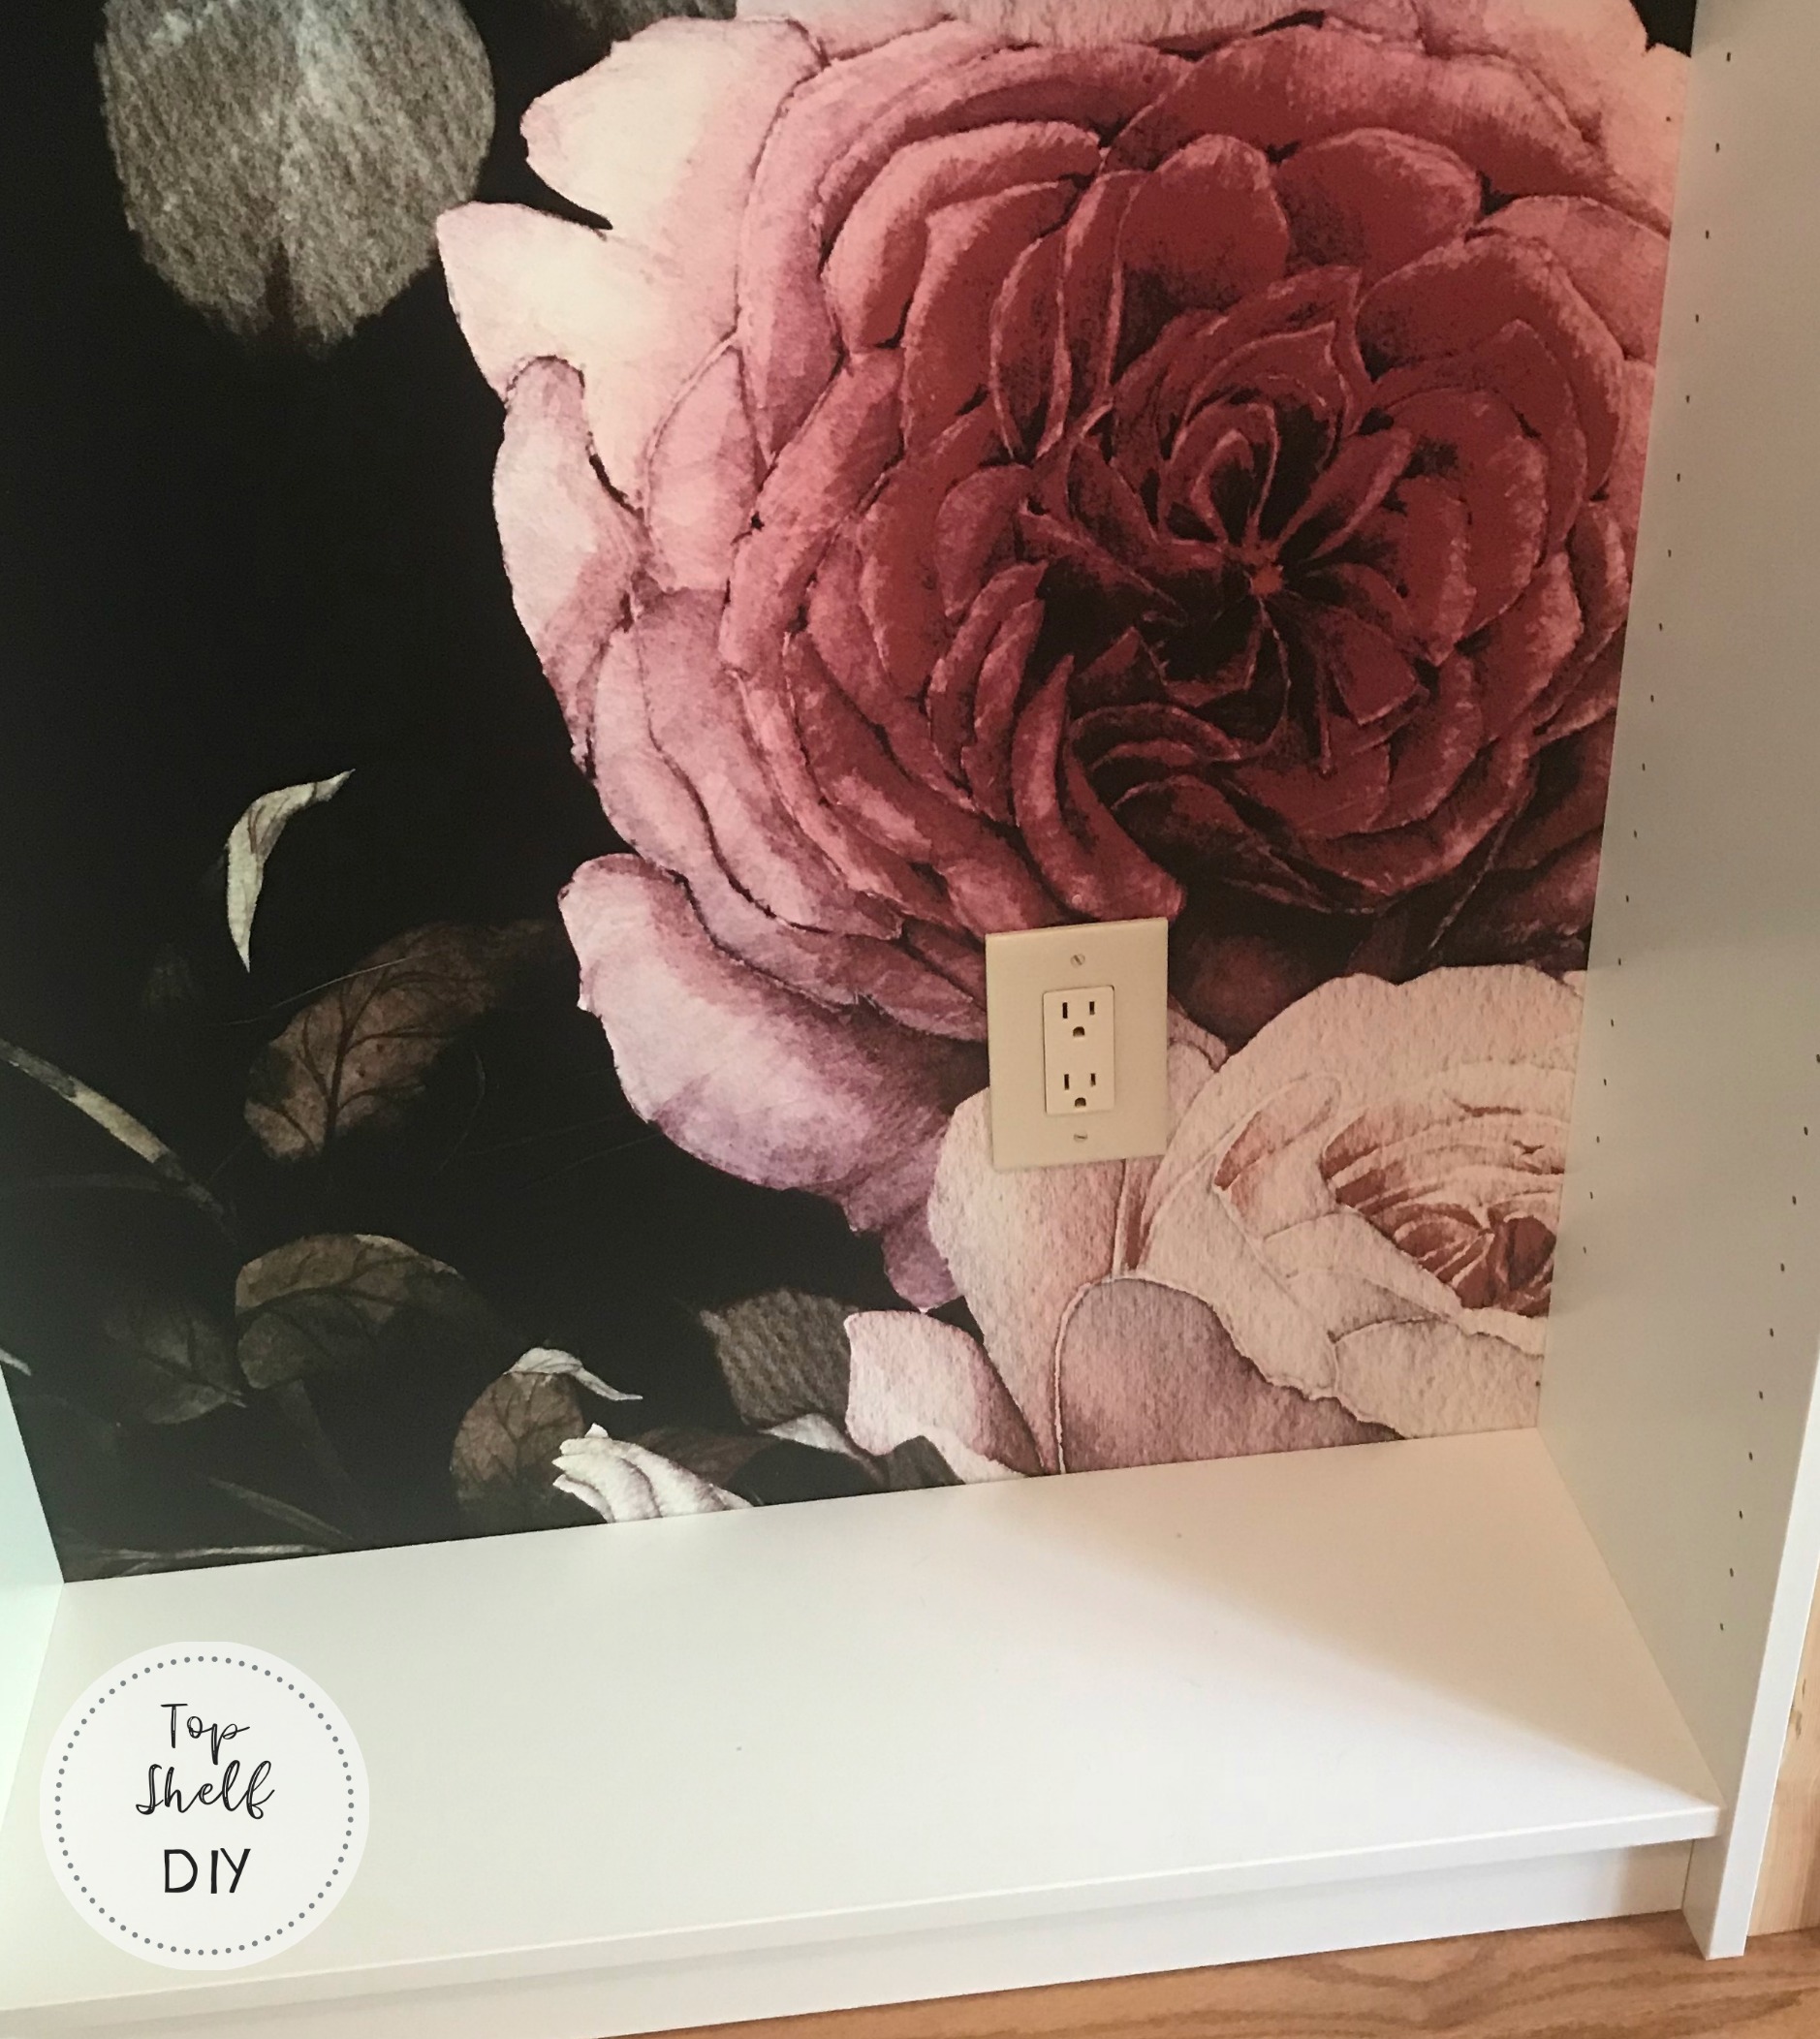
Phew! You did it! Now pat yourself on the back for a job well done.
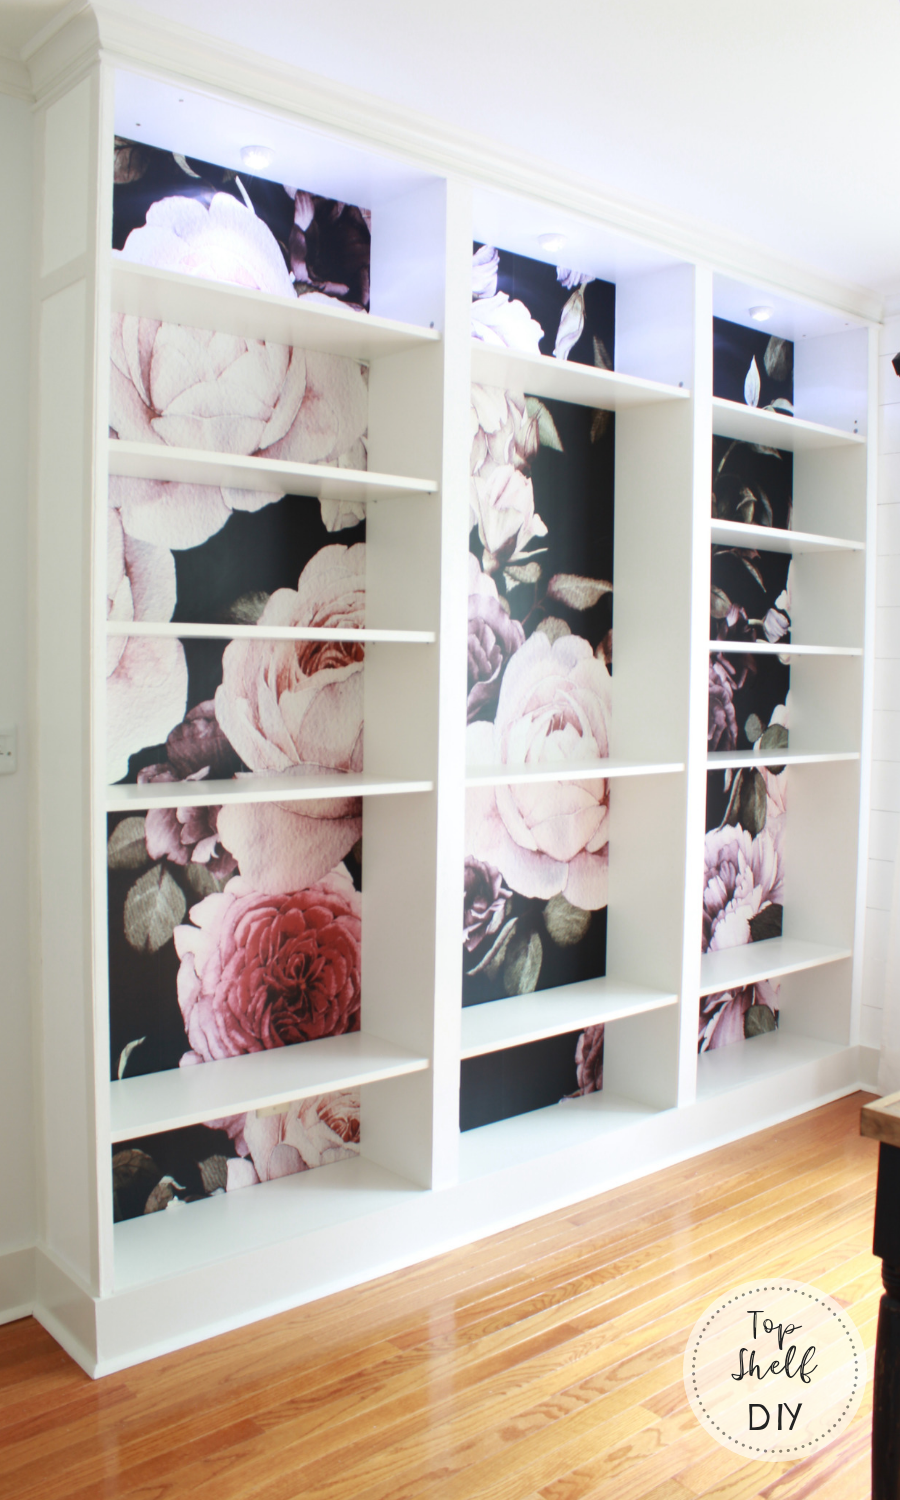
Naturally there are a few more steps involved to get your Billy looking more like a built-in, but once you've tricked it out with crown, baseboards, and trim, you'll be well on your way to 'dis...
.
For a quick review, I've drilled the process down into these simple pointers --
Removable Wallpaper Quick Tips and Tricks
- work from left to right, top to bottom
- unroll small strips (approx. 6 inches) at a time to prevent your paper from rippling
- use a soft cloth to smooth out air bubbles
- if you start to see rippling, gently pull up your wallpaper and reapply
- enlist a partner if you're working with a very large panel! OCD partners work best 😉
- DO NOT unroll your entire sheet of wallpaper at once and then try to stick it to the wall!
- be patient; if you need to, take short breaks so you don't get too fatigued
- don't add glue to the back of your wallpaper or it will be very difficult to remove/reapply
.
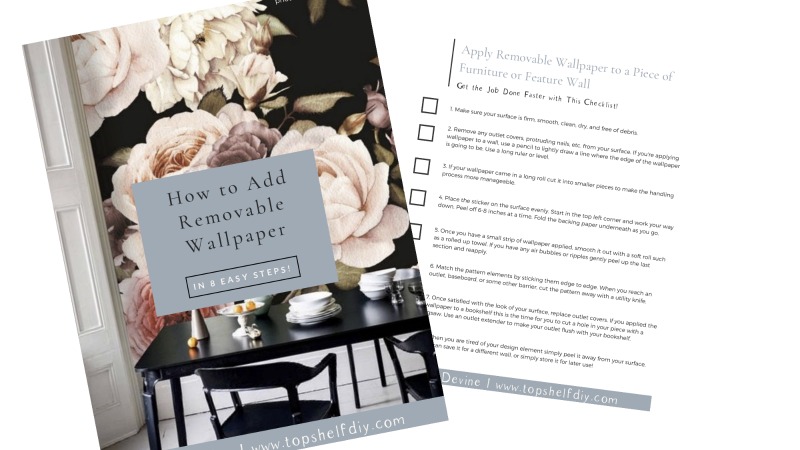
Do you like checking things off a list? I know I do. I made this handy dandy printable checklist for applying removable wallpaper in 8 Easy Steps.
Select the image to sign up!
.
Stay tuned for more office tutorials...this room has essentially consumed the last two months of my life!

.
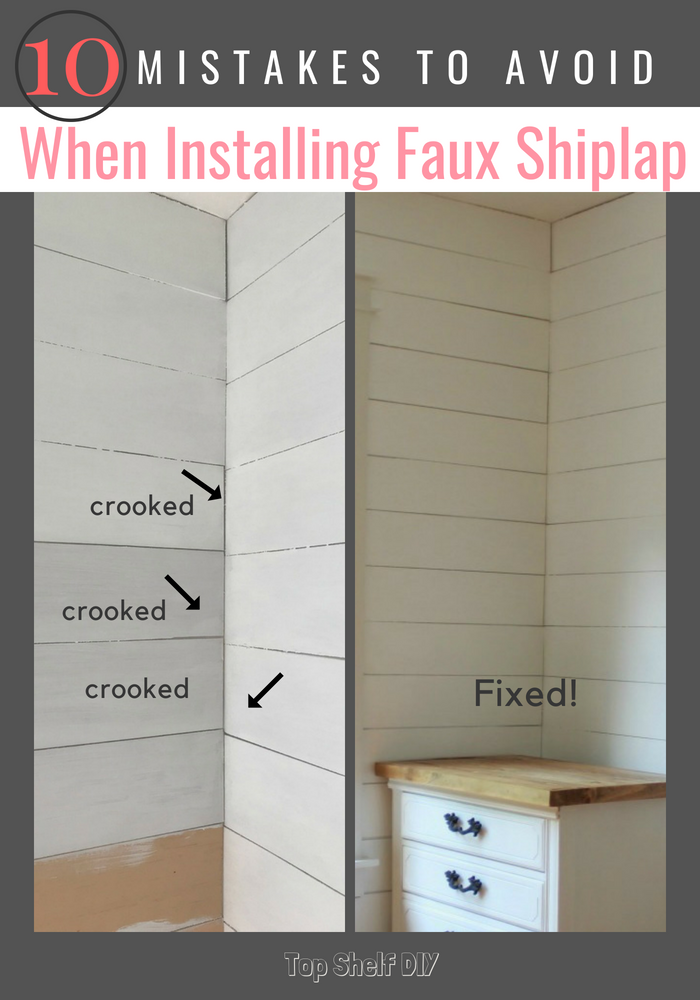
Want to see how I added shiplap to the rest of this room? Check out The Top 10 Mistakes to Avoid When Adding Faux Shiplap.
.


Where this wallpaper comes from ?
Hi Catherine - I got it on Etsy. You can find it here: https://www.etsy.com/listing/523453116/peel-and-stick-floral-wallpaper-mural?ref=user_profile&frs=1&awc=6220_1609942051_6ca2c374dbc85f9f9add42ce64c1473f&source=aw&utm_source=affiliate_window&utm_medium=affiliate&utm_campaign=us_location_buyer&utm_term=3657&utm_content=136348
This turned out so beautifully! Do you have any photos of it now that you have your items in? I’m curious how you styled it/how items blend/stand out with the wallpaper. Thank so much!
Thanks Kerrie!
I should probably post a 3-year update because it's filled with lots of lovely things (books, farmhouse crate, etc). I was nervous about the shelves bowing under the weight of heavy books but so far they look just like they did when I installed them!
Wow! looks amazing! I have my paper and am ready to begin, thanks for sharing.
You're very welcome Ellen - good luck!
It sounds like your wallpaper was wide enough to cover the backing with just one sheet? I wish I had found wallpaper that size!
I wallpapered the backs of my billies, but each backing took 2 panels of wallpaper, so I had to make sure the design lined up. It was incredibly difficult, since this type of wallpaper tends to stretch. Took many hours and a lot of frustration, but in the end looks great!
Sorry to hear yours required two sheets per bookshelf! That does sound annoying. Glad you got it to work! Where there's a will there's a way 🙂