(This post is part of the Crown Molding 101 series)

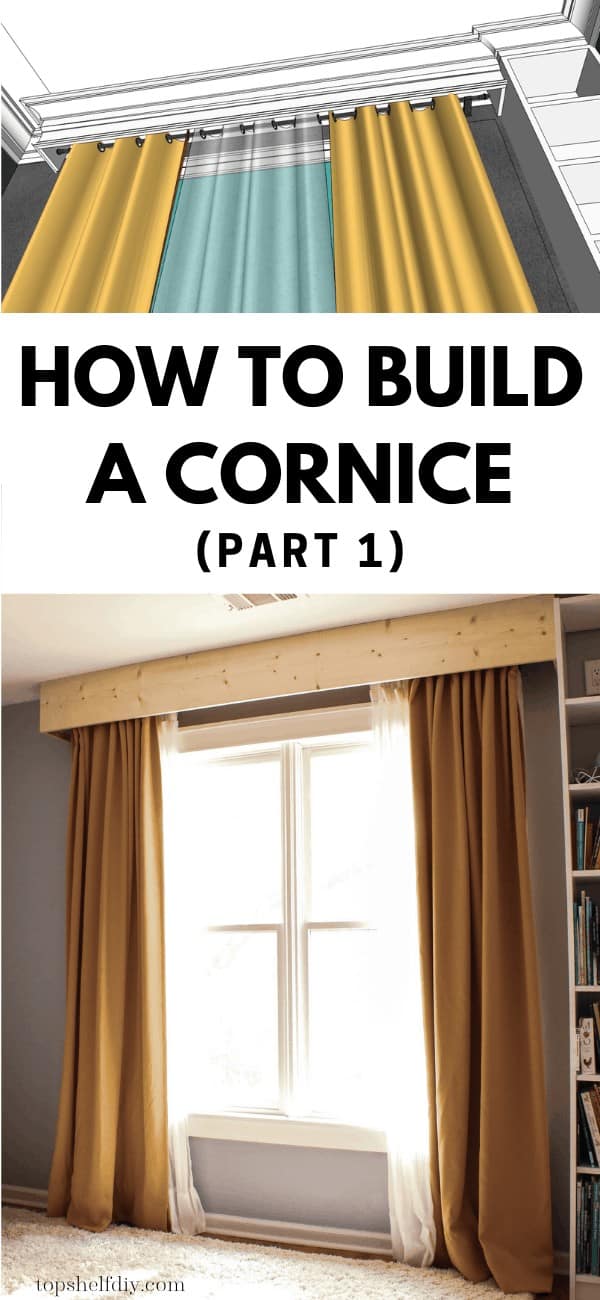
If you can build a box without a bottom, you can build a cornice.
Simple as that.
Key to this build is:
- Using studs/ceiling joists to support the weight of your cornice, and
- Taking the height all the way to the ceiling so you can incorporate some sweet crown molding.
This post delves into the first part – building the box and making sure it's secure. Stay tuned for the second post, wherein things start to get pretty!
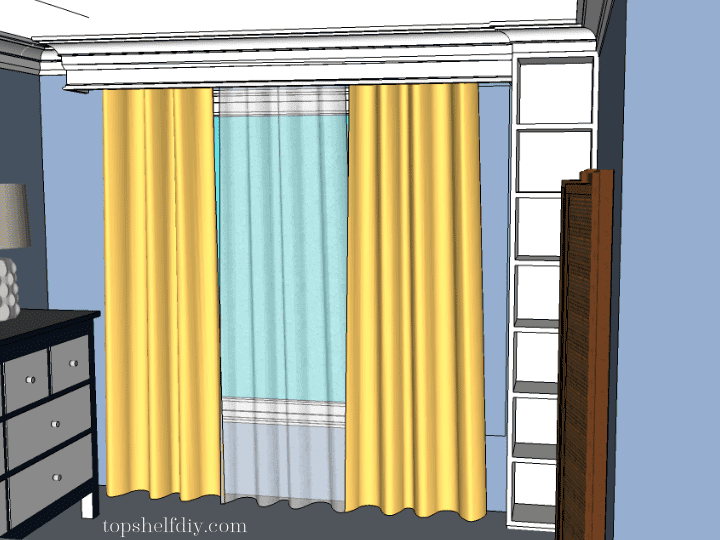
What is a cornice?
Before I go any further I need to define the term cornice as it relates to crown molding. Despite what we see in typical handyman literature, it's not just a box covering for your window.
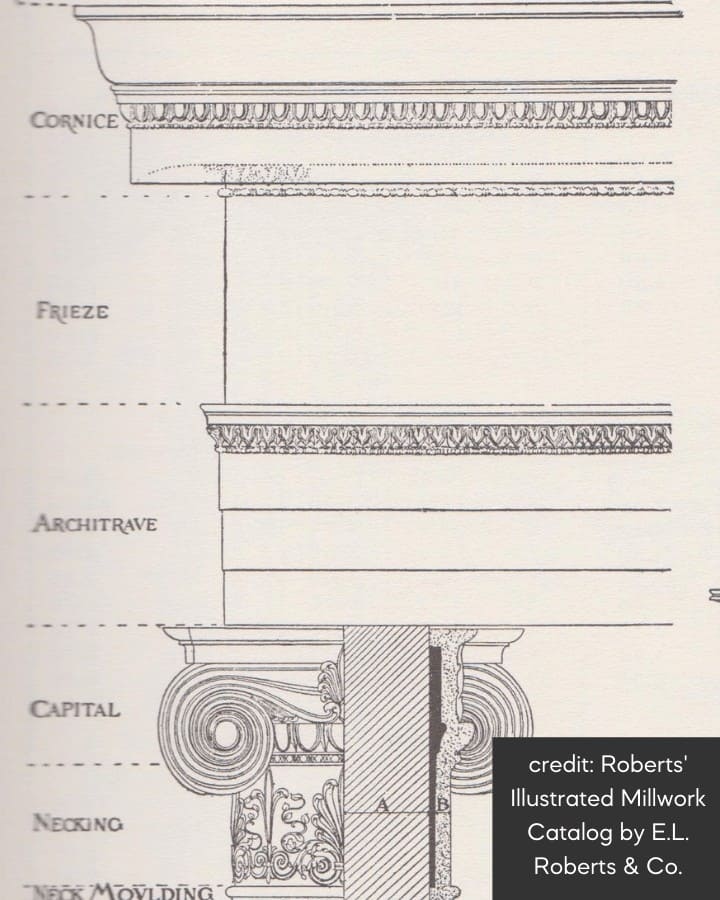
According to architecture sources, a cornice is as follows:
A projecting moulding located where the ceiling of the roof and wall meet; in classical architecture, the projecting top of an entablature.
-The Elements of Style, A Practical Encyclopedia of Interior Architectural Details from 1485 to the Present
In other words, a cornice refers to crown molding headers over doorways, fireplace mantels, windows and walls.
An entablature is any structure that includes a cornice, frieze and architave.
For the sake of simplicity any time I use the word "cornice" in this post I am referring to a window box, not crown molding.
But now you know the official definition of a cornice and can drop buzz words like "entablature" and "friezie" with friends over drinks.
Alright let's build this thing already.
Building the Cornice: Tools and Materials
- (1) 1x10 pine @ 8' - final length will vary based on the size of your window.
- (1) 1x10 pine @ 6'
- (1) 1x8 pine @ 8'
- (4) scrap 2x4 pieces
- 3" interior wood screws
- 1 1/4" pocket hole screws
- Wood glue
Tools
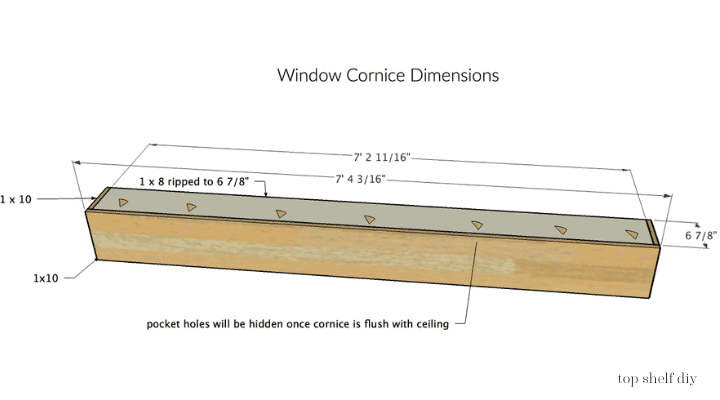
*Dimensions may vary if your window is larger or smaller.
I went 2" past the curtain rod on either side and 7" out from the wall to make sure I could access the curtain rods and remove the curtains as needed.
Cutting and Assembly
First, take your stud finder and mark the studs above your window.
Next, take scrap 2x4 and pre-drill holes where it will be secured to your studs. These scraps will serve as a ledger of sorts to support the weight of your cornice.
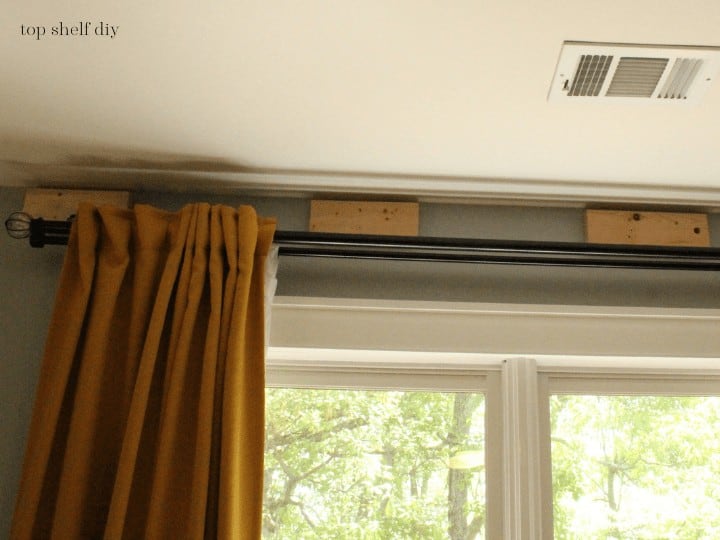
Attach your scraps to your studs using 3" screws, making sure you have at least a 7/8"-1" gap between your ceiling and your ledger.
I left a 3/4" allowance (the exact width of my pine boards) but this gap was too tight and I needed to adjust the boards.
Cut your boards to length. You'll essentially need to cut 4 sides: your front board, two sides, and a ceiling.
Drill pocket holes into your 2 side pieces and the cornice ceiling. Apply wood glue and then attach your boards with 1 1/4" pocket screws. A right angle clamp would have been useful but my auto-adjust mechanism wasn't working. I just drilled slowly and there wasn't much shifting.
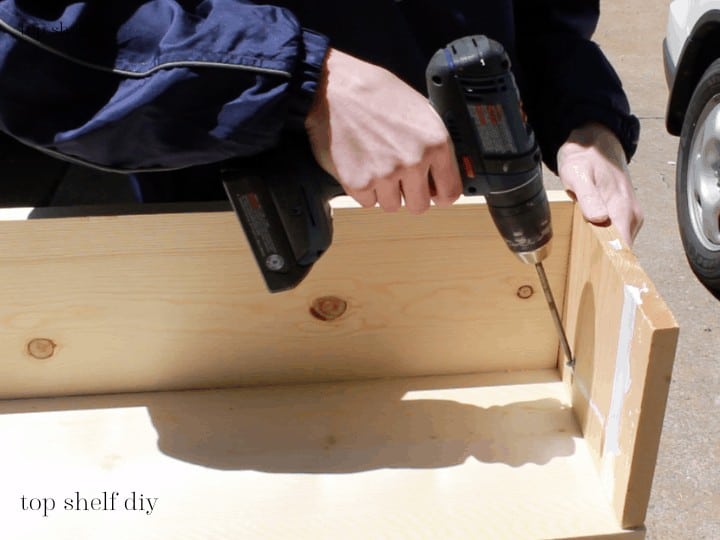
Once all your sides are assembled, slide your cornice up onto your ledger. Adjust the placement of your ledger boards if the gap isn't wide enough to slide it on.
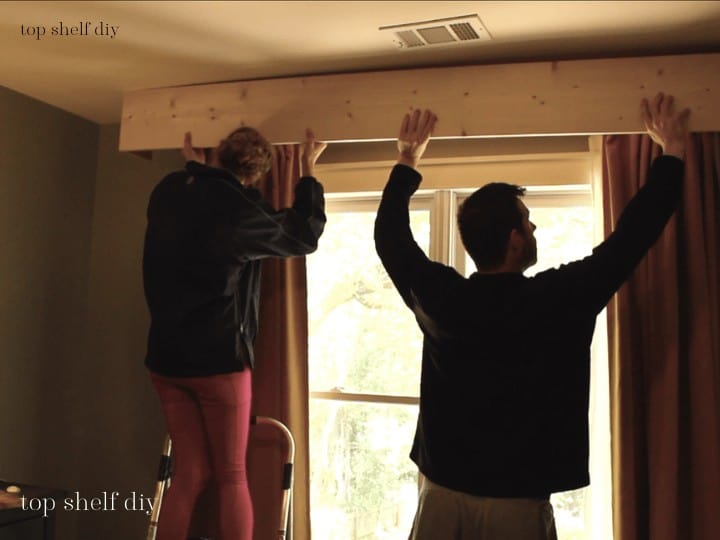
If everything looks like a good fit, slide the cornice box back off and set aside.
Remove your curtain rods and mark your ceiling joists.
*This would also be a good time to paint the inside of your cornice if you aren't impatient like me and just want this thing secured to the ceiling already.
Now slide your cornice back onto the ledger with the curtain rods removed. Using your impact driver, drill 4-5 more 3" screws up through the ceiling of your cornice directly into your ceiling joists.
Replace your curtain rods and curtains.
Stand back and admire your work!
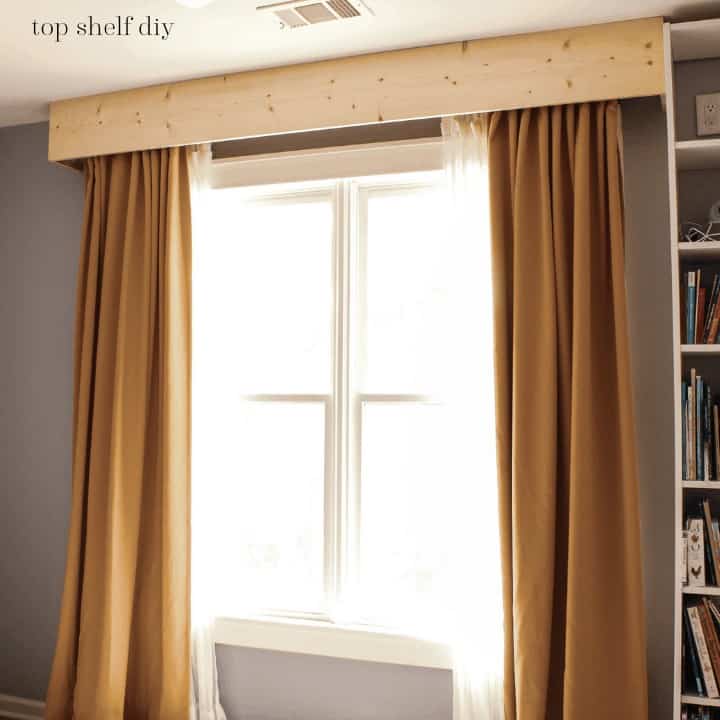
And that's it! I've got big plans for the trim in my son's room. Go big or go home, right?
The room already looks so much bigger!
Cheers,
Erin



Where is part two? I need to see the finished project. 😉
Hi Shelby!
Making a few workshop upgrades and then I'll be back at it! Stay tuned 🙂