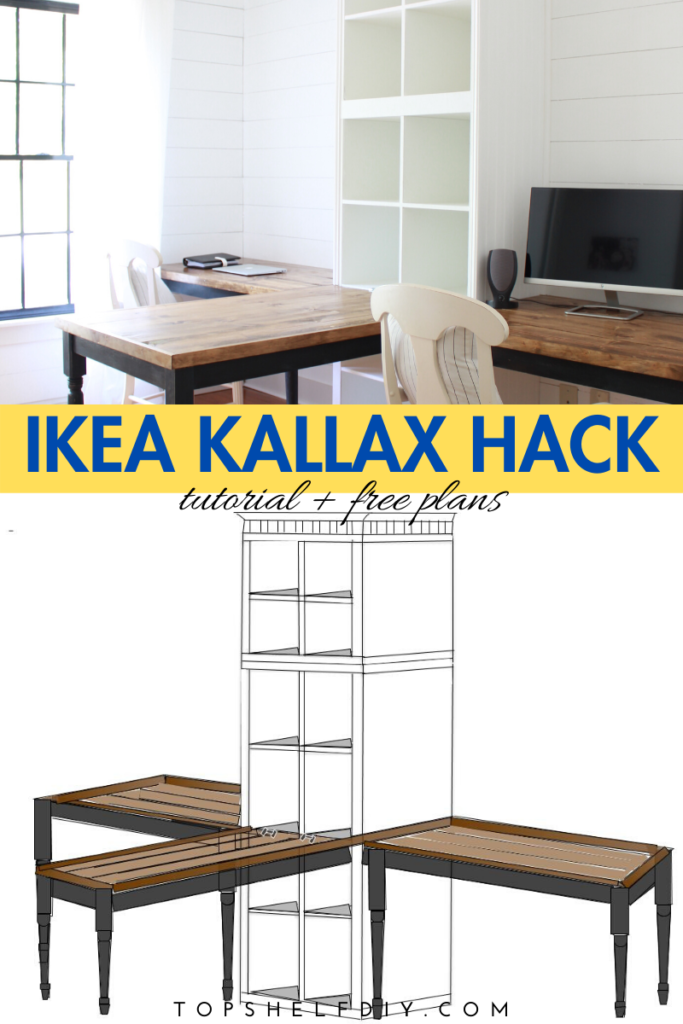
How to build a "3-Top" desk using the ever-versatile Ikea Kallax.
If you're sheltering in place wondering how to jazz up your home office, consider changing your desk layout with the help of the trusty Ikea Kallax.
*Jazz hands*
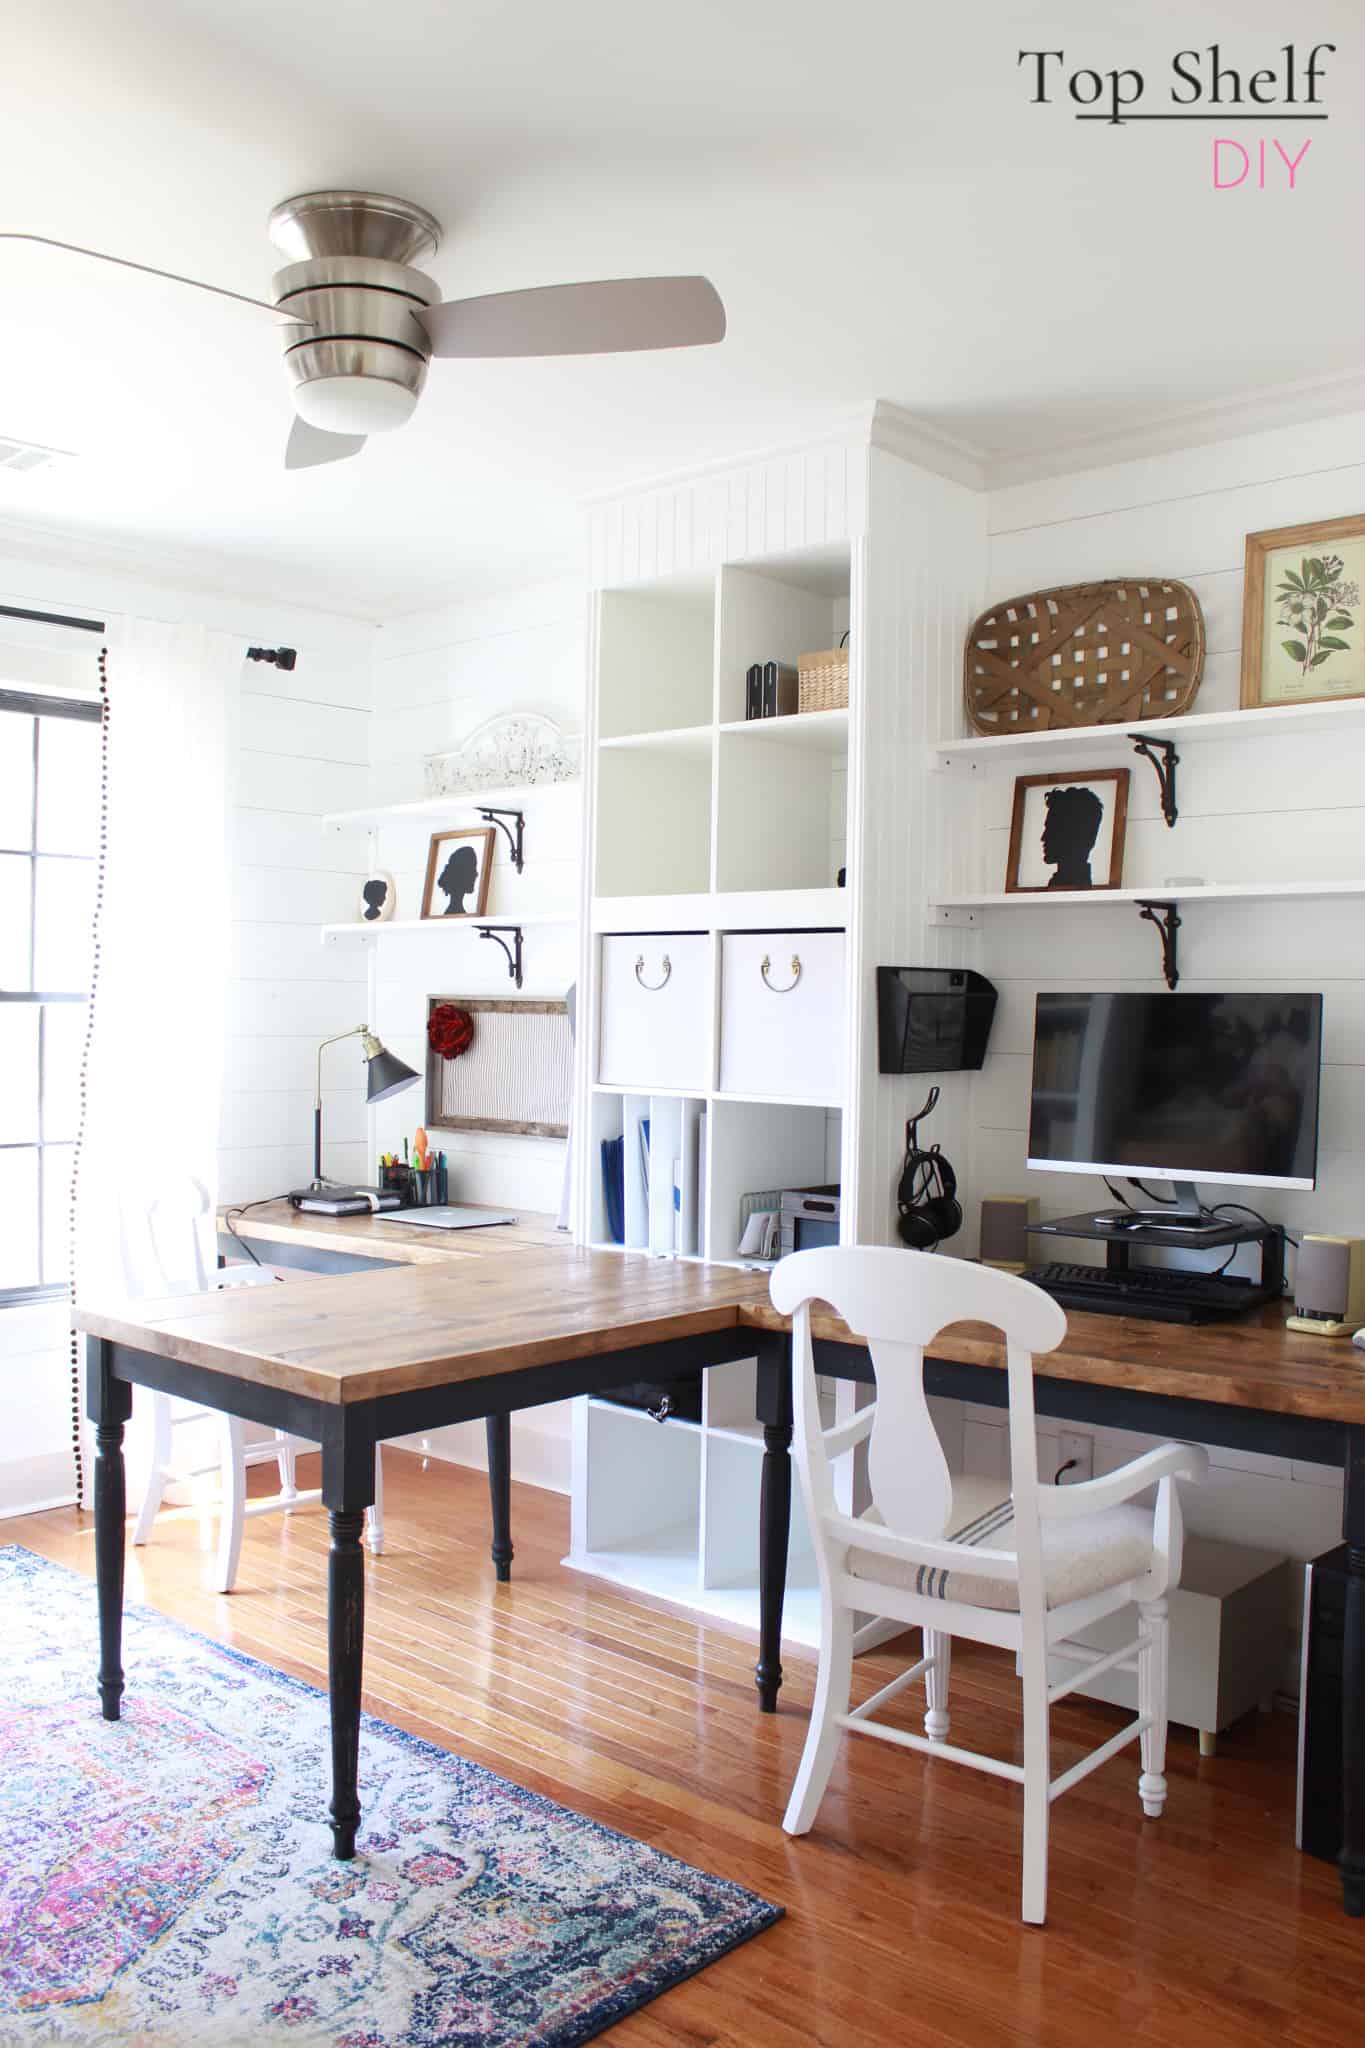
One of the most common questions I get asked from people new to the blog is, "Did you make those desks?"
Yes, I did make them, and the process was easier than you think. Warning: with the intention of being helpful this post is a bit photo heavy. In case these instructions are confusing I've included the option to download printable woodworking plans below!
Now let's hack our way to a more functional office design.
Jump to:
Tools
Disclaimer: this list includes affiliate links, which means I may earn a small commission should you purchase any of the items recommended. Thanks for supporting my blog this way!
- Miter Saw
- Table Saw
- Kreg Jig
- Power Drill
- Measuring tape
- Nail gun
- Caulk gun
- Stud finder
- Level
- Your Free Plans! Get them here.
Materials
- (12) 1x8 pine boards @ 6' long
- (11) 1x2 pine @ 6'
- (10) 1x4 pine @ 6'
- (2) 2x4's: @6' and @8'
- 1/4" birch plywood
- Base cap molding
- wood stain (I used Minwax Special Walnut)
- Polyurethane
- 1 1/4" and 2 1/2" pocket screws
- 2.5" or 3" drywall screws
- 12 chair braces (4 per desktop)
- 7 turned table legs (I got mine at Lowe's)
- chalk paint for table legs (optional)
- Ikea KALLAX 2x2 unit and 2x4 unit
- Ikea LINNMON connective hardware
- Liquid Nails adhesive
- Paintable caulk
- Wall spackle
- Wood glue
- 3/4", 1-1/4", and 2" brad nails
- Beadboard paneling
- latex semi-gloss paint (if adding trim to Kallax)
- paint brushes for stain, poly and paint
- 2" Desk grommet and grommet bit
*This post includes affiliate links for products used to create this desk. This helps me cover the costs of running this blog at no additional cost to you. For more info, see my disclosures page.
Desk dimensions
For a true "built-in" look, you'll want to add custom trim and crown molding to your unit. I had to modify some of my cuts due to walls and ceilings not being level (shocker...they never are!). That said, the Kallax is a fixed 30 3/8" wide by 16 1/4" deep. Once you add trim to both sides of the Kallax it becomes 30 3/4" wide. We made our desks 29" tall.

Building your DIY Kallax Desk Unit
Step 1: Assemble the IKEA Kallaxes
Once I was done installing shiplap in the room, I assembled the first major unit of this desk system: a 2x2 Kallax stacked on top of a 4x2 Kallax. Then I mapped out the remaining space with green painter's tape.

Once the units were stacked, I secured one to the other using Liquid Nails adhesive and a few brad nails. Then I secured both units to the wall using the wall anchors provided by IKEA.
Next, I added beadboard to the sides and top section of the Kallax system. These were secured with Liquid Nails and brad nails. I also added trim to the front of the units. I made my own trim by ripping down 1/4" plywood with my table saw.

Once all the trim was added, nail holes were filled with spackle and edging smoothed over with paintable caulk. Once dry, everything got a coat of white paint.
I waited to apply crown molding until everything else in the office was installed. Here's what it looks like finished.

I eventually added DIY horizontal and vertical shelf dividers to my Kallax cubes. These work amazingly well at sorting office documents and I encourage you to check out those tutorials as well!
Related: Kallax The Great: 8 Feet of Floor-to-Ceiling Storage
Step 2: Build Your Desktops
Now comes the part where this actually starts looking like a desk!
Lay down your 1x8 boards and 1x2 boards to test for fit. Once you have the measurements marked, cut your pieces with a miter saw. Drill 3/4" pocket holes through your 1x8 boards as shown below.
(Note: the actual depth and width of a 1x8 is 3/4" by 7 1/4")

Attach your 1x8 boards with 1 1/4" pocket screws. Place a small bead of wood glue between your boards immediately prior to securing with screws.
If you look closely in the photo above, there is a slight 1/4" gap on the right between my 1x8 and 1x2. That's because (4)1x8's gave me 29" of width, but I needed 29 1/4" of width. I resolved this gap by adding a small strip of plywood between the end of one 1x8 and the start of my 1x2.
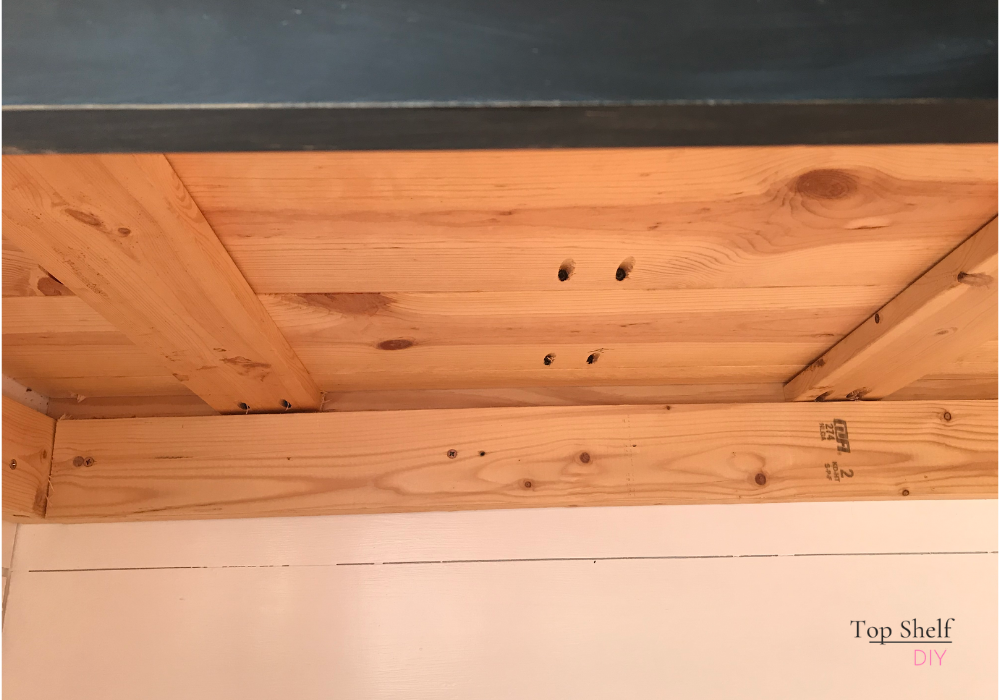
Once your 1x8 boards are joined with pocket holes, place the piece on a level surface. Attach the 1x2's with wood glue and 2" brad nails, making sure the 1x2's are flush with one side of the desktop.
This is what the underside will look like:

Now you're ready to stain your desktop! I used two coats of Special Walnut by Minwax, followed by three coats of polyurethane. Then I did a test fit of my table legs. I needed to remove a bit of length from the top of my legs with my miter saw to get my height of 29".

Repeat this process for your right and left desktops. The main difference is that these desktops will have 1x2 trim running along all four sides of your piece.
Stain the table top. Next, paint your table legs and 1x4 aprons. I used a layered mix of black and navy blue chalk paint; once dry, I distressed the edges with a sanding wedge to give them an aged look.

Step 3: Attach Table Legs and Aprons to Each Desktop
At this point you'll want to flip your desktop upside down in close proximity to your Kallax unit. Reason being that the pieces get pretty heavy and awkward at this stage.
Add 3/4" pocket holes to your 1x4 apron pieces (3 apron pieces for your middle section, 1 apron for the left, 2 aprons for the right). Secure your aprons to your legs with 1 1/4" pocket screws as shown below. You may want to use a piece of 1x4 as a spacer so that your apron is slightly recessed from the front of your desk.
Add chair braces (minimum 4 per desk) to the underside. This will secure your leg and apron framework to your desktop.

I added a 2x4 brace with pocket hole joinery to the underside of my middle piece for additional support. The other left/right desks have 1x4 support beams.
Now I can stand on this desk without a care in the world...'cause, you know, sometimes I dance on tables.
Rock solid.

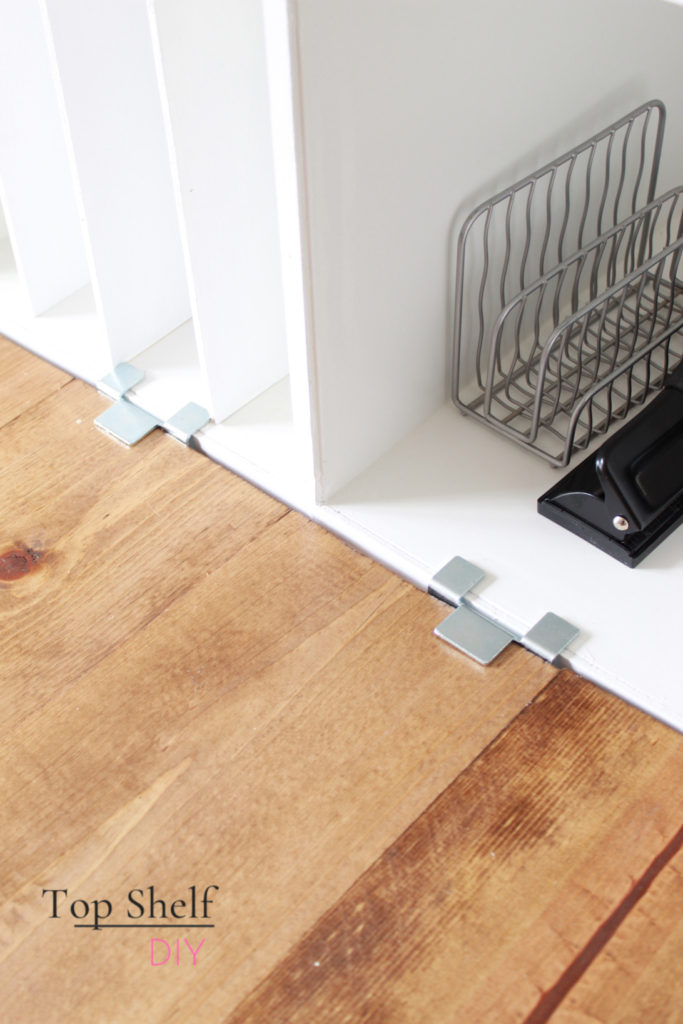
Once your middle desk is completely assembled, it can be attached to the Kallax unit via the LINNMON connective hardware.
Step 4: Build a ledger to support the weight of your right and left desktops.
Unlike your middle desk, your side desks can be supported by wall studs. To do this, simply make a ledger out of 2x4 scraps. Using your stud finder, screw these pieces into your studs with 2.5" screws. The 1x2 ledge of your desktops will rest on this shelf.
One side of each ledger will be screwed into your Kallax unit. You can use a smaller screw for this (I believe this was a 2" screw since the 2x4 is 1 1/2" thick). Be careful not to screw through your Kallax to the other side.
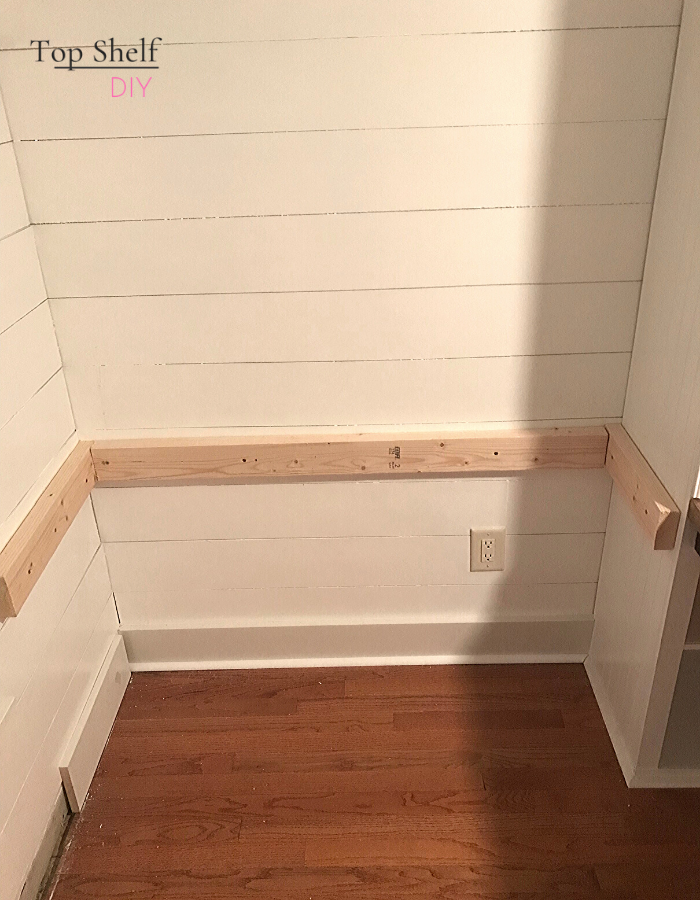
Once your ledger's in place, do a test fit with your desktop. As mentioned earlier, my walls are not level, so the back 1x2 trim was different than my front 1x2. Such a pain in the butt, but worth it in the end for a snug fit!
Measure, measure, measure to see that everything fits and your desktop is level.
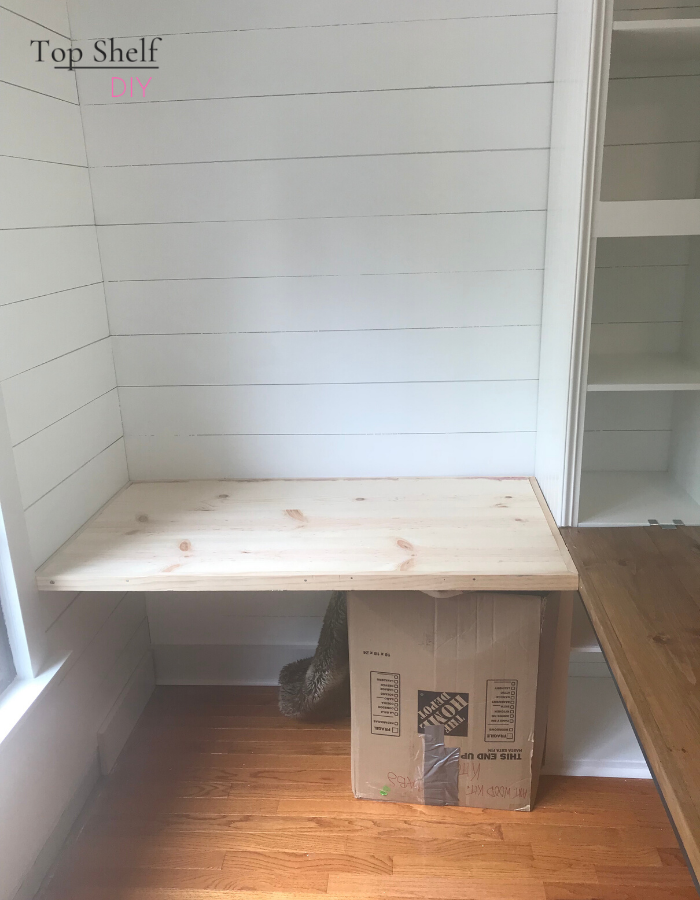
As before, attach the table legs and aprons to your desktop. Using pocket hole joinery, I added two 1x4 support braces to the underside of both side desks.
Once everything looks level, set each desktop on their ledger.
Optional step: add a 2" grommet hole -- you know, that handy little drop space for laptop cords -- to your side desks. Drill a 2" grommet hole into your desktop using the special drill bit included in the supply list. Insert plastic cover for grommet.
Now stand back and admire your work.
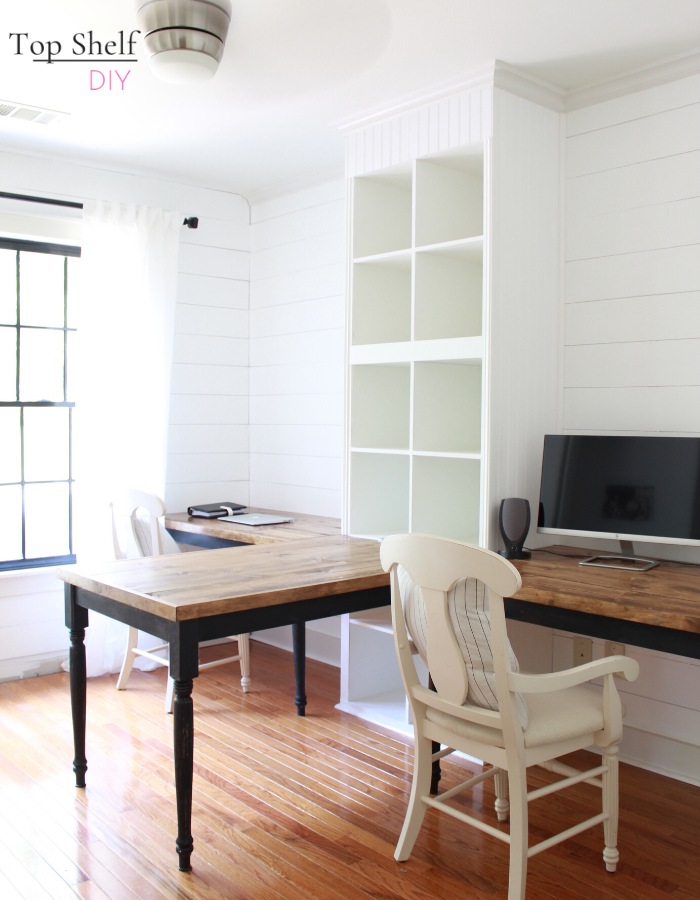
Now comes the REALLY fun part: accessorizing! I added floating shelves, farmhouse table lamps, and little bins for the Kallax cubes. Most of these items were purchased at...drum roll please...good ole Walmart.
Our home office gets a lot more traffic these days with my husband working from home full time. While my side of the room is still fairly minimalist, his is overflowing with photos of our kids and other random items from offices of yore.
Benefits of this design
The middle desk is an excellent option for a number of reasons:
- My husband can put a second monitor or laptop there.
- Great dumping spot for mail or "pending" items to file.
- Our older son can pull up a chair and doodle while my husband and I are busy (right now his attention span is max 10 minutes, but I'll take it)
- Works great as a sewing table.
Custom organization options for your Kallax
There are countless ways to level up your Kallax depending on your organizational needs. To say I'm a Kallax geek is probably the understatement of the century!
- Add adjustable shelving using a Kreg pin jig! (via imsewboard_)
- Add LED lights to your Kallax! (via Ikea Hackers)
- Make filing bins with 1/2" popular and Office Depot banker's boxes! (via Build & Create Home)
- Horizontal Shelf Dividers (via Top Shelf DIY)
- Vertical Shelf Dividers (via Top Shelf DIY)
- X-Shelf Dividers (via The Rehab Life)
I hope this build inspires you to take a chance on the Ikea Kallax, formally dubbed "Kallax The Great" by moi. It's one of the most versatile pieces of furniture out there, and you can't beat the price tag.
For more tips and great info, head on over to the Top Shelf DIY Handywoman Facebook Community — it’s a great place to ask questions and feel supported. If building stuff is your jam, we’d love to have you!
Cheers,
Erin


Leave a Reply