One of my favorite things to do at the mall is to roam the floors of Restoration Hardware, frozen coffee in hand, envisioning myself as a member of the royal family or a designer with a limitless expense account.
The chandeliers! The tufted headboards! Framed maps! Family crests! It’s like Disney World meets Old World redesign.
It's more than one woman can take...
*Faints onto her settee*
With these inspirations in mind, I once designed my bedroom to look like a catalog spread – at least as far as paint and architectural details would take me.
The entire project cost me about $140, which is nothing compared to what the professionals would charge!
If you too are obsessed with replicating the RH look, here's how to do it without breaking the bank.
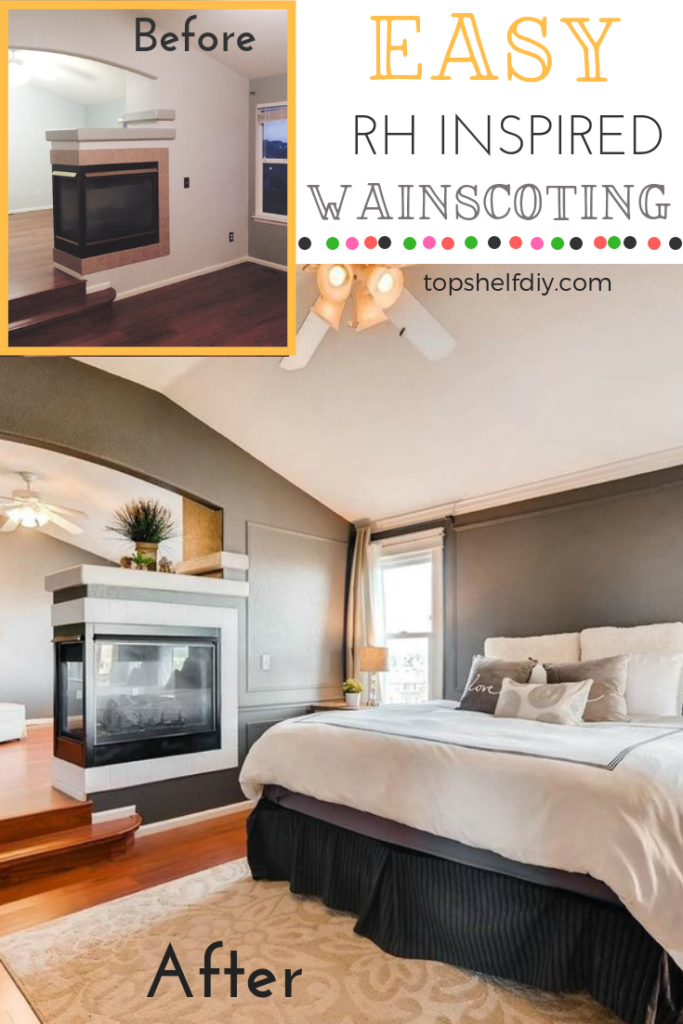
Aren't room transformations the best? Let's do it.
My Cheap and Easy DIY Wainscoting Tutorial for Old World Charm
Disclaimer: this list includes affiliate links, which means I may earn a small commission should you purchase any of the items recommended below.
Wainscoting Supplies
- Stud finder
- Level
- Nail gun
- 2-inch brad nails
- Liquid nails (one tube is all you'll need)
- DAP caulk
- Caulking gun
- Wood filler
- Miter saw or miter box
- Latex paint in eggshell (I used Benjamin Moore's Kendal Charcoal)
- Paint brush
- Chair rail trim
- Base cap molding
Sup
Directions
Measure your walls and draw a quick mockup of what you want the room to look like. Here's my uber-professional rendering:
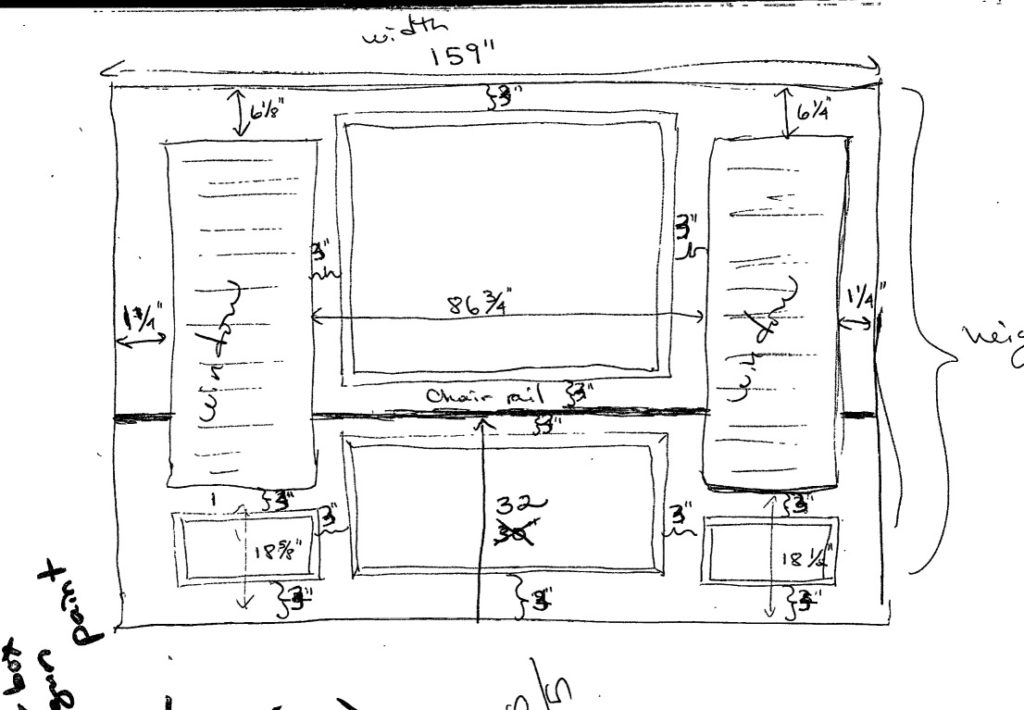
Figure out how far you want to space your trim from walls, windows, and other obstacles. As you can see above I spaced out my trim by 3 inches, meaning the final product would look like this:
.
Some people apply a layer of smooth paneling (hardboard, dry erase board) below where the chair rail is going to provide a smooth surface for your picture frames. I skipped this step because my picture frames extended above and below my chair rail. Also, I didn't mind the textured wall for the background.
Step 1: Mark Your Template
Mark up your walls – literally map the outline of your molding onto your walls using a level. Don’t worry, this will get covered up later!
Side note: most chair rails are 32 inches from the floor. I used a white colored pencil because I knew it would show up on the dark walls.
Step 2: Mark Your Studs
Using a stud finder, make faint marks near your trim lines to indicate stud placement. Nailing into your studs ensures your trim will be secured in place.
Step 3: Install Your Chair Rail
Cut your chair rail to length using a miter saw. Place a small bead of adhesive on the back and then nail into place using the horizontal line you drew earlier. If it helps, place a piece of scrap wood the exact width of your spacing under your trim to ensure it’s in the right spot prior to nailing.
Related: Six Essential Tools for Working Around Mitered Corners
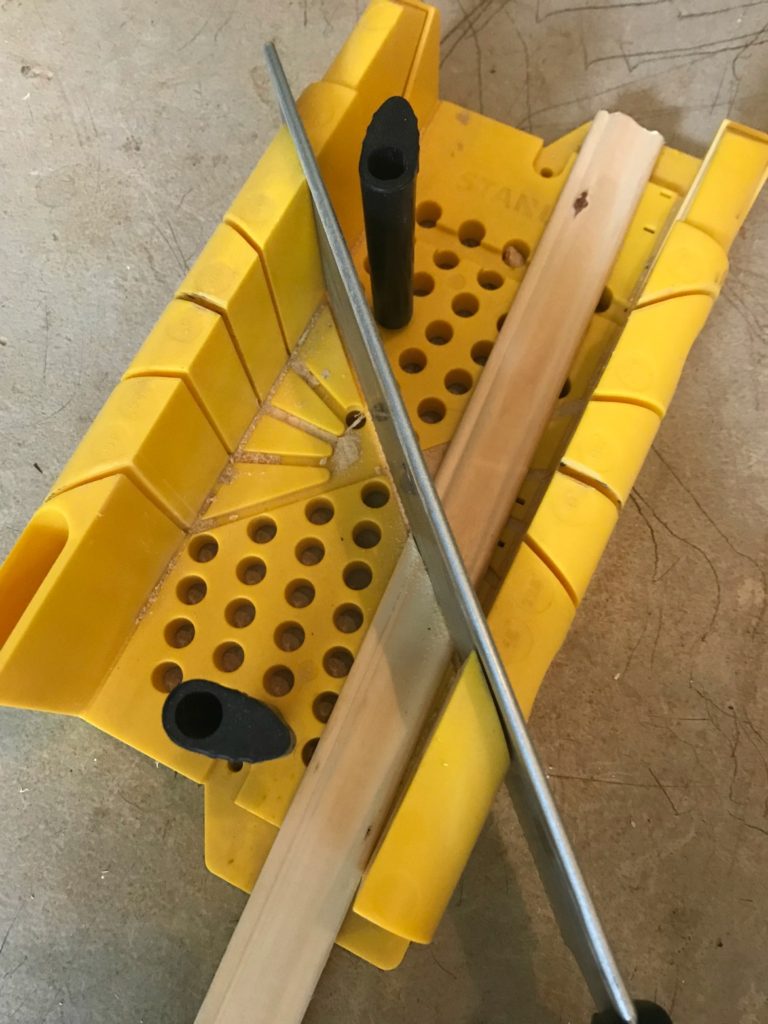
Cut your picture frame trim at 45 degrees using your miter box, as pictured below. Secure to the wall the same way you nailed your chair rail.
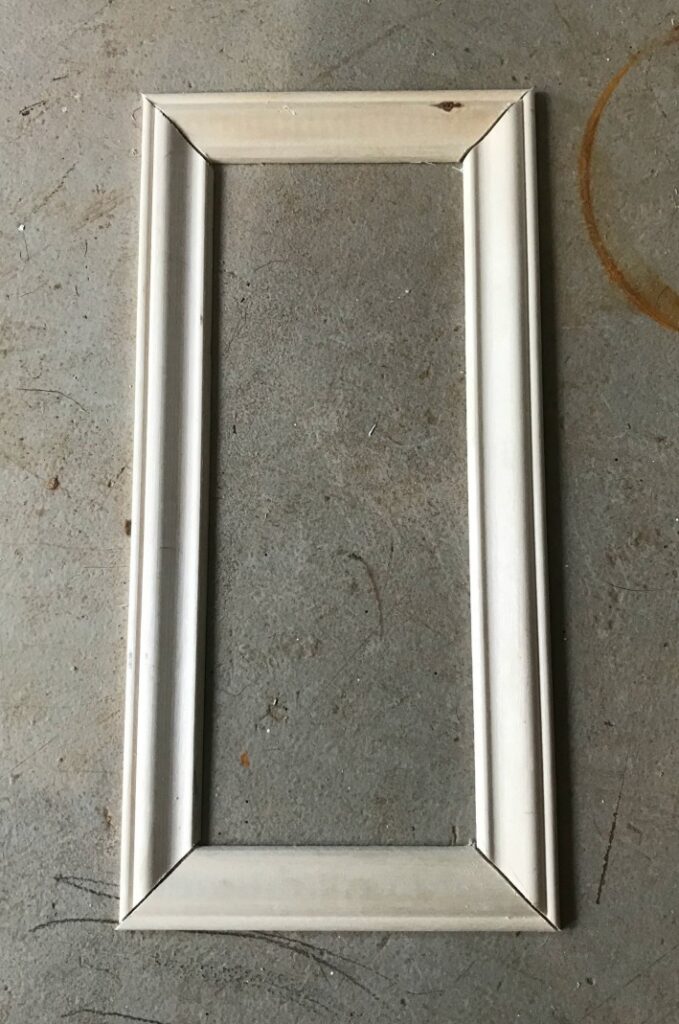
Caulk along the seams where the picture frame meets the wall. Warning: caulk is not sandable, so use sparingly! Use spackle for covering nail holes or filling in the mitered corners of your picture frames. Sand prior to painting.
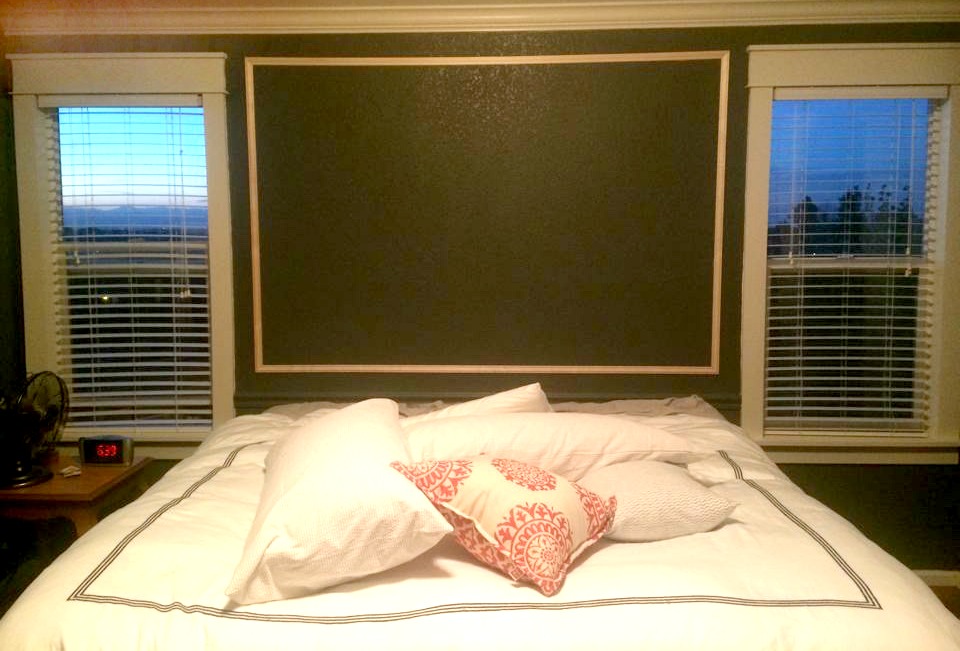
Paint your trim, stand back, and enjoy your beautiful handiwork!

Total cost of my project
I already owned most of the tools needed to complete this project, including leftover paint and a paintbrush that I kept in our fridge wrapped in Saran wrap.
I did need to purchase a miter box, however, because the picture trim was too flimsy for my miter saw.
Miter box ($14.98)
Chair rail (5 x $9.28 = $46.40)
Picture frame trim (13 x $6.22 = $80.86
Total cost of the project= $142.24
I would definitely recommend this project to beginners, because:
A) It introduces you to mitered cuts without having to use an actual miter saw and
B) You only have to cut 45 degree angles for the picture frames. It's a big confidence booster, and you can complete this project relatively quickly since there's no demolition involved.
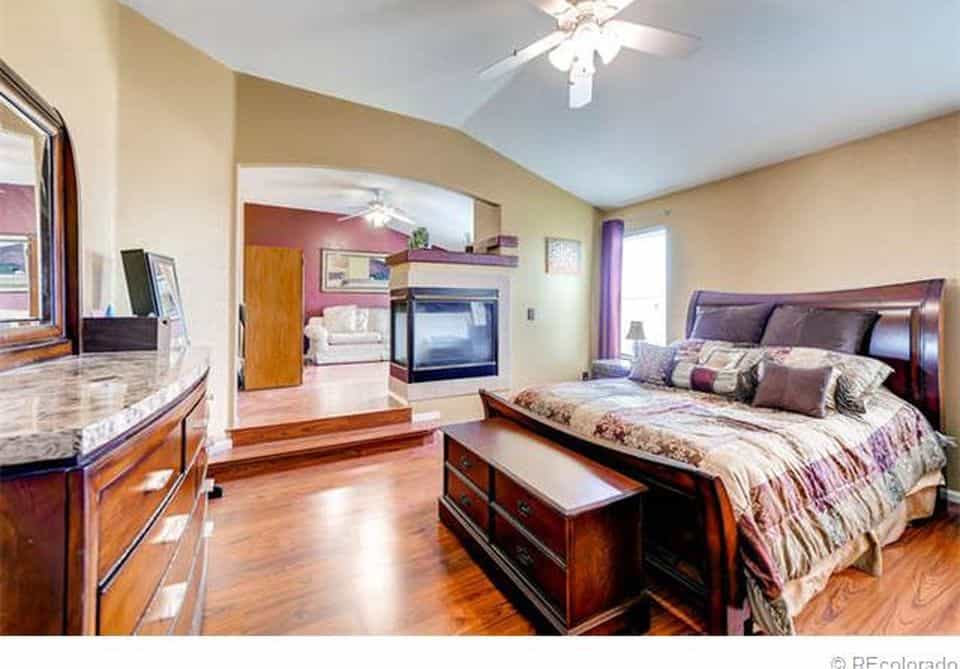
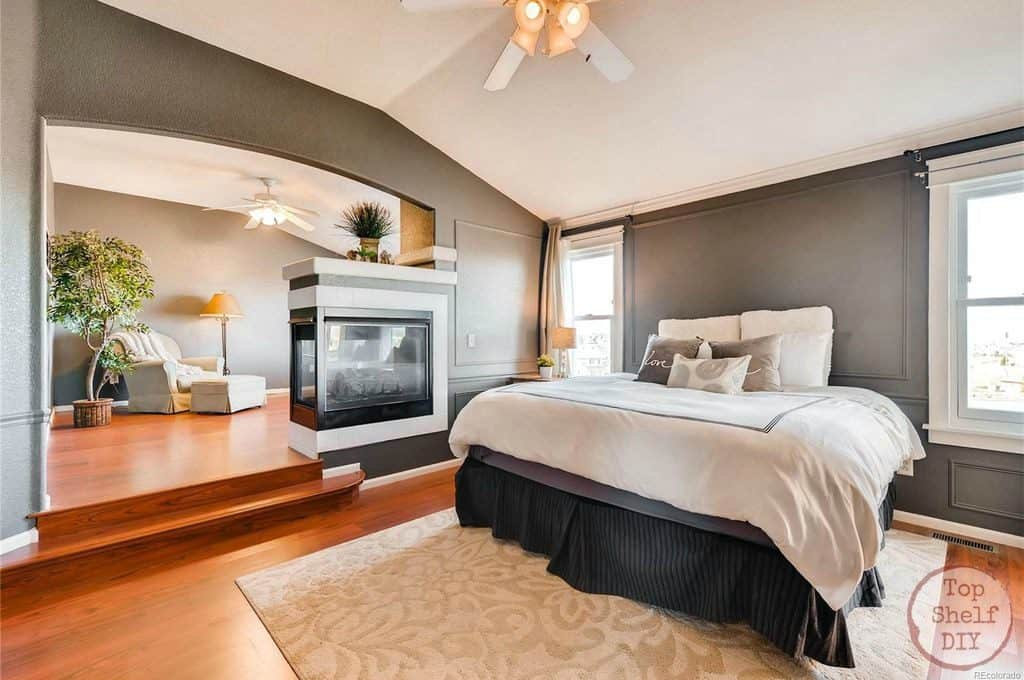
If the idea of turning on a power tool scares the beejesus out of you, check out my take on How to Conquer Your Fear of Power Tools.
And if room transformations motivate you to try new things, check out my most recent project: Our His and Hers Farmhouse Office Reveal!
Until next time!



Leave a Reply