Let me tell you a story about second chances.
Just like people get second chances in life, I felt one room deserved the opportunity to shine.
Once I got past the ugly bits, I realized there was hidden potential.
With a little magic and DIY grit you can turn just about anything into Cinderella, even if you're doing the project alone and it ends up taking months longer than you think.
To recap, here's where we started back in May when we closed on our house here in Georgia:
.
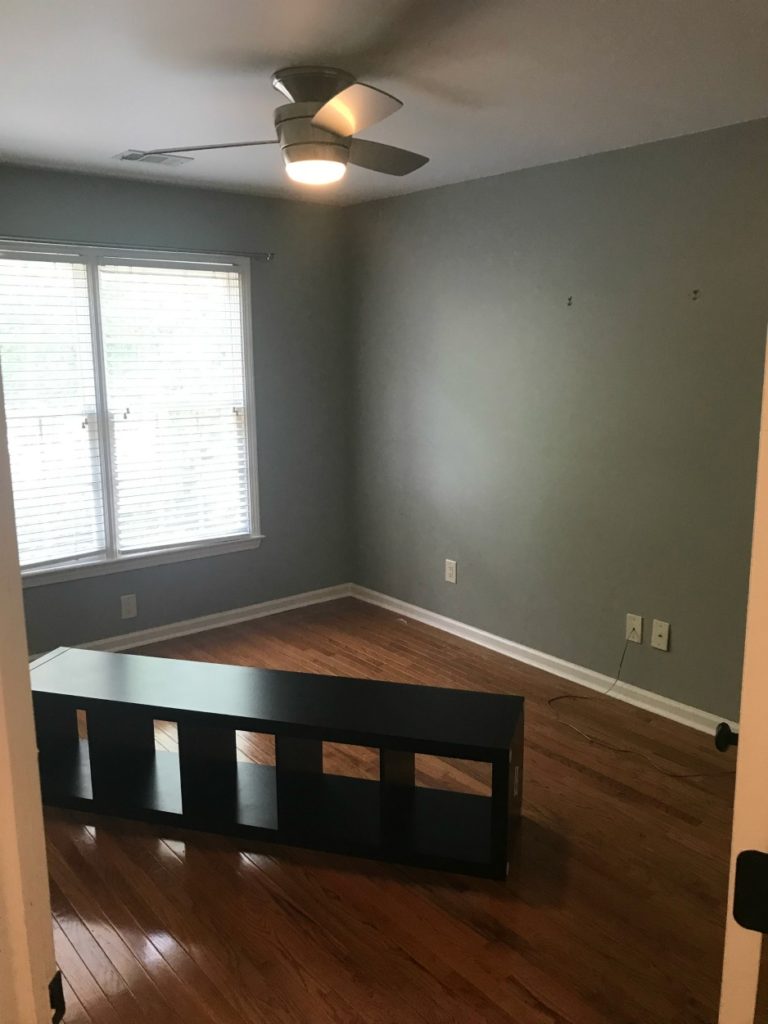
.
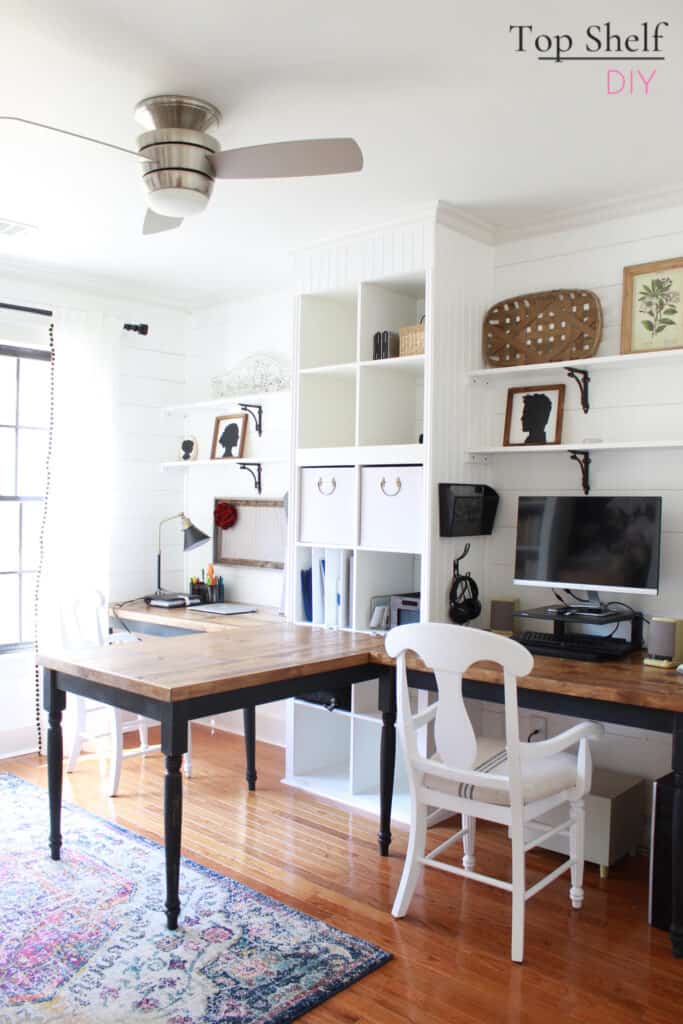
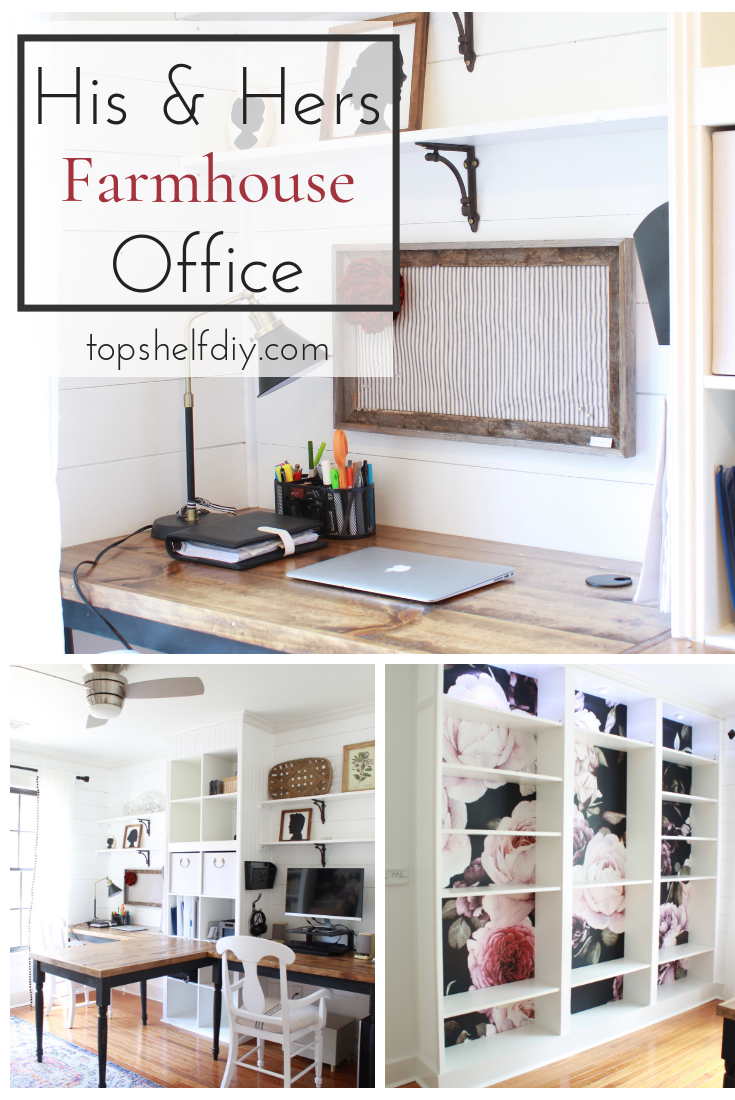
And here's what our His and Hers Farmhouse Office looks like today.
.
.
I didn't rip it down to the studs, but I got pretty close! The only fixture I left alone was the overhead fan. Here's a rundown of all the projects completed from July until November of this year.
.
Farmhouse Office Completion Timeline
With the exception of needing an electrician to help with some of the GFCI outlets, these were solo projects. Hence why it took FOR-EV-UH!
- repainted the room Behr Ultra White (July)
- installed Faux Shiplap (July-August)
- installed Craftsman-Style Trim around window, closet door, and main door (July)
- new baseboards (August)
- crown molding (August)
- stacked two Ikea KALLAX units on top of each other for built-in storage. Added beadboard and trim to give it farmhouse personality. (August)
- hung custom-length IKEA curtains with Pom-Pom Trim.
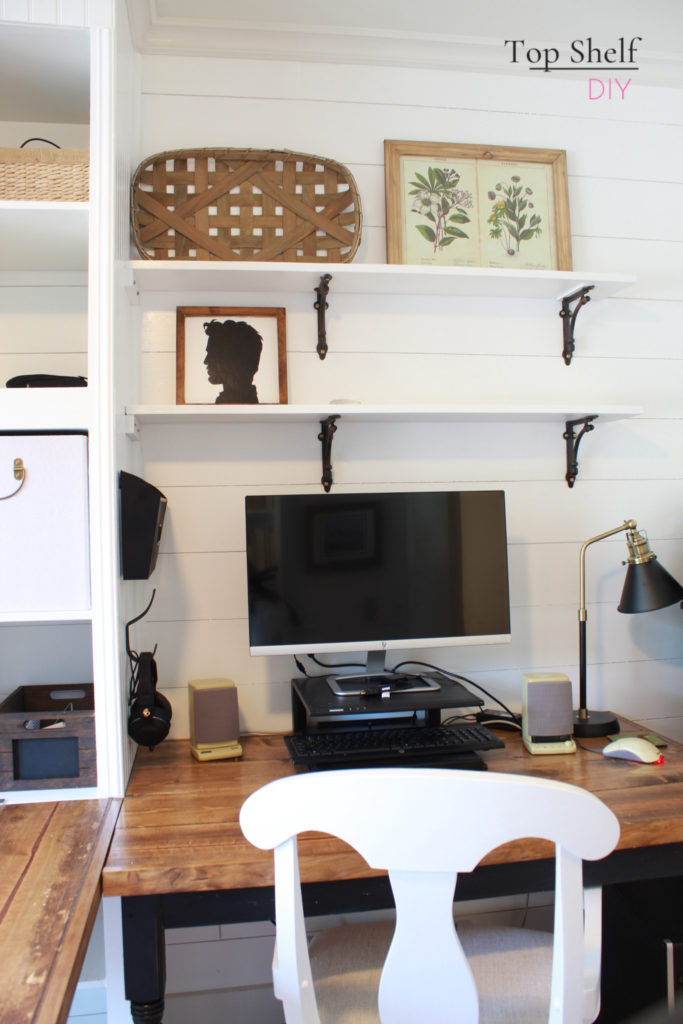
- installed a 3-part desk system to complement the Ikea Kallax shelving. This was designed to accommodate my husband who occasionally works from home. The middle desk functions as a sewing table and coloring workstation for our son. (August - September)
- installed Built-in BILLY Bookshelves with Removable Wallpaper. (September)
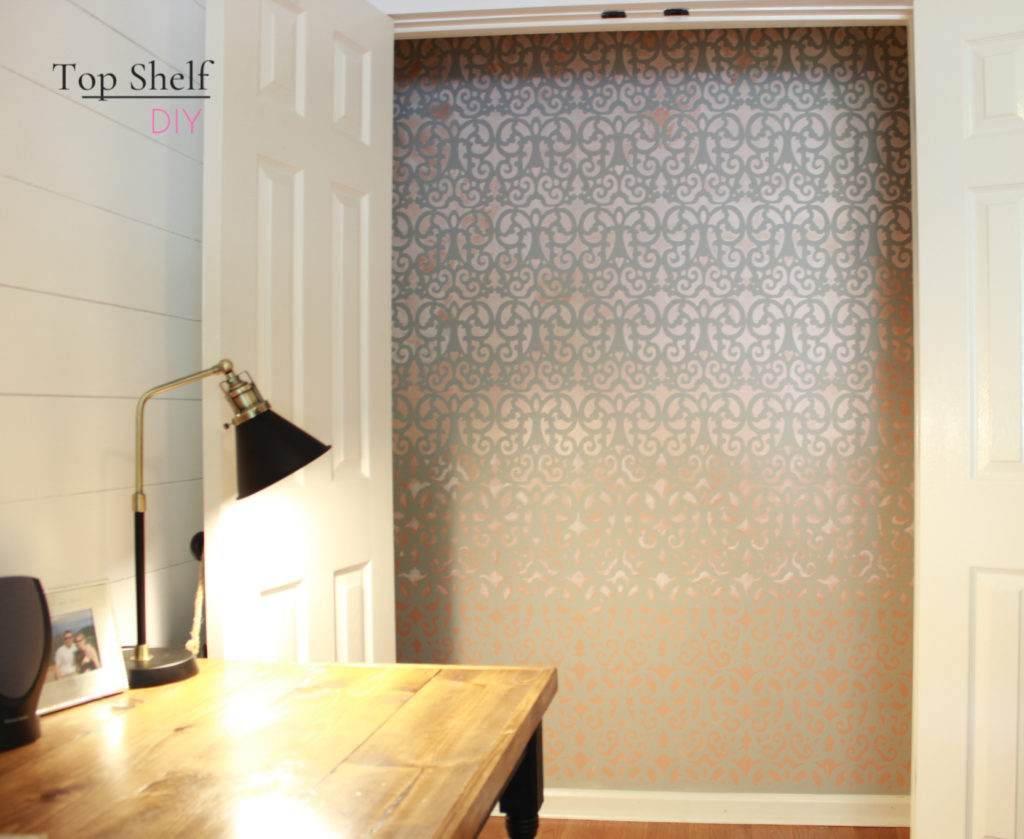
- added a stenciled design to the closet (September)
- installed Legrand GFCI outlets with screwless face plates (September)
- Added bins, baskets and DIY KALLAX Shelf Dividers to the bookshelves and Kallax unit (October)
- painted and recovered my mom's chairs with grain sack fabric. (November)
- added shelving above our desks with iron brackets. (November)
- added a DIY fabric cork board (November)
- 2022 Update: I finally finished the closet!
I think that just about does it. I've been working on this renovation for so long and so hard that it feels strange for it to be over. Kind of like that surreal moment at the end of your wedding when everyone starts saying goodbye.
But wait...don't leave...the fun has only just begun!!
I'm sure I'll be adding little touches here and there in the months to come. The closet still needs shelves, so stay tuned for some organizational updates on that front.
.
Let's see a bit more of the room, shall we?
.
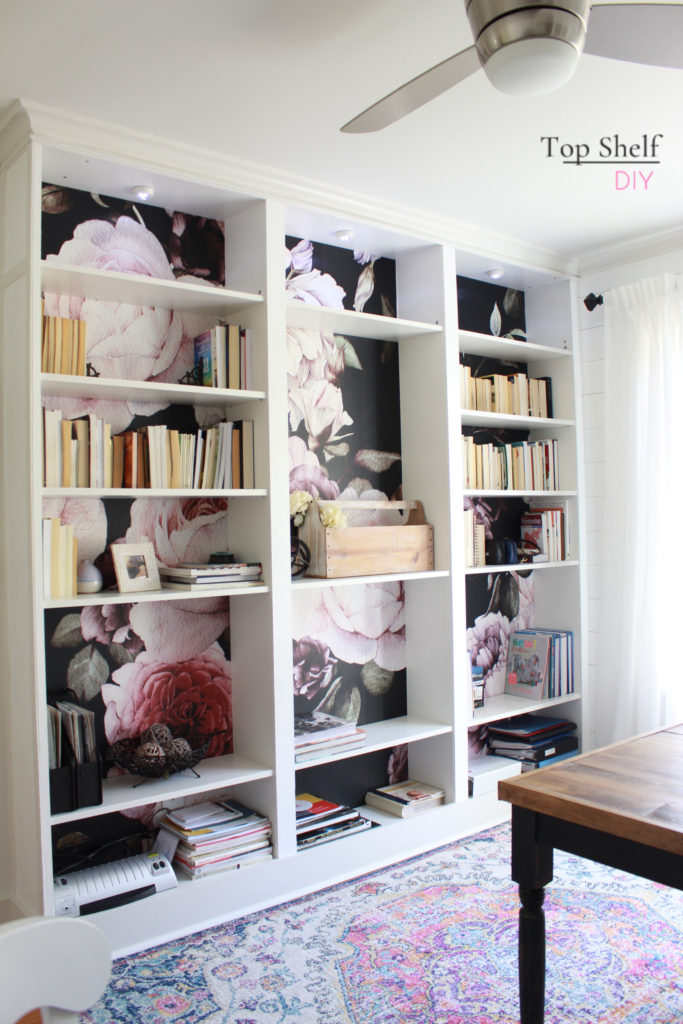
.
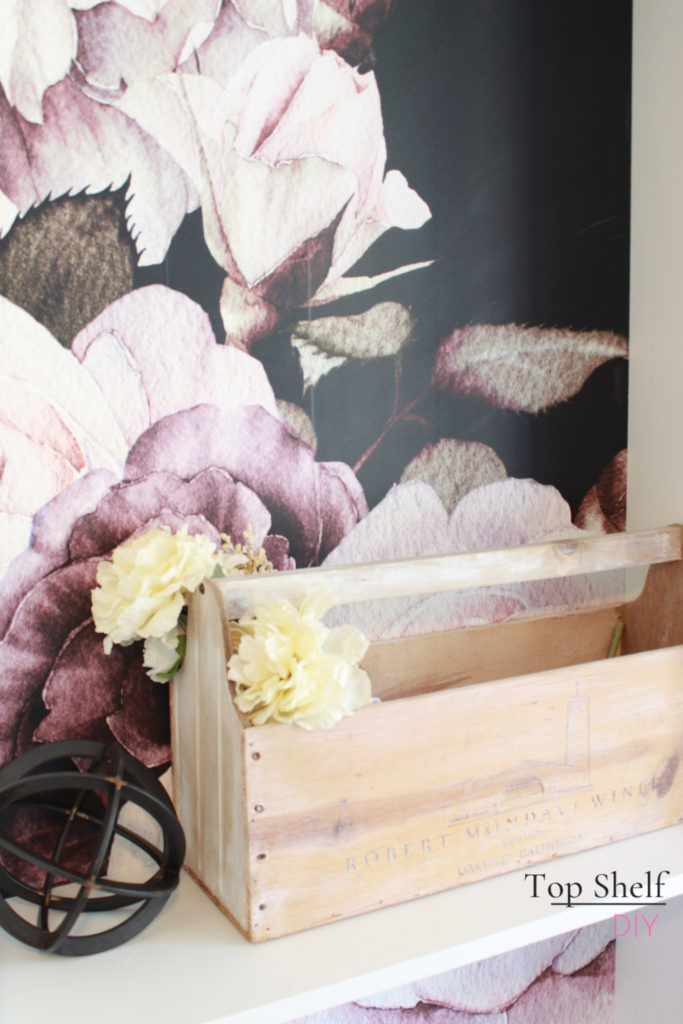
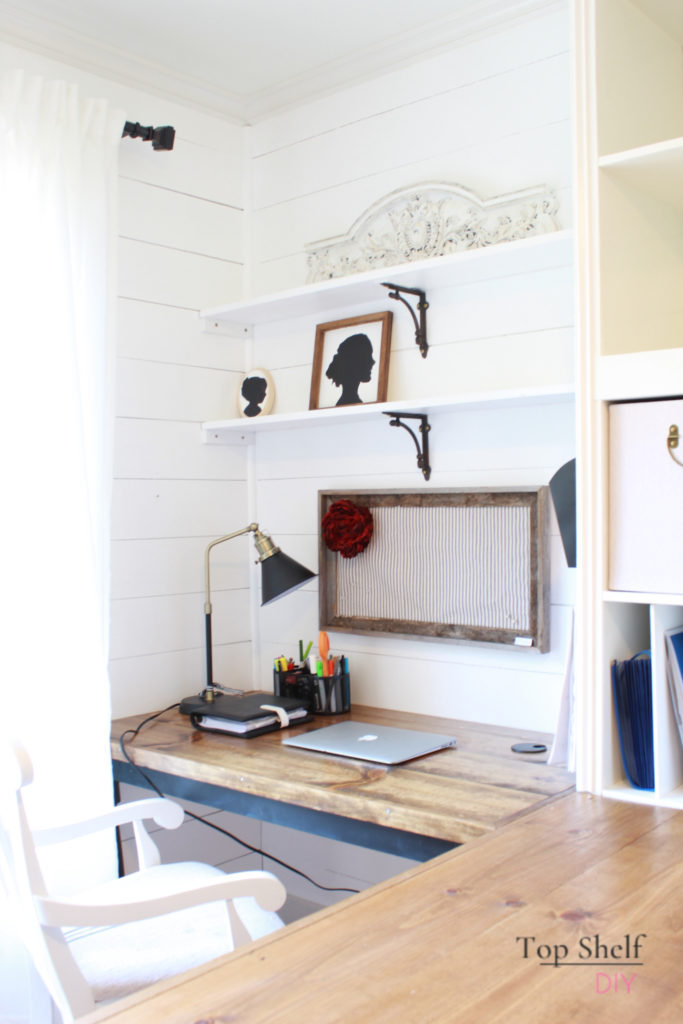
Above is a photo of my nook. It turned out just as I had hoped.
Here's Ken's side of the office.
.
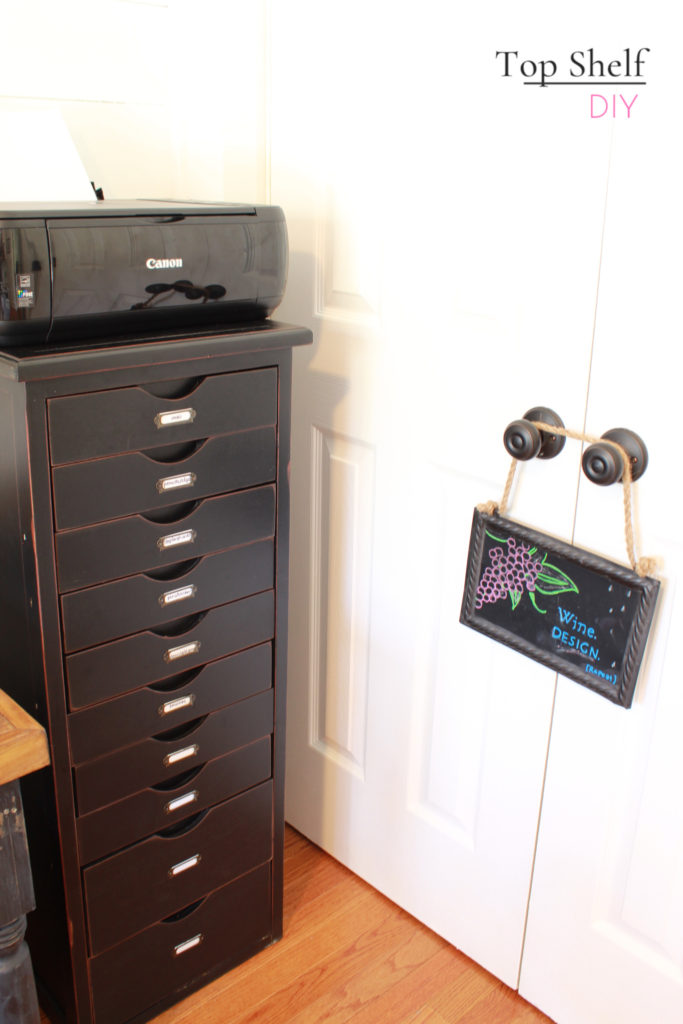
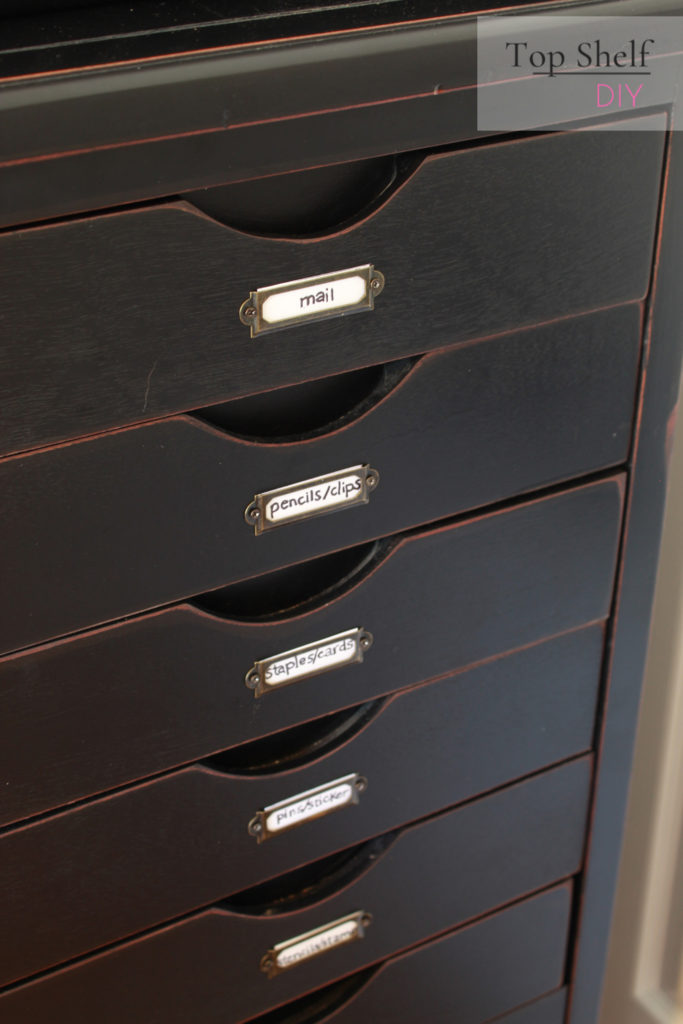
I found this great shelving unit on sale at Hobby Lobby, which had really wonky drawers before I added pieces of 3/8" trim to the tracks inside. Then I added apothecary labels for a finishing touch.
.
.
.
And lastly, here's the closet I stenciled one crazy Saturday night...
.
Total cost of this renovation
So I bet you're wondering what we spent on this room. I mean, I would be wondering.
As of August (the shiplap was complete but no desks or bookshelves yet) I had spent $405. 46.
I stopped keeping track after that, but here's a rough estimate:
- Two KALLAX Units + LINMON hardware: $150
- Three BILLY Bookshelves plus extender units: $260
- Bookshelf trim: $75. Used mostly leftover plywood and scrap.
- Crown Molding: $150
- Removable floral wallpaper purchased from Etsy: $255
- Raw materials for built-in desk (1x8 wood, Minwax Special Walnut stain, paint, hardware): $300
- Seat covers: $30
- Curtain rod finials from Lowe's: $15
- Curtains: $30
- Rug from RugsUSA.com: $75
- Black filing cabinet purchased from Hobby Lobby: $70
- Apothecary hardware (affiliate link) for cabinet shelves: $10
- General office decor: $300
- Shelving units (made from leftover 1x8's from the desktop): $30
- Closet wall stencil: $27
Which brings the total cost of this renovation to:
$2,182.46
Okay, so even if I'm slightly off it wasn't cheap. But our electrician said someone would pay "10 G's" for a room like this...what do you think?
.
What I learned from this process
- My husband Ken is the absolute best. If you're taking on a project of this magnitude you need someone who supports your dream (financially and emotionally).
. - Home renovation is all about the long game. You can't fast forward through the gritty parts like they do on HGTV.
. - Plan to make mistakes. I made a lot, but I also learned so much!
. - Map out your plans as much as possible ahead of time. Graphing paper, Pinterest boards (here's mine for this office), the works. But your dream board is probably going to evolve as you go/grow.
. - Be flexible. The good part about a room transformation taking a long time is that you have time to change your mind!
. - Take breaks. I spent an entire week making things from wine crates instead of working on the office because I needed something with the promise of instant gratification.
. - Try to finish your original project before starting another one. I'm always tempted to start ripping something else out once the original room is in working order. It only adds to the stress when I do, though.
. - And lastly, don't be afraid to start over. There's a tutorial for pretty much everything on the world wide web somewhere. Seriously. If you have the vision and some great ideas, go for it!!
.
To see where it all started...
Click the links below to travel back in time.
.
--Inspiration photos, dream board, and my overly optimistic plan to complete this reno in one month
.
--A realistic update one month in
.
Guys, I think I've earned a drink.
Cheers,
Erin




Leave a Reply