This post is long overdue, mainly because I've fallen into the vortex of home renovation!
There have been lots of late nights spent painting, and trips to the lumber store, and self doubt as to whether this was the worst idea ever.
On the bright side, I now have the quads of a triathlete from carrying strips of plywood up and down the stairs for cuts and recuts!
As I write this it's the end of week 5, so let's get to it. Also, I'm lying in bed with a nasty cold, so let's keep it brief.
..
Total spent to date
Total spent is $405.46.
About $158.13 of that was in lumber. The rest was for paint (lots of paint), electrical box extenders, caulk, nails, etc.
This cost includes new baseboards, shiplap, and new trim around the window/closet/main door.
.
Progress Photos
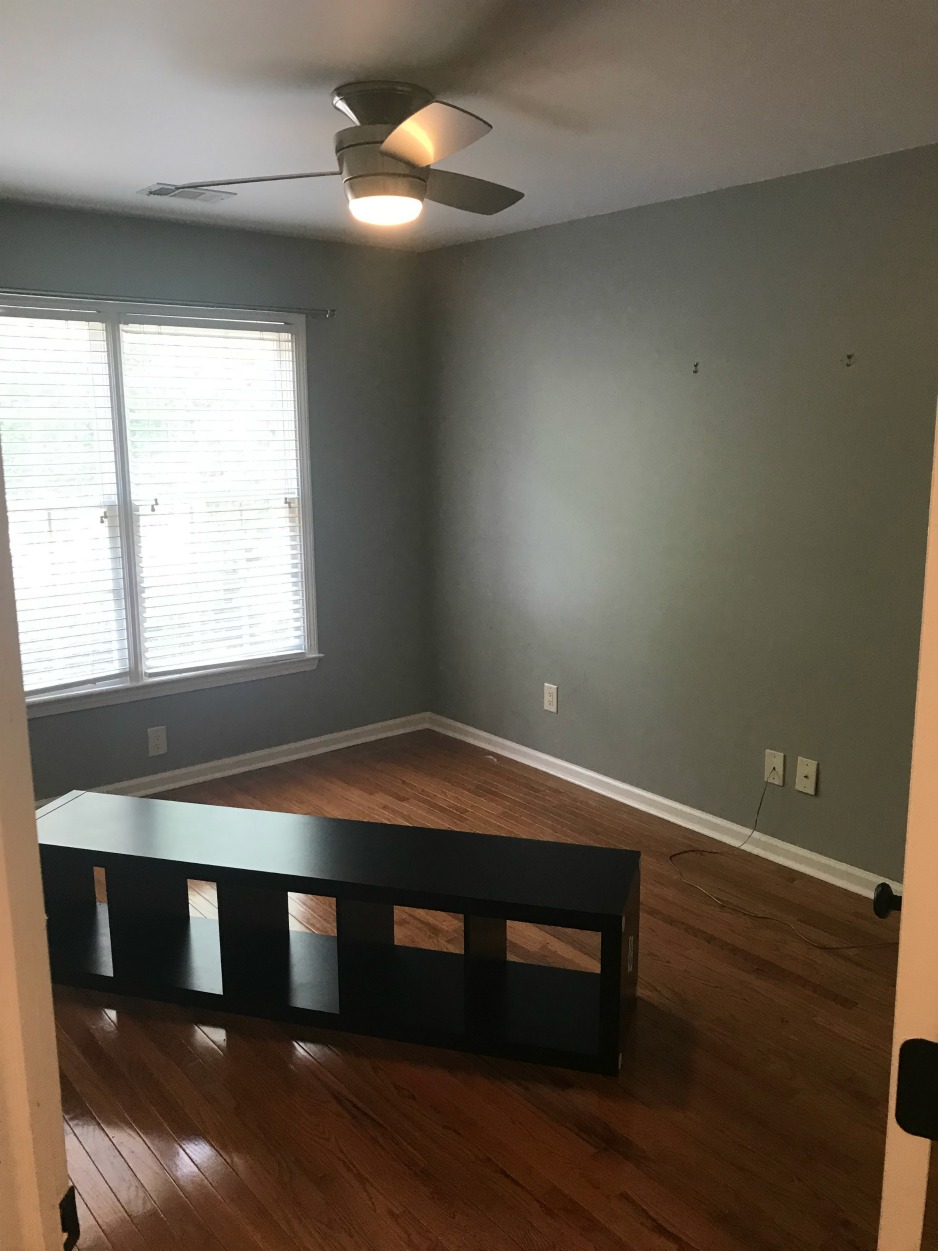
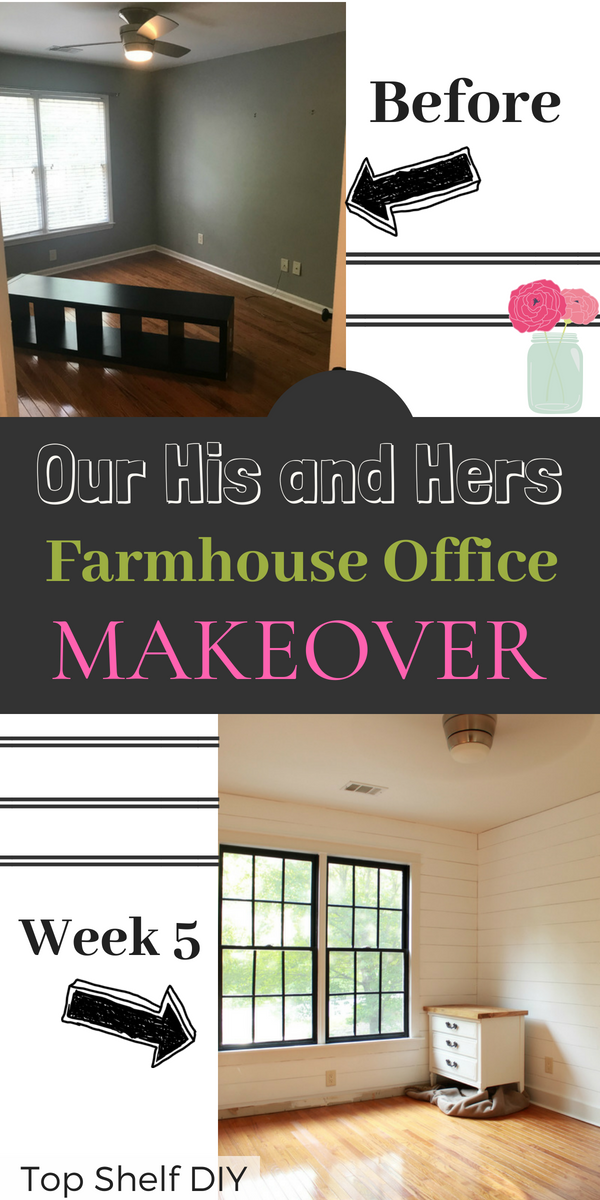
To recap, here's what the office looked like when I started:
.
.
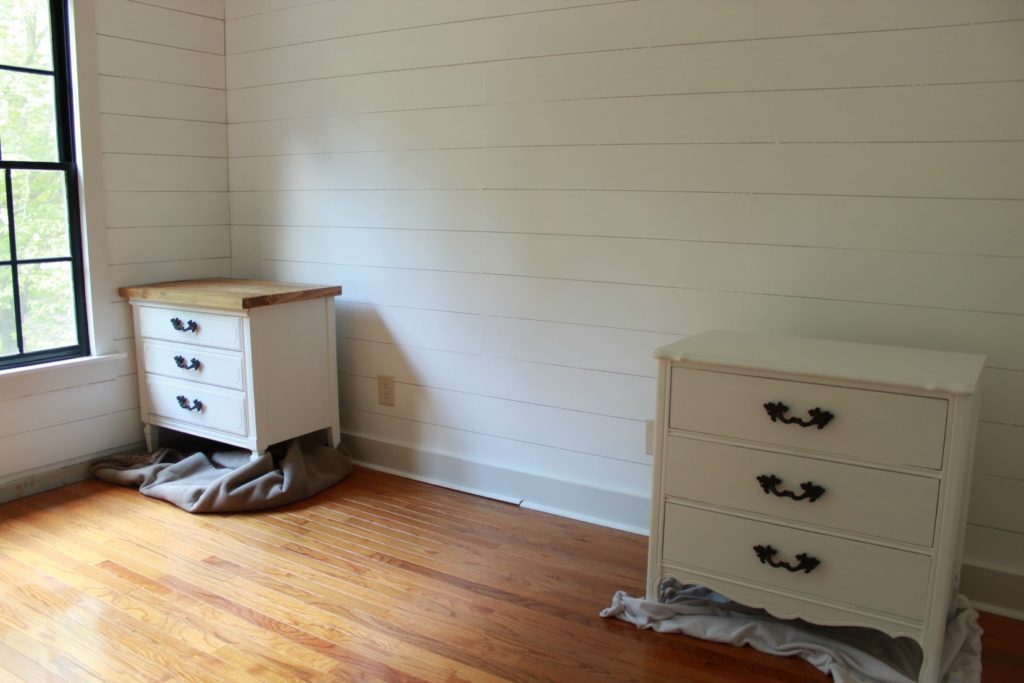
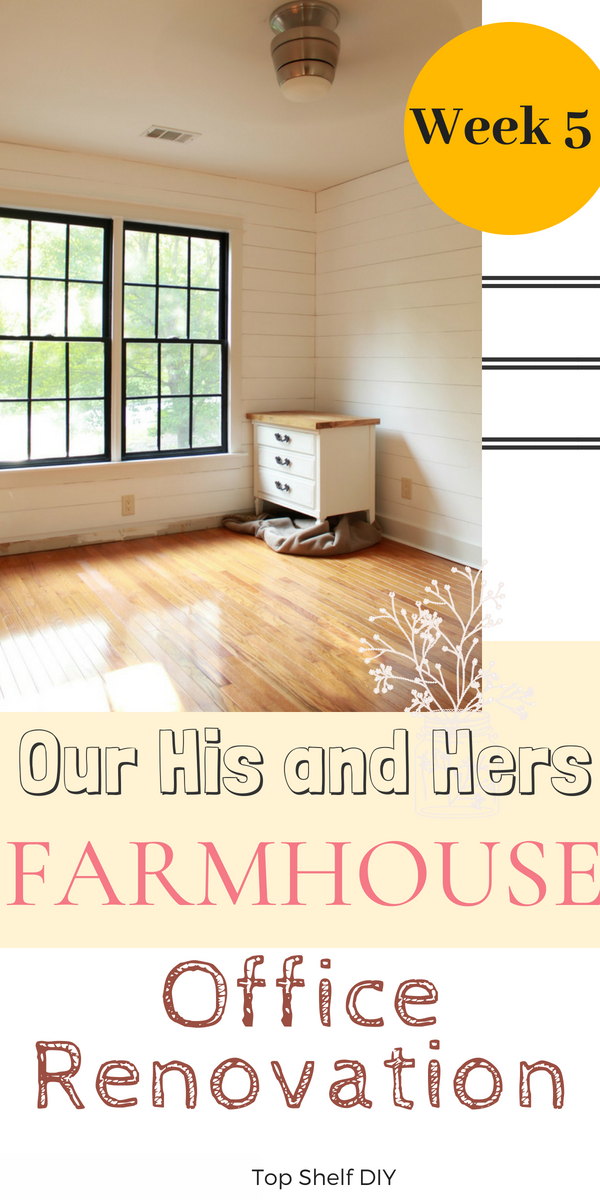
Here's what the room looks like today:
.

.
Here's the a view of the closet on the opposite side of the room:
..
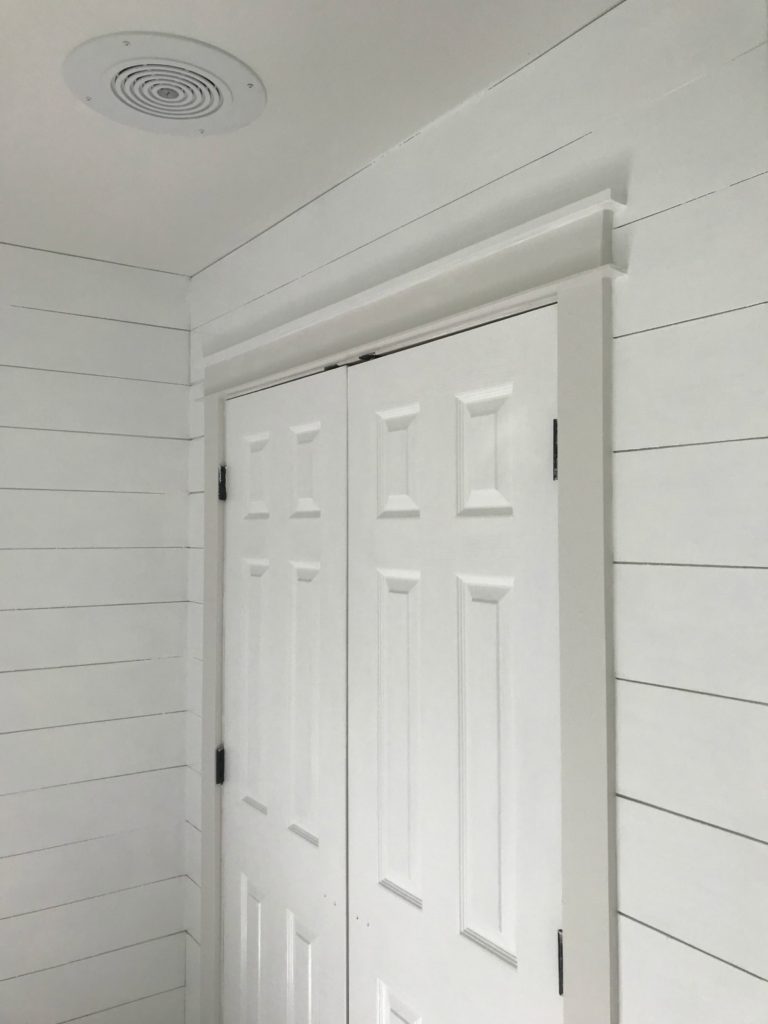
A better view of the door trim.
You may remember from my first post that we were toying with the idea of using matching nightstands as the frame of a desk. Today we realized the space underneath would be too small for the two of us. So sad 🙁
.
.
Remaining Items
repaint the room a lighter colorinstall craftsman-style window trimfaux ship lap for every wall except the wall opposite from our desk, which will only be a half wall of shiplap.new baseboards(partially complete as I need to wait for the bookshelves to go in)- remaining trim: ship lap inside and outside corners (waiting on the baseboards and crown)
- crown molding (waiting on the bookshelves to go in)
- a dual-desk layout since my husband occasionally works from home
- ikea storage (Alex units) underneath a DIY desk in walnut Minwax stain
OR find a French Provincial side table to match the one we already have!These would go under the desk surface to hold it at the correct height (30-31 inches because we're tall). - Built-in Ikea bookshelves on the opposite side of the room
- Closet storage for my craft supplies, sewing machine, and serger.
- Stenciled wall in the closet to make it pretty
Our current closet situation:
.
what good is a closet without shelves?
.
What I've Learned So Far
- Shiplap is not technically difficult, but it is time consuming. It took me two weeks to finish the install and painting process (click the link above to see the final product!). That said I still believe it's worth all the headache and heartache in the end.
. - My process for doing the endcap on quarter round trim (the little toe kick on your baseboard) is better than the tutorials I've researched. I'll be sharing a tutorial for that in the near future.
.
 .
. - Clearly this is going to take me longer than the 6 weeks I had set aside for this room. I'm okay with that. I think in the end it's better to take your time and do it right, especially when you're doing a project mostly by yourself.
In case you missed my first post with my dream board inspirations, you can see that here.
--Related: My Easy Measuring Hack for Installing Craftsman Trim
Also,
--The His and Hers Farmhouse Office Reveal
.
Thanks for following along!
Cheers,
Erin


Leave a Reply