Have you ever wanted a custom closet?
Keep reading to see how I installed shelving and drawers in our bare office closet for about $450 in materials!
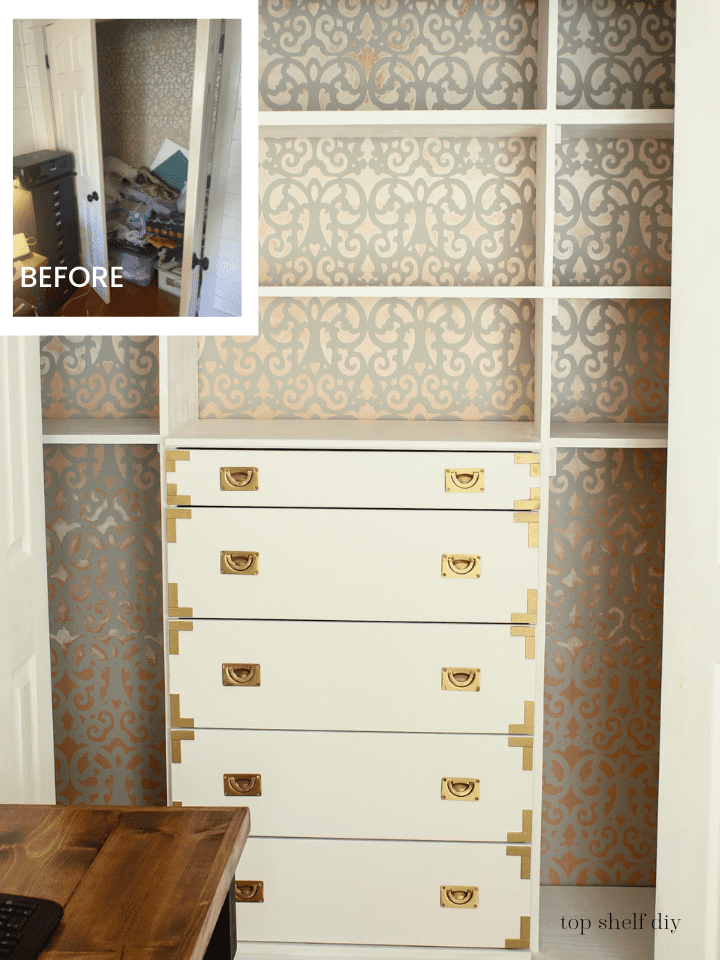
Planning
The first step in any closet project is to empty out the space and categorize what's going back into storage. Then, you'll have a good idea as to how much space you'll want between your shelves.
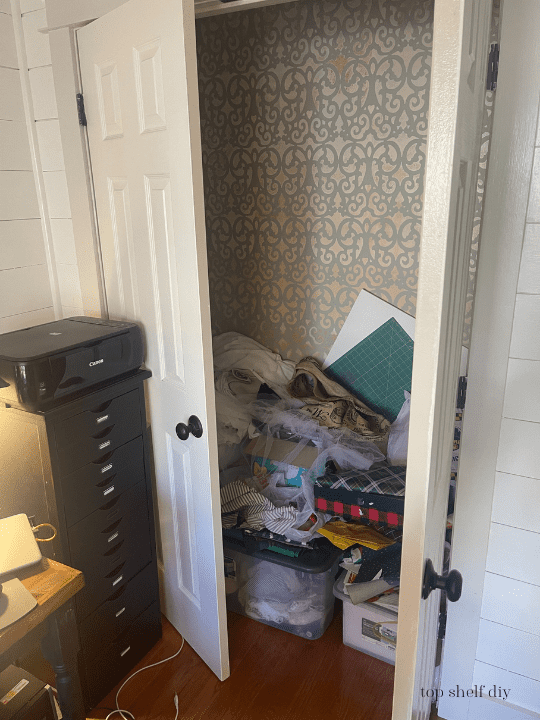
To recap, I stenciled the wall in this closet four years ago as part of a Farmhouse Office Makeover wherein I added shiplap, built-in BILLY bookshelves, and a three-part custom desk using the Ikea Kallax as the base.
After all those other projects I was exhausted and needed something new. So, the closet pretty much looked like this until I mustered up the energy to tackle the space:
Once I emptied out the closet, I came up with a plan and sketched things out in 3D using Sketchup.
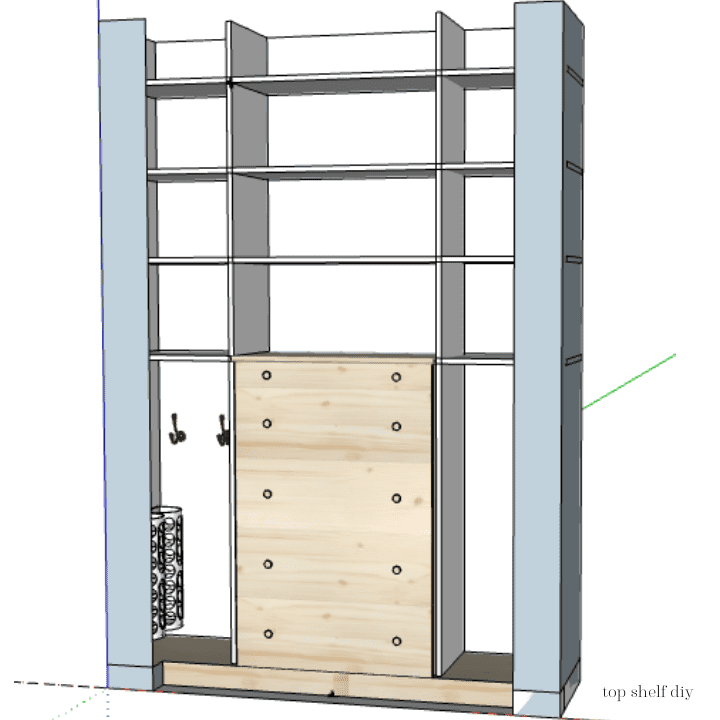
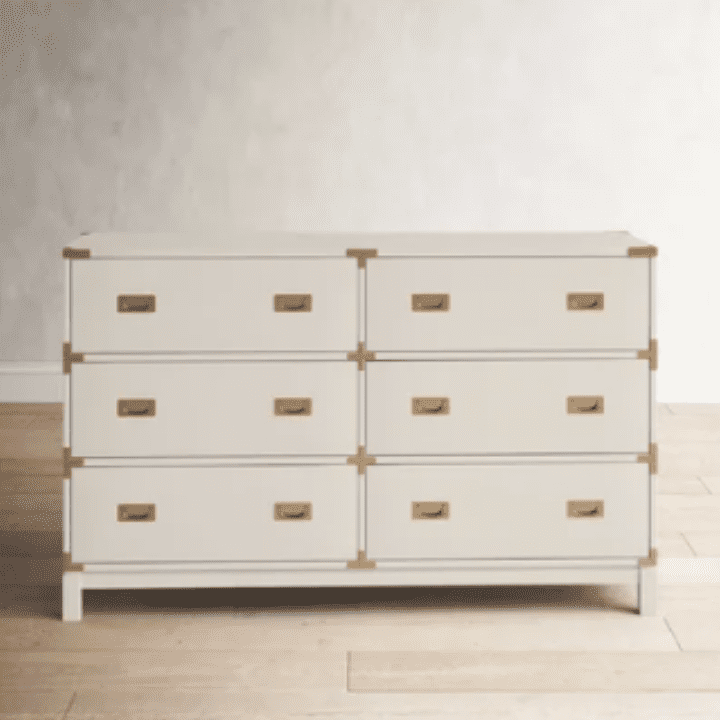
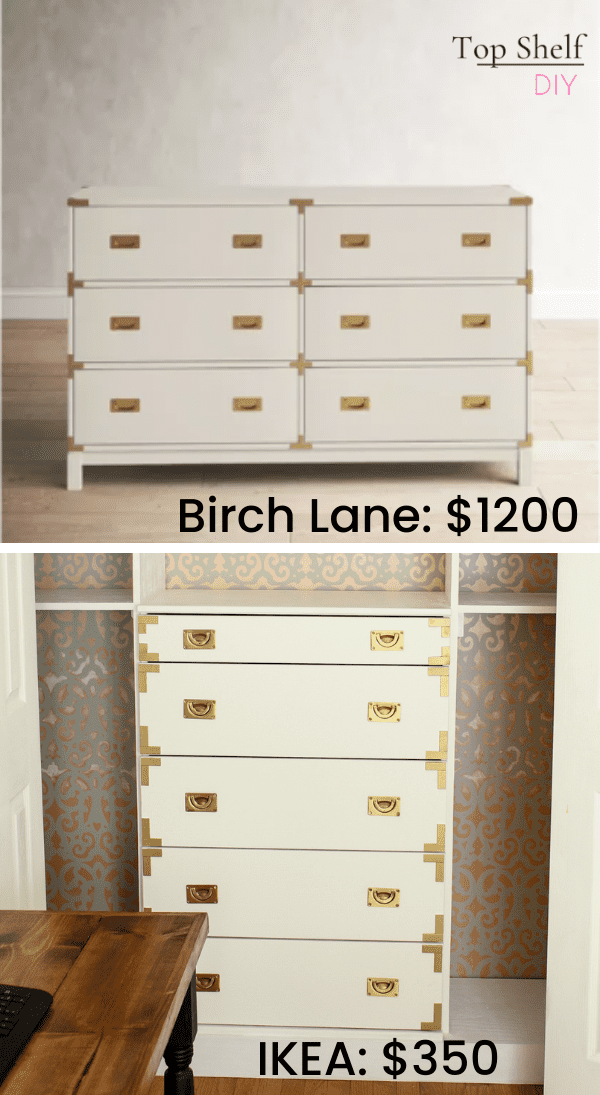
Front and center was the ever-versatile Ikea TARVA, which I planned to use for storing scrap fabric. I wanted to incorporate a high-end design for the drawer fronts, so I took inspiration from this $1200 Birch Lane dresser.
Tools
- Miter saw
- Table saw
- Router with plunge bit
- Drill
- Impact driver
- Nail gun
- Caulk gun
- Hammer + nail set
- Kreg jig
- Screwdriver
- Level
Materials
- White latex paint (I used a flat finish for the drawer fronts and a semi-gloss for the shelves).
- Paint brushes/roller
- Paintable caulk
- Wood filler
- 2" brad nails
- 2" and 3" wood screws
- 180 and 220 grit sandpaper
- Ikea TARVA
- Recessed gold hardware
- Aluminum strips
- Rustoleum Gold spray paint
- Loctite construction adhesive
- 2x4 boards (platform)
- 1x2 pine (ledger for outside shelves)
- 3/4" plywood
- 3/4" thickness wood ripped to 3/4" wide for the face trim
Construction
Start by removing the existing baseboard. You won't be reusing it, so just have at it. Next, you're going to build a platform of sorts using 2x4 pine. Once you've got your general frame built, cover the top with 3/4" plywood to build a steady base.
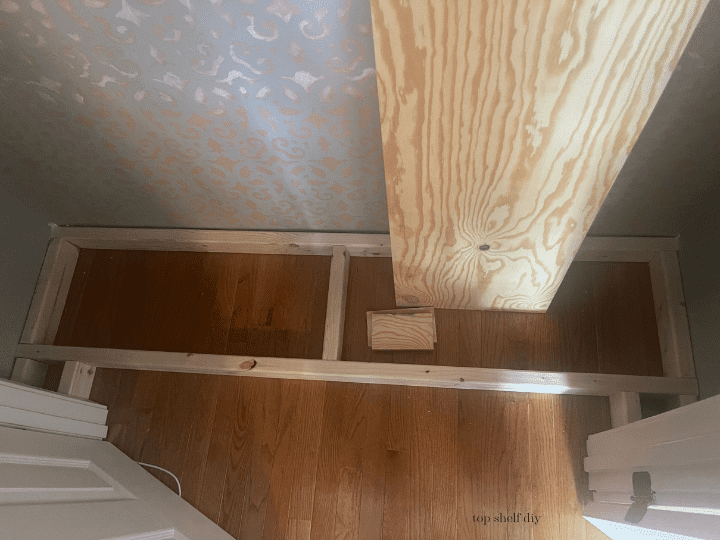
The Ikea TARVA is exactly 15 3/4" deep, so that's how deep I made my platform.
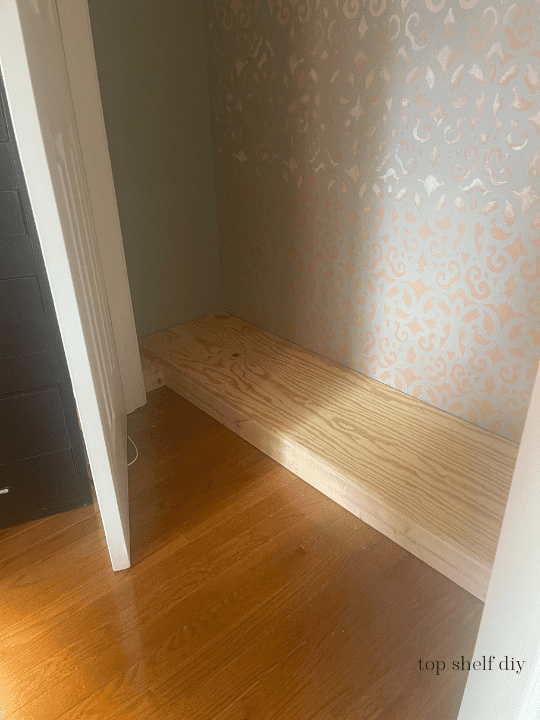
Assemble the dresser carcass. Set in place. The TARVA comes in two large boxes; one for the carcass, one for the drawers and hardware.
Set the drawer fronts to the side. Using a router with a plunge bit, route out a groove for your recessed hardware. I took a bit of playdough from my kids' collection and squished that into the hardware to create a template. I traced the template onto a piece of construction paper and practiced routing out a space to the correct depth on a piece of scrap wood.
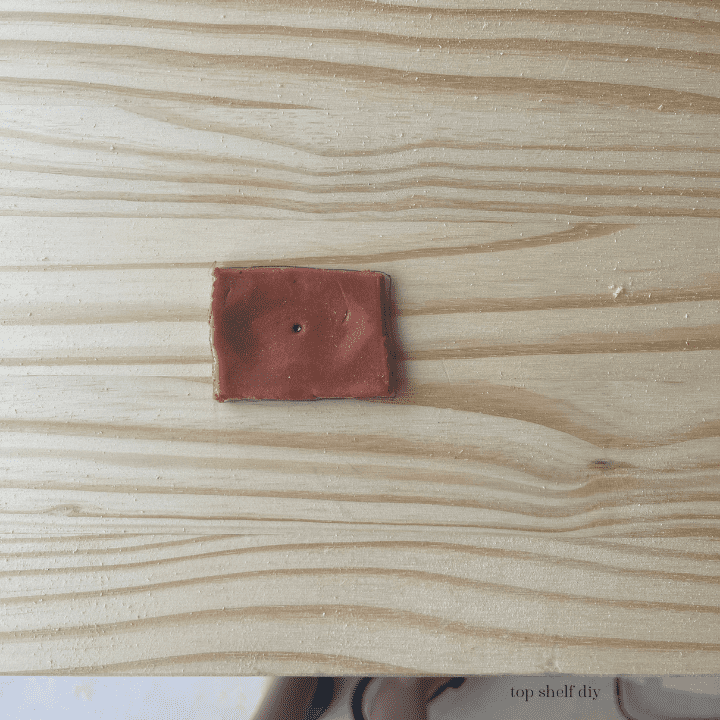
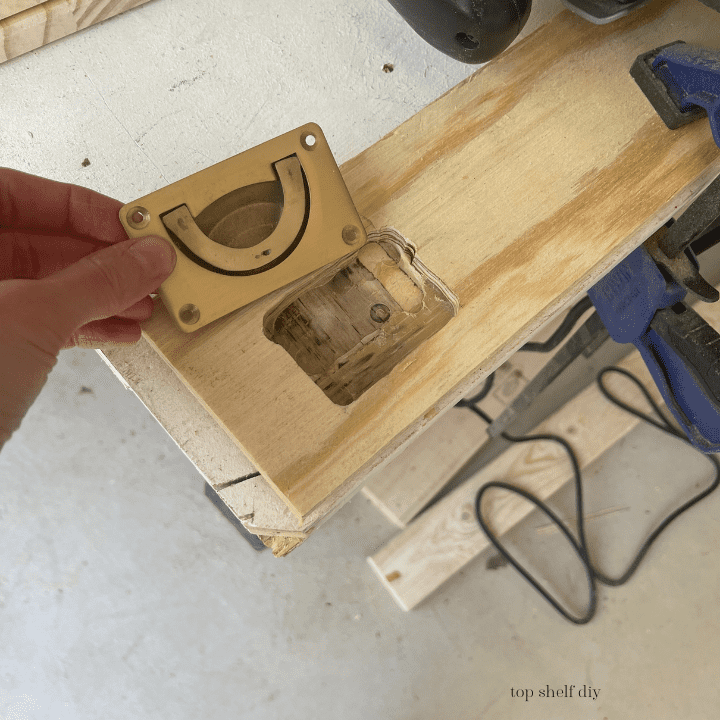
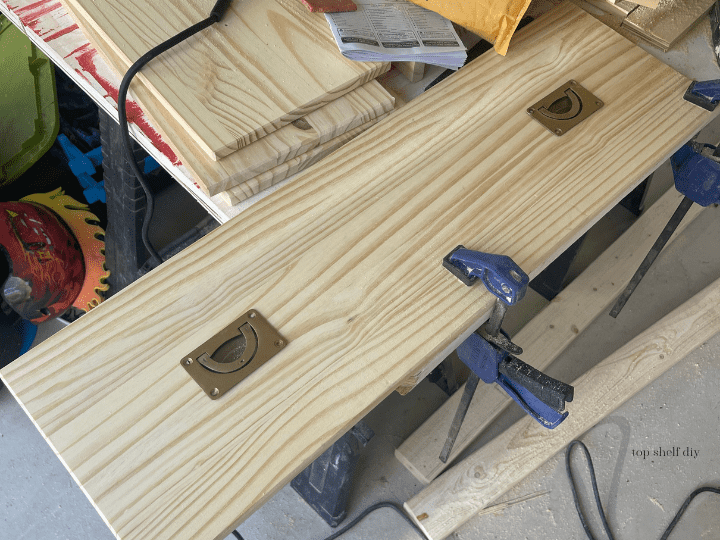
Once I had all of my hardware holes routed, I painted the drawer fronts and let those dry.
Next, I bought some basic aluminum strips at Home Depot and spray painted them gold. Fun fact, you can cut aluminum with a basic miter saw just like I did with this aluminum tubing for my bar cart!
I cut the aluminum into 2" strips and glued them to my drawer fronts using Loctite construction adhesive.
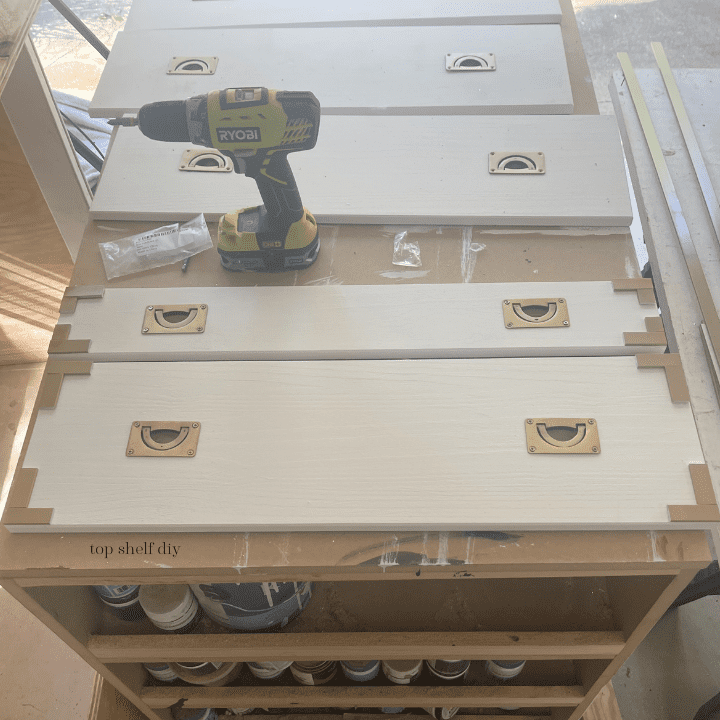
While your drawer fronts are drying, secure your shelves. I started by drilling two tall pieces of 3/4" plywood into the sides of my TARVA.
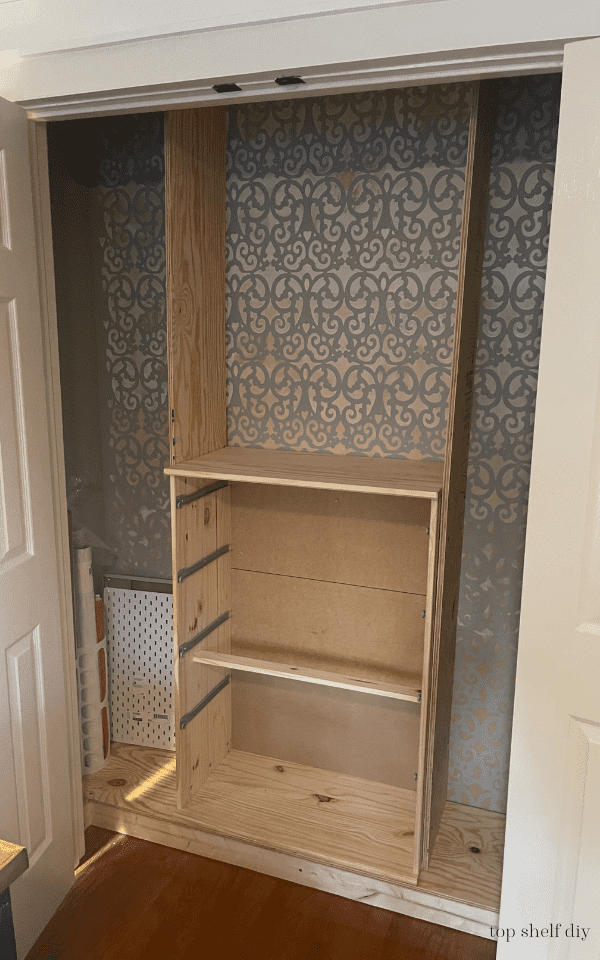
Then, I secured the middle shelves by drilling them directly into these pieces with 2" screws. The remaining shelves were cut to width and held in place with ledgers made from scrap pieces of 1x2 pine.
The last major step in the construction process was ripping pieces of plywood to 3/4" thick and nailing them to shelf fronts with a brad nailer.
I patched all holes with wood filler and sanded smooth. Then I caulked all the seams where the shelves met the other boards.
A few coats of white paint later, and things were looking pretty good!

And here is the closet filled with craft supplies, gift bags, and Christmas wrapping.
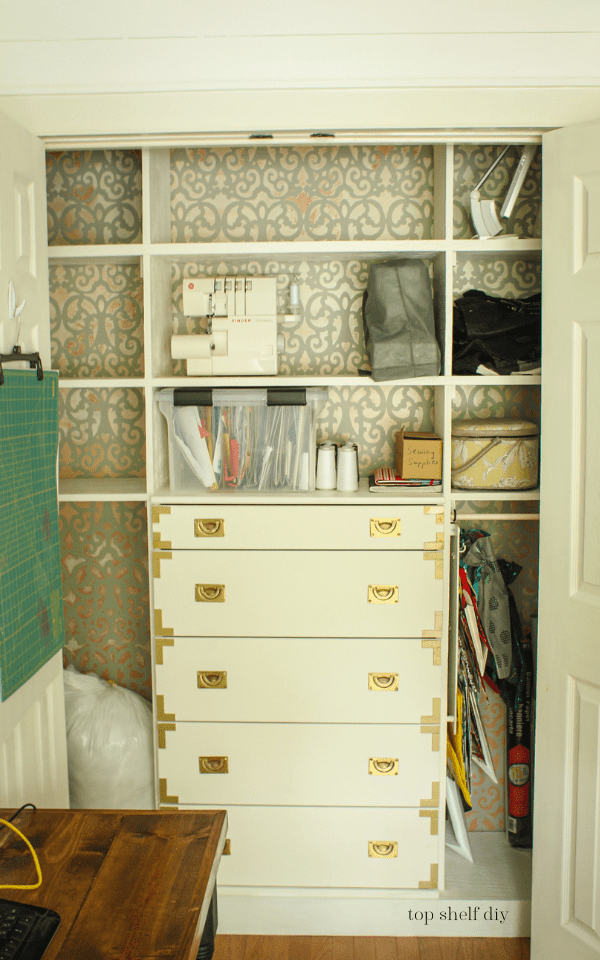
Now you see how easy it is to add closet shelving!
Cheers,
Erin


nice