I've encountered a lot of ugly outlets in my lifetime. In fact, I'm so accustomed to ugly outlets that I've practically gone "nose blind" to them.
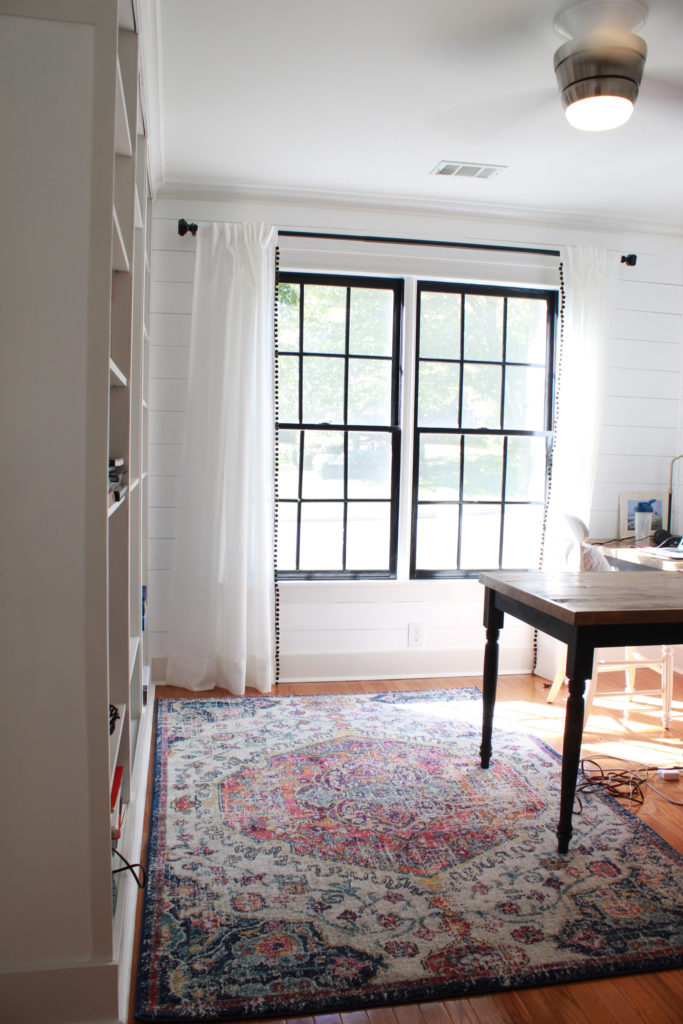
It's only when you upgrade a room that you start to realize just how ugly your outlets are by comparison. This was true in our His and Hers Farmhouse Office, where our walls went from sage green to Behr's Ultra White.
You can bet those builder grade outlets bothered me when I pulled them off to paint and then again to add faux shiplap, but I couldn't justify the expense. I had already spent a lot upgrading the room, so I crossed my fingers and hoped no one would notice.
Kind of like the buying new makeup once every 5 years...whoops.
About a month after installing shiplap, The Legrand radiant® collection reached out to me for a product review.
I nearly fell out of my chair.
.

It was both amazing timing and amazing trust, knowing that I'm not a licensed electrician, contractor, or anyone special really.
Disclaimer: I received outlets and face plates free of charge from the Legrand radiant® Collection. All opinions are 100% my own.
I'm happy to report that I figured it all out just fine managed the installation process with the help of an electrician. Electricity is a tricky trade because no two outlets are the same, and you can't always understand the reasoning behind why someone wired something a certain way, so in other words, proceed with caution.
Despite the work involved, the screw-less facade and low profile plates complement the bright, minimalistic style of our office. They actually mimic the look of shiplap. They also tie in perfectly with all the new tall baseboards, moldings, and window trim.
I no longer cringe when I see outlets in my office progress photos...
.
.
I like to compare crown molding to the decorative icing on my cake and shiplap to the rolled fondant holding everything together. Your outlet covers are the tiny little swirls running along the fondant -- pretty, understated, yet a key ingredient to your finished look.
To demonstrate how easy it is, here's how I installed 5 new GFCI receptacle outlets. While I technically didn't need GFCI receptacles in an office (it's more for preventing ground faults in the case of moisture or a leaky appliance), I wanted to test one of their harder installs to make sure it wouldn't be too complicated for a non-electrician.
Mid-progress addendum: I had to call in an electrician! I found an extra wire running behind my light switch and I didn't want to cut anything. When in doubt, call in the professionals rather than run the risk of electrocution!
.
How to Install a Legrand GFCI Outlet
Supplies
- one tamper-resistant GFCI outlet and matching face plate
- phillips screwdriver
- flat head screwdriver
- flat-nose pliers
- handheld voltage detector
.
Directions
Step 1: turn off the main power supply to your room at the breaker box.
I like to turn on the lights in the room beforehand so I know I've hit the right switch. If you're not 100% sure, test the outlet using a voltage detector. It will beep and flash red when held up to a live outlet.

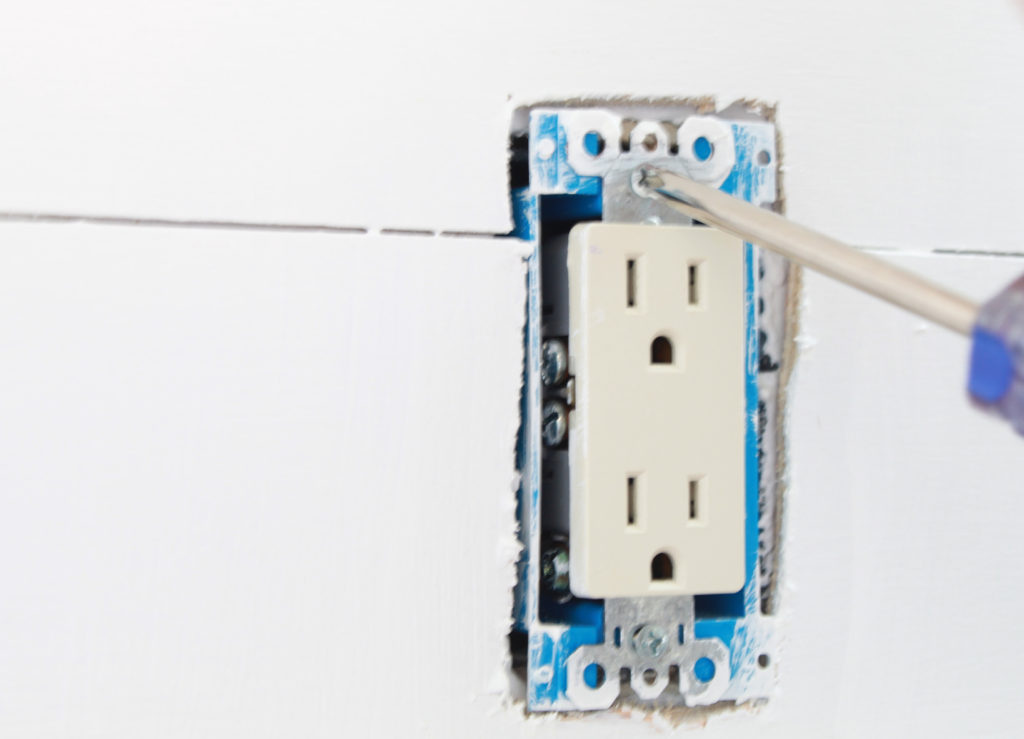
Step 2: Remove the face plate.
Then unscrew your outlet to determine how many wires are back in the electrical box.
As above, you'll want to identify which cables are your LINE cables and which are your LOAD cables. I did this by detaching one cable line consisting of a black wire and white wire. Before turning the power back on, plug your outlet into a lamp.

Turn the power on and see if your lamp can be turned on while plugged into your outlet. If it can't, then your disconnected wires are your LINE wires. If it can, then your disconnected wires are LOAD wires.
Turn your power back off.
Open your outlet again to expose your wires. Label your LOAD wires and LINE wires.
Your GFCI receptacle will say LOAD and LINE on the back. Attach the corresponding wires to the proper places and then secure them by tightening the screws on the sides. The pliers will help with this. Do the same with your grounding wire to the green screw at the bottom of the receptacle.

Straighten the ends of your wires, being sure to leave enough exposed wire according to the length specified by your strip gage. Insert straight ends of wires into the back of your new outlet as depicted below.

.
Once your new wires are inserted, tighten the screws on either side.
Screw your new outlet in place.
Add your face plate, which consists of a small black frame and a screw-less plate that snaps into place over your frame.
Unfortunately the outlet was too wide for my existing extender box; luckily, I found I could get a tight fit between the face plate and the shiplap without even needing an extender box as long as I used long screws to secure the outlet.
.

I love that these outlets are tamper-resistant because my 2-year-old was trying to get in on the action when he saw me installing these!
Here are a few more shots:
.

.


.
.
For more product information visit Legrand online or check out your local Lowe's to see the radiant collection in person.
.


great ideas