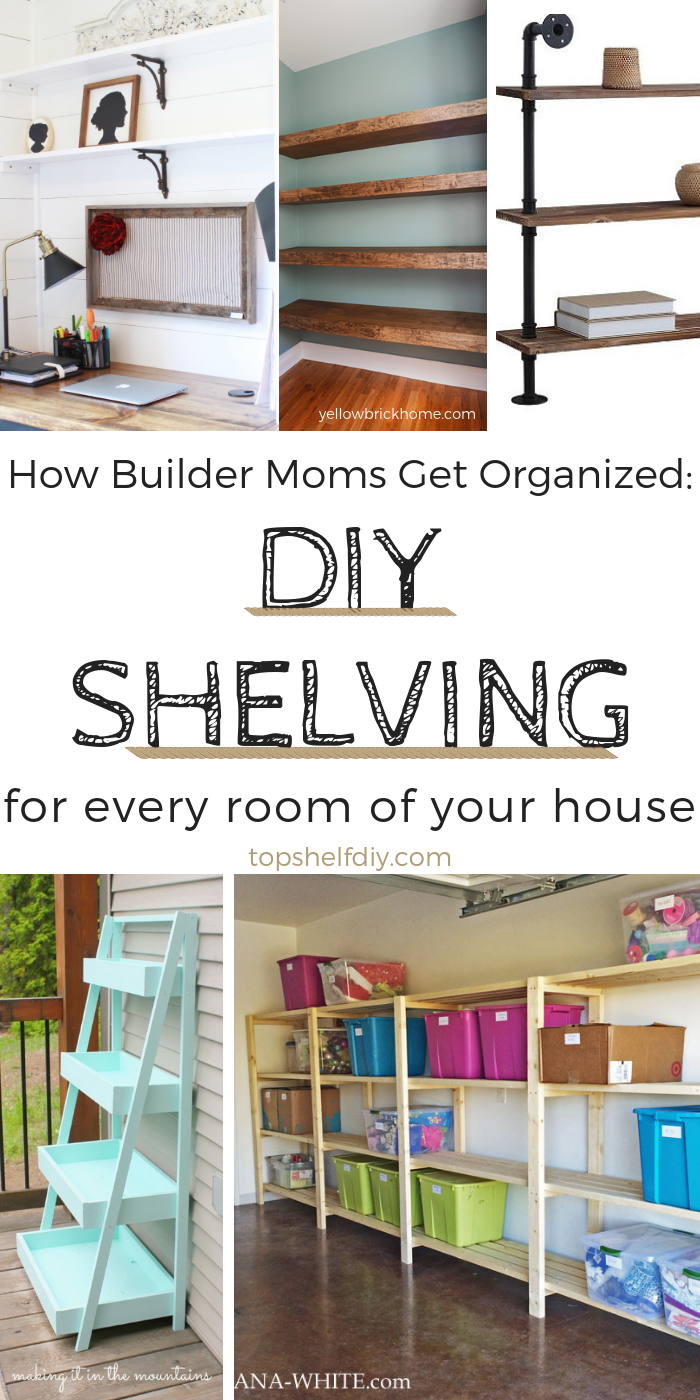
Basement clutter? Messy pantry? When it comes to hiding your crap, you can never have too many shelves.
How many ways can you build a shelf?
I’m pretty sure Mr. Tortoise from the tootsie roll commercial knows the answer.
Unfortunately I don't speak turtle, but the last 30 days have been a whirlwind of building shelves and shelf dividers (here and here) for myself, a friend, my nephew, my brother-in-law, and pretty much anyone named Tom/Dick/Harry.
Let’s keep it simple. If you look closely, you’ll see most shelving units are an offshoot of five basic designs. Once you’ve got these concepts down, you can apply them to any project. It’s pure magic!
Ready to find out? Let’s go!
Disclaimer: this post uses affiliate links for your convenience at no additional cost to you. For more info, see my disclosures.
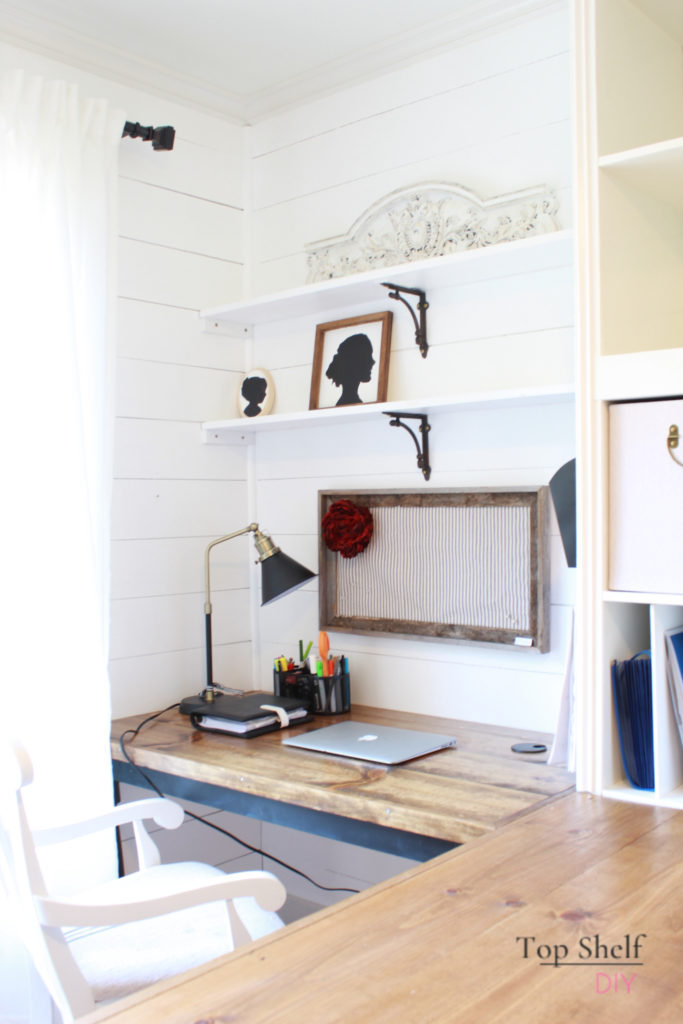
Option #1: Traditional Shelving
Using brackets and ledgers (or some combination therein) to support the weight of the shelf and its contents.
DIY Difficulty Level: Beginner
Cost: Inexpensive
To build the shelf above all you need is 1x8 boards (for the shelves), 1x2 boards cut to the same width, and iron brackets. Each 1x2 board serves as a ledge or "ledger." Make sure you drill your side supports into the wall studs for maximum support.
The iron brackets were added purely for aesthetic purposes. But, these brackets could adequately support the entire weight of the shelf as long as they were secured to the wall studs or to the wall via drywall anchors.
I built something similar for my friend a few weeks ago.
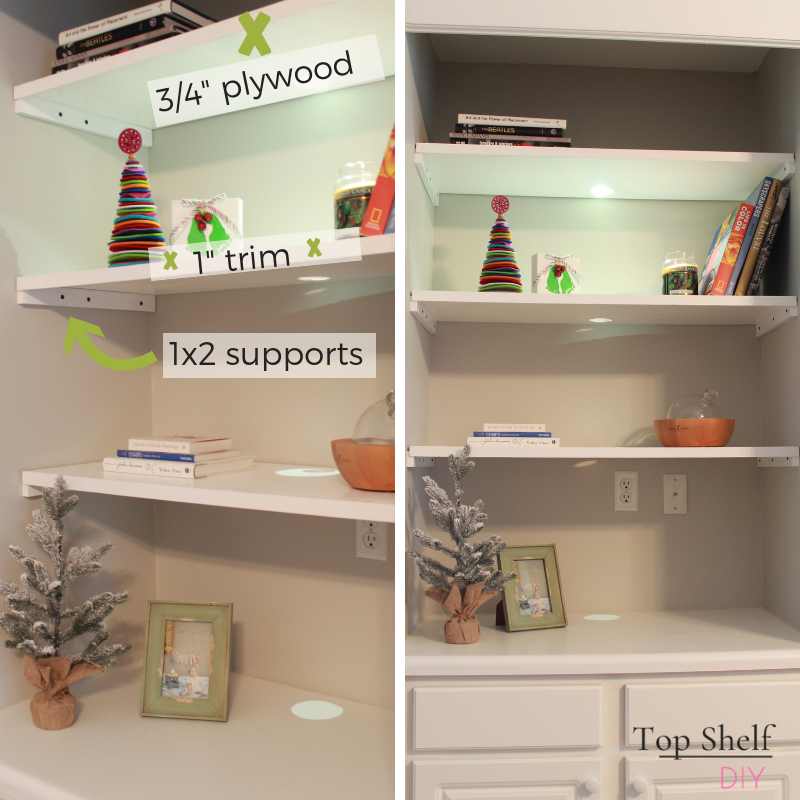
Make sure you build your shelves out of at least 3/4" plywood or your shelves will start bowing under the weight of books!
The side ledges were secured to studs. For additional support I could have built a ledge going along the underside as well. These shelves cost me around $50 to build, whereas the general contractor quoted my friend $150.
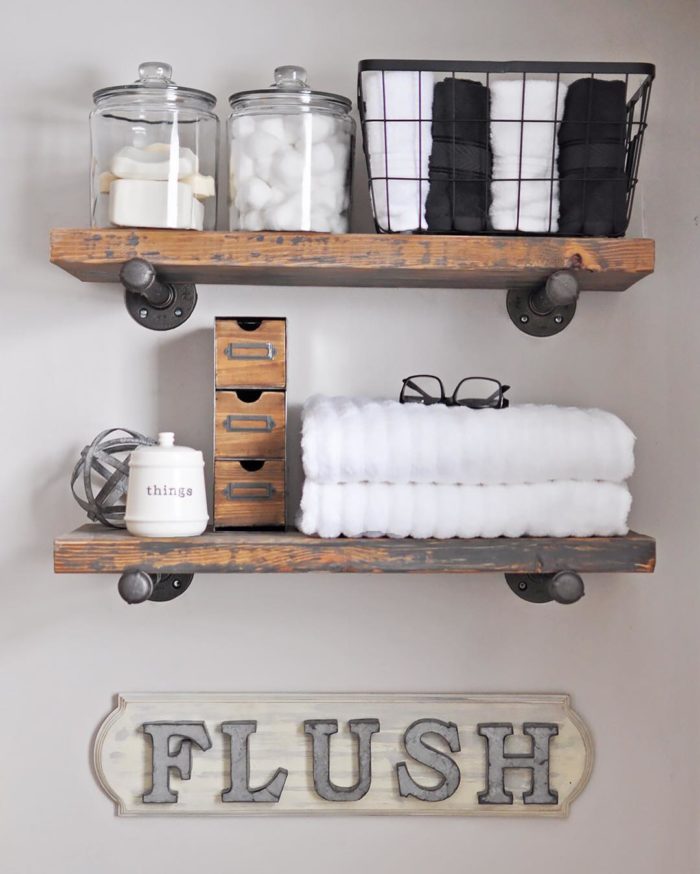
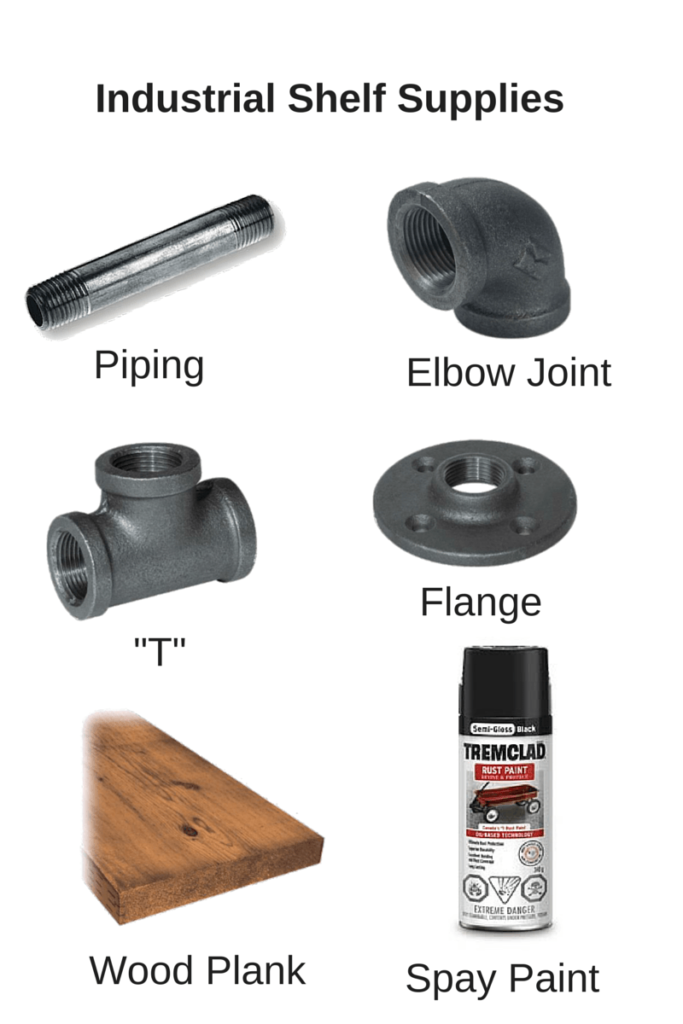
Another option in this category is to use industrial piping for your shelf supports. Iron pipe comes in 6" and 8" increments -- the 8" option is perfect for 1x8 boards (which are actually 7.25" wide).
Flange + industrial pipe + nipple = a thing of beauty. Ashley at Cherished Bliss does a great job describing the industrial shelf creation process!
Here's a different spin on the industrial concept from City Girl Gone Mom. Isn't this genius??
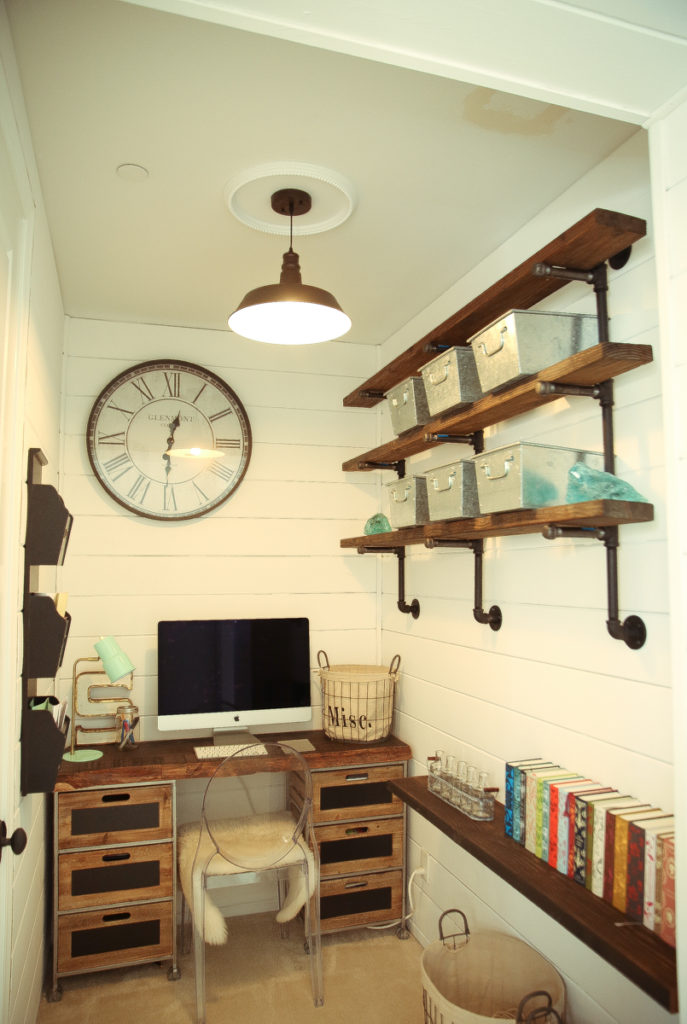
To recreate the look you'll need: industrial pipe, flange, nipple, and a "T" junction (also available in the plumbing section) threaded at the level of your shelf.
Option #2: Floating Shelves
Shelving units with artfully concealed wall supports.
DIY Difficulty Level: Beginner
Cost: Inexpensive
Sometimes we prefer our shelf supports to be heard and not seen.
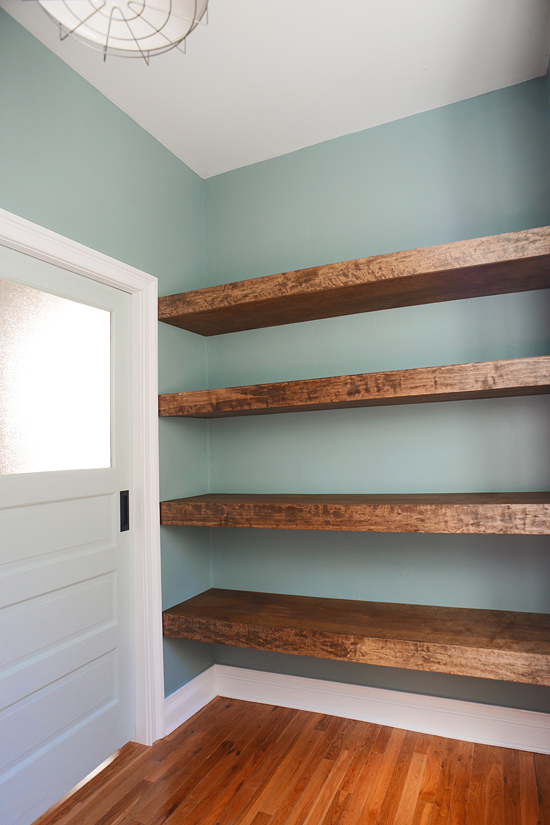
Kim and Scott at Yellow Brick Home made these awesome floating shelves by building a ladder frame out of 2x4s, then attaching plywood to the top and bottom. The front panel was made from beautiful aspen planks ripped down to 4".
You can visualize the process a bit better by seeing the framework.
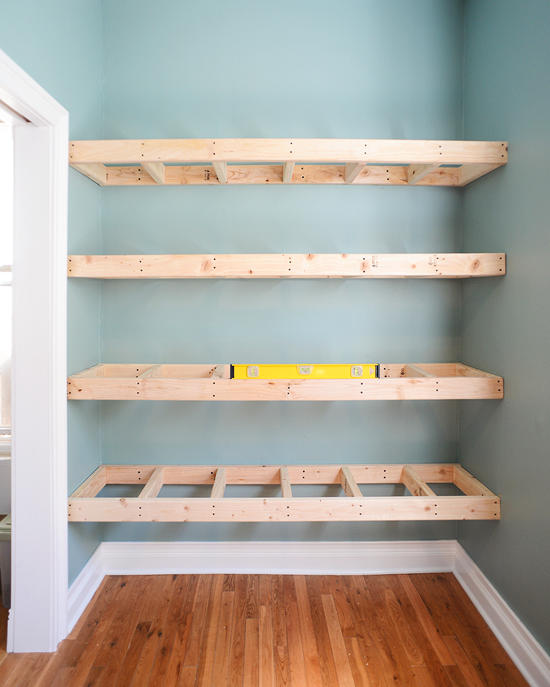
Sturdy, functional, beautiful, timeless.
Option #3: Free Standing Shelves
A shelving unit built independently of the wall. This unit may or may not be secured to the wall depending on placement.
DIY Difficulty Level: Beginner/Intermediate
Cost: Inexpensive
I'll be the first to admit that pre-fabricated shelving is a Godsend. Most crafters have a Kallax cubby unit (or five) jam-packed with essentials. I recently turned two Kallax shelving units into 8 feet of floor-to-ceiling storage, which provided loads of added organization.
BUT, there are times when pre-fab furniture just doesn't cut it. We need custom shelving to maximize our storage. Especially when it comes to closets.
Solution: build your own shelf out of plywood. See how Chris from Just a Girl Blog did just that? She assembled a bookshelf from pocket hole joinery and inserted that into her closet space. Then she added wall cleats for additional shelving along the side.
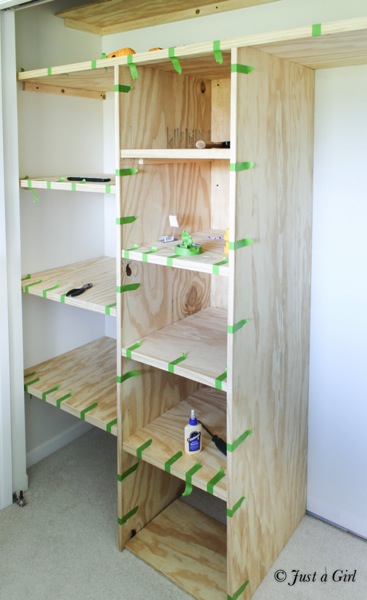
Get the full details on her custom closet process here.
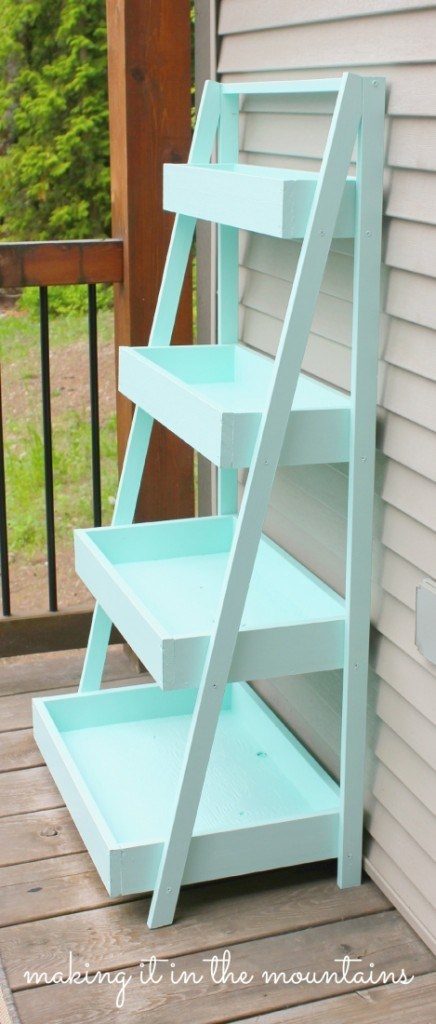
In case you're in the market for a ladder shelf, head on over to Making it In the Mountains for their full tutorial.
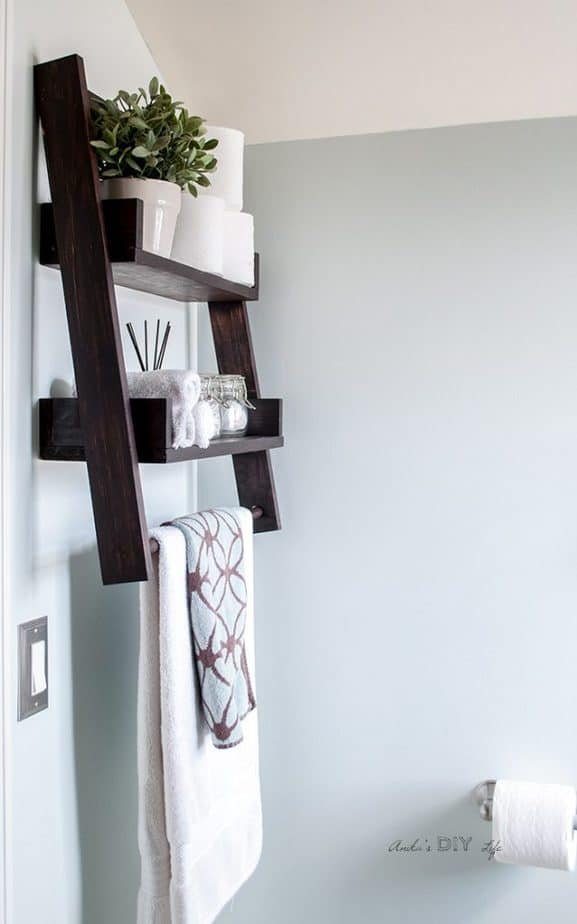
Want to mount your ladder shelf? No problem. Anika at Anika's DIY Life shows you exactly how to make one of these beautiful floating ladder shelves from scrap wood!
Option #4: Framed Shelving
Shelving built into an exposed wall.
DIY Difficulty Level: Intermediate
Cost: Most Expensive Option ($100-$200)
This is a great option for basements or recessed areas in your walls where the studs have been exposed.
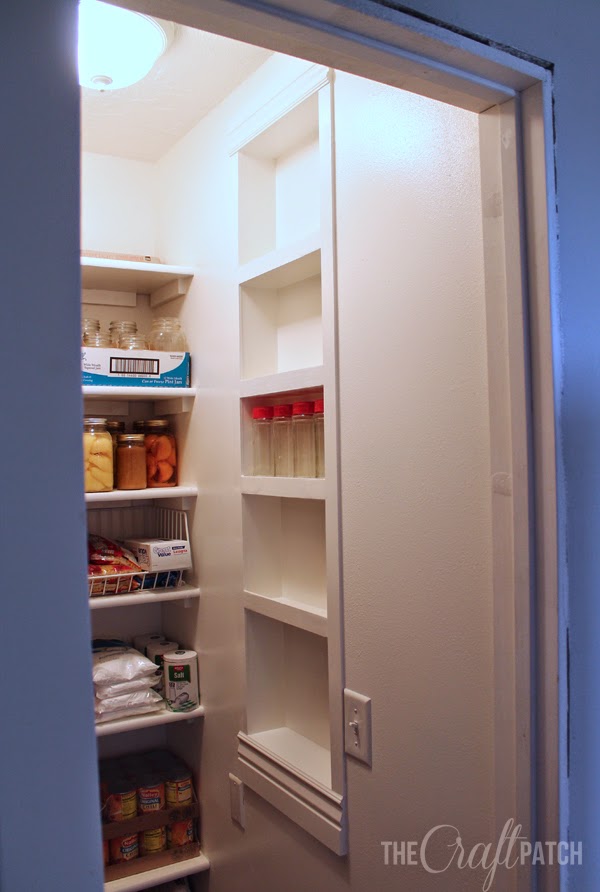
This week as I was putting away our Christmas decorations I realized I had nowhere to store our huge tote containers. I found the perfect solution via Ana White DIY and basically modified her plans for our tiny cement cave under the stairs.
Organized closets truly are a thing of beauty!
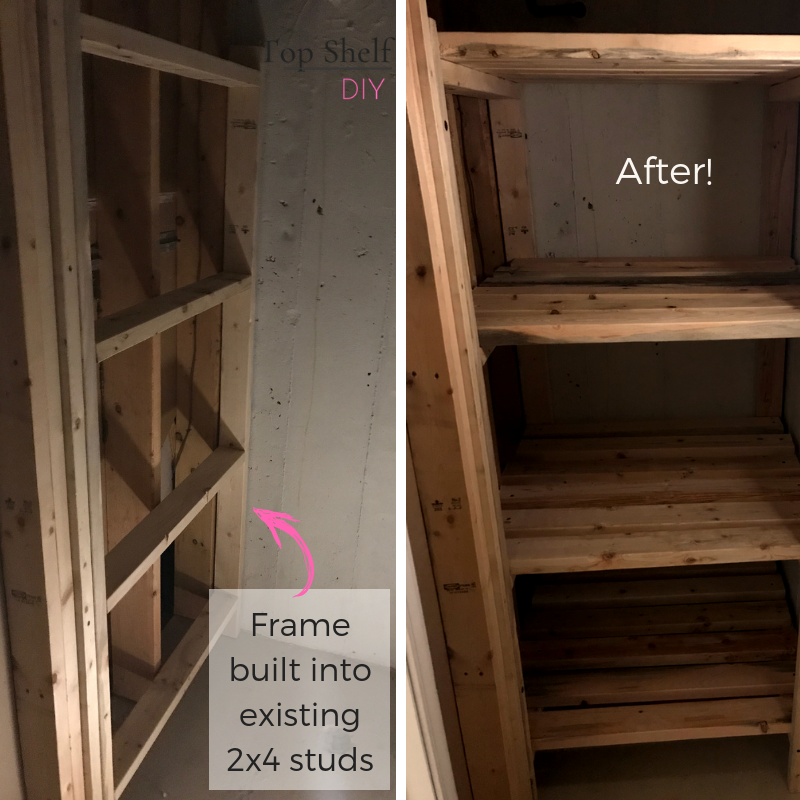
Here's how the so-called "Cave of Nothing" looked once I was done assembling the shelves. That is a whole lot more than nothing! We don't have electrical wiring in this space, so I simply added a $5 battery-powered push light.
I was able to put everything away with some space left to spare!
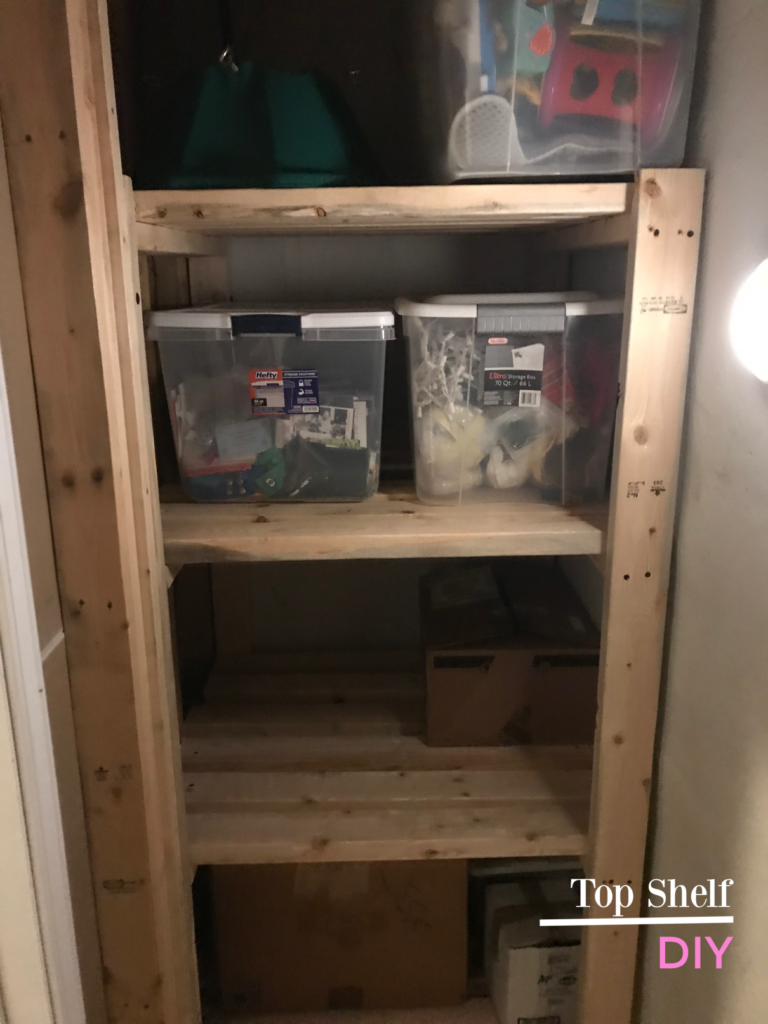
Materials needed for this project: a drill, self-drilling screws, and a ton of 2x4s. It only took me a few hours to assemble and it was a total storage game changer!
Option #5: Mobile Shelves
Shelving anytime, anywhere. Anyway you want it, that's the way we need it.
DIY Difficulty Level: Easy to Intermediate
Cost: Cheapest Option
Can you believe I forgot to include this option when I originally wrote this piece two years ago? I'm a huge fan of Ikea bar carts, including the RÅSKOG utility cart and the latest 2020 addition... *drum roll please*
NISSAFORS.
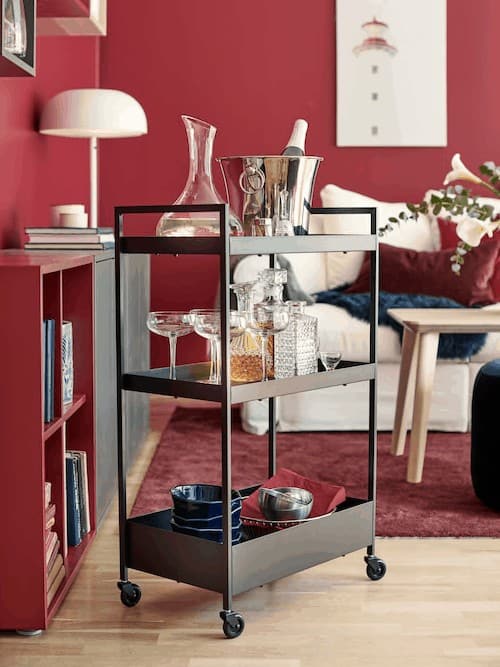
Mobile carts aren't just for home bars. They're great for craft rooms, offices, bathrooms, living rooms, playrooms, pantries... pretty much anywhere organization is needed. The RÅSKOG cart in our kitchen serves as a receptacle for my son's craft supplies in order to free up space on our kitchen table.
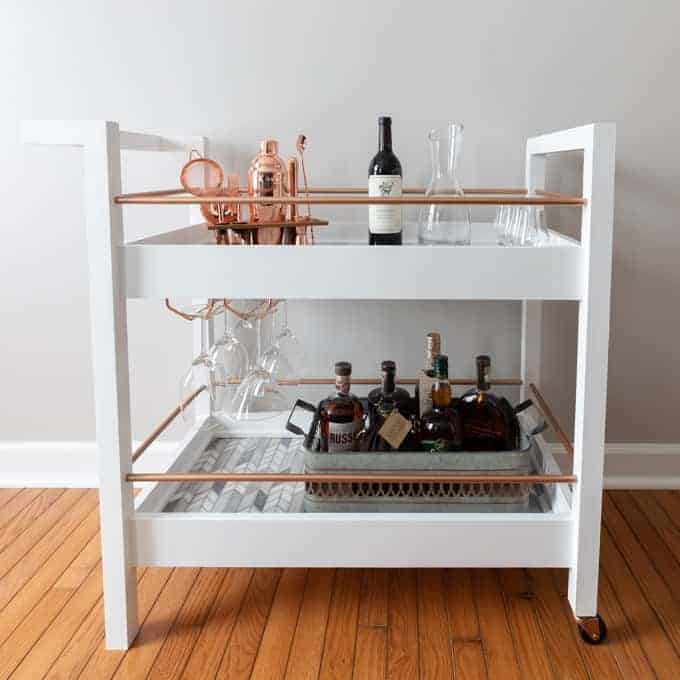
If you'd prefer to go the DIY route with your mobile shelving, here's a great tutorial provided by Hannah at Handmade Weekly with FREE woodworking plans.
Next on my agenda is building shelving for our stenciled office closet, which will need to hold my sewing machine, serger, fabric scraps, craft supplies, and random household documents. I'm feeling pretty confident about this project after a solid month of shelf building!
In a strange twist of fate, Top Shelf DIY is morphing into a blog about...shelves??
Would love to hear how you're planning to get organized for the new year! And as always, feel free to ask questions below or in the Top Shelf Handywoman Facebook Community. We'd love to have you!

Leave a Reply