Two weeks ago I challenged myself to 7 DIY projects in 7 days. It was quite possibly the smartest dumbest thing I've ever done.
But hey, I did it. And while it wasn't fun to sacrifice my sanity or personal needs (showering), it was a great excuse to challenge myself with some new projects.
To help me stick to my goal, I made a plan at the start of the week. It looked something like this:
Day 1: An Oily Shelf (get the full scoop here)
Day 2: A Farmhouse Tool Caddy (tutorial available here)
Day 3: A Decorative Vase (tutorial here)
Day 4: A Herringbone Tray
Day 5: A Lantern
Day 6: A Drop Leaf Table for my son's play kitchen (tutorial here)
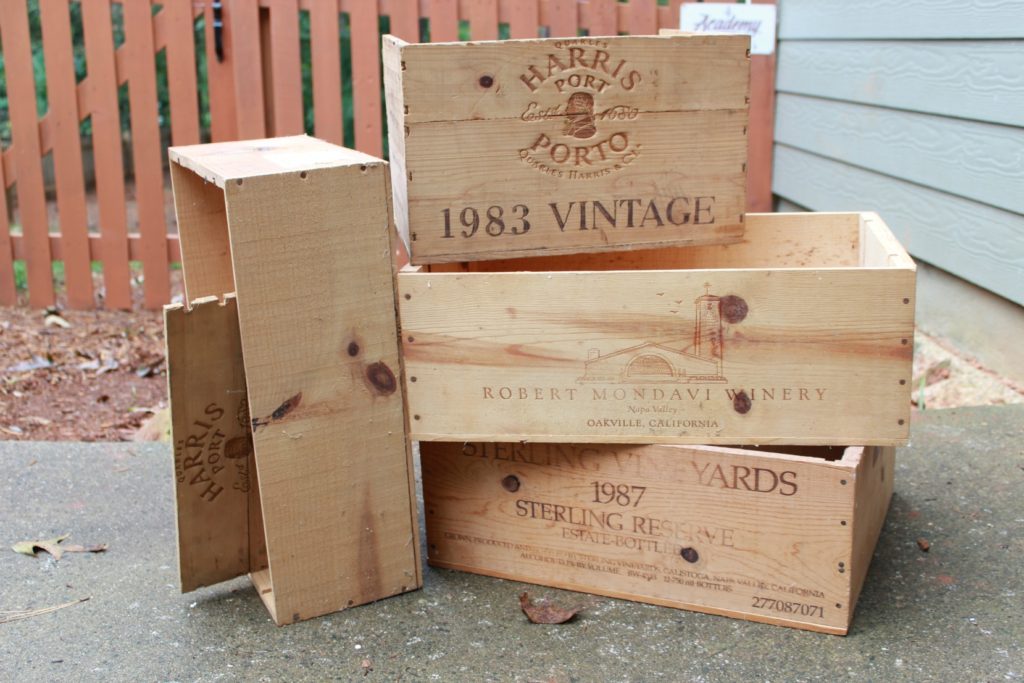
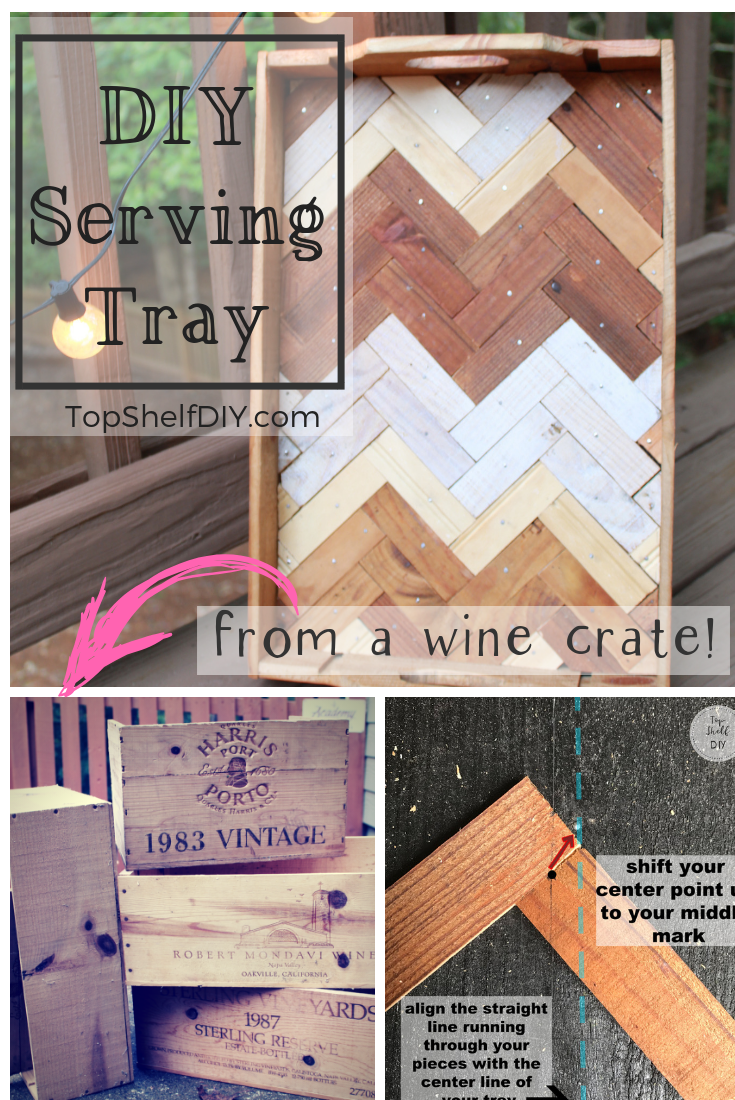
And while part of the challenge was to use only what I had in my garage, this included a huge pile of wine crates that I found on Craigslist months prior.
.
.
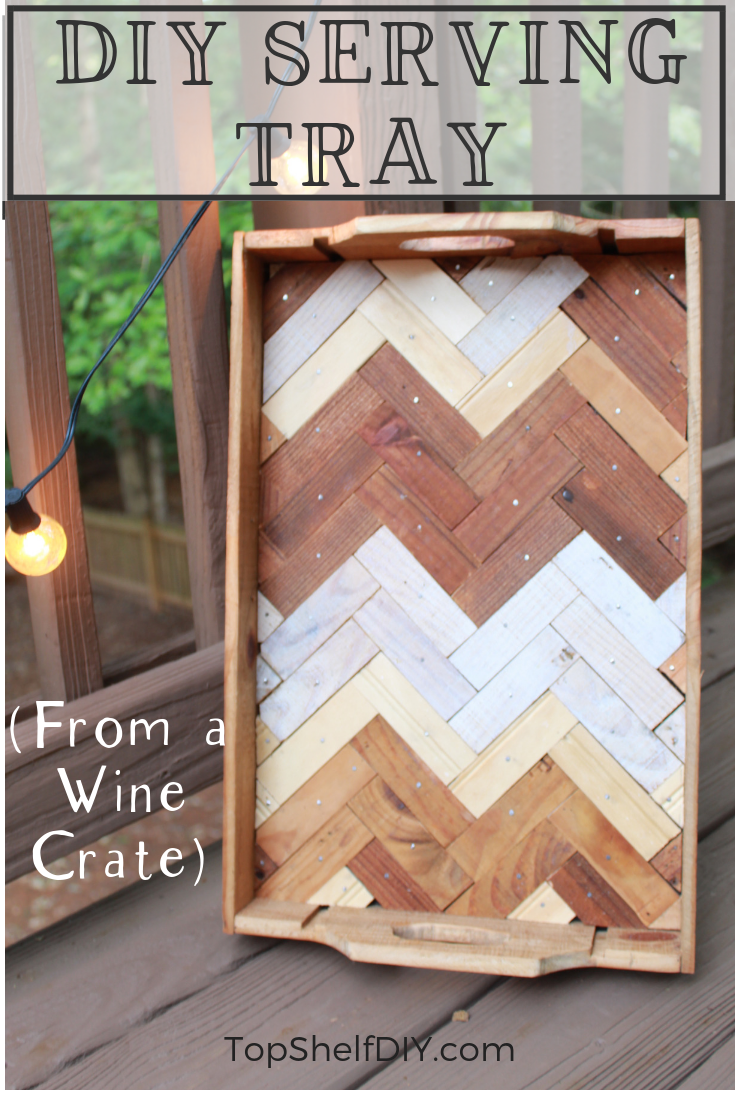
This is the tale of how I went from that pile of junk to this -->
.
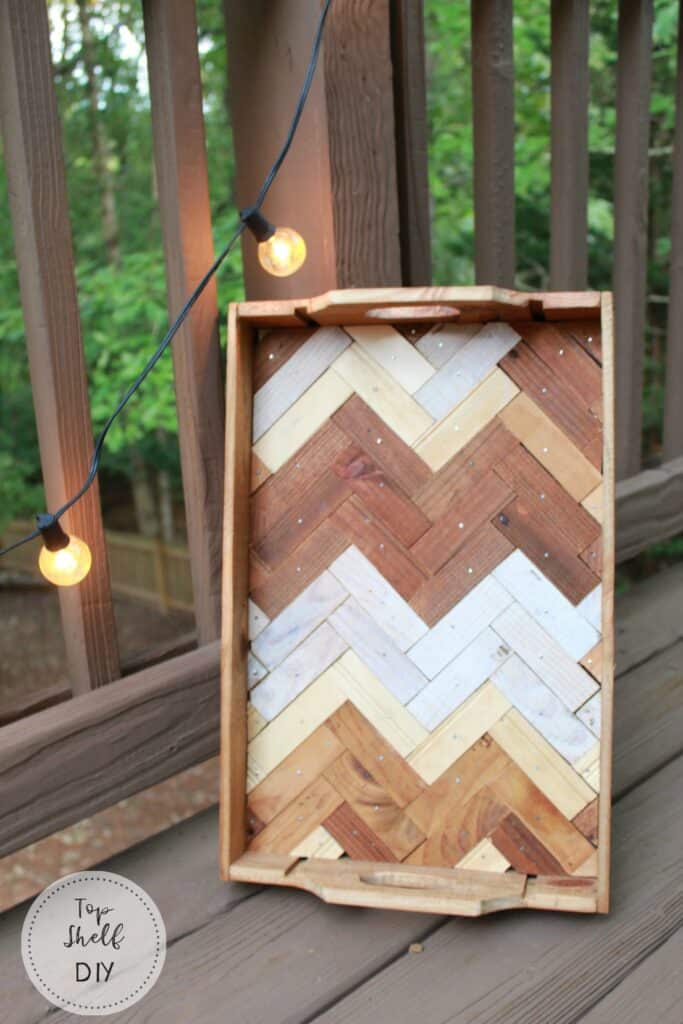
If you'd like to make one of these for yourself, I'll show you the steps involved. It wasn't technically complicated, but it was time consuming.
This one has a LOT of steps, so bear with me.
.
How to Make a Herringbone Tray from a Repurposed Wine Crate
Supplies:
- one wine crate
- black paint (I used Peppercorn by Sherwin Williams) for the base of your tray
- Any kind of white paint watered down to make a whitewash for some of your herringbone pieces
- different shades of stain (I used Minwax Pickled Oak, Special Walnut, and Dark Walnut)
- a reciprocating saw for deconstructing your crate
- a jigsaw
- a nail gun (I use an 18v Ryobi)
- 1-1/4" or 2" brad nails
- a hammer and #18 x 3/4 inch nails for your herringbone pieces
- miter saw, miter box & table saw
- Titebond wood glue
- polycrylic protective finish
.
Directions:
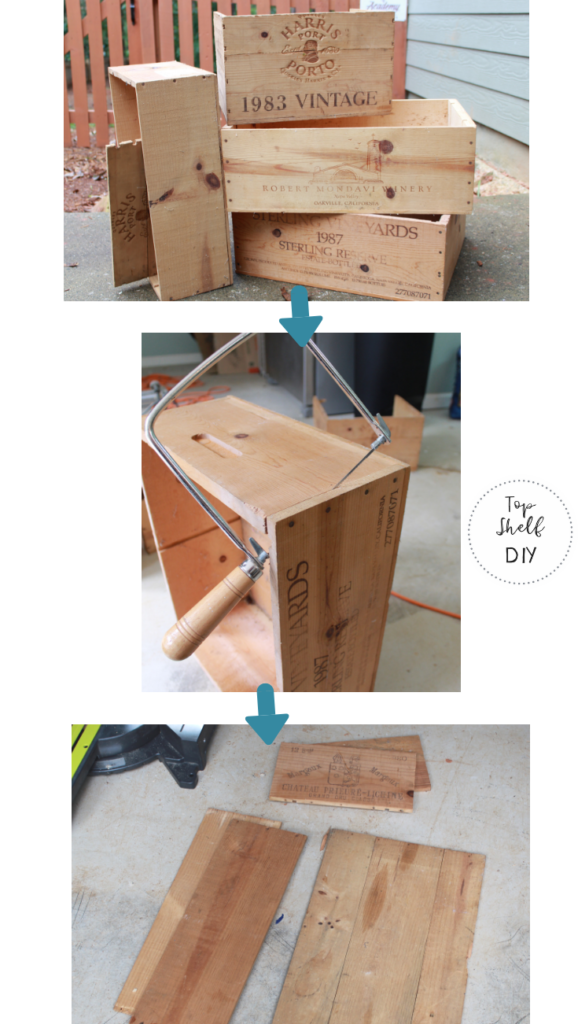
- Start by deconstructing a wine crate. A reciprocating saw works best, but a hand saw or jig saw will also work in a pinch. Side note: don't make my mistake of using a coping saw -- it's too flimsy and you'll just end up breaking the blade. Eek!
.
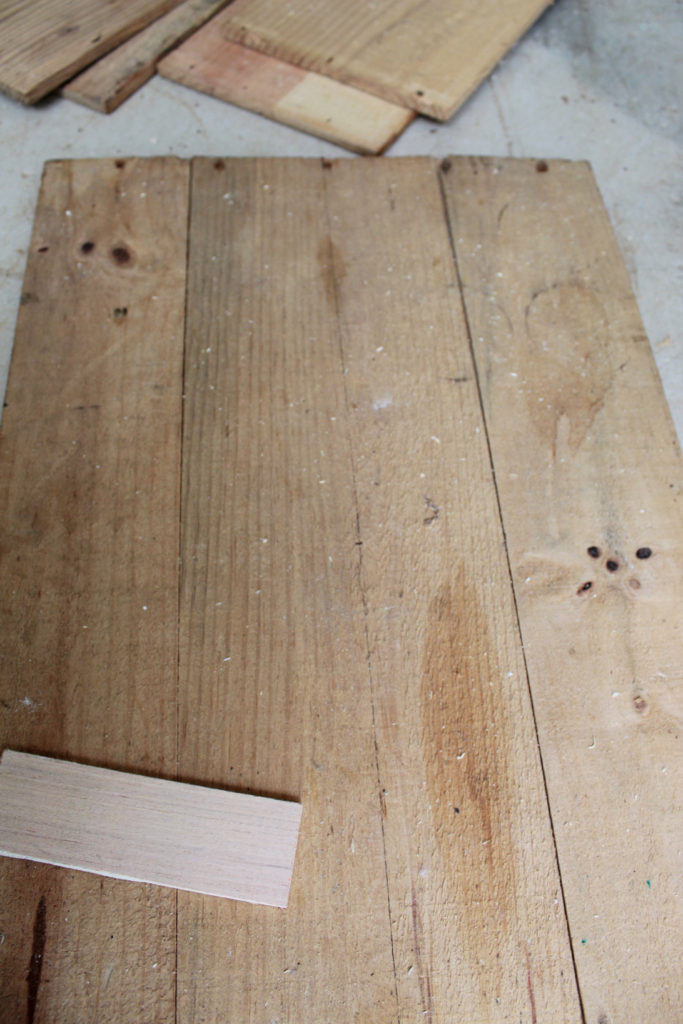
2. We're going to use the bottom of your crate as the bottom of your tray. Mine ended up being 19-10/16" long by 12-3/4" wide.
.
.
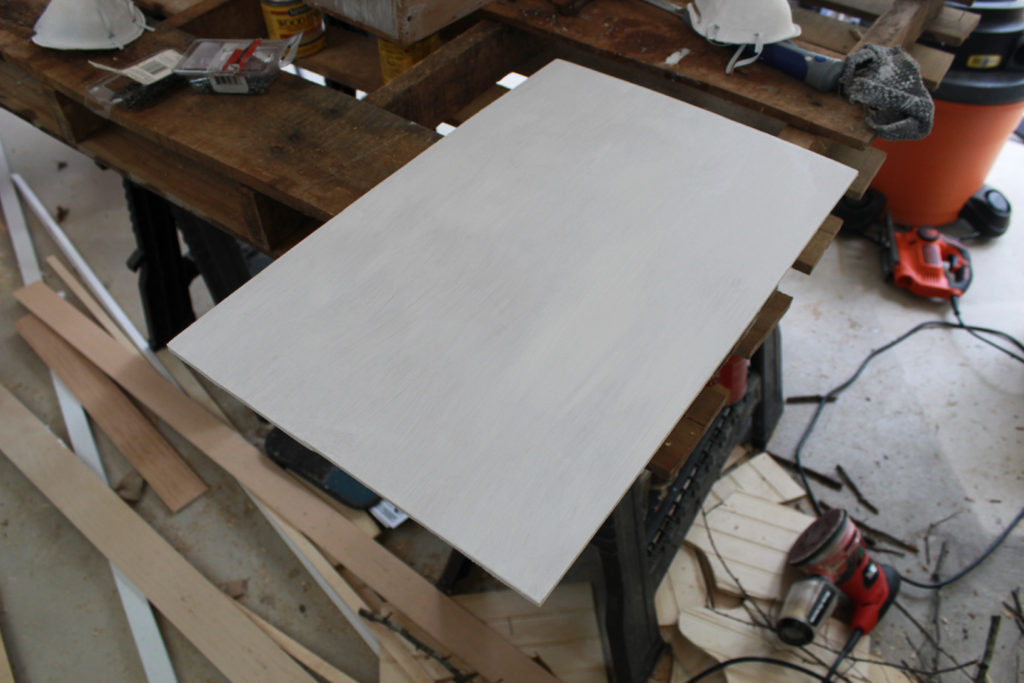
3. To reinforce your tray, add a layer of 1/4" plywood (exact same dimensions as above) to the bottom of your crate. Paint one side of it white.
.
 .
.
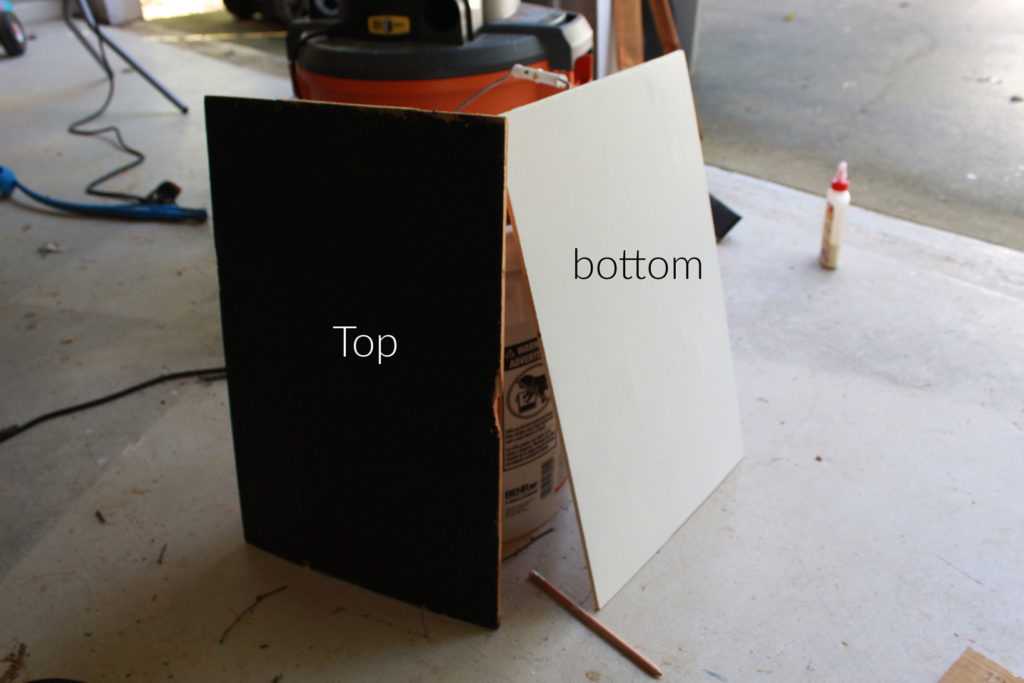
.4. Paint the top piece of your tray black. You should now have two layers that look like this.
.
 .
.
5. Glue the non-painted sides of your boards together with wood glue. Hold together with clamps or place an heavy object on top of them for the time being.
.
***IMPORTANT: mark the half-way point where your length and width intersect on the surface of your black board. This will be your starting point for the herringbone design.
.
6. Now it's time to make the sides of your tray. Using a table saw, rip the side pieces of your deconstructed wine crate as follows:
.
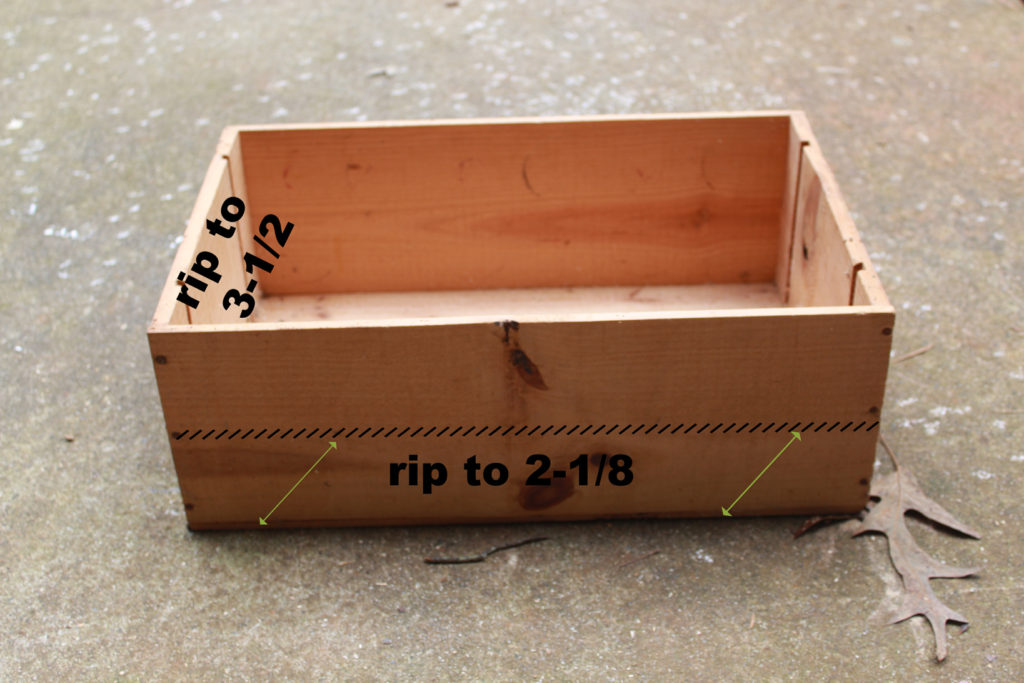
The front and back of your tray (ripped to 2-1/8) are basically done. The sides you ripped to 3-1/2 still need handle cutouts.
.
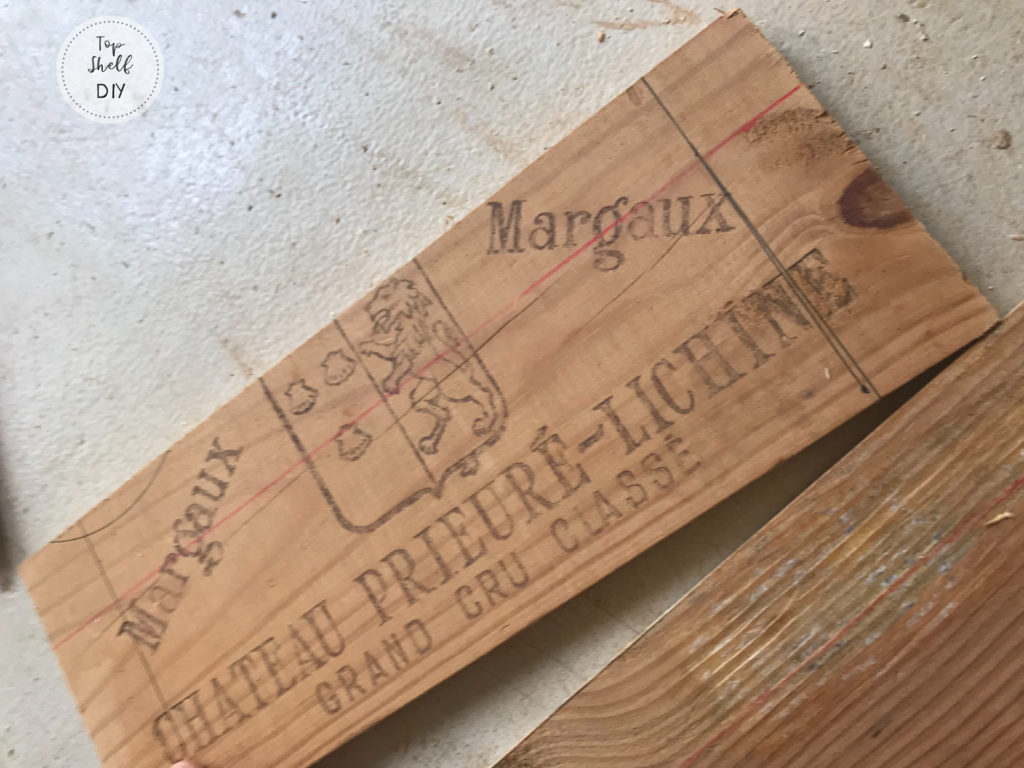
7. Mark a center line 1-1/4" down the length of the tray pieces you ripped to 3-1/2".
.
 .
.
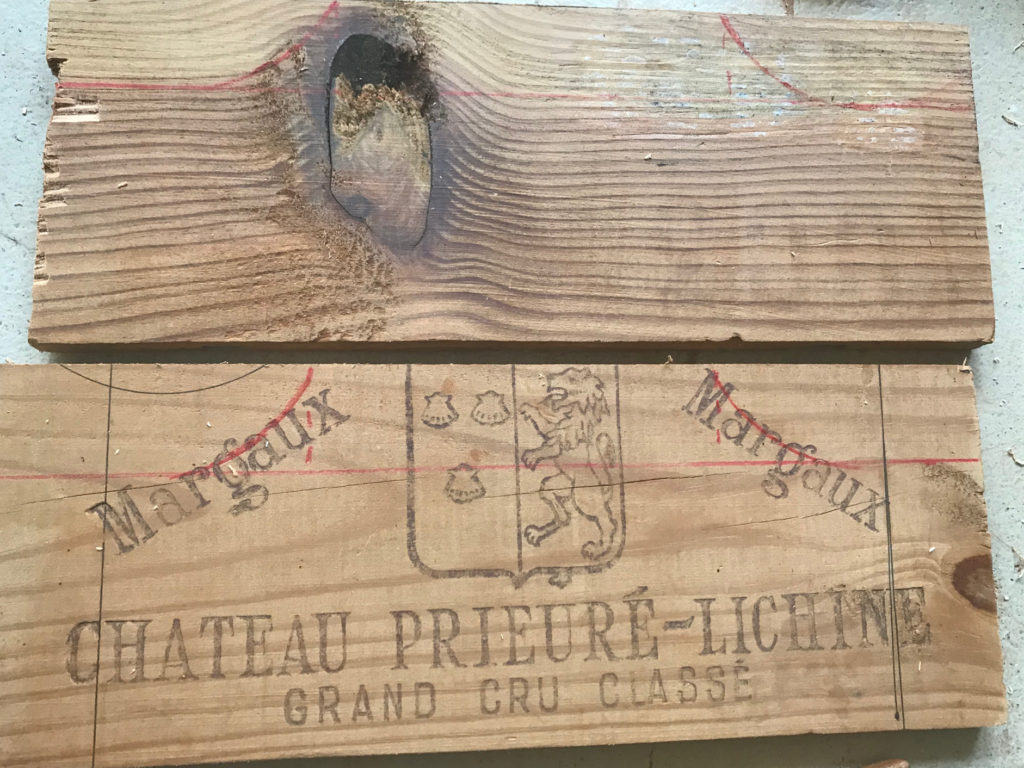
8. Make a line 3-1/2" in from the end of each board. Trace the edge of a can to make the curved edge of your handle.
.
.
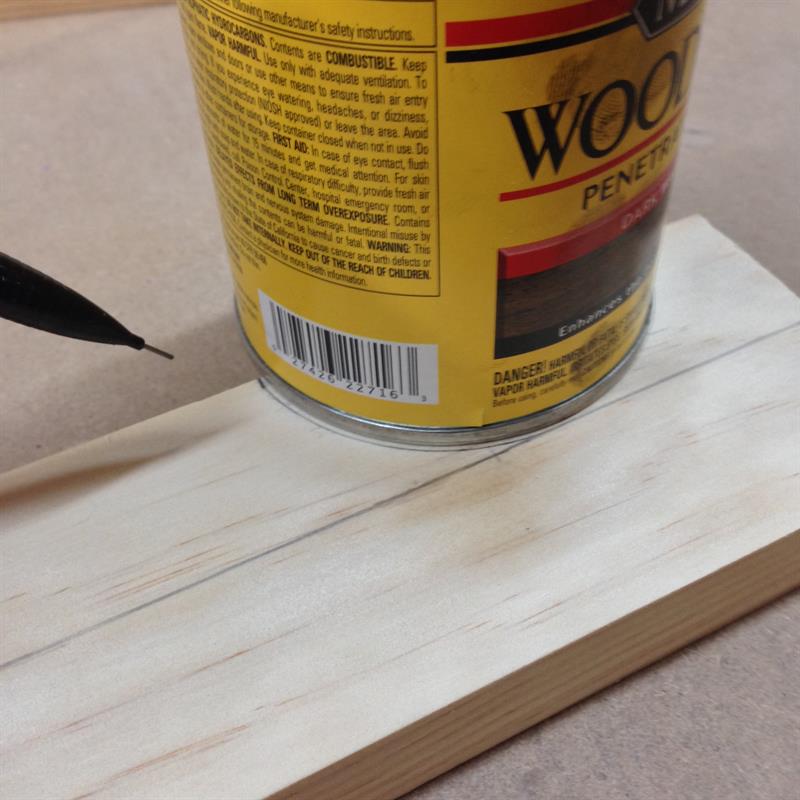
photo credit: build something.com
.
To make the holes for your handles, trace the handle of something you already own. I used the handle from a crate.
.
9. Cut out your holes with a jigsaw.
.
1o. Assemble the sides of your tray. Secure with wood glue and nails.
..
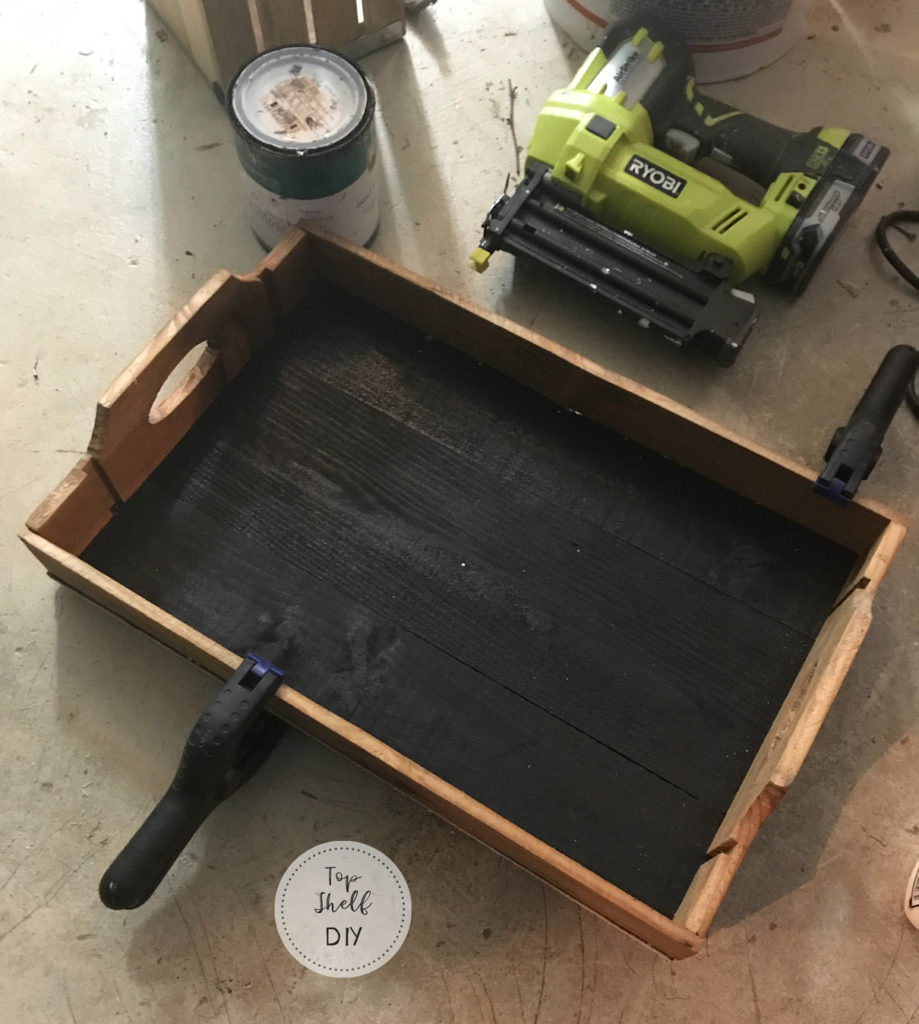
if you look closely you can see where I placed a small nail at the center point
11. Stain the remaining pieces of wood from your crate into an assortment of colors. I did some in whitewash, some in Pickled stain, some in Special Walnut, and some in Dark Walnut.
.
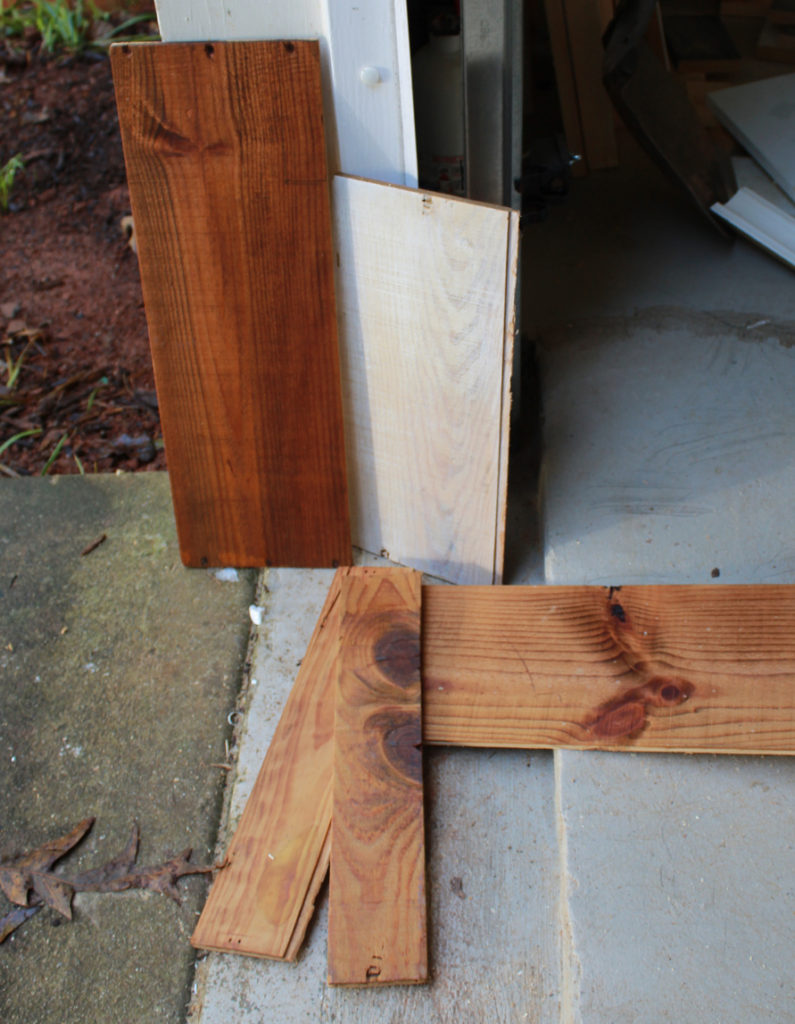
12. Using a table saw, rip your wood down to 1-1/4 inch thick. You'll be left with long, narrow strips of wood.
.
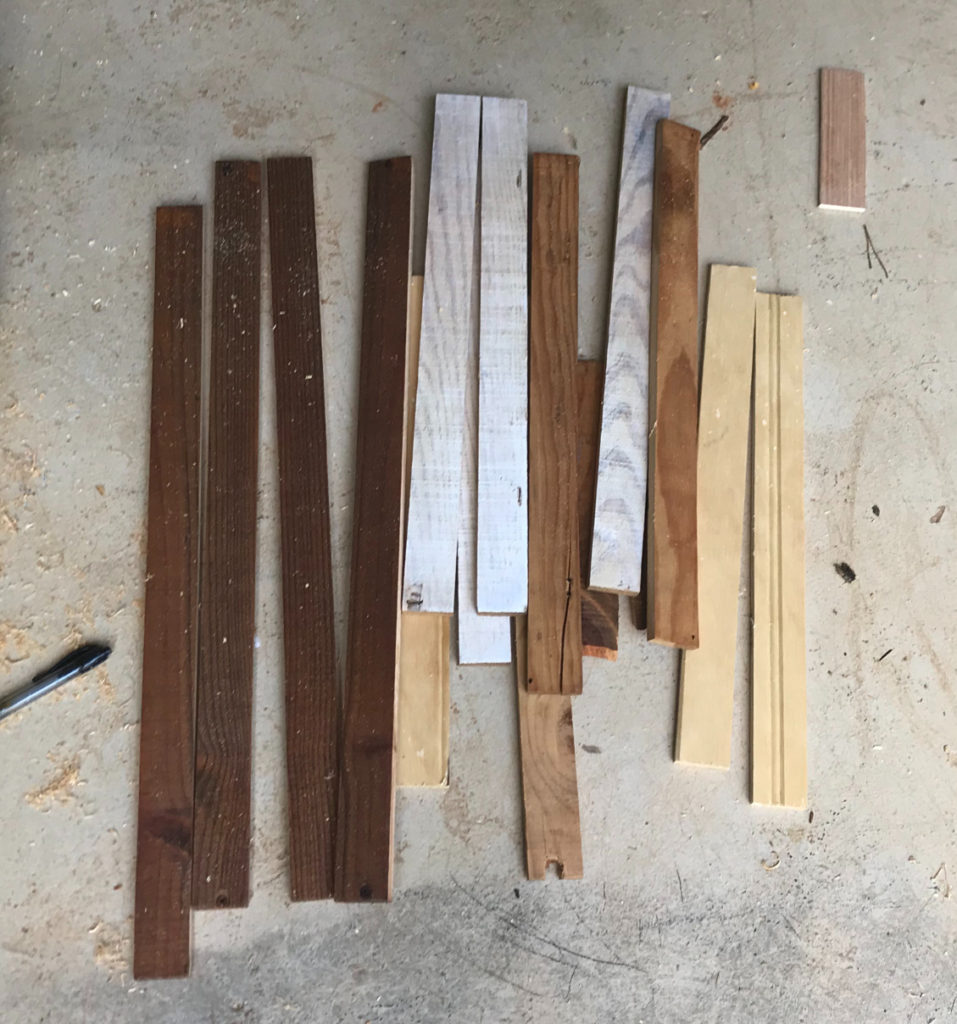
Using a miter saw or miter box, cut your long strips down into 4-inch increments.
.
Now you're ready to start laying down your herringbone pattern!
.
13. Without securing anything down, do a rough layout of your strips just to see your design. When you're happy with that, take your first two pieces and mark the center line of each. Draw line through both center marks while holding your pieces at a right angle.
.
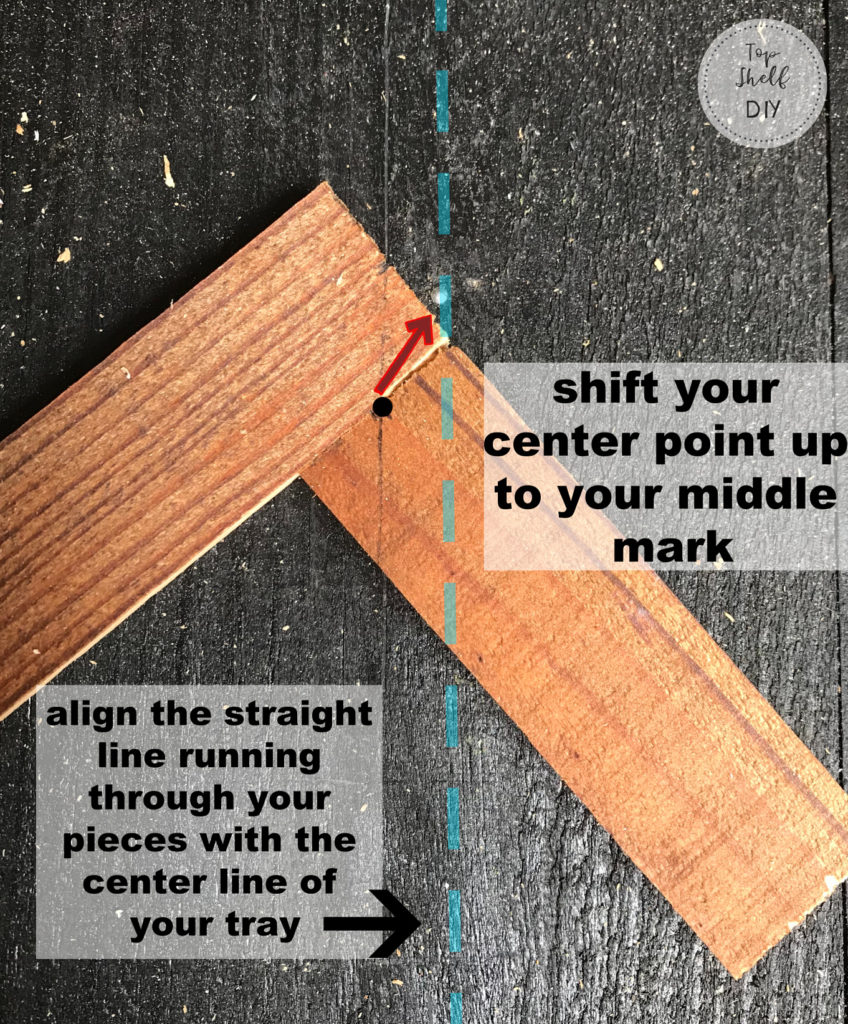
If you start to get confused, this video from the Shanty 2 Chic sisters is very helpful!14. Secure pieces with wood glue and one small nail per strip. You'll need to use a miter box for some of your smaller insets for safety purposes.
.
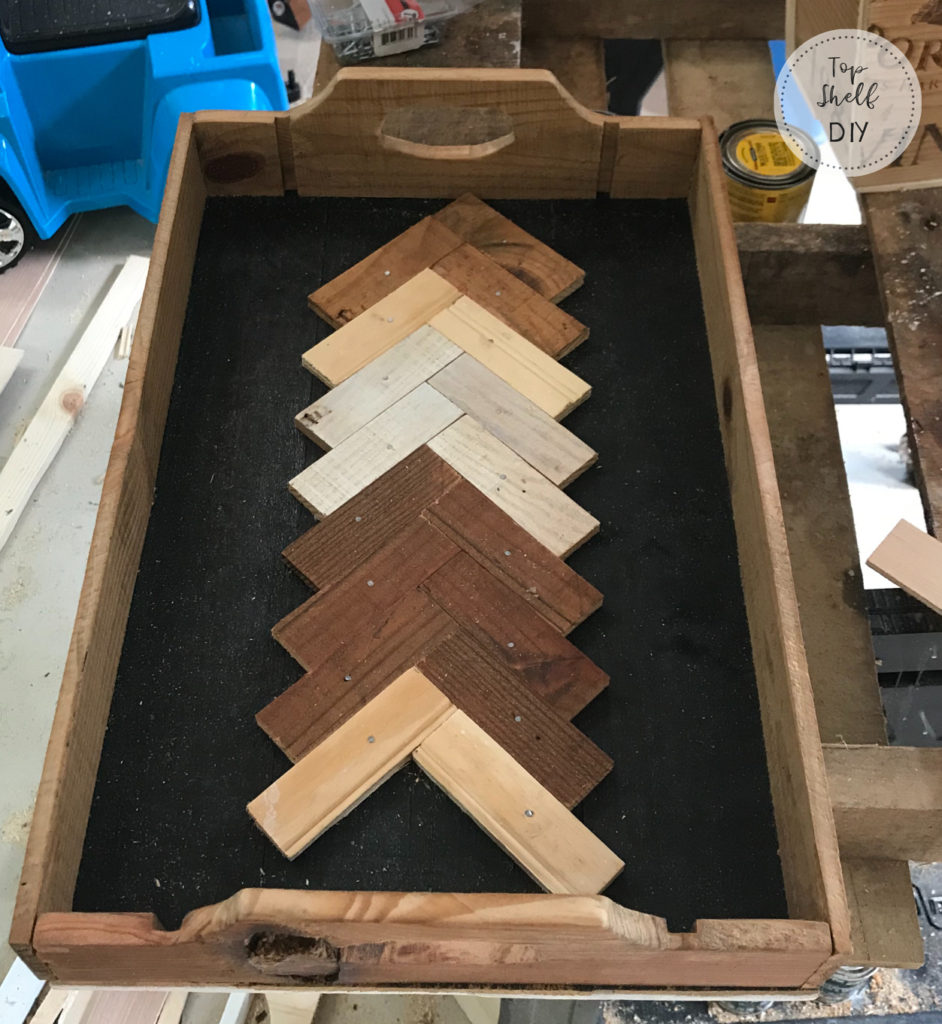
15. Continue to lay out your pieces, making sure to alternate each piece in a herringbone design.
.
16. Once you're done, give everything a coat of polycrylic.
Phew!
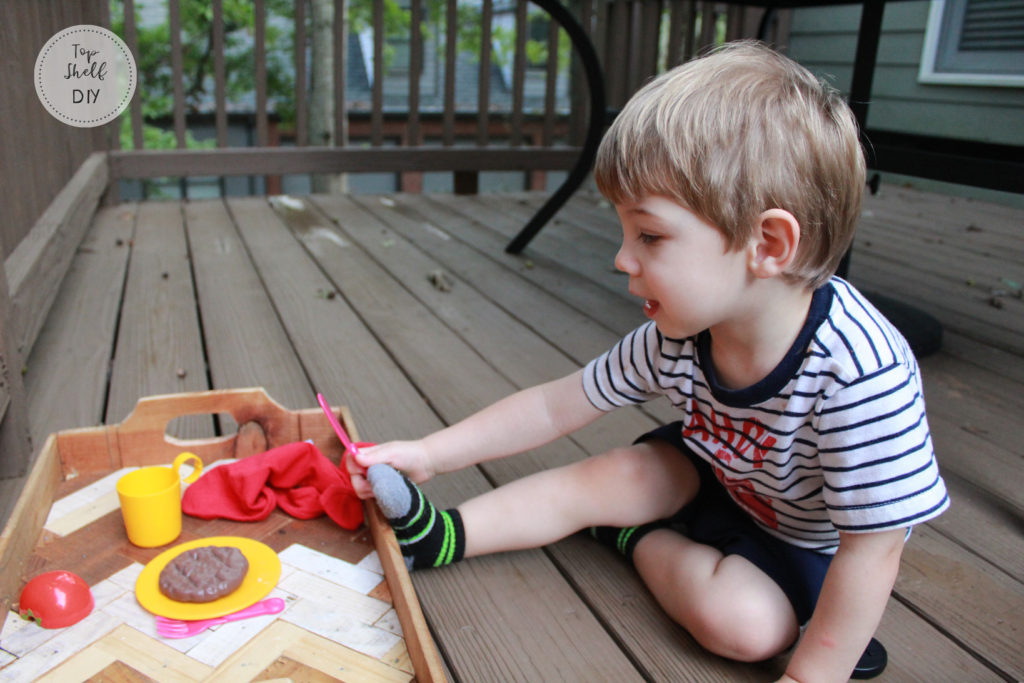
It may seem like a lot of steps (and it is), but really it's worth it once you see the finished product. My son enjoyed using the tray, and now I find I can load up a bunch of snacks (i.e. wine) on there when I'm going upstairs to the office 🙂
.
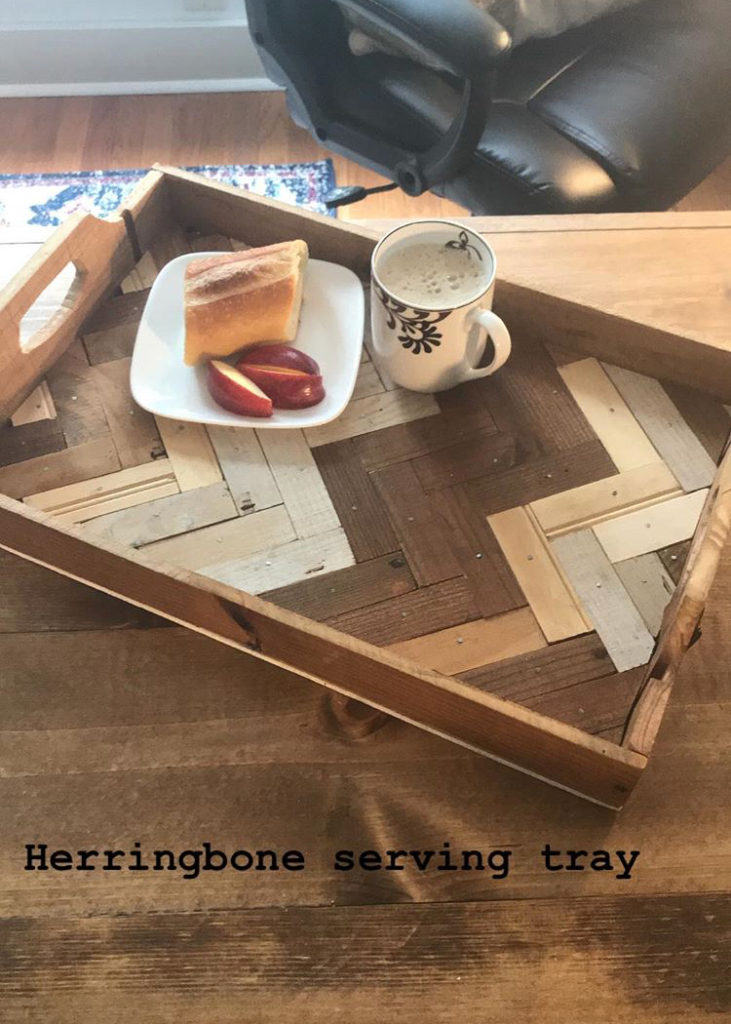
from my instagram stories
.
Evan seemed to be enjoying the tray as well...
.
.
 .
.

Have questions? Drop me a line anytime.
Cheers,
Erin
.



Leave a Reply