On the hunt for an easy woodworking project?
Two weeks ago I challenged myself to 7 DIY projects in 7 days. The first 6 projects involved repurposing some old wine crates I found on Craigslist:
Day 1: An Oily Shelf (get the full scoop here)
Day 2: A Farmhouse Tool Caddy (tutorial available here)
Day 3: A Decorative Vase (tutorial here)
Day 4: A Herringbone Tray (tutorial here)
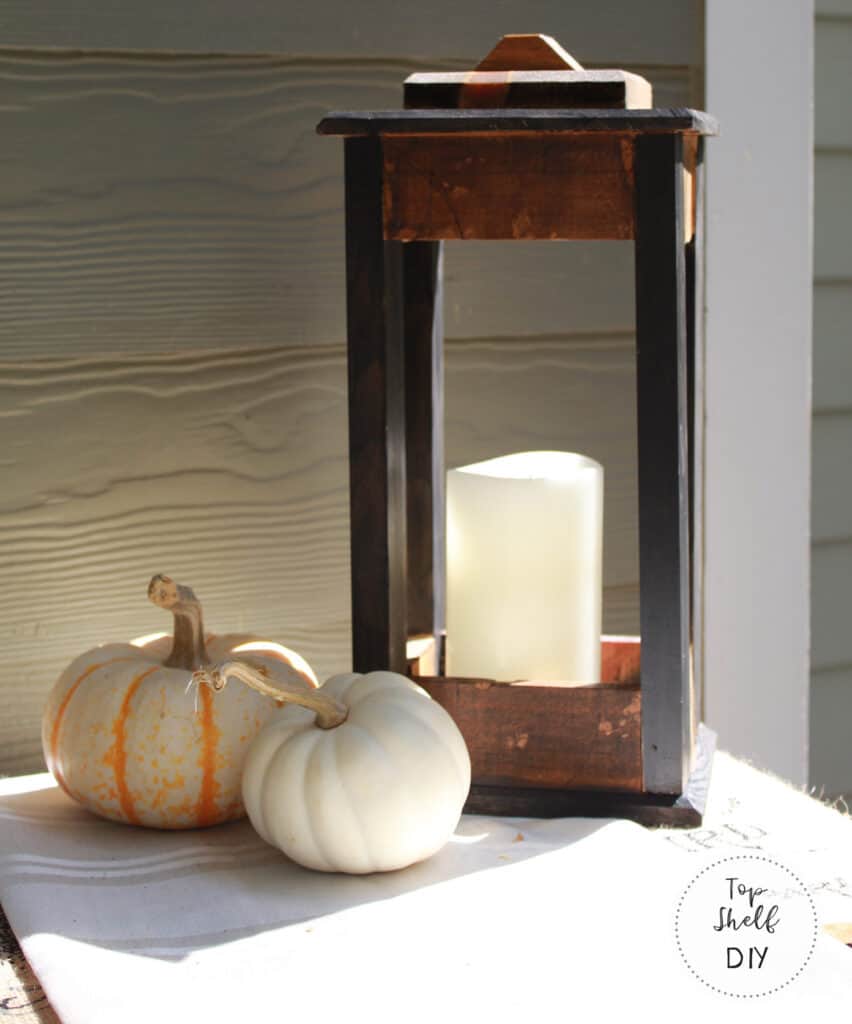
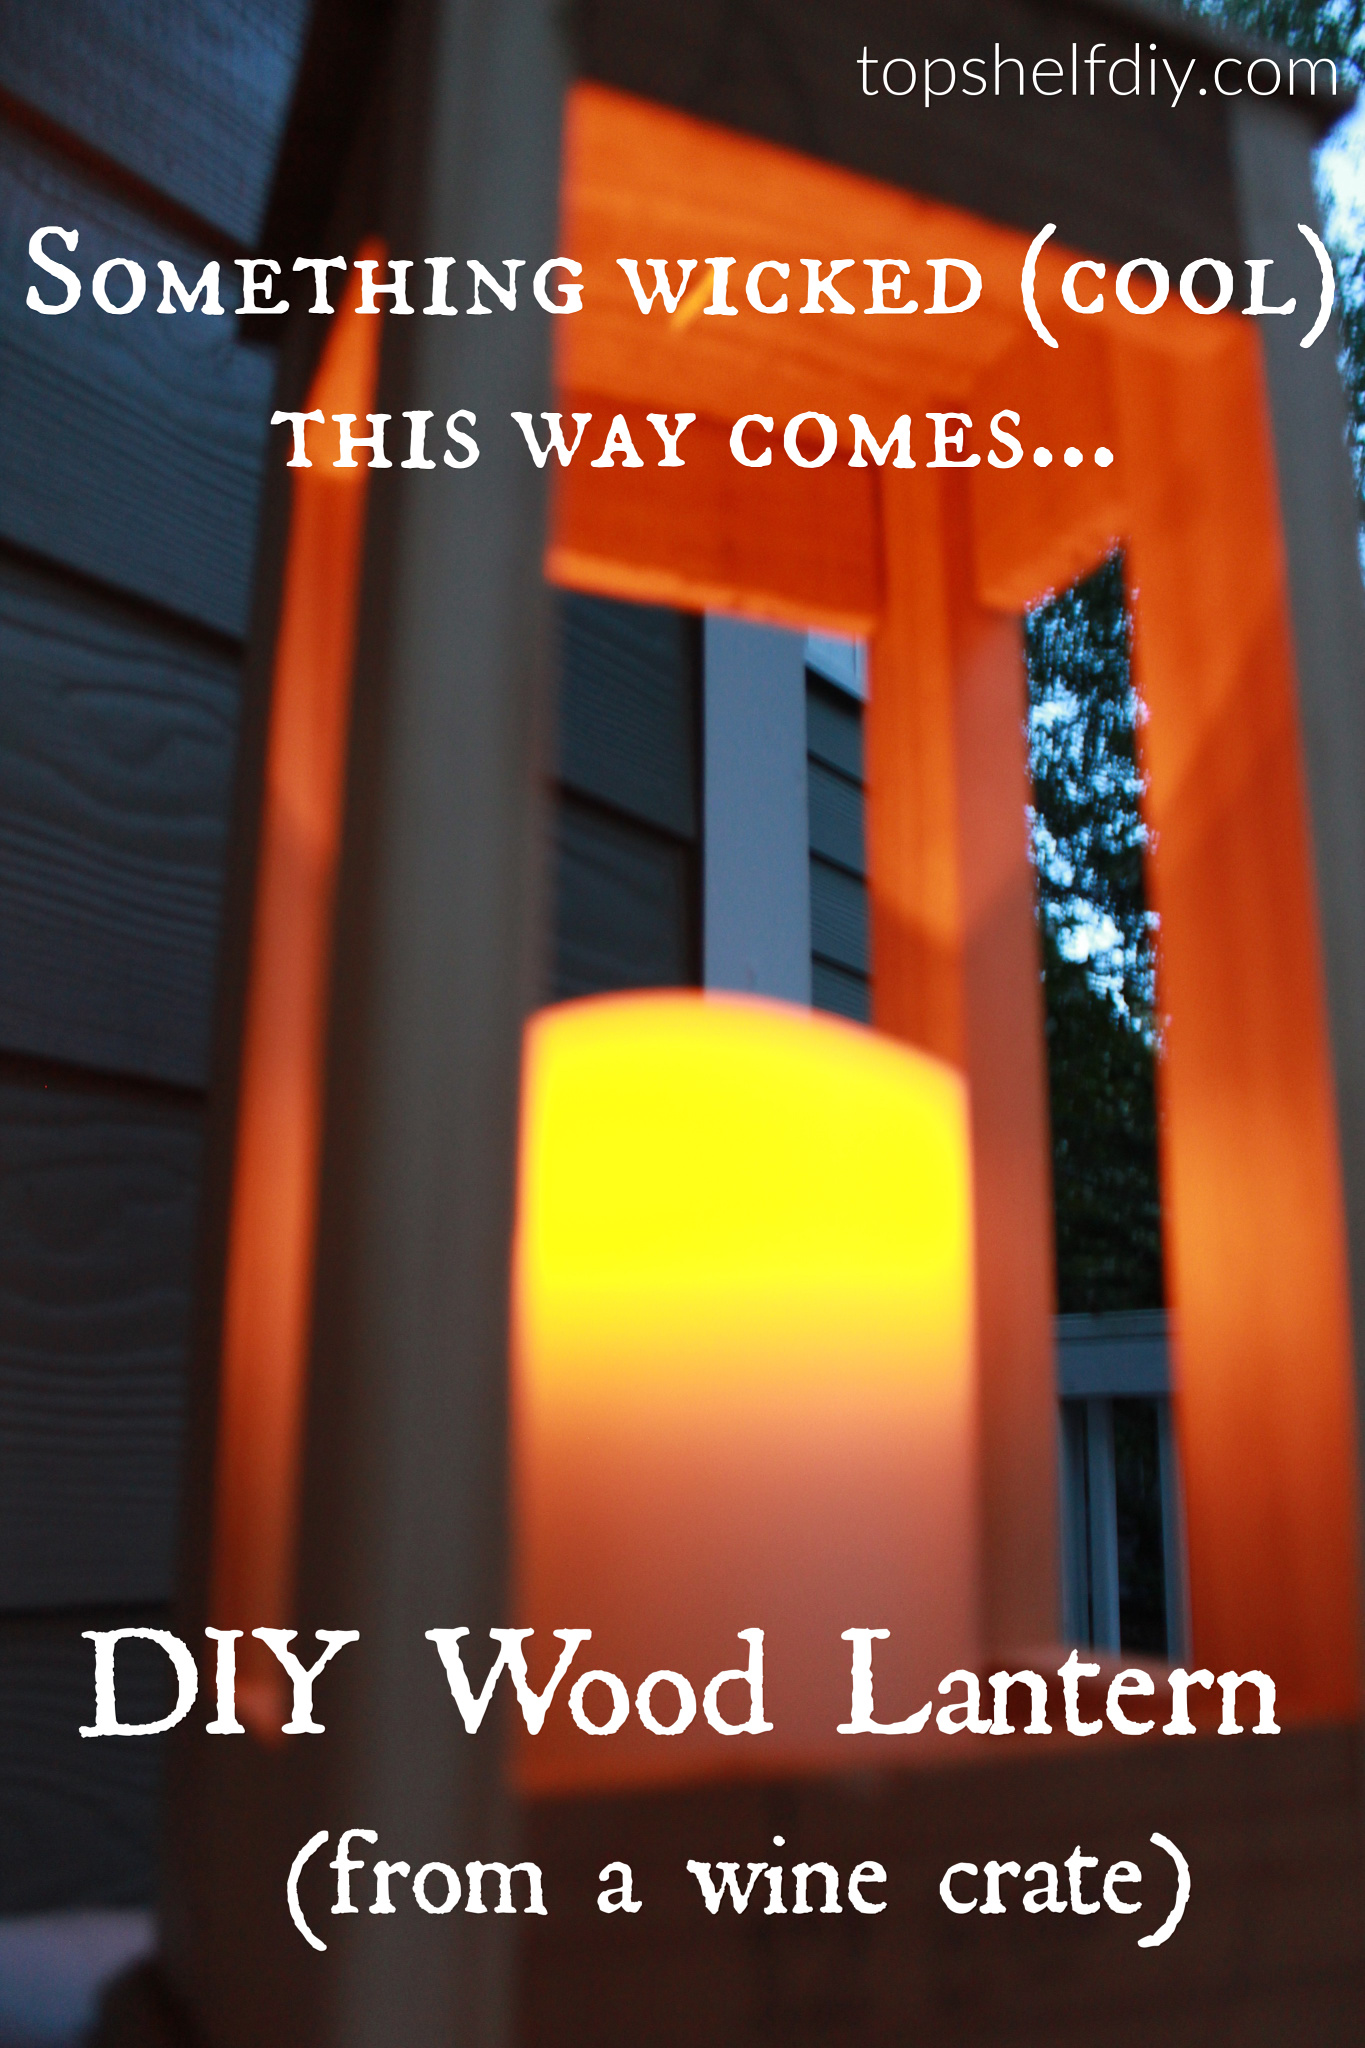
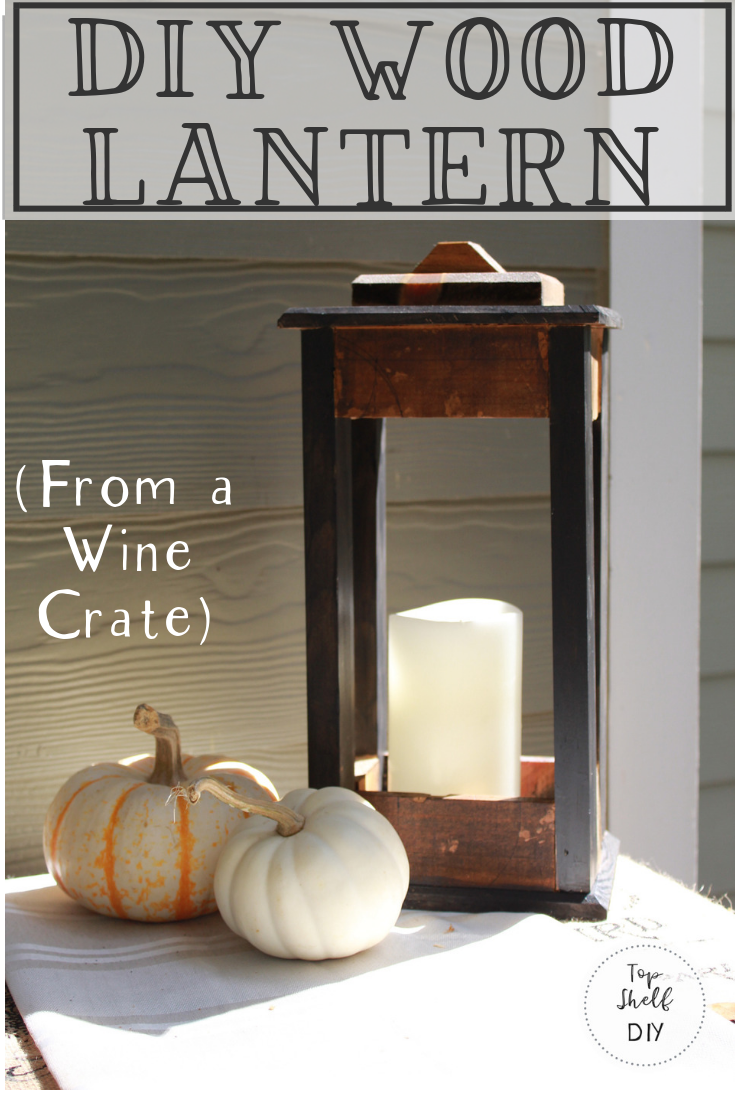
Day 5: A Lantern
Day 6: A Drop Leaf Table for my son's play kitchen (tutorial here)
The lantern I created was based on this tutorial from The Stonybrook House. My process and dimensions are a bit different, but the end product is very similar.
This was definitely one of the easier wine crate projects:
.
Here's how to pull the look together.
How to Make A Wood Lantern from a Repurposed Wine Crate
Supplies:
- one wine crate
- a reciprocating saw for deconstructing your crate.
- any paint or stain combination you like
- a table saw
- a nail gun (I use an 18v Ryobi)
- 1-1/4" or 2" brad nails
- a hammer and #18 x 3/4 inch nails
- miter saw or miter box
- Titebond wood glue
- polycrylic protective finish (if your lantern is going outside)
- 4 feet of 1x2 wood (cut into four 12" pieces). You'll need a little bit of excess for the top of your lantern
.
Directions:
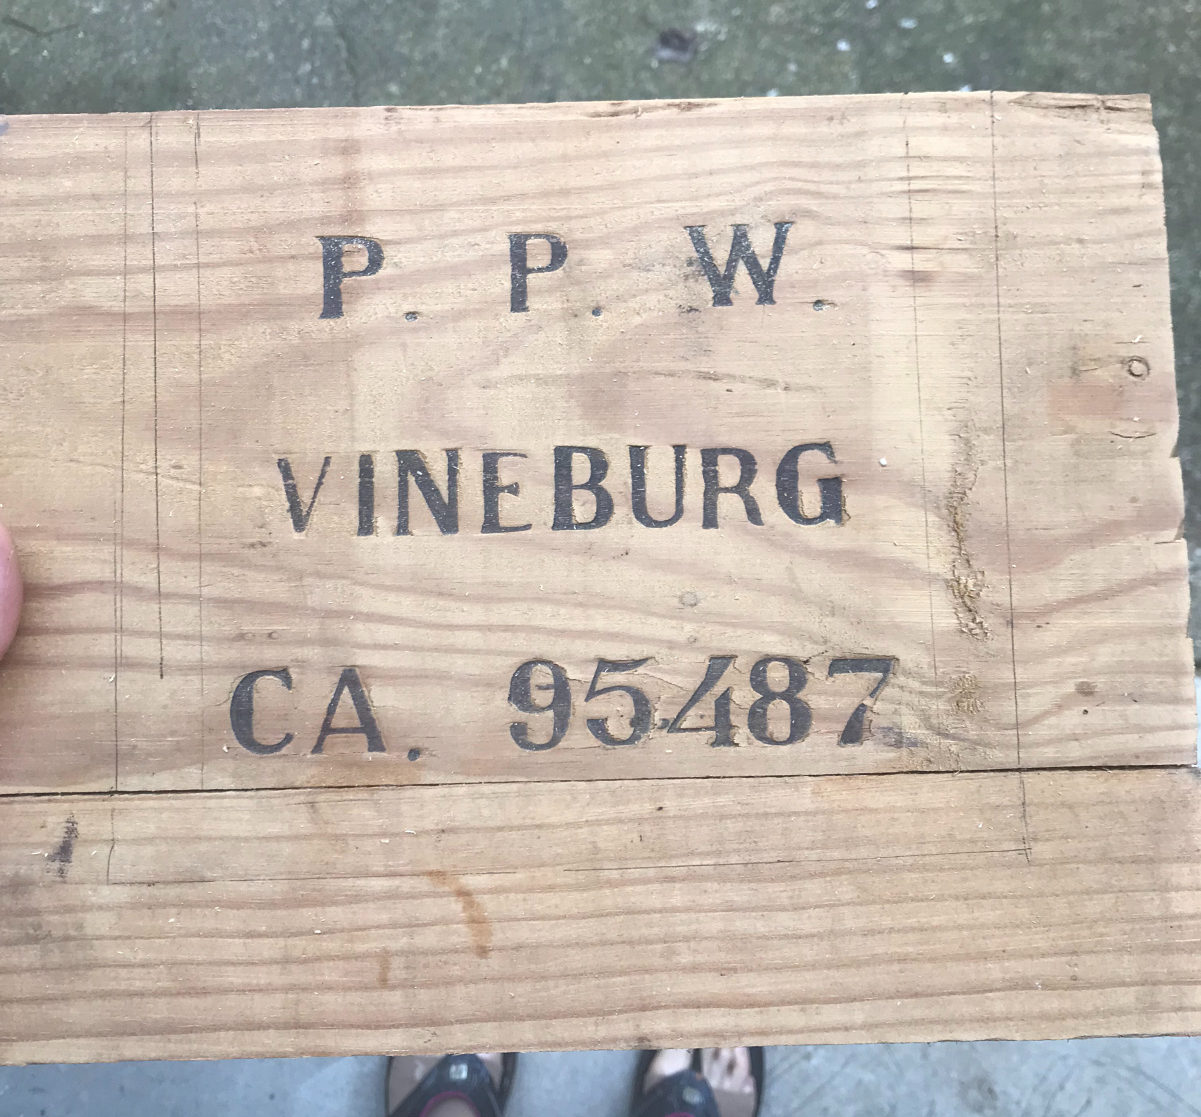
- Start by deconstructing a wine crate. A reciprocating saw works best, but a hand saw or jig saw will also work in a pinch. Side note: don't make my mistake of using a coping saw -- it's too flimsy and you'll just end up breaking the blade. Eek!
.

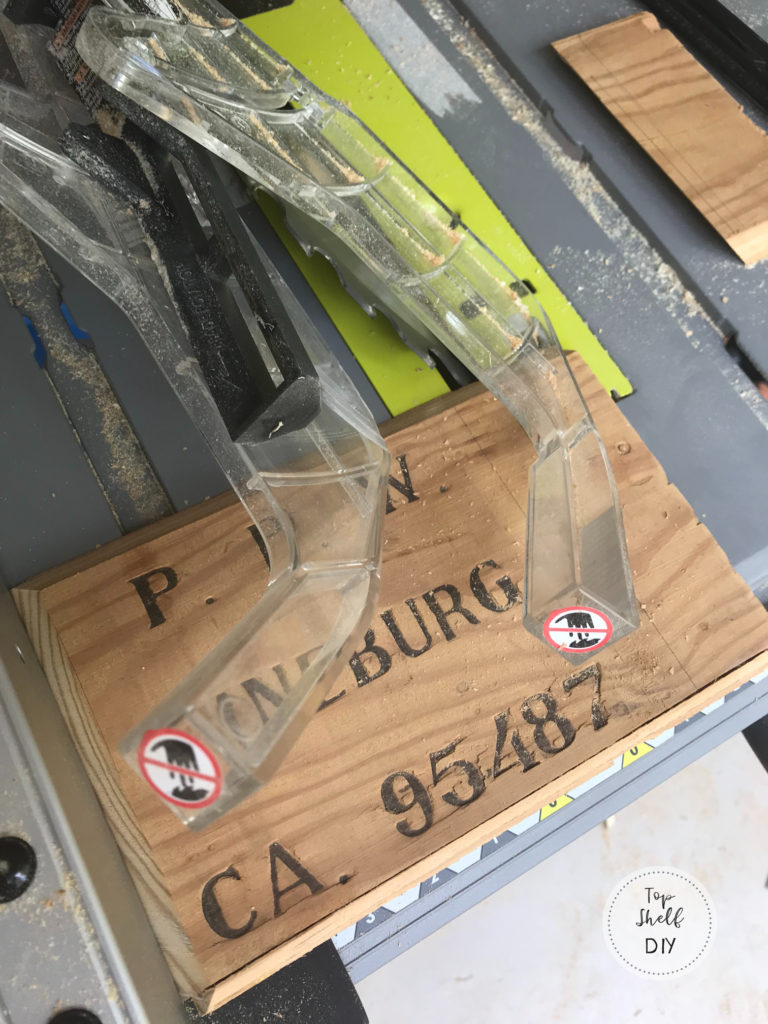
2. Now it's time to cut the top and bottom pieces of your lantern from the wine wood. The bottom needs to be big enough to accommodate the diameter of your candle and glass votive. My squares are 7" wide by 5-13/16" deep.
.
.
3. Cut your piece with a table saw. Once you've cut the outline at 90-degrees, turn your table saw to a 45-degree angle and trim the edges once more.
.
 .
.
4. Apply a small bead of wood glue to your 1x2 legs, then secure them to the outer corners of your top and bottom squares with a nail gun. You may need a second set of hands to help!
..
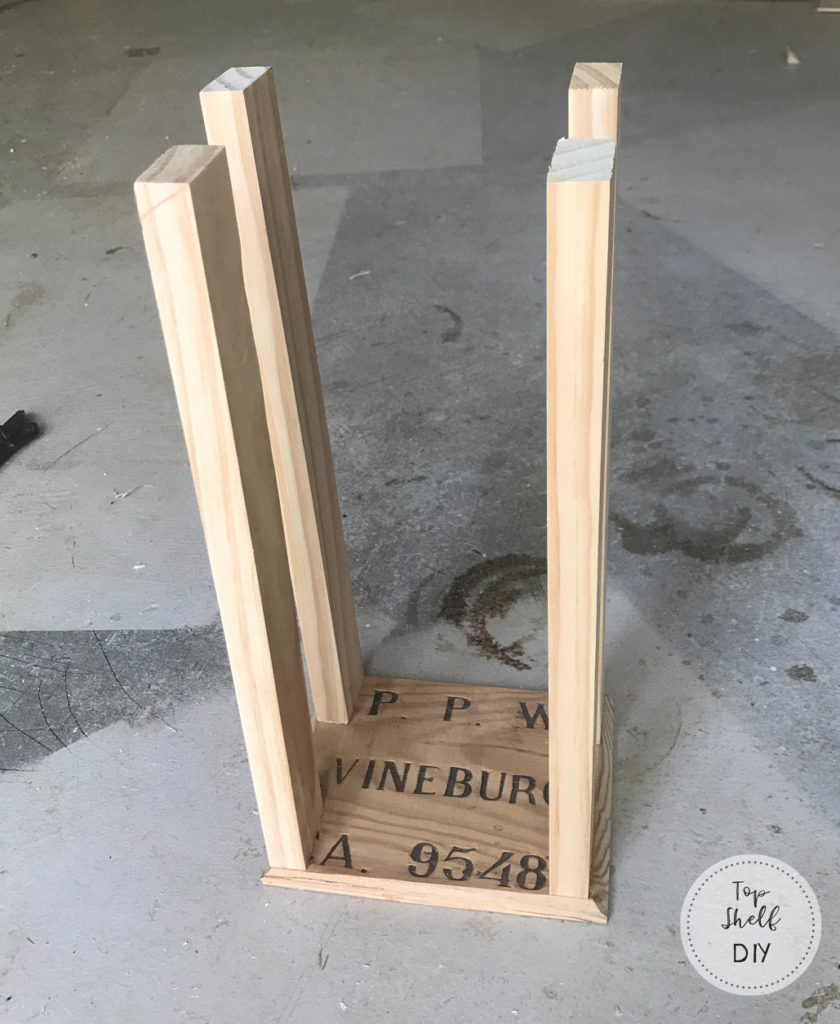 .5. Now add the little inside pieces between your legs with wood glue and nails. Your measurements will depend on the position of your legs and the size of your big squares.
.
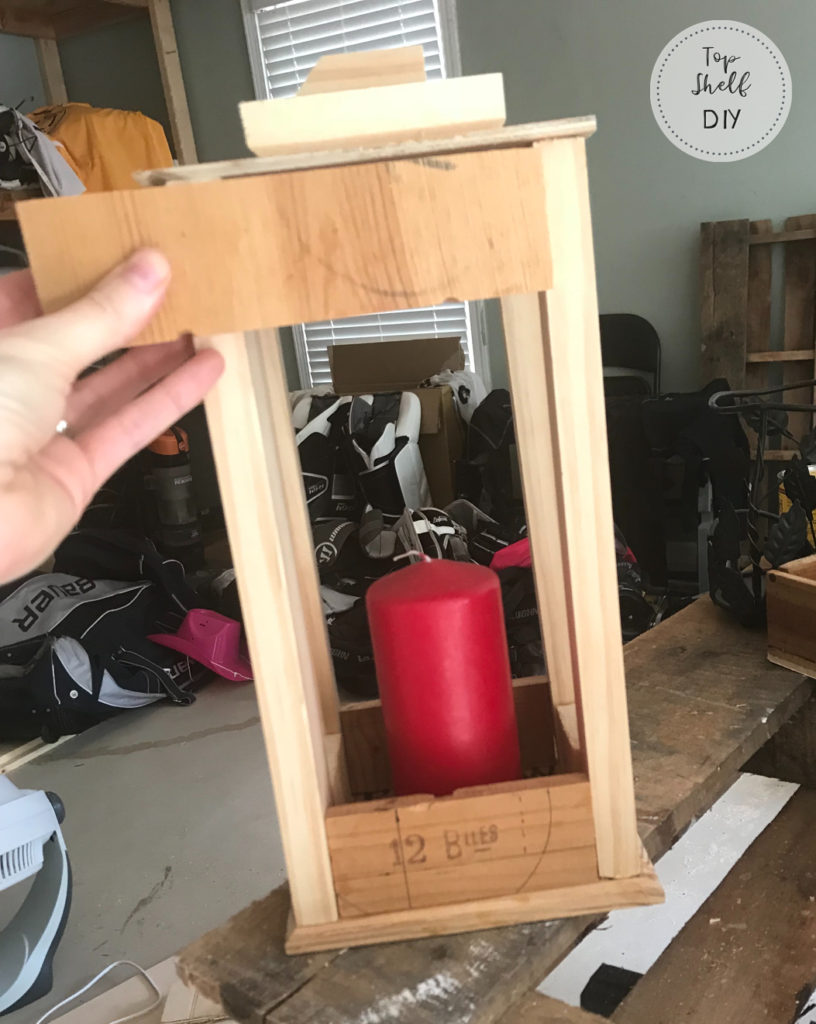
6. Outline a square slightly smaller than the dimensions of your lantern topper (mine was 4-1/4" by 3-7/8"). Like the top square, cut it with a table saw at a 90-degree angle, then add a slight mitered edge by moving your table saw to 45 degrees. Secure in place with wood glue and a small nail (3/4" nail)
. .
.
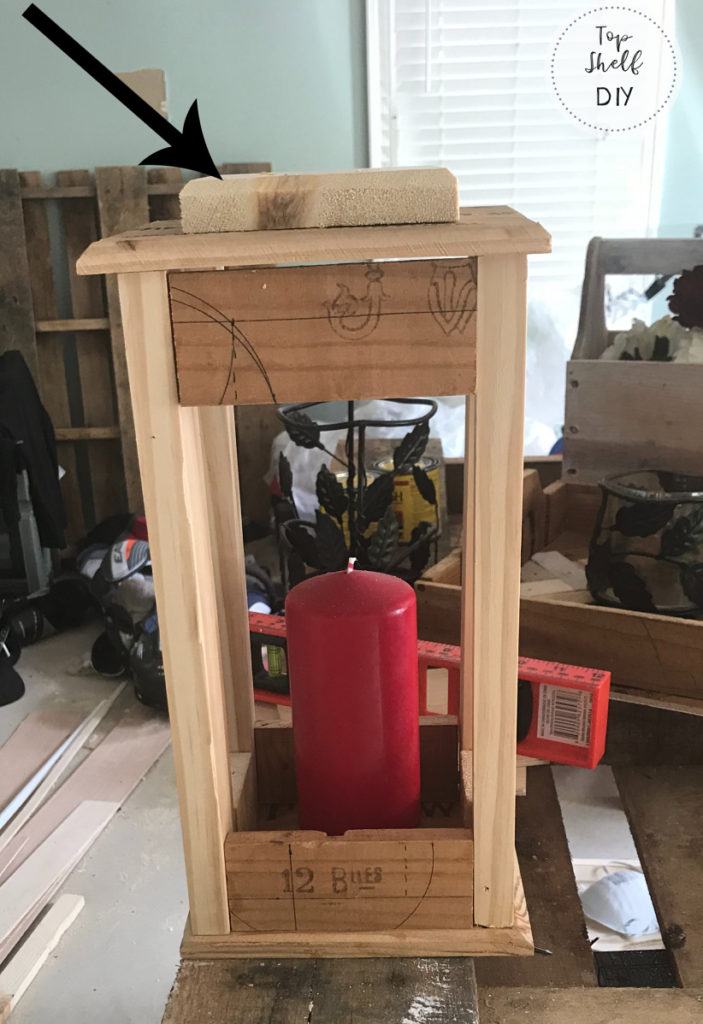
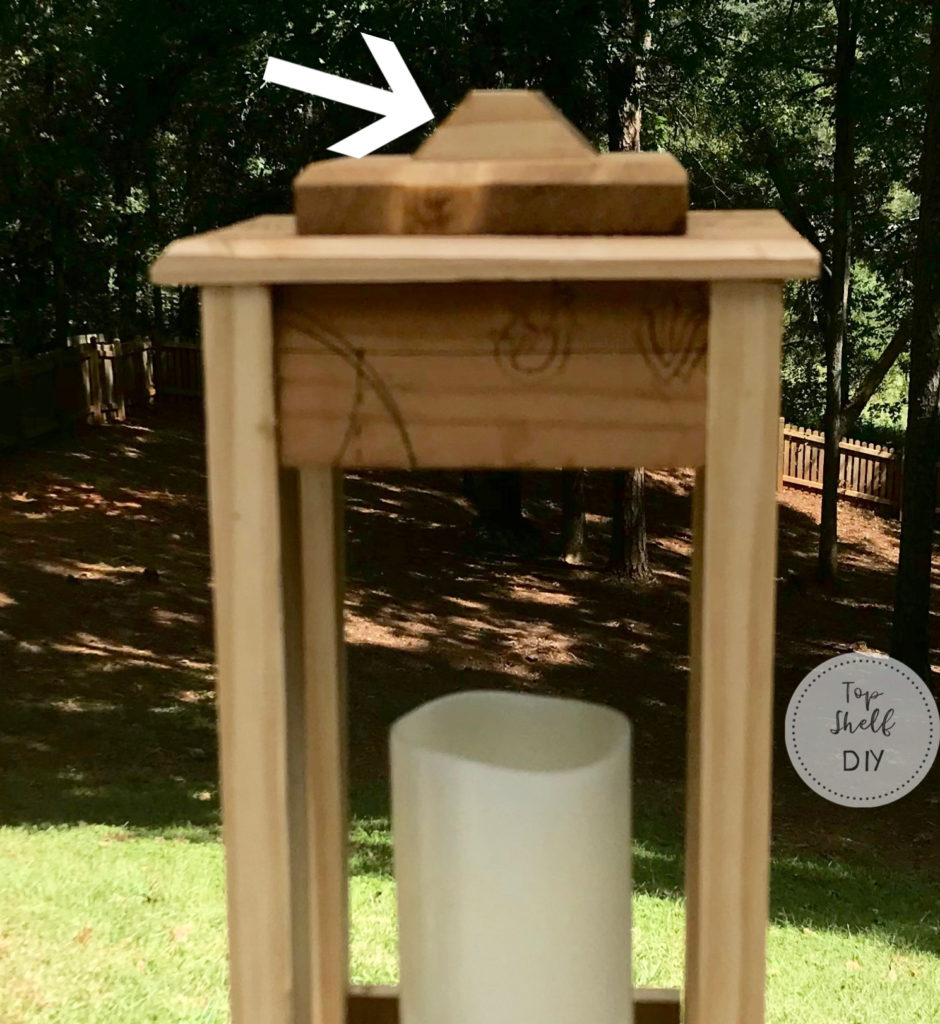
7. Lastly, take a scrap piece of 1x2 and make a 45-degree miter cut (with a miter box, preferably -- keep those fingers safe!) on two of your sides, so that it ends up looking like a pyramid of sorts:
.
 .
.
Glue this to the top of your second topper, then add a small nail as before. If you'd like to add a hook or a handle to the top, simply drill a hole through this piece.
.
8. At this point you can leave your wood raw...
.
my friend said this looked like a guillotine...perfect for Halloween I guess?
.
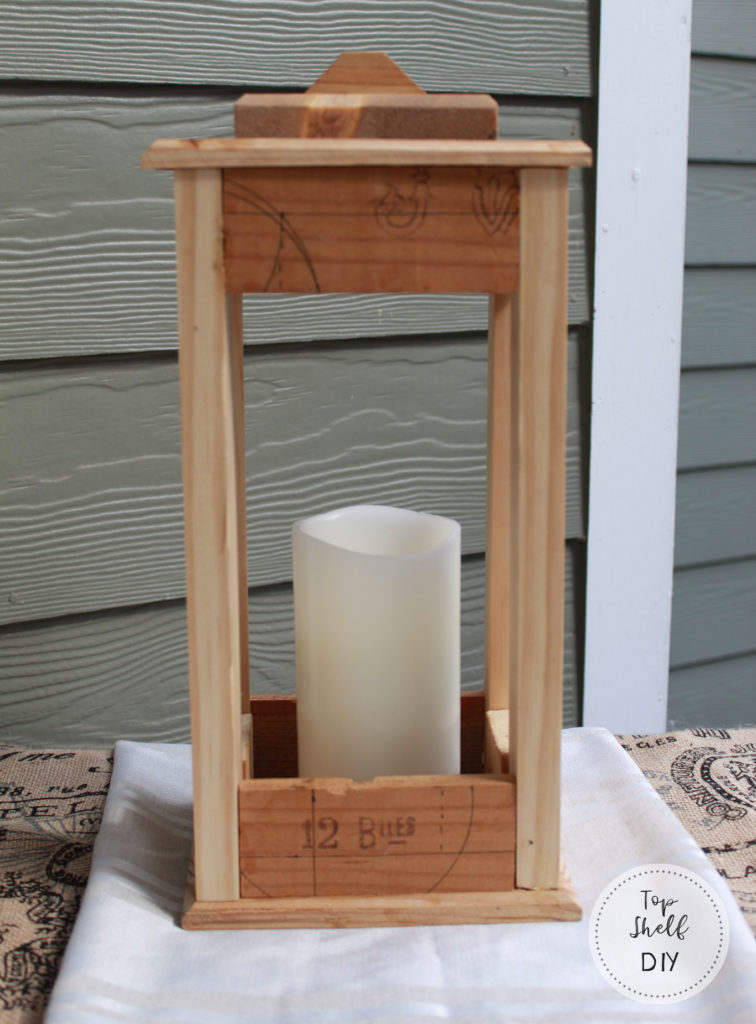
Or you can add stain + poly or paint if you're planning to put your lantern outside!
.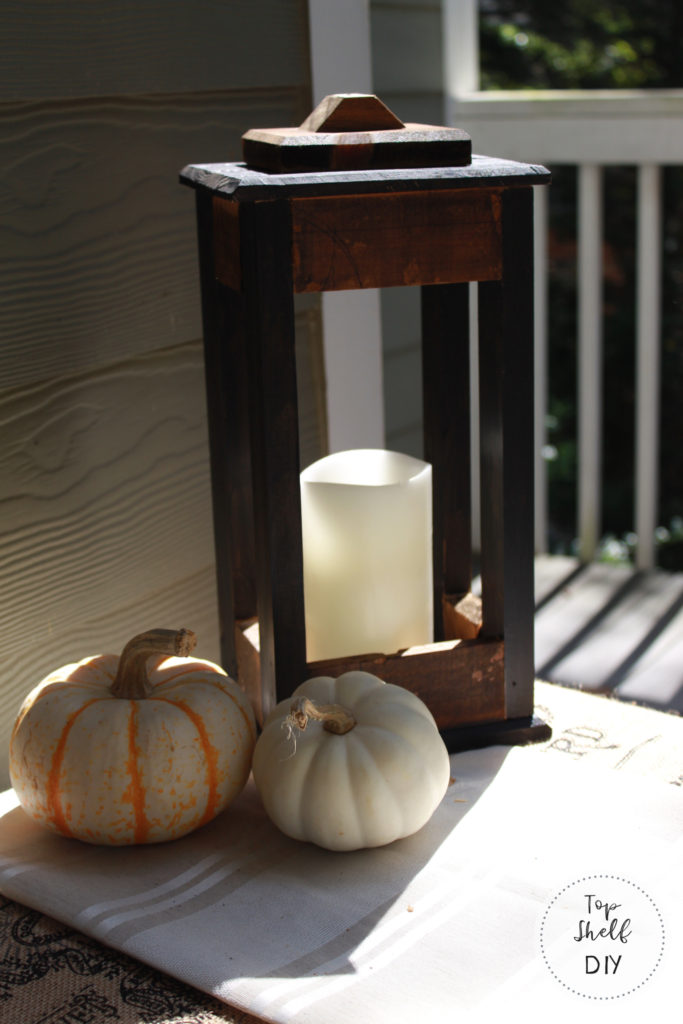
legs are painted in Peppercorn by SW, the rest is Dark Walnut stain by Minwax
I use a flameless candle on a timer, and just like magic it "flickers" every night around dusk for about an hour. I love it!
.
.
I imagine this would be an excellent Headless Horseman prop, or even something for a ghoulish youngster lurking behind the bushes...
Now excuse me as I hobble back to my dungeon!
Cheers,
Erin
Leave a Reply